If you have read the first few bits of the restoration story you will be aware that I did some quick fix work on the companionway boards and the cockpit locker lids using the best plywood I could find at the time. Every boatbuilding book I own warns you to use proper marine plywood and goes into the detail about the need for boil proof glue and absence of voids inside the sheet. Some of the more recent writers also warn not to trust the British Standard stamps but do your own boil testing on off-cuts because disreputable manufacturers claim compliance for lower grade materials.
Because of all that, I knew my original efforts were temporary and really just an emergency water and trespass proofing exercise for a boat left exposed on a publicly accessible drive. Well I can definitely say that 5 years is too long to leave “exterior” grade plywood from a DIY store out in the damp even if it is protected with a reasonable number of layers of varnish. The individual layers  are separating big time at the edges of the companionway boards where they are exposed to rain and the locker lids are losing their tissue paper thin surface layers.
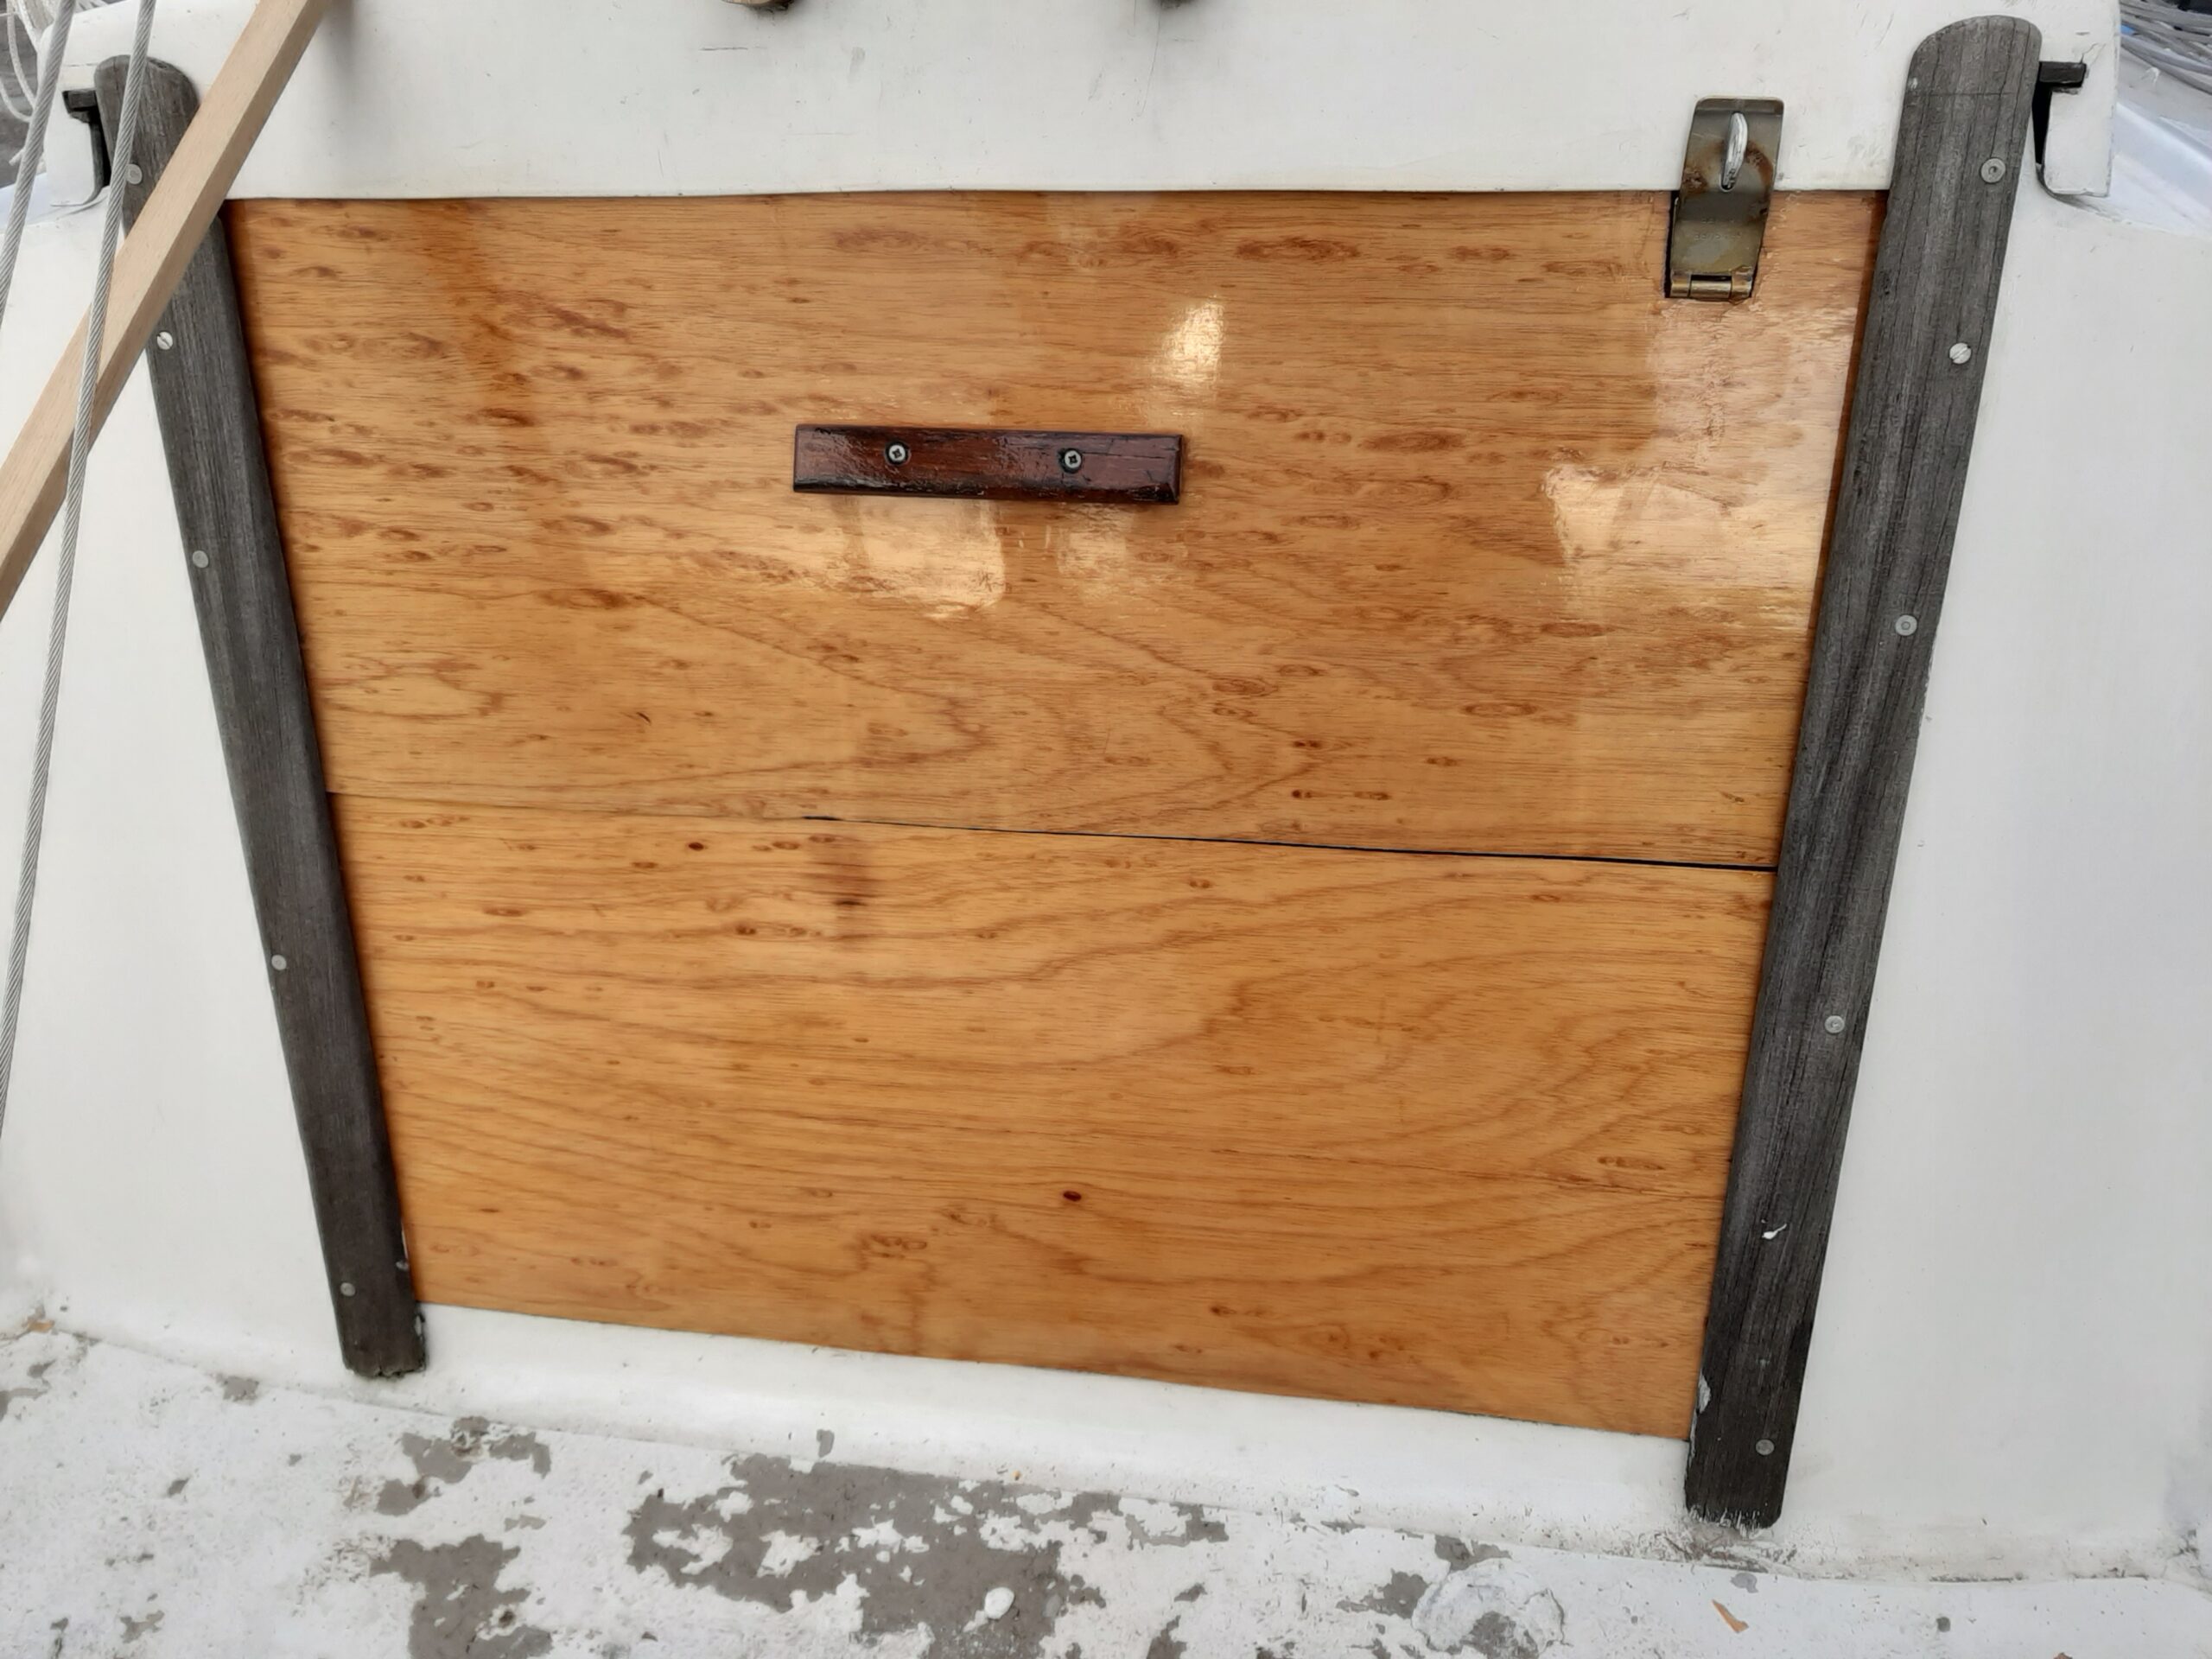 The companionway boards are fairly simple to make so those were done first and you may have seen them in the “Headlining” blog post. Basically these are just a matching pair of trapezium shaped boards varnished to protect them from any water ingress and with handles and a padlock hasp fitted. There is an additional strip of plywood glued along the top of each board to waterproof the un-sealed butt joint between the two and another to do the same job by fitting inside the sliding hatch.
Making them out of marine ply certainly showed up the differences as I only saw a couple of very small voids in the cut edges rather than big gaps needing filler as was the case for the original boards. All of the 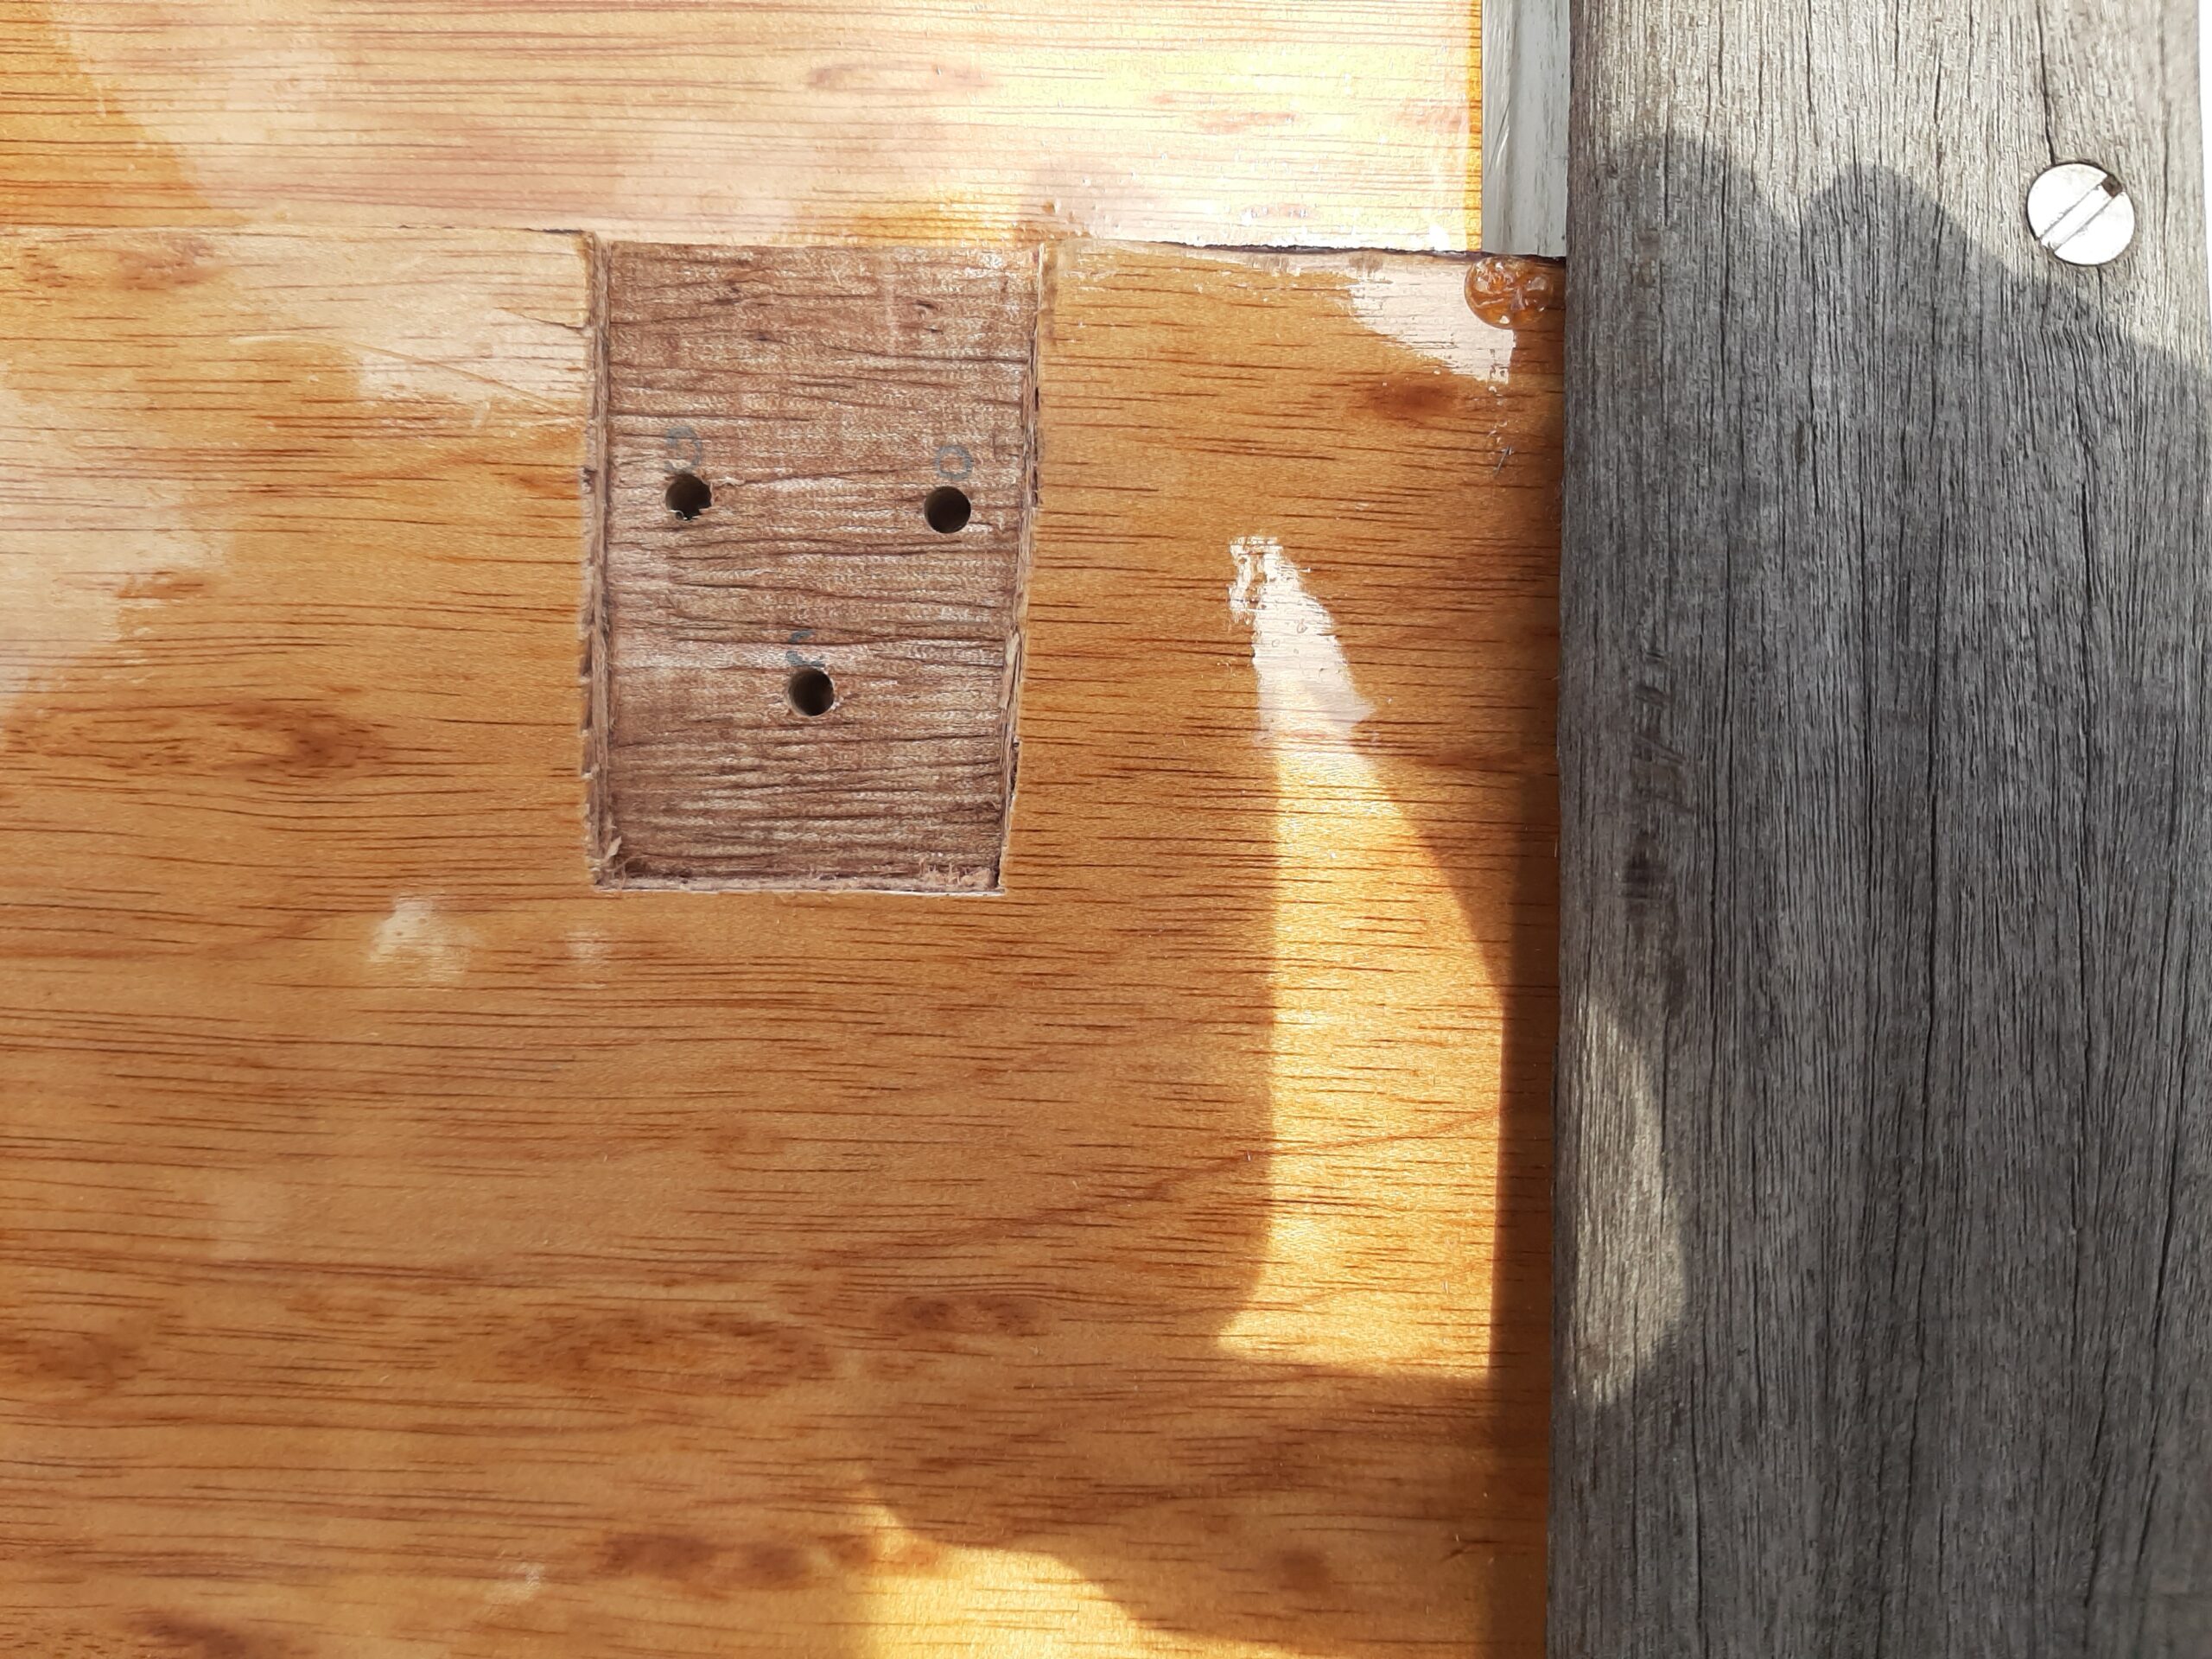 layers are close to the same thickness and it was also obvious when cutting the inset for the hasp that the glue is stronger than the wood this time.
The two boards have had four or five coats of varnish and from now on will get at least another one each year.
As time goes on I might have another try at these as the angle of the cabin wall means there is a nice water trap which maximises the exposure of the end grain in the edge of the plywood. The correct angles on a pair of triangular stripwood pieces should make the water drain out from the join line rather than in.
 As with the original versions of the locker lids, I have protected the cut edges of the plywood by attaching strip wood so there is no opportunity for end grain of the veneers to be exposed. This time round I used oak strips and have glued the whole assembly together using special oak & teak compatible epoxy glue. The overall design might help stopping water getting into the boat as there is a drain gutter in the fibreglass moulding all around the locker openings. The 10mm x 25 mm front and edge pieces protrude below
 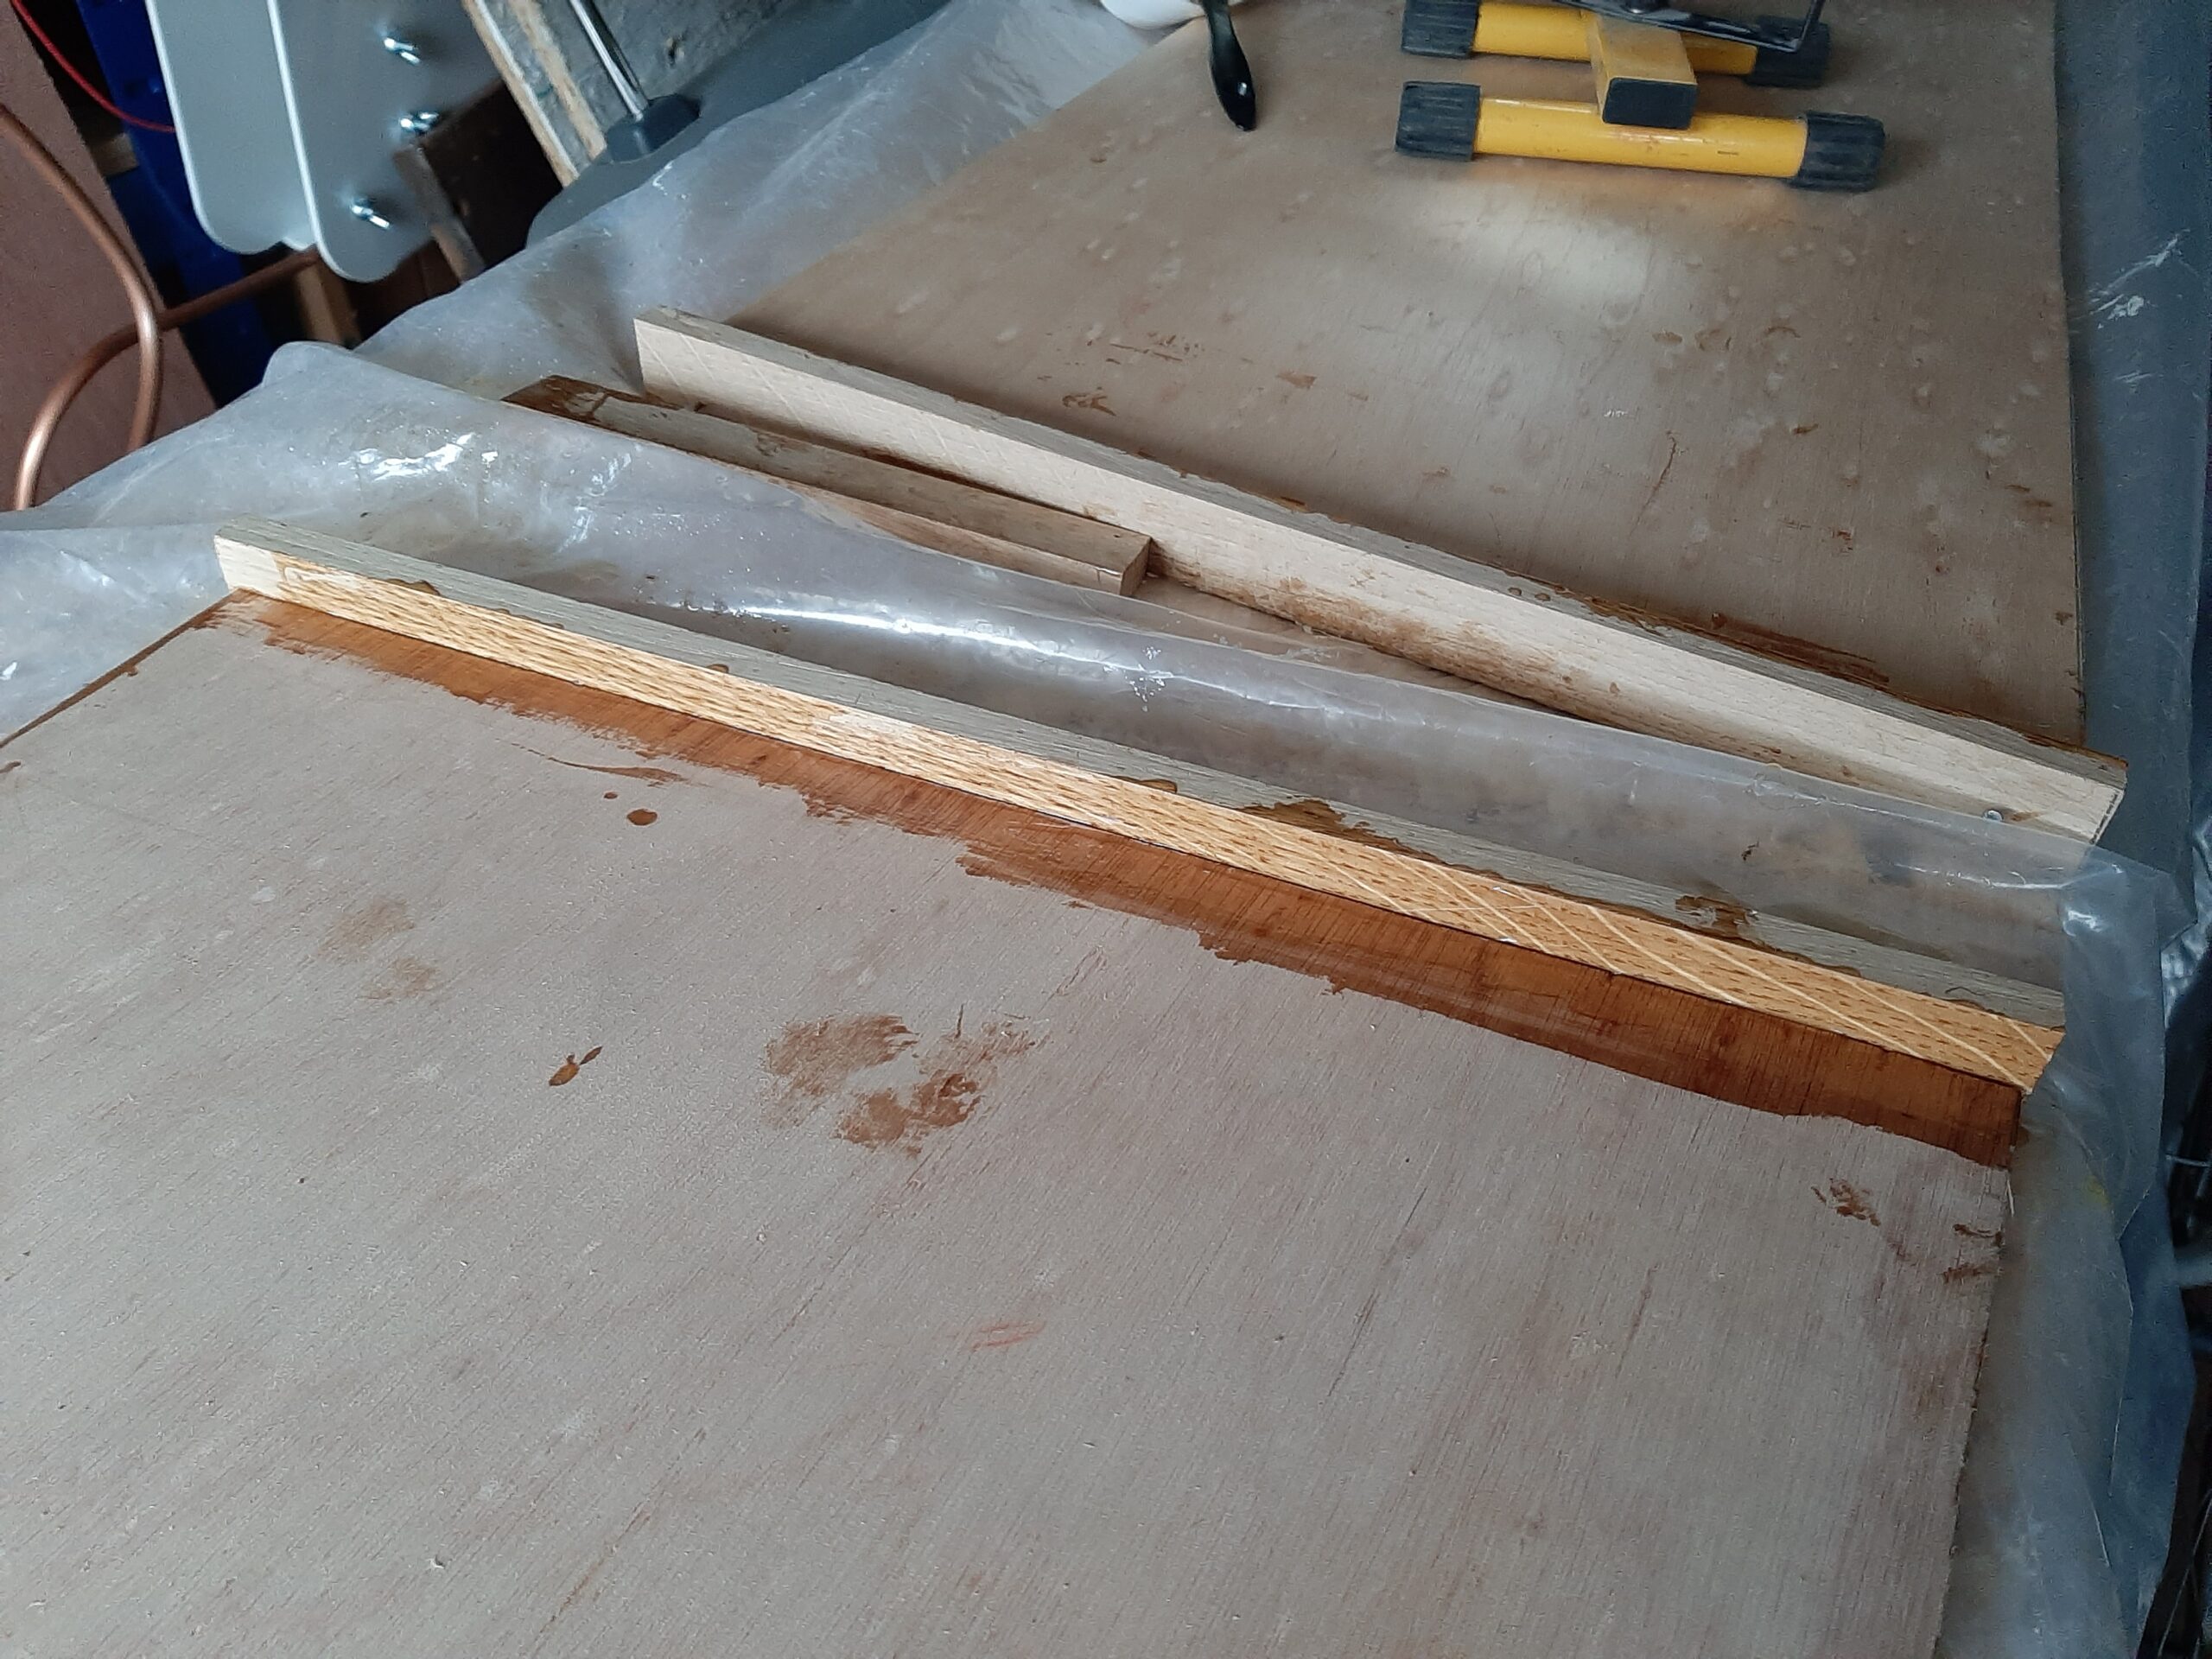 the bottom surface of the lid and into that gutter so any stray
 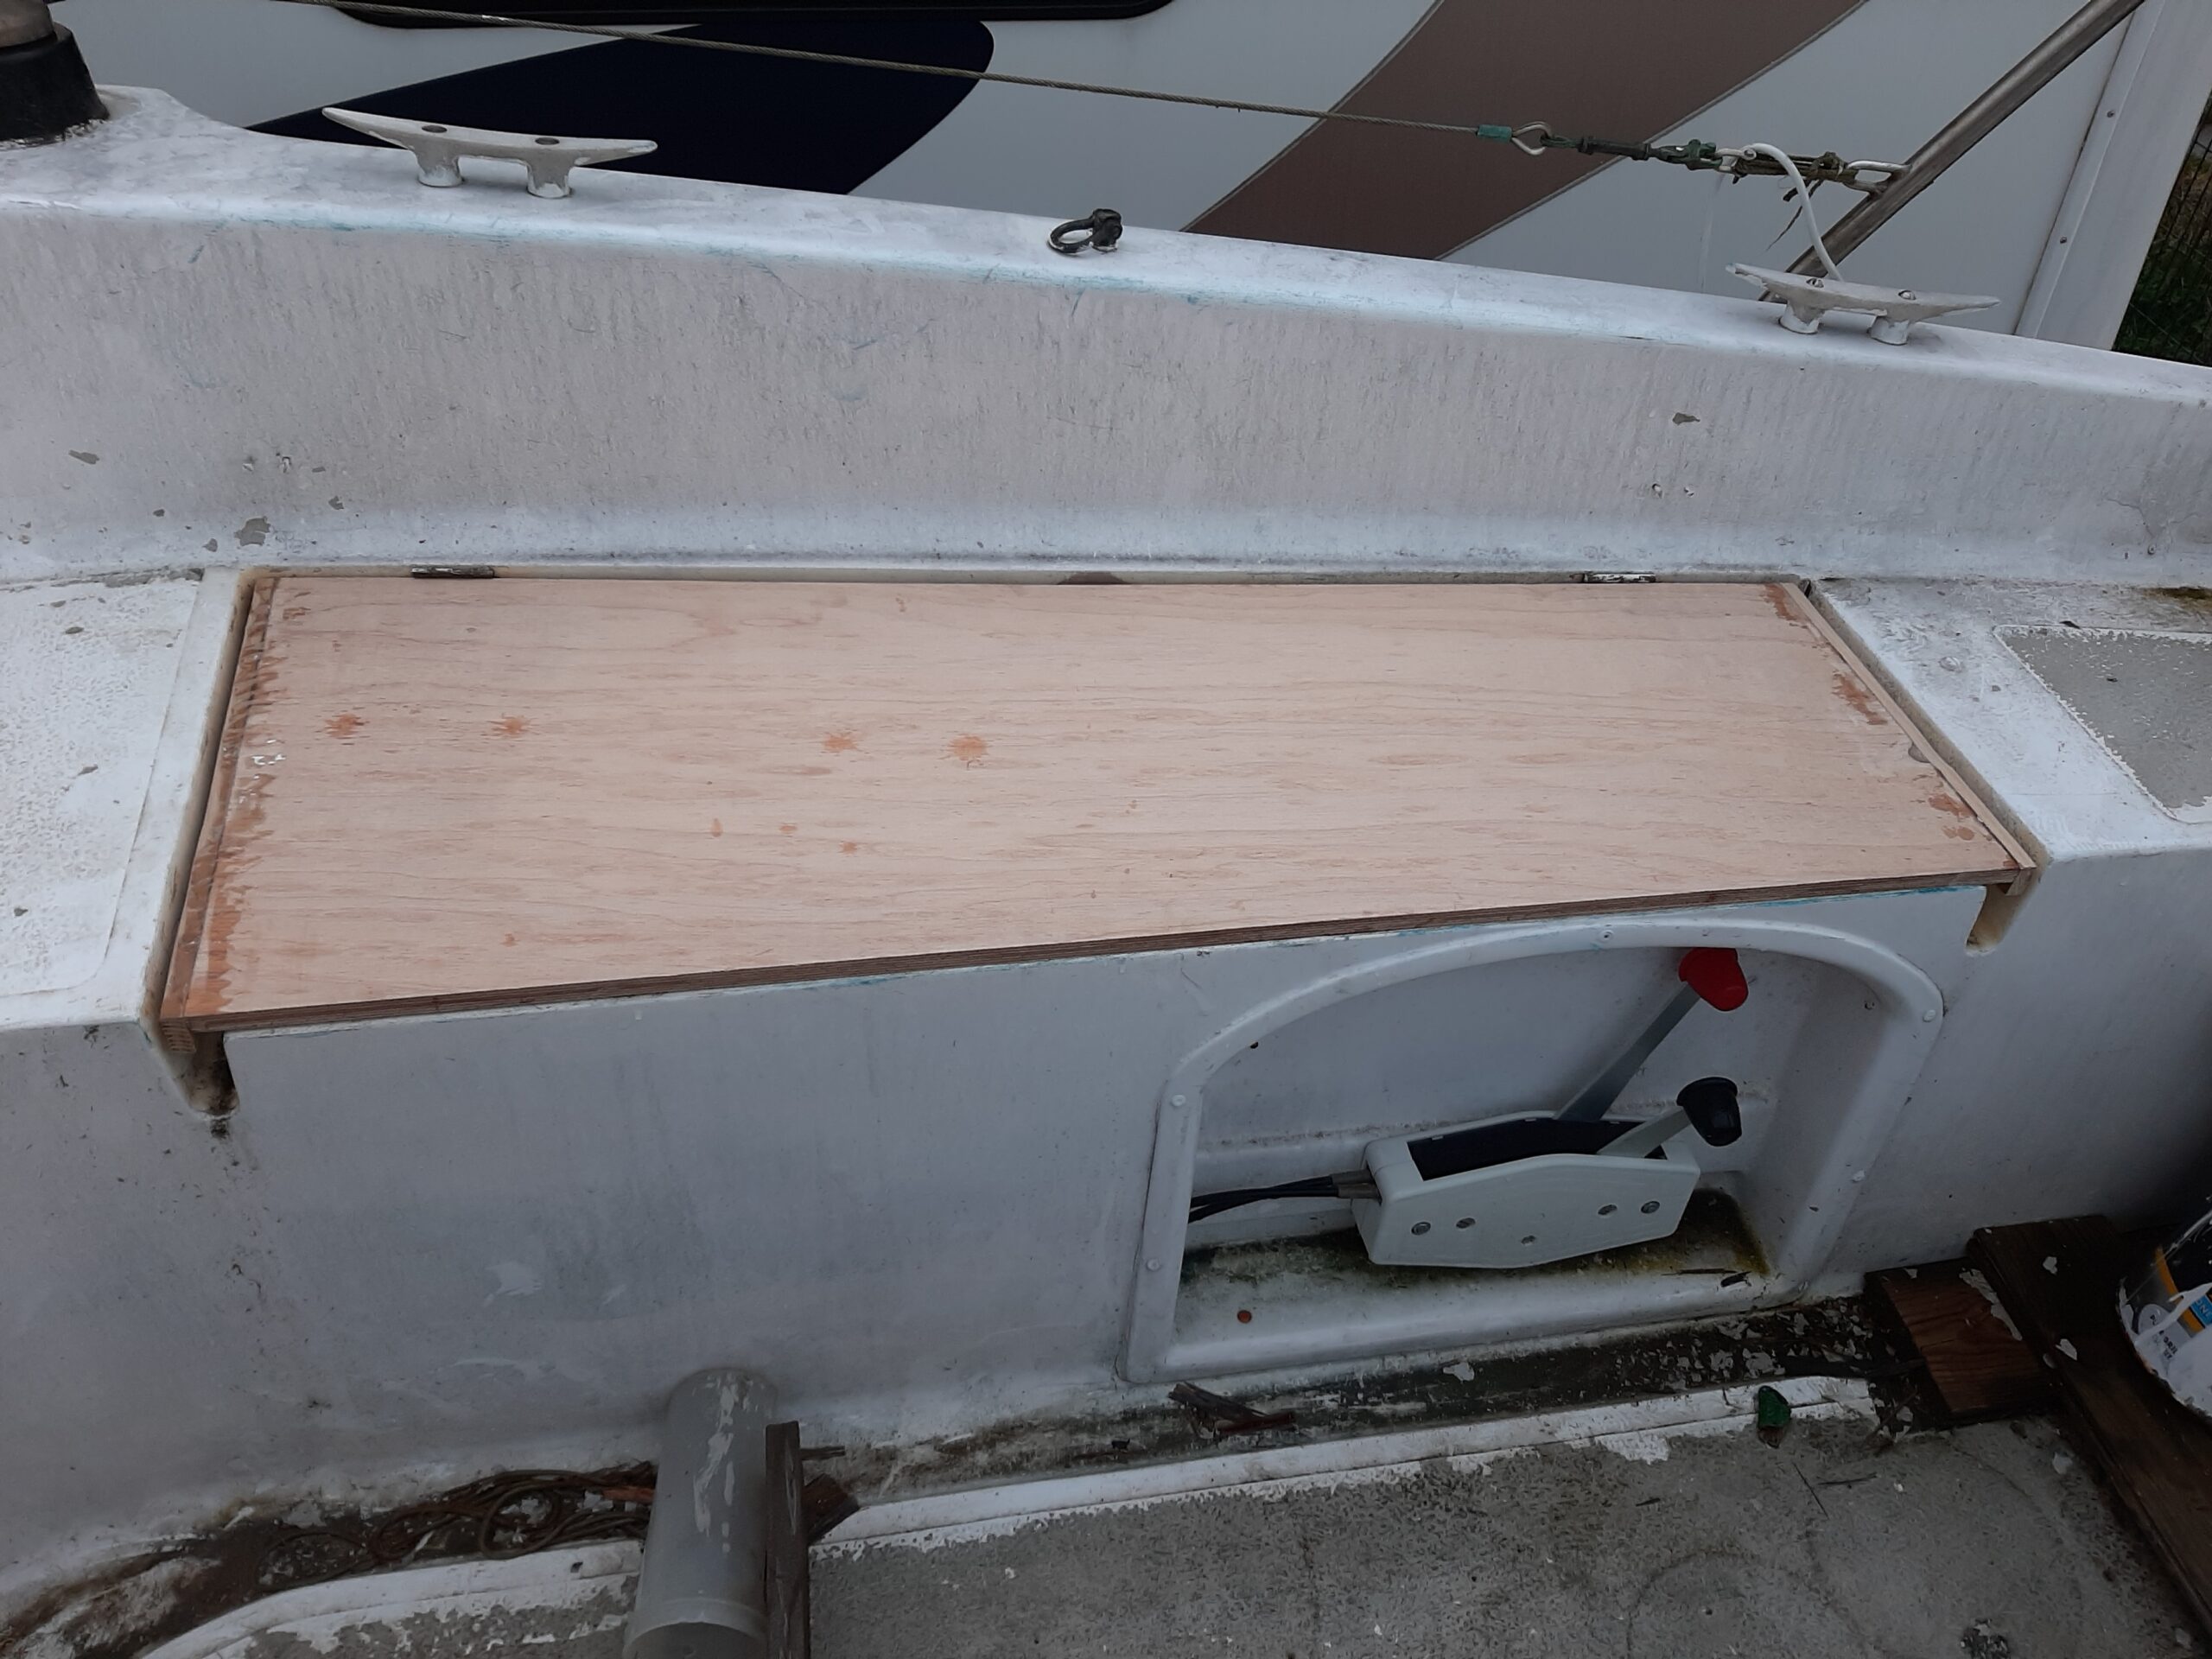 spray or rain water will drip into the channel rather than being able to flow around the edges and creep across the underside into the locker. I will also glue butyl rubber strips (made from off-cuts from our conservatory roof project) on top of the fibreglass to act as a gasket and help stop capillary action drawing water in.
The hinge screws proved rather unreliable when put into the edge of 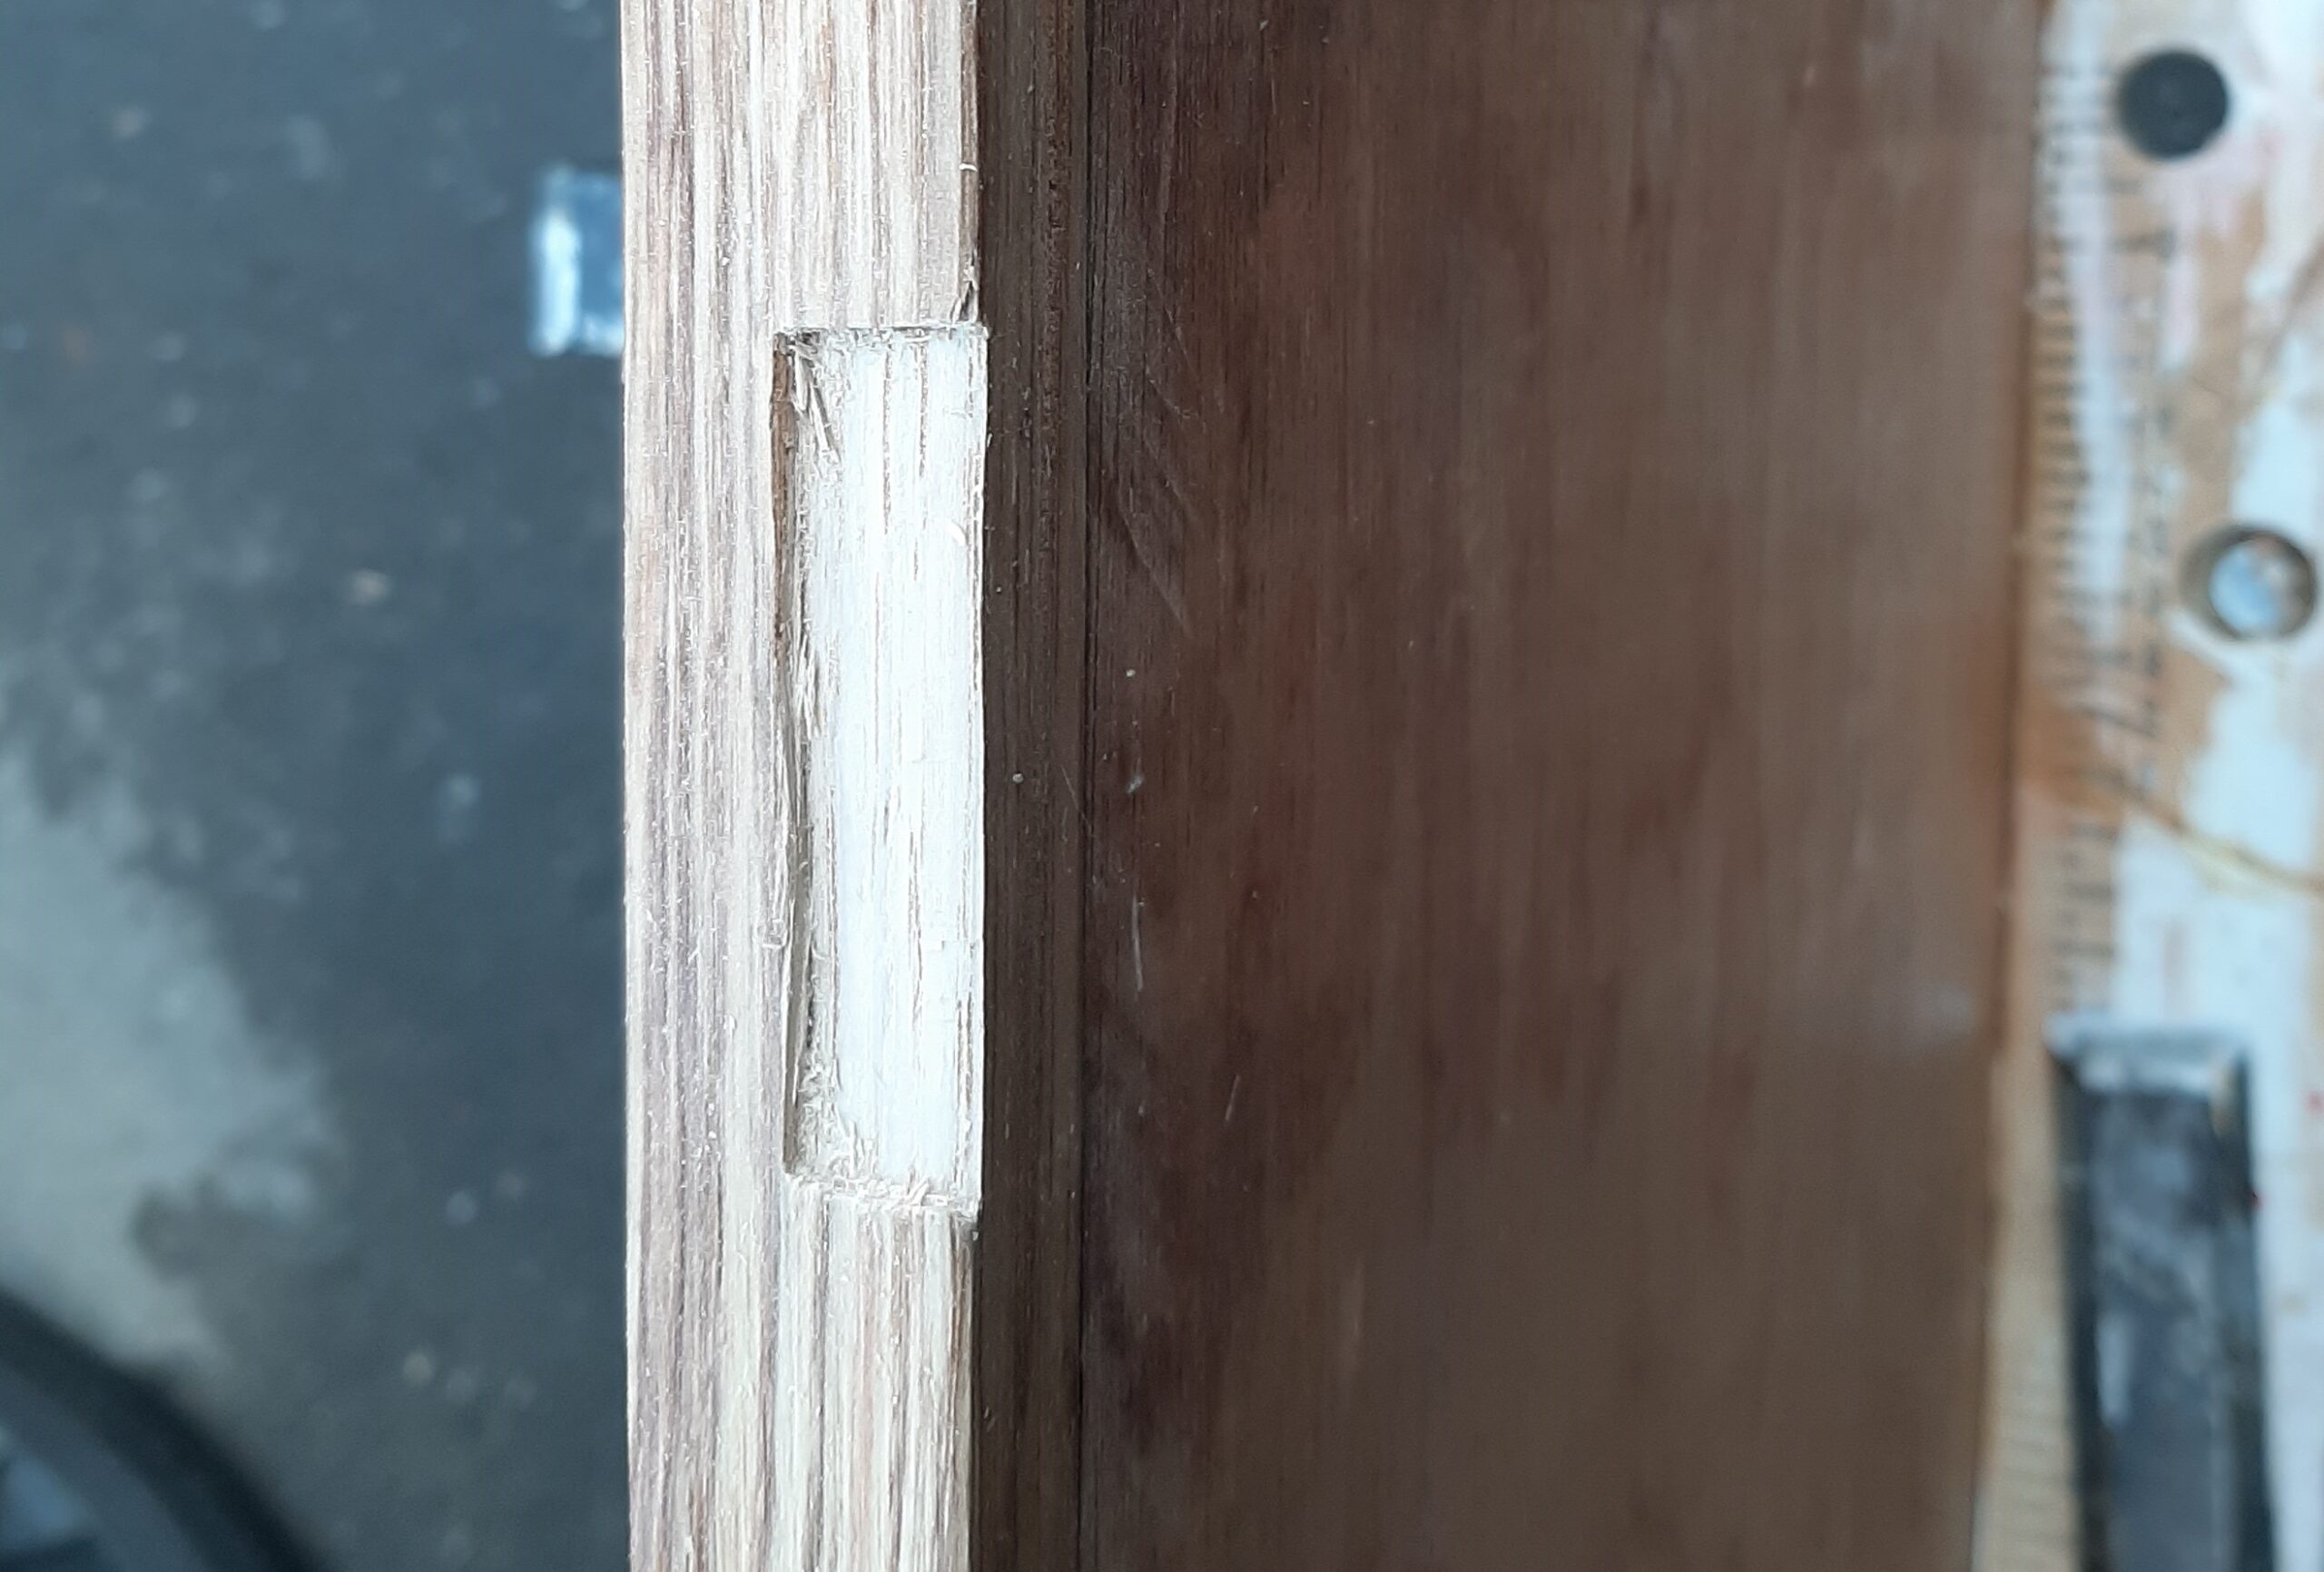 the previous plywood, therefore that edge has been reinforced with 15mm x 20mm oak strip. It was such a pleasure to do woodwork on oak rather than easily splintered softer wood that I rebated the strips to allow the surface of the brass hinges to be flush with the finished surface. The hinge strip had to be
 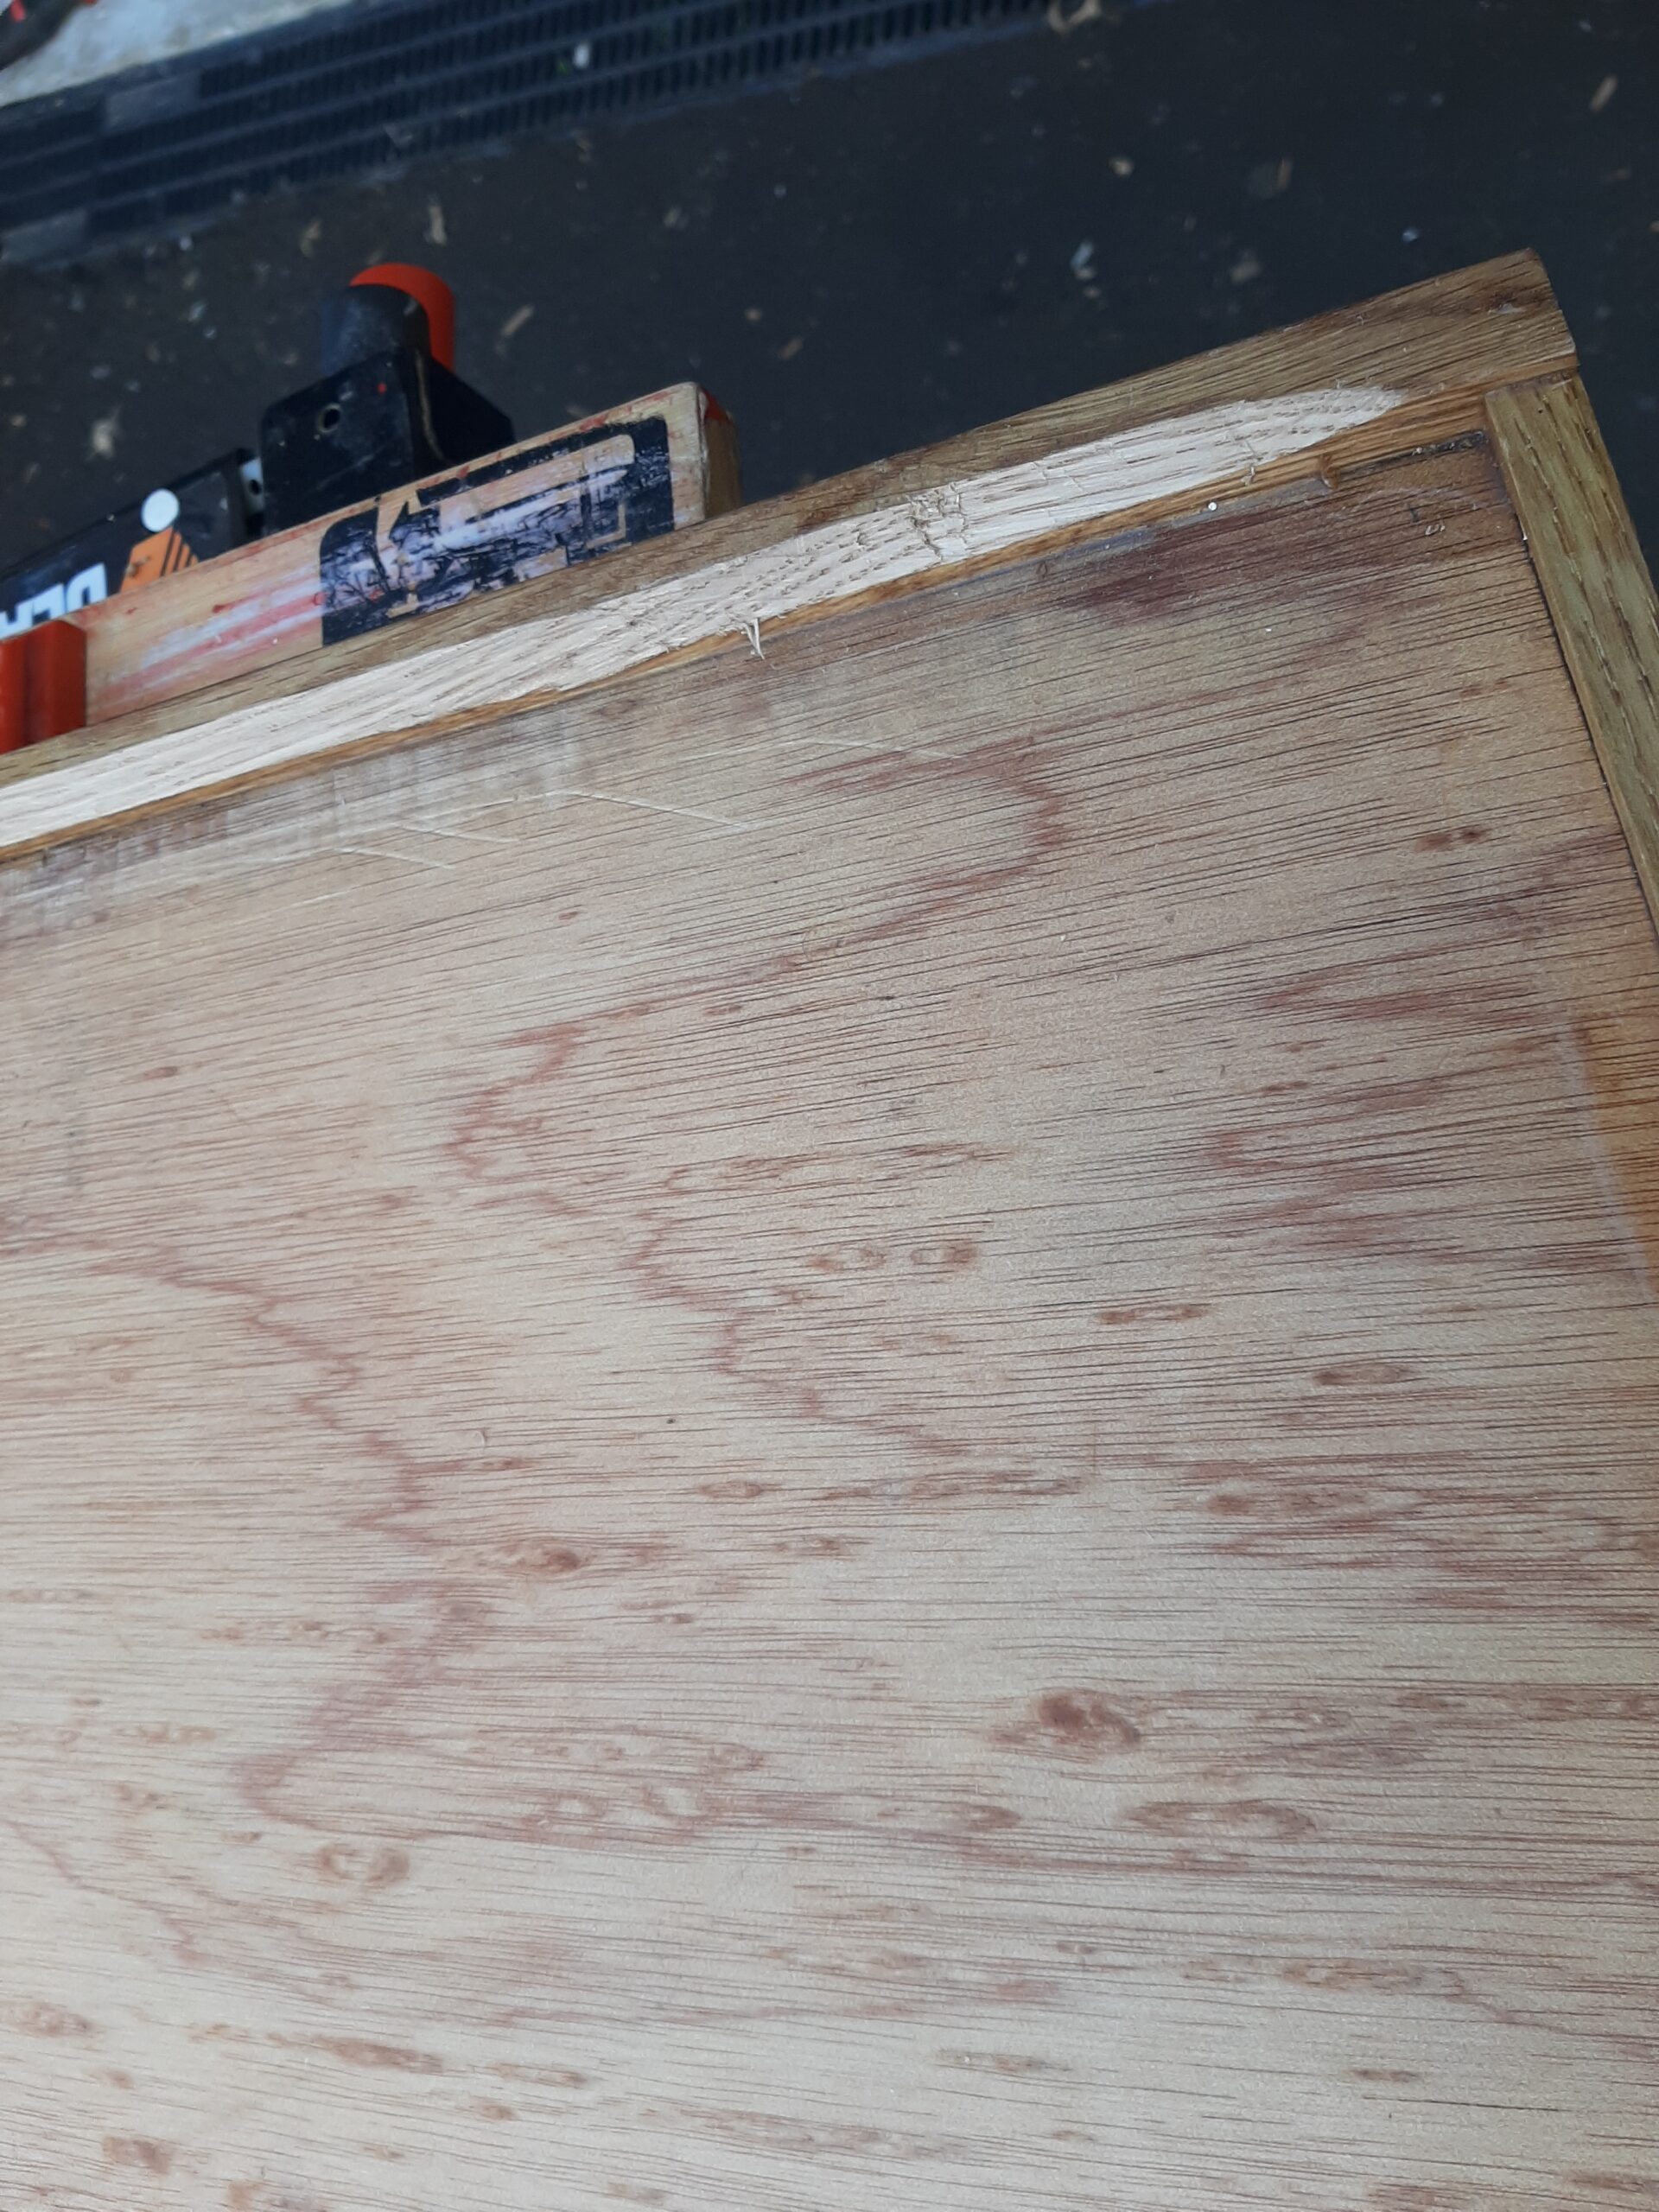 chamfered a little to allow the edge to clear the inside face of the gutter in the fibreglass and allow the lid to open but that was simple enough to achieve with a well sharpened chisel and the block plane.
The first layer of finishing has been done with clear penetrating epoxy resin, as the name implies this soaks into the wood and will bond chemically with the wood fibres to further waterproof the wood and is supposed to accept varnish well. 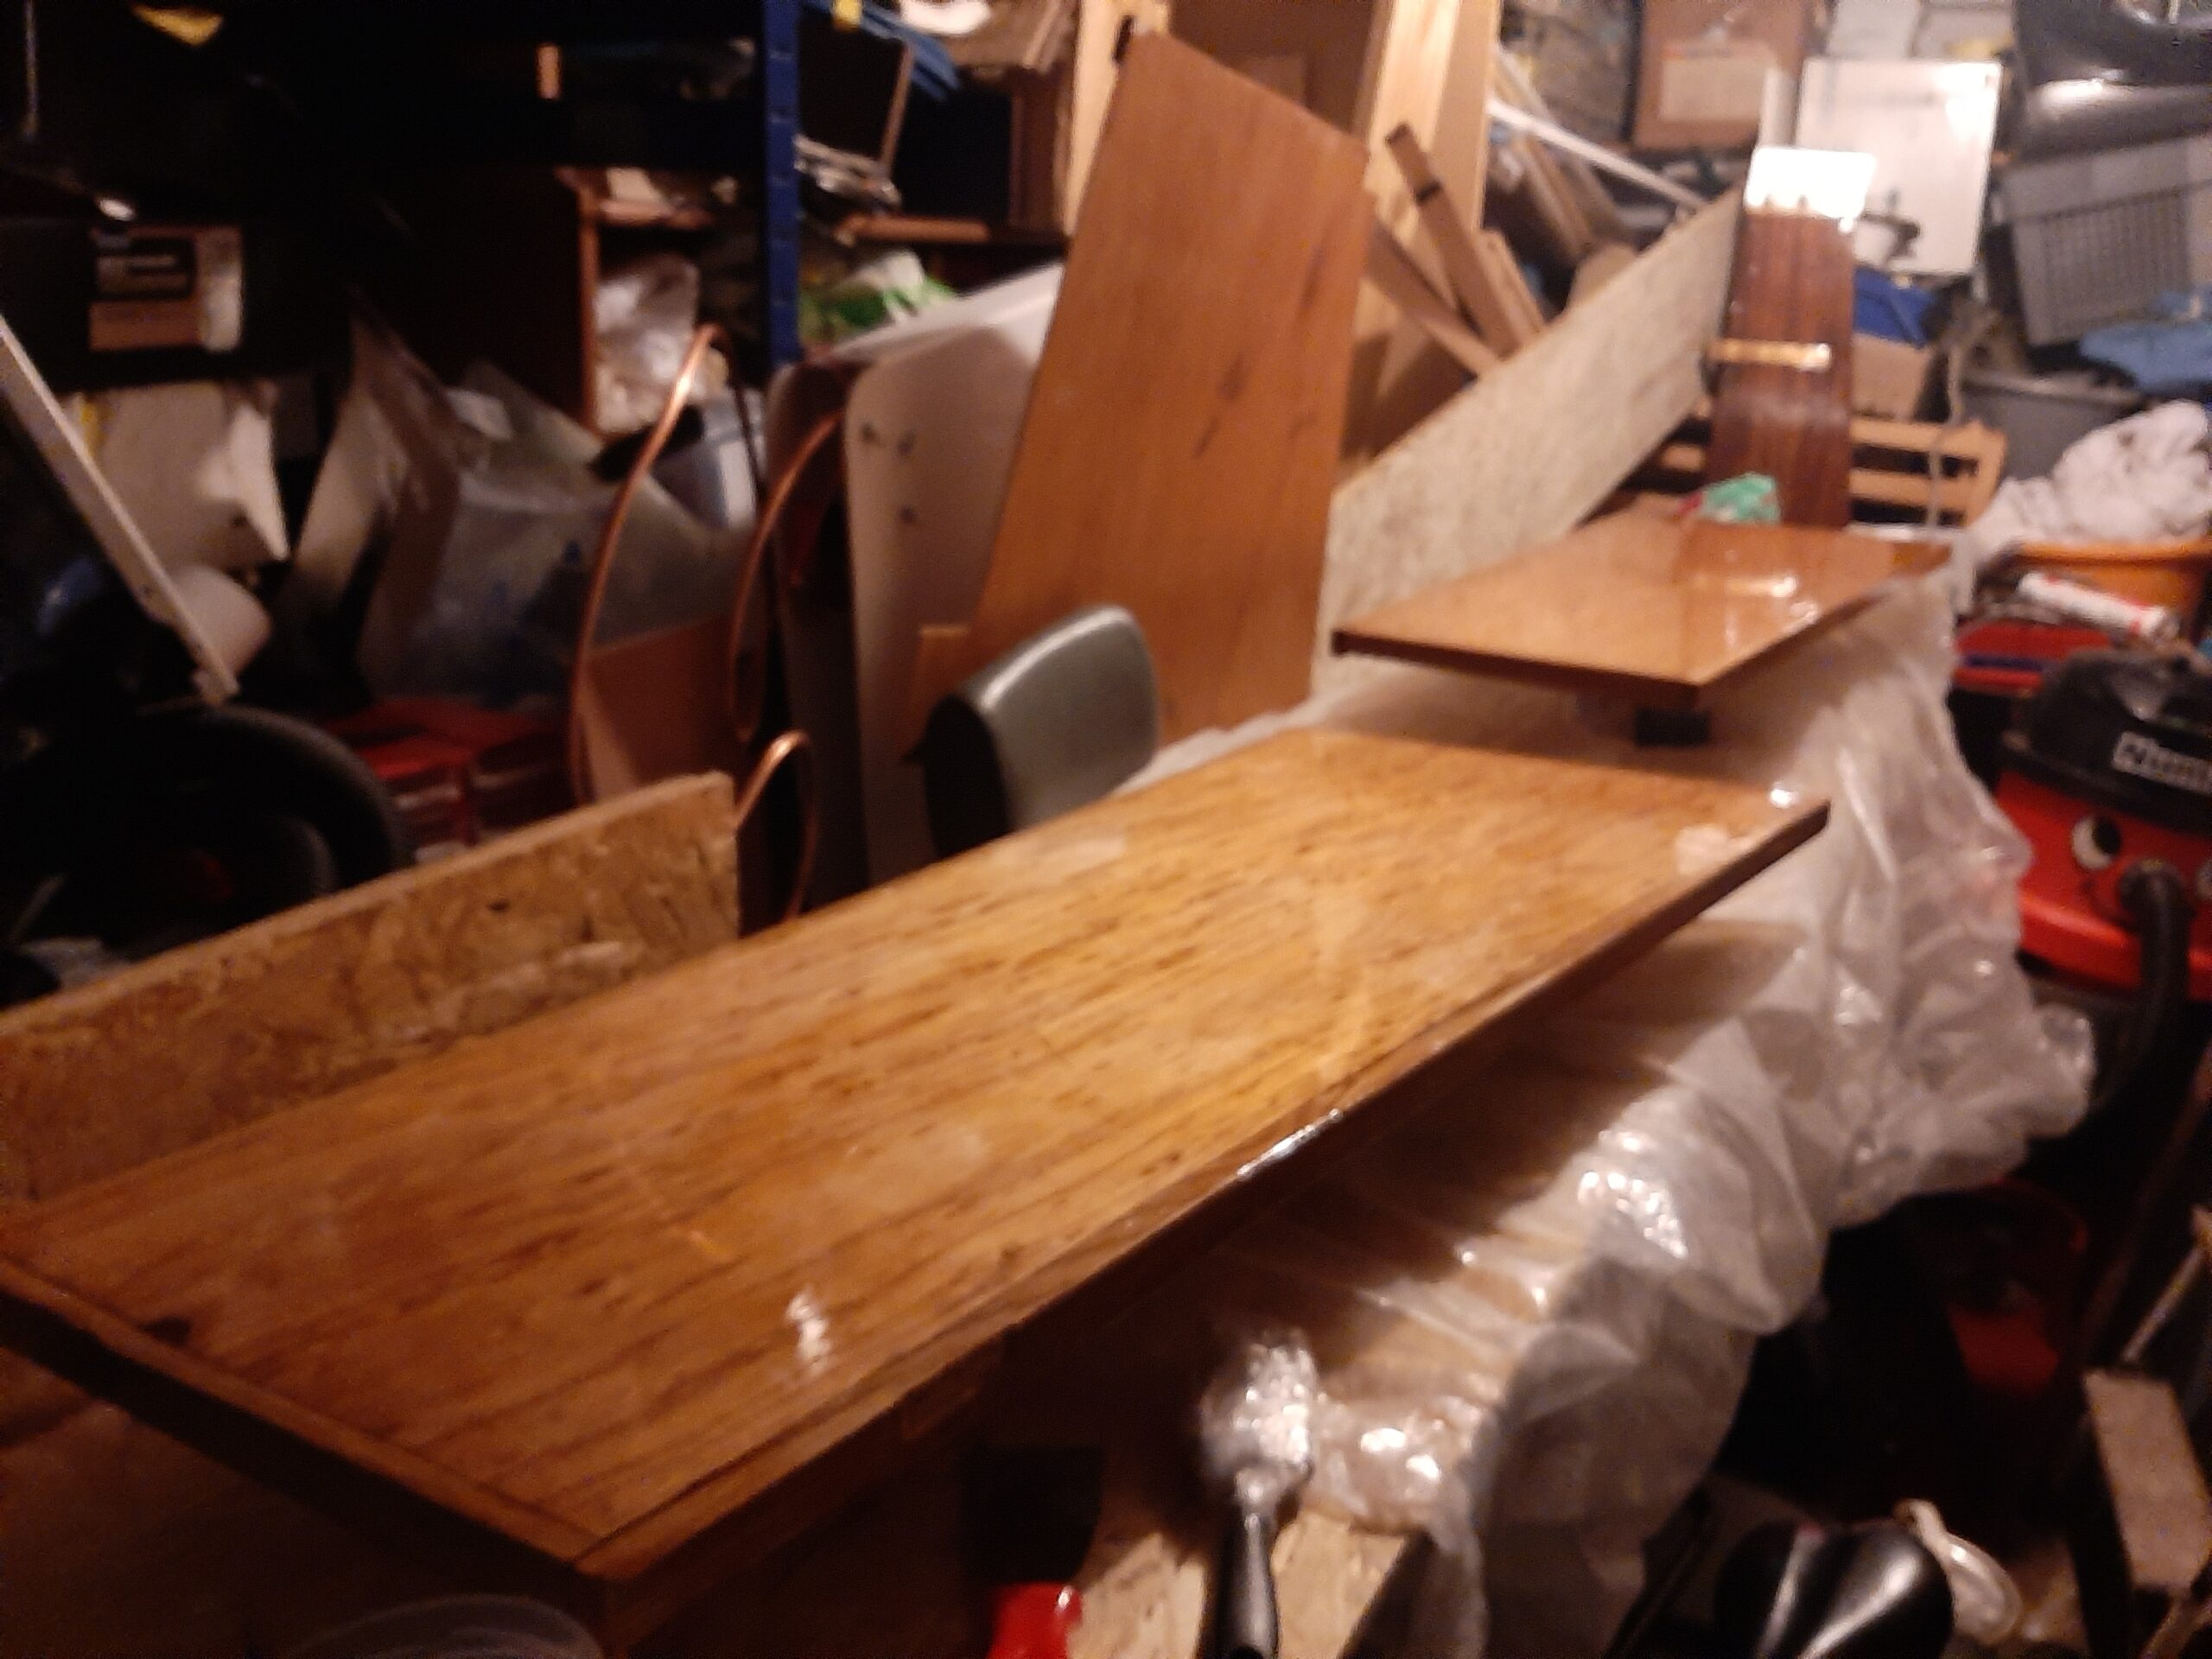 So far the first coat of varnish seems to be excellent but we will see how reliable this finishing scheme proves to be in the long term.
The plan for next month obviously depends on the weather and rules once we are released from the current COVID lockdown. As well as finishing another 3 or 4 coats of varnish on the locker lids, I hope to make progress with fitting the port headlining and also sanding & painting the hull below the water line but will be able to sort out new sail and cockpit covers if travel is not allowed or the weather is not suitable for outdoor work.