It was only my “Father’s Day” present this year that made me start thinking seriously about the challenges of doing any sort of navigation, pilotage or log keeping on a small boat. Can you realistically achieve anything in the cockpit? What about the saloon table ?
Do I have a solution ? – Well I am trying. There is a convenient bit of space above the single berth alongside the open storage shelf and I am trying to put a minimal size retractable chart table in that space. There is not really much of a specification for this because I am developing the idea as I go along but I aim to be able to leave a folio size chart on the table and slide it out of the way when not actively using it.  This sketch is as close as I have got to having a plan.
In the stowed position the table can also make use of a bit of space between the “Ice box” and the hull so there is a small space to keep navigation accessories and, if I can avoid blocking access to the open storage, then almanacs etc can be located there. For this to work the actual chart table has to slide out further than is possible with any set of drawer runners that I have found so there is a double action solution being used – The table slides out of an intermediate carrier which in turn slides out of the under deck space. I am not entirely sure whether or not the double slider idea will be robust enough but I think that I can add some support at the fully extended position by having a bracket near the galley that the open table can engage with.
29/6/22 Starting to get the plywood cut into shape. I am using one of the sheets of 10mm ply that came out of a railway layout so there will be a bit of sanding to do to get an even colour finish but that doesnt really matter at the moment. The desk part has an L shape to fit round the molded in ice box that is located in the starboard cockpit locker.
So here are the two pieces of plywood roughed out and ready for more design decisions. At this stage I was thinking about having blocks glued to both plywood parts to attach the sliders onto but it didnt take long to realise that I needed something a little less high.
1st & 2nd July attaching the oak strip wood edges onto the desk part of the construction. There are rather a lot of clamps in use for this part as the oak is only about 8mm thick and I am not comfortable with trying to screw these parts together.

The rear strip is rather important in the construction as I have now decided to attach the slider mechanism at the back onto this strip so the gap between the two pieces of plywood will be the same as the thickness of the sliders. There will then be a vertically orientated slider at the back and a horizontal one at the front. 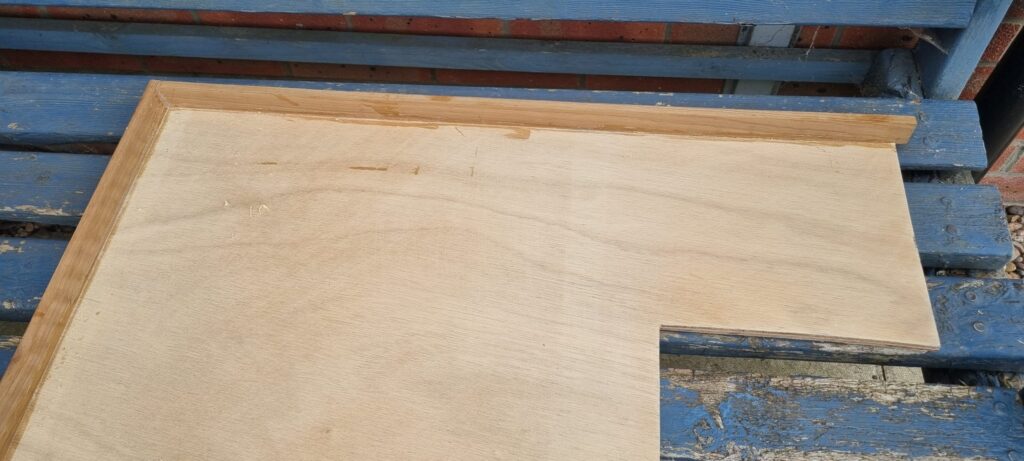
I am also working on attaching a strip of plywood above the slider section to be the other side of the rear slider mechanism. Obviously that needs to be vertical so I am clamping it to a block while the glue sets (Cling film is a useful woodworking tool when you dont want leaking glue sticking things together!). By the evening it was all coming together and two sliders were temporarily installed as a proof of concept for that area of the construction.
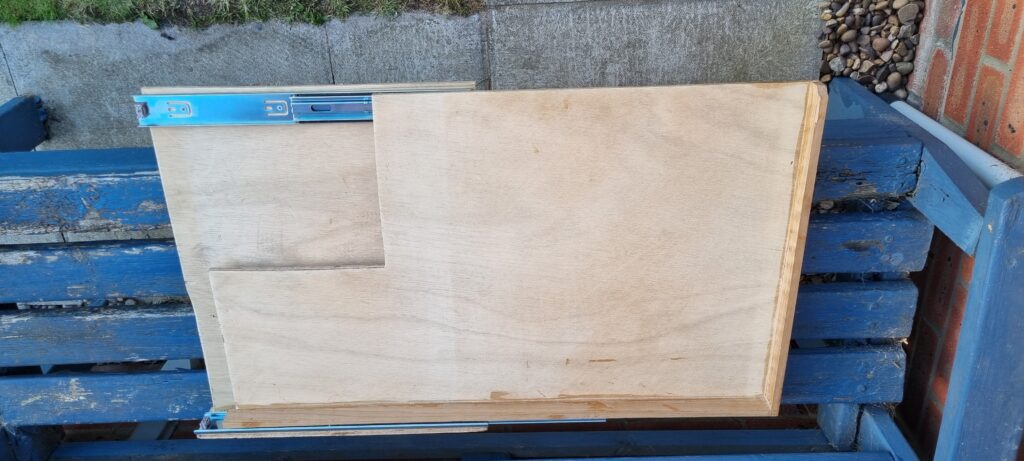
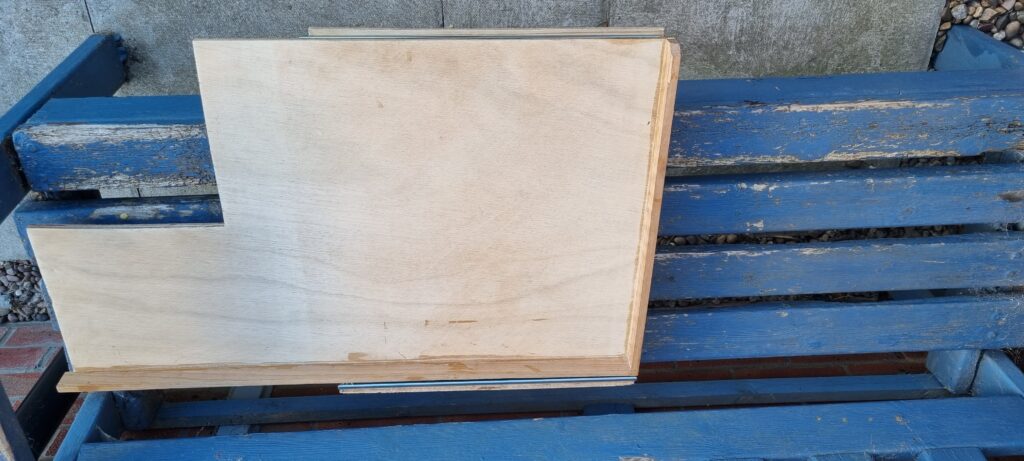
Next step was to measure the angles so that I can shape and then mount a block underneath the middle section so it can slide on the wooden fronts of the open lockers. The measuring was achieved by marking the wood and fiberglass sections of the lockers onto two pieces of paper and then reconstructing the angles at home. O ne paper has the angles and dimensions linking the deck underside with the diagonal fiberglass section, the other sheet links that section to the wooden batten. The final effect was to give me the angle between the face of the locker front and the deck above as that is the angle I had to plane onto the wooden block. This was then glued underneath the intermediate plywood structure.
Next steps were to glue on the remaining stripwood structure which provides edges for the navigation equipment area. Then sand everything and give all the components the usual 3 or 4 coats of varnish on each side. Always seems like that part of the job takes an absolute age to achieve.
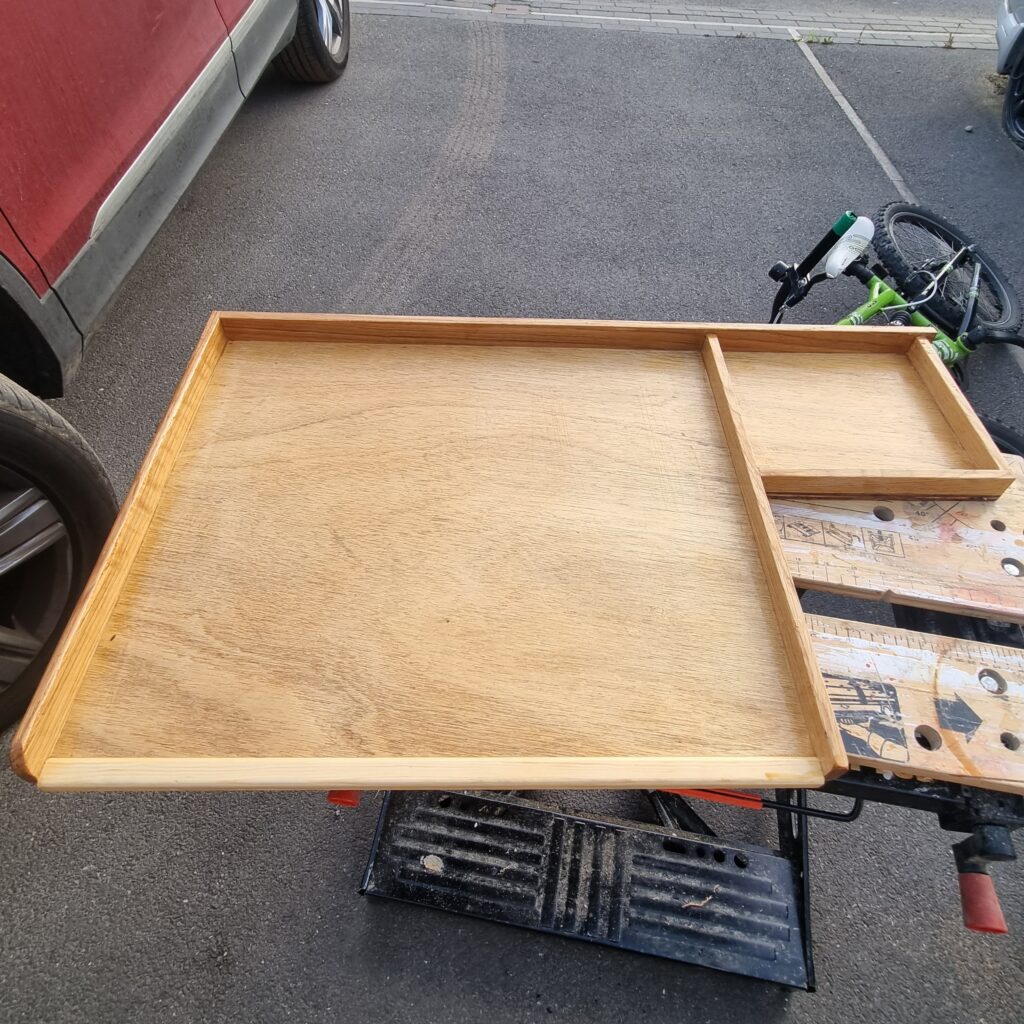
28/7/22 Testing day. I put the sliding mechanisms back on the pieces and assembled it before setting off to work. After tea I managed to get some time to go to the boat and try it out. Opens out as far as I had hoped it might. there is possibly a little more than the ideal amount of slump in the slides – You probably wouldnt notice it with one set controlling a drawer but I am deliberately looking for potential failures in the design. So I will go with the idea of having a block that it rests on when fully open . 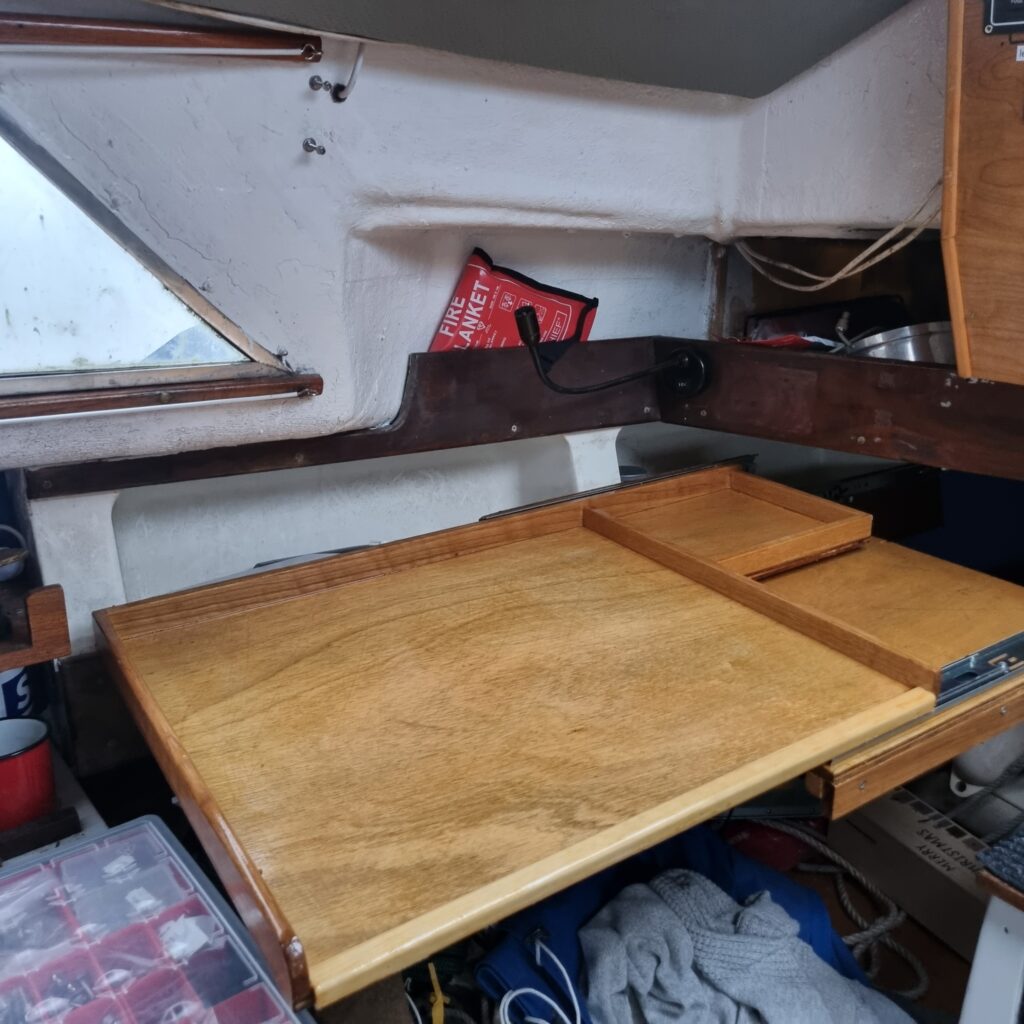
There is also one very slight problem from all the decisions being “make it up as you go along”, The working top has moved towards the centreline by about 1.5cm which means it now hits the molded in ice box when I try to stow it away completely. So now there is a job for tomorrow.
29/7/22 Sawed off the excess plywood from the desk and the end bracket before setting off to work. Didnt get away particularly early in the evening but made it to storage at 9:10 with just enough time to be able to check the desk now clears the ice box before the access locks at 10:00. With that done the nav station slides under the deck nicely . I am not sure how well it will work with larger charts but I will at least have somewhere dedicated to navigation without having to use the cabin table at difficult times. You may notice that I already have the red / white LED chart table light mounted and wired up.
So now I need to mount the bracket on the inner edge of the lower structure and install the other sliding mechanism.
30/7/22 After a little sanding and scraping to remove varnish and glue I have trimmed the original piece of framing and glued it back in place on the desk. That is setting as is the glue between the side attachment piece and the underside of the deck. There will be fiberglass reinforcing and a fair bit of varnishing to do to finish these items off but progress is being made.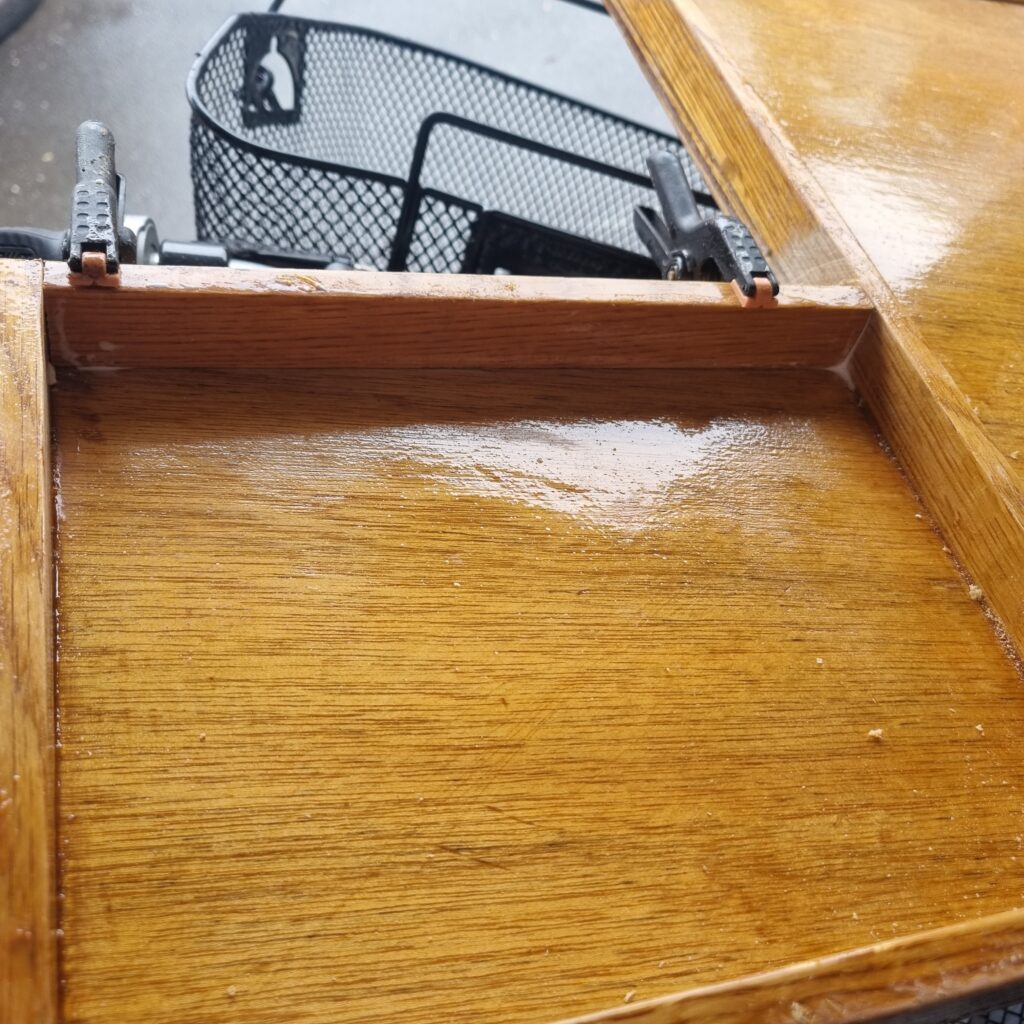
31/7/2022 Spent over two hours at the boat working on the mounting under the hatchway. Started by cleaning off all of the expanded glue then sanding the existing fiberglass to remove the paint and get a good surface which the resin and glass tape should stick to well.  Temperature was around 21 degrees so the polyester resin was setting quite quickly even with relatively low amounts of catalyst. I did three batches to add two layers of tape and then a final coverage to try to fill a couple of voids. There will need to be some tape added on the other side as well but this seems solid enough. A bit of clean-up and painting will be needed once the resin has fully cured.

The workstation slides in and out easily and should be large enough to be reasonably practical.
First published 29th July 2022