It’s hard to believe that it was May when I wrote the last blog post. The last few months seem to have vanished in a blur of trips to Aberystwyth to collect one daughter from university, trips to Norwich working on the other daughter’s house and time spent re(?)-decorating our son’s house ready to let it.
The trips to Norwich and Aberystwyth obviously involved being close to water although not actually on it. A couple of fairly long waterside walks made up for 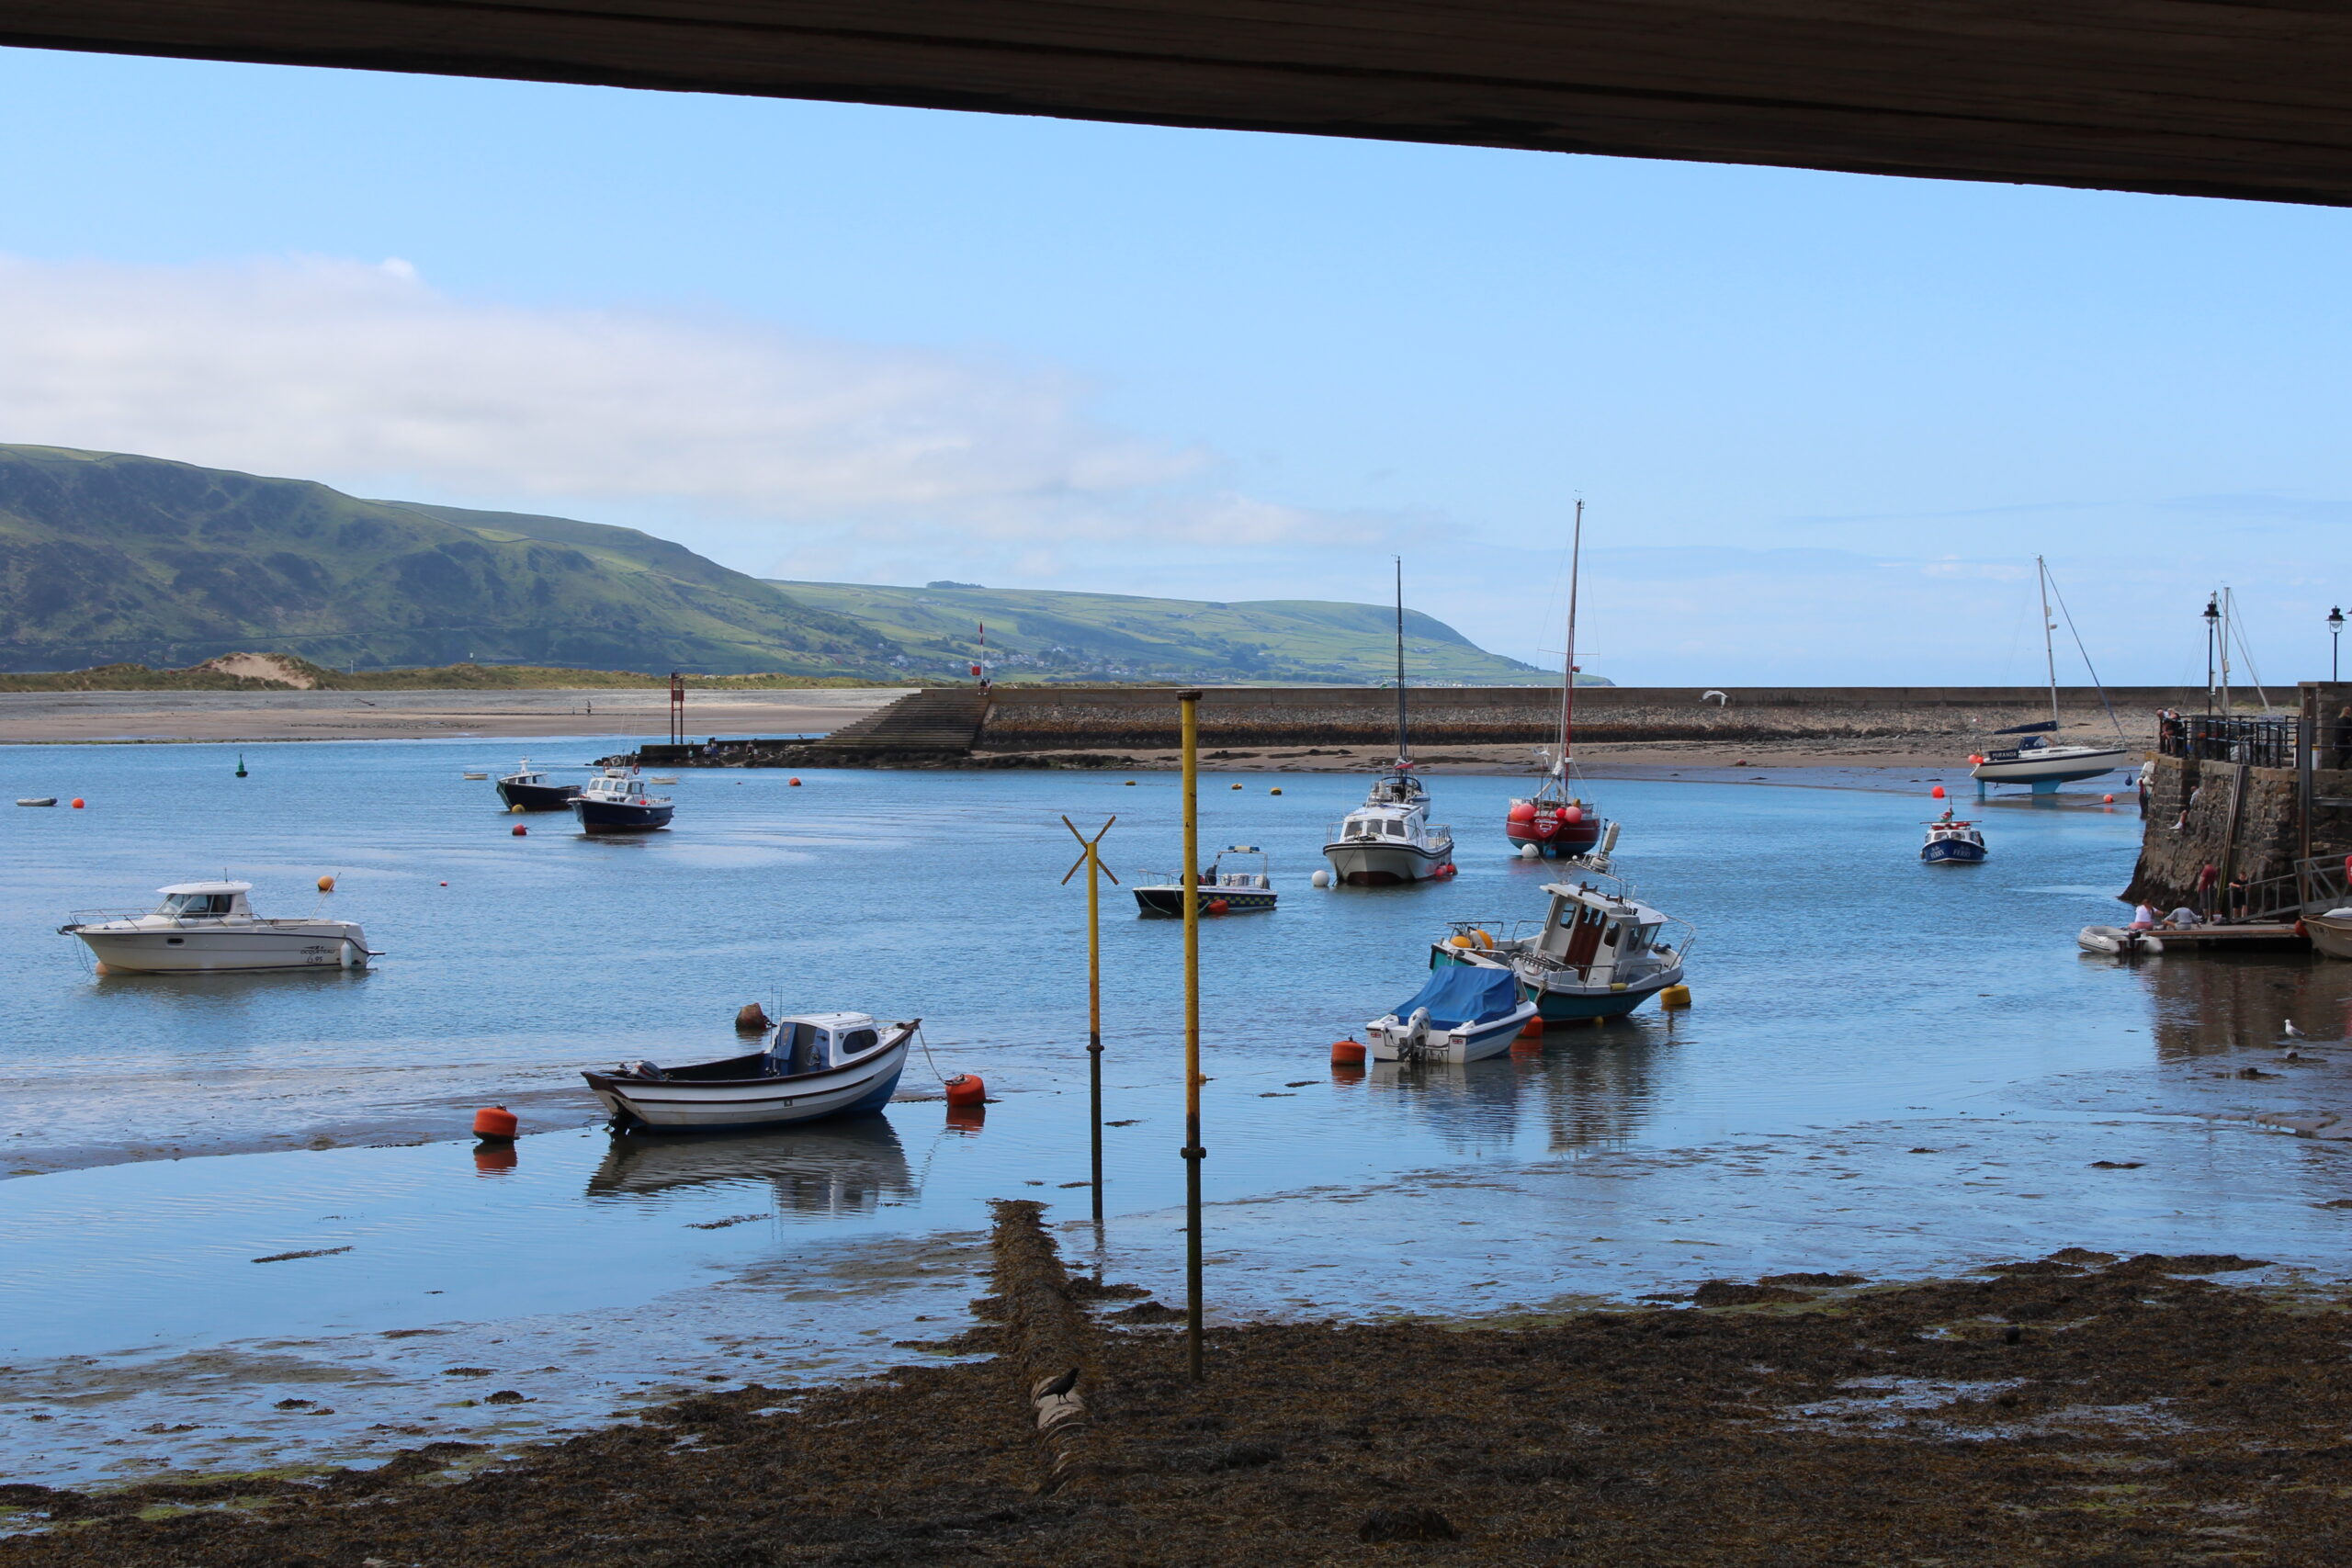
 that a little. Of course the boats in harbors at Aberdovey (Aber Dyfi to the locals) and Barmouth (Aber Maw) are much more my kind of thing. There were rather few boats due to Wales having only just let the
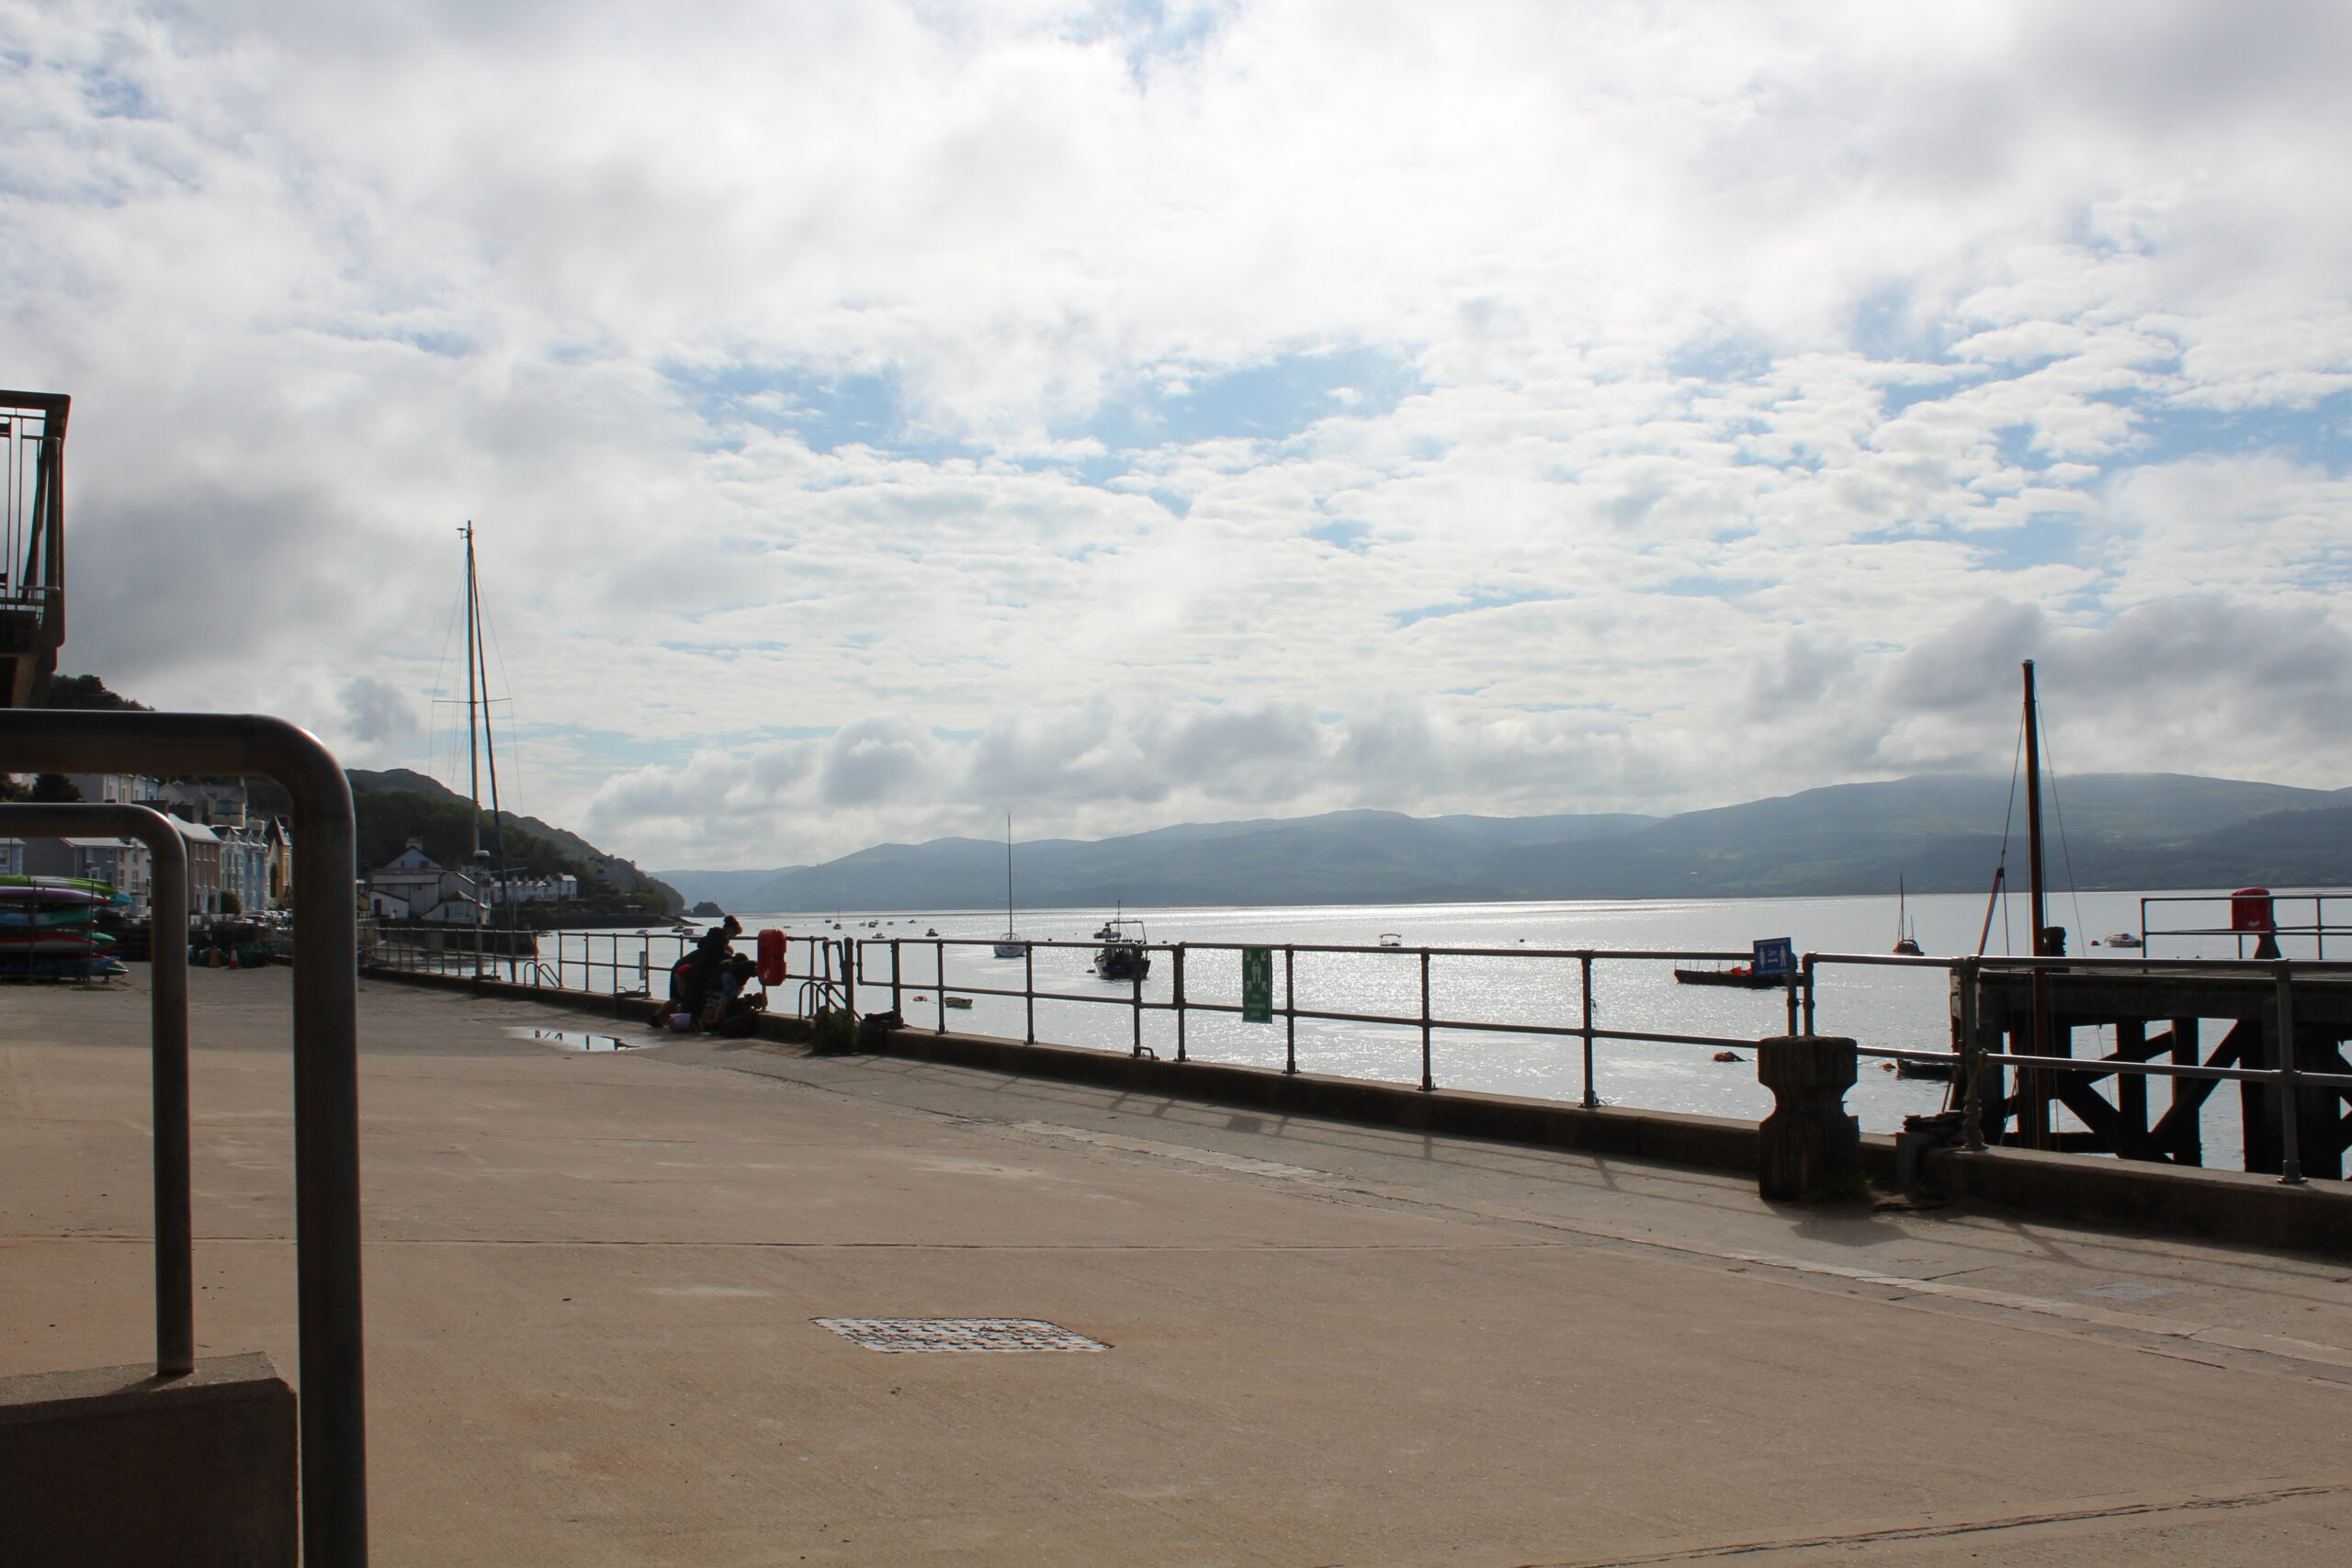
outside world back into their country when the Universities gave up online lectures, dished out marks and sent the students home (half vaccinated and with no prospects of a graduation ceremony until next year).
Anyway that’s enough of excuses for wasting weekends and evenings on other things, there is boat work to report!
Probably the biggest time consumer of the lot was the trailer. While I was working on the bilge keel I had noticed a crack in the welding which was supposed to attach the new cross beams onto the original trailer frame. Our generator is far too small to run either of the welders I have access to and there is no available electrical outlet at the storage site. So the only realistic way of repairing that weld was to take the trailer to the house again and work on the drive. In preparation for that 25 mile round trip I thought I should check the brakes and wheel bearings as the trailer has not moved for many months. That 5 minute job turned into a minor project in itself. The first (offside) wheel went OK but one of the studs broke off inside the nut w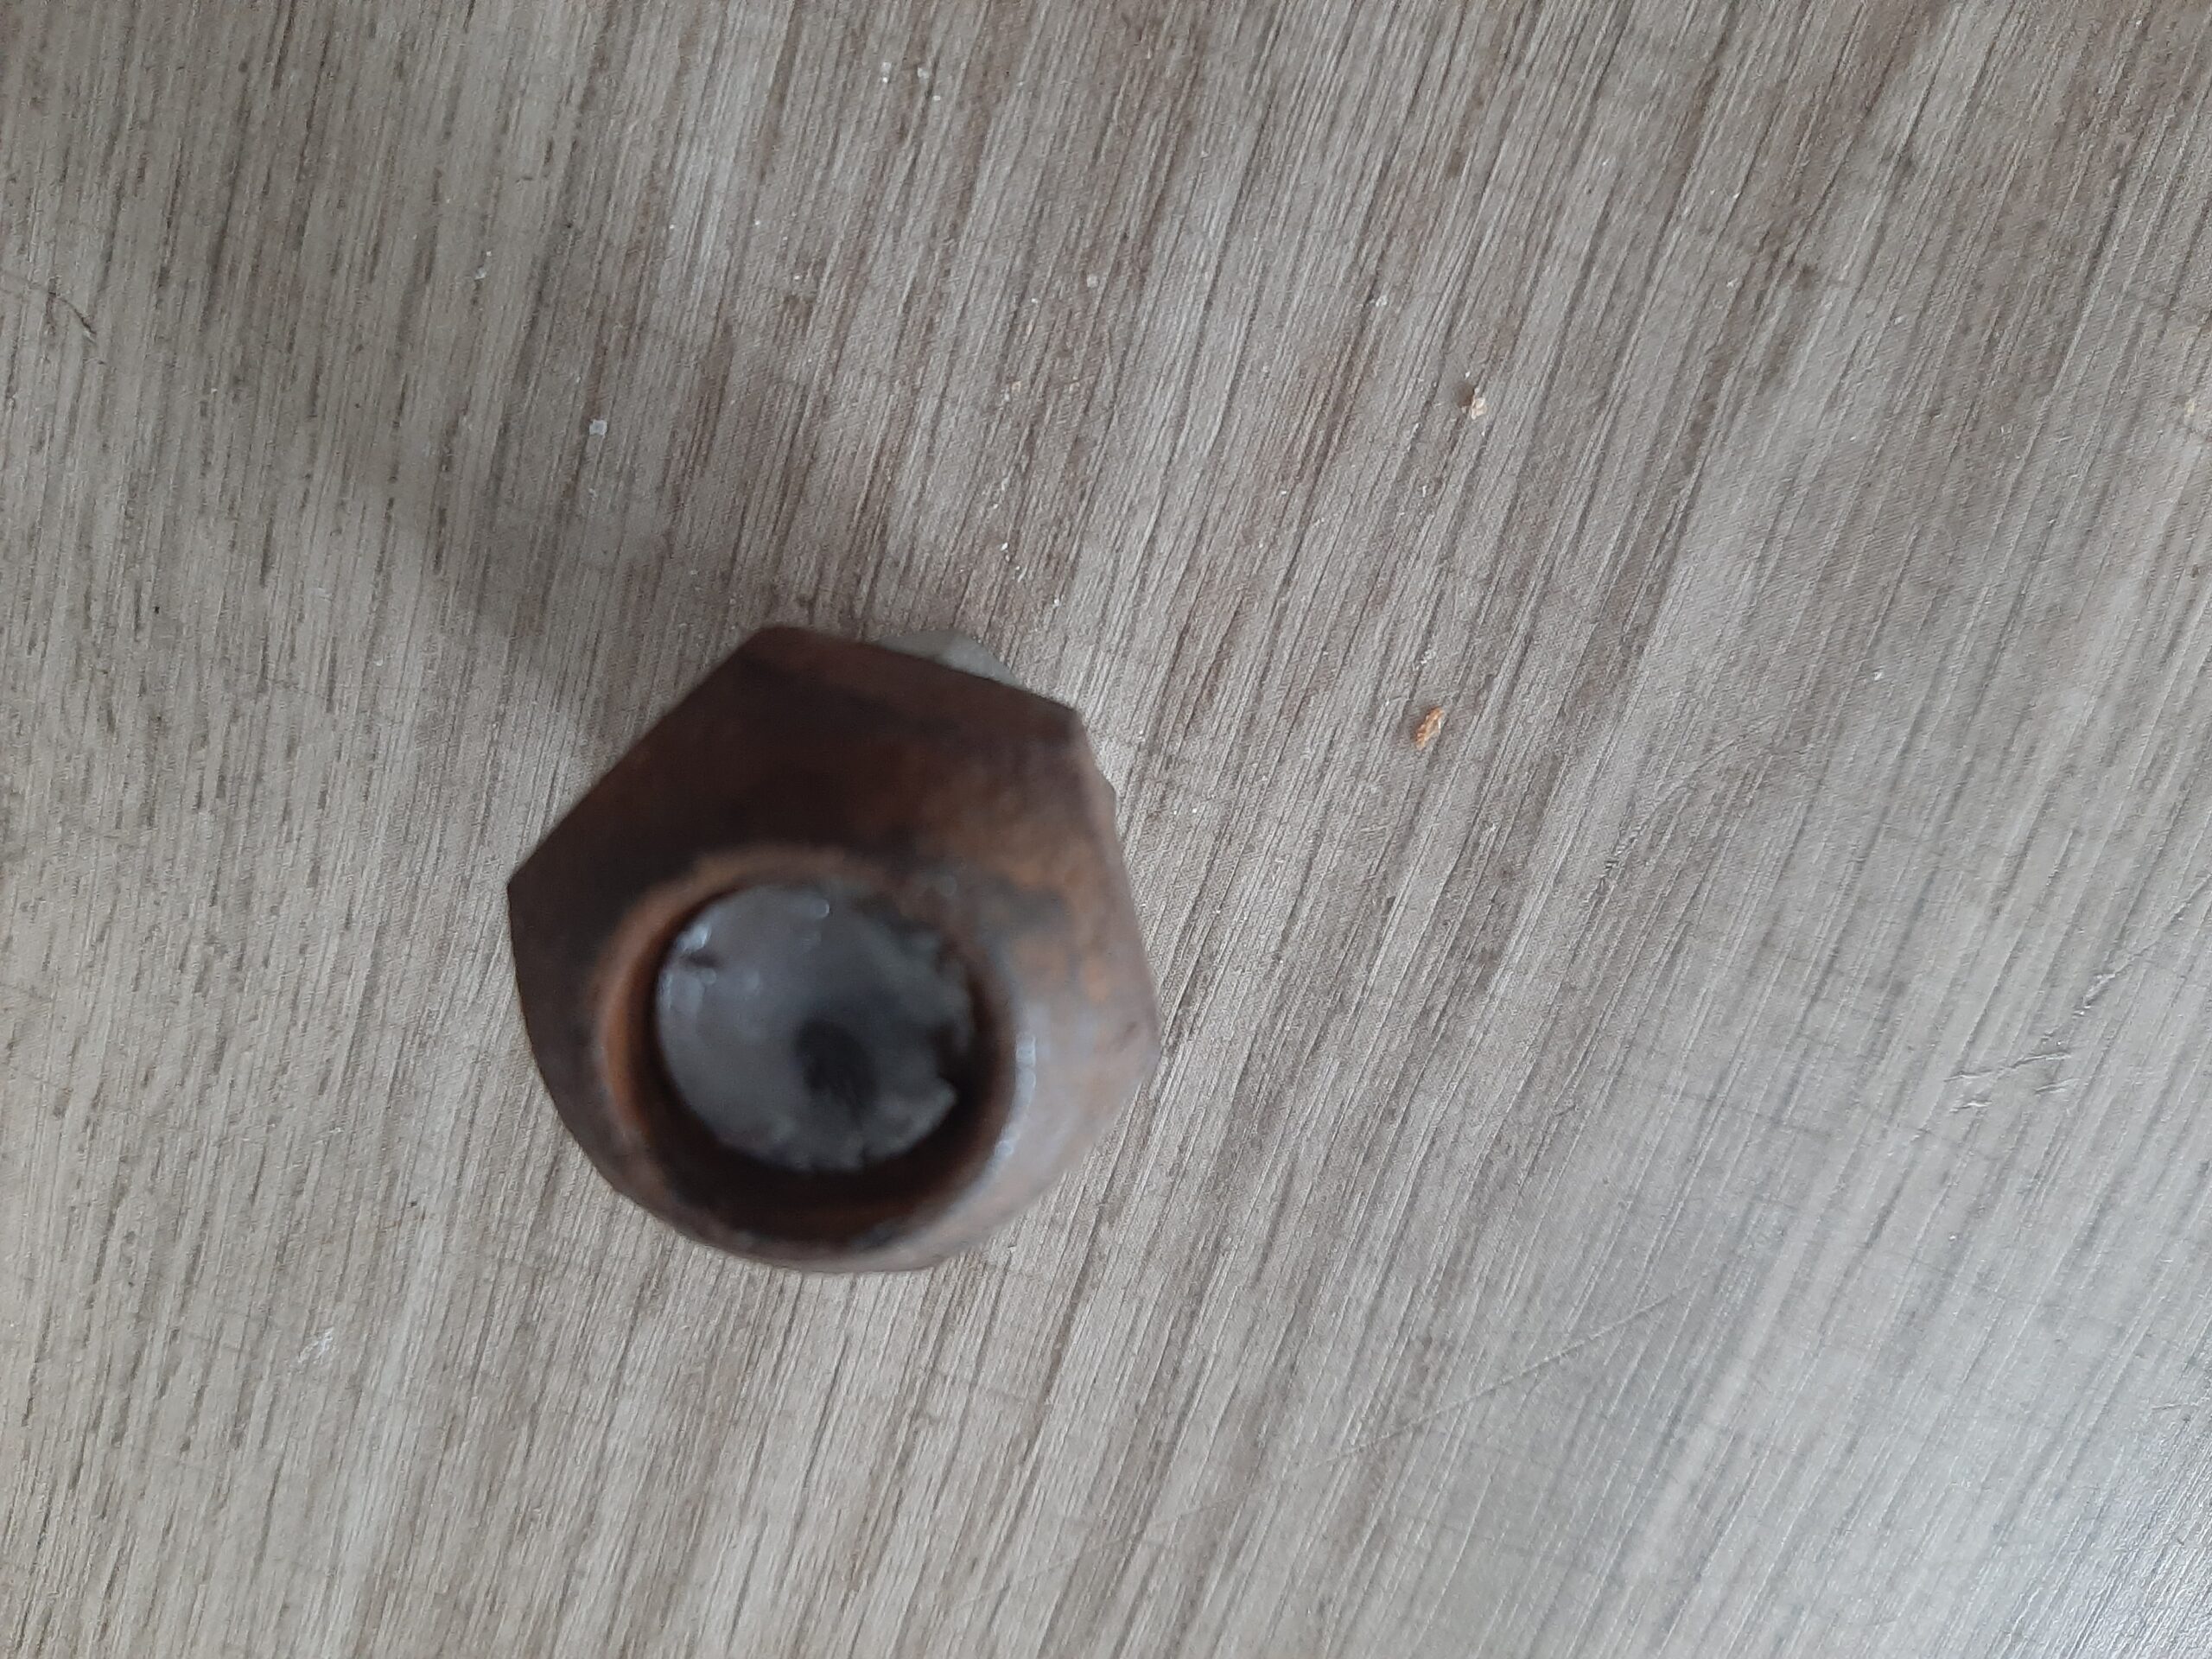 hile trying to take off the second wheel.
First attempt was to buy wheel studs for a trailer which fitted the nut – After trying other sizes and threads, it turned out to be 1/2″ UNF and such studs are still available at trailer parts stores however the spline diameter for them is 14 mm or thereabouts so I was going to have to drill or file out a perfectly parallel sided hole to fit them into and potentially put up with inaccurate positioning.
Seems that this trailer was originally built using car hubs but it proved impossible to identify what vehicle these were intended to be part of. The wheels have 5 holes on a 5″ pitch circle and the internet only really gave Chevrolet light trucks and large US luxury cars as using that type of wheel. Subsequently I found out Ford also used that stud arrangement for the Fiesta but of course the wheel loading was very much lower and stud diameters smaller.
You have to be very careful with the spline diameter on wheel studs as it is critical to ensure the studs do not turn in the hub or else the nuts wont tighten. There are 12.8, 13 mm and
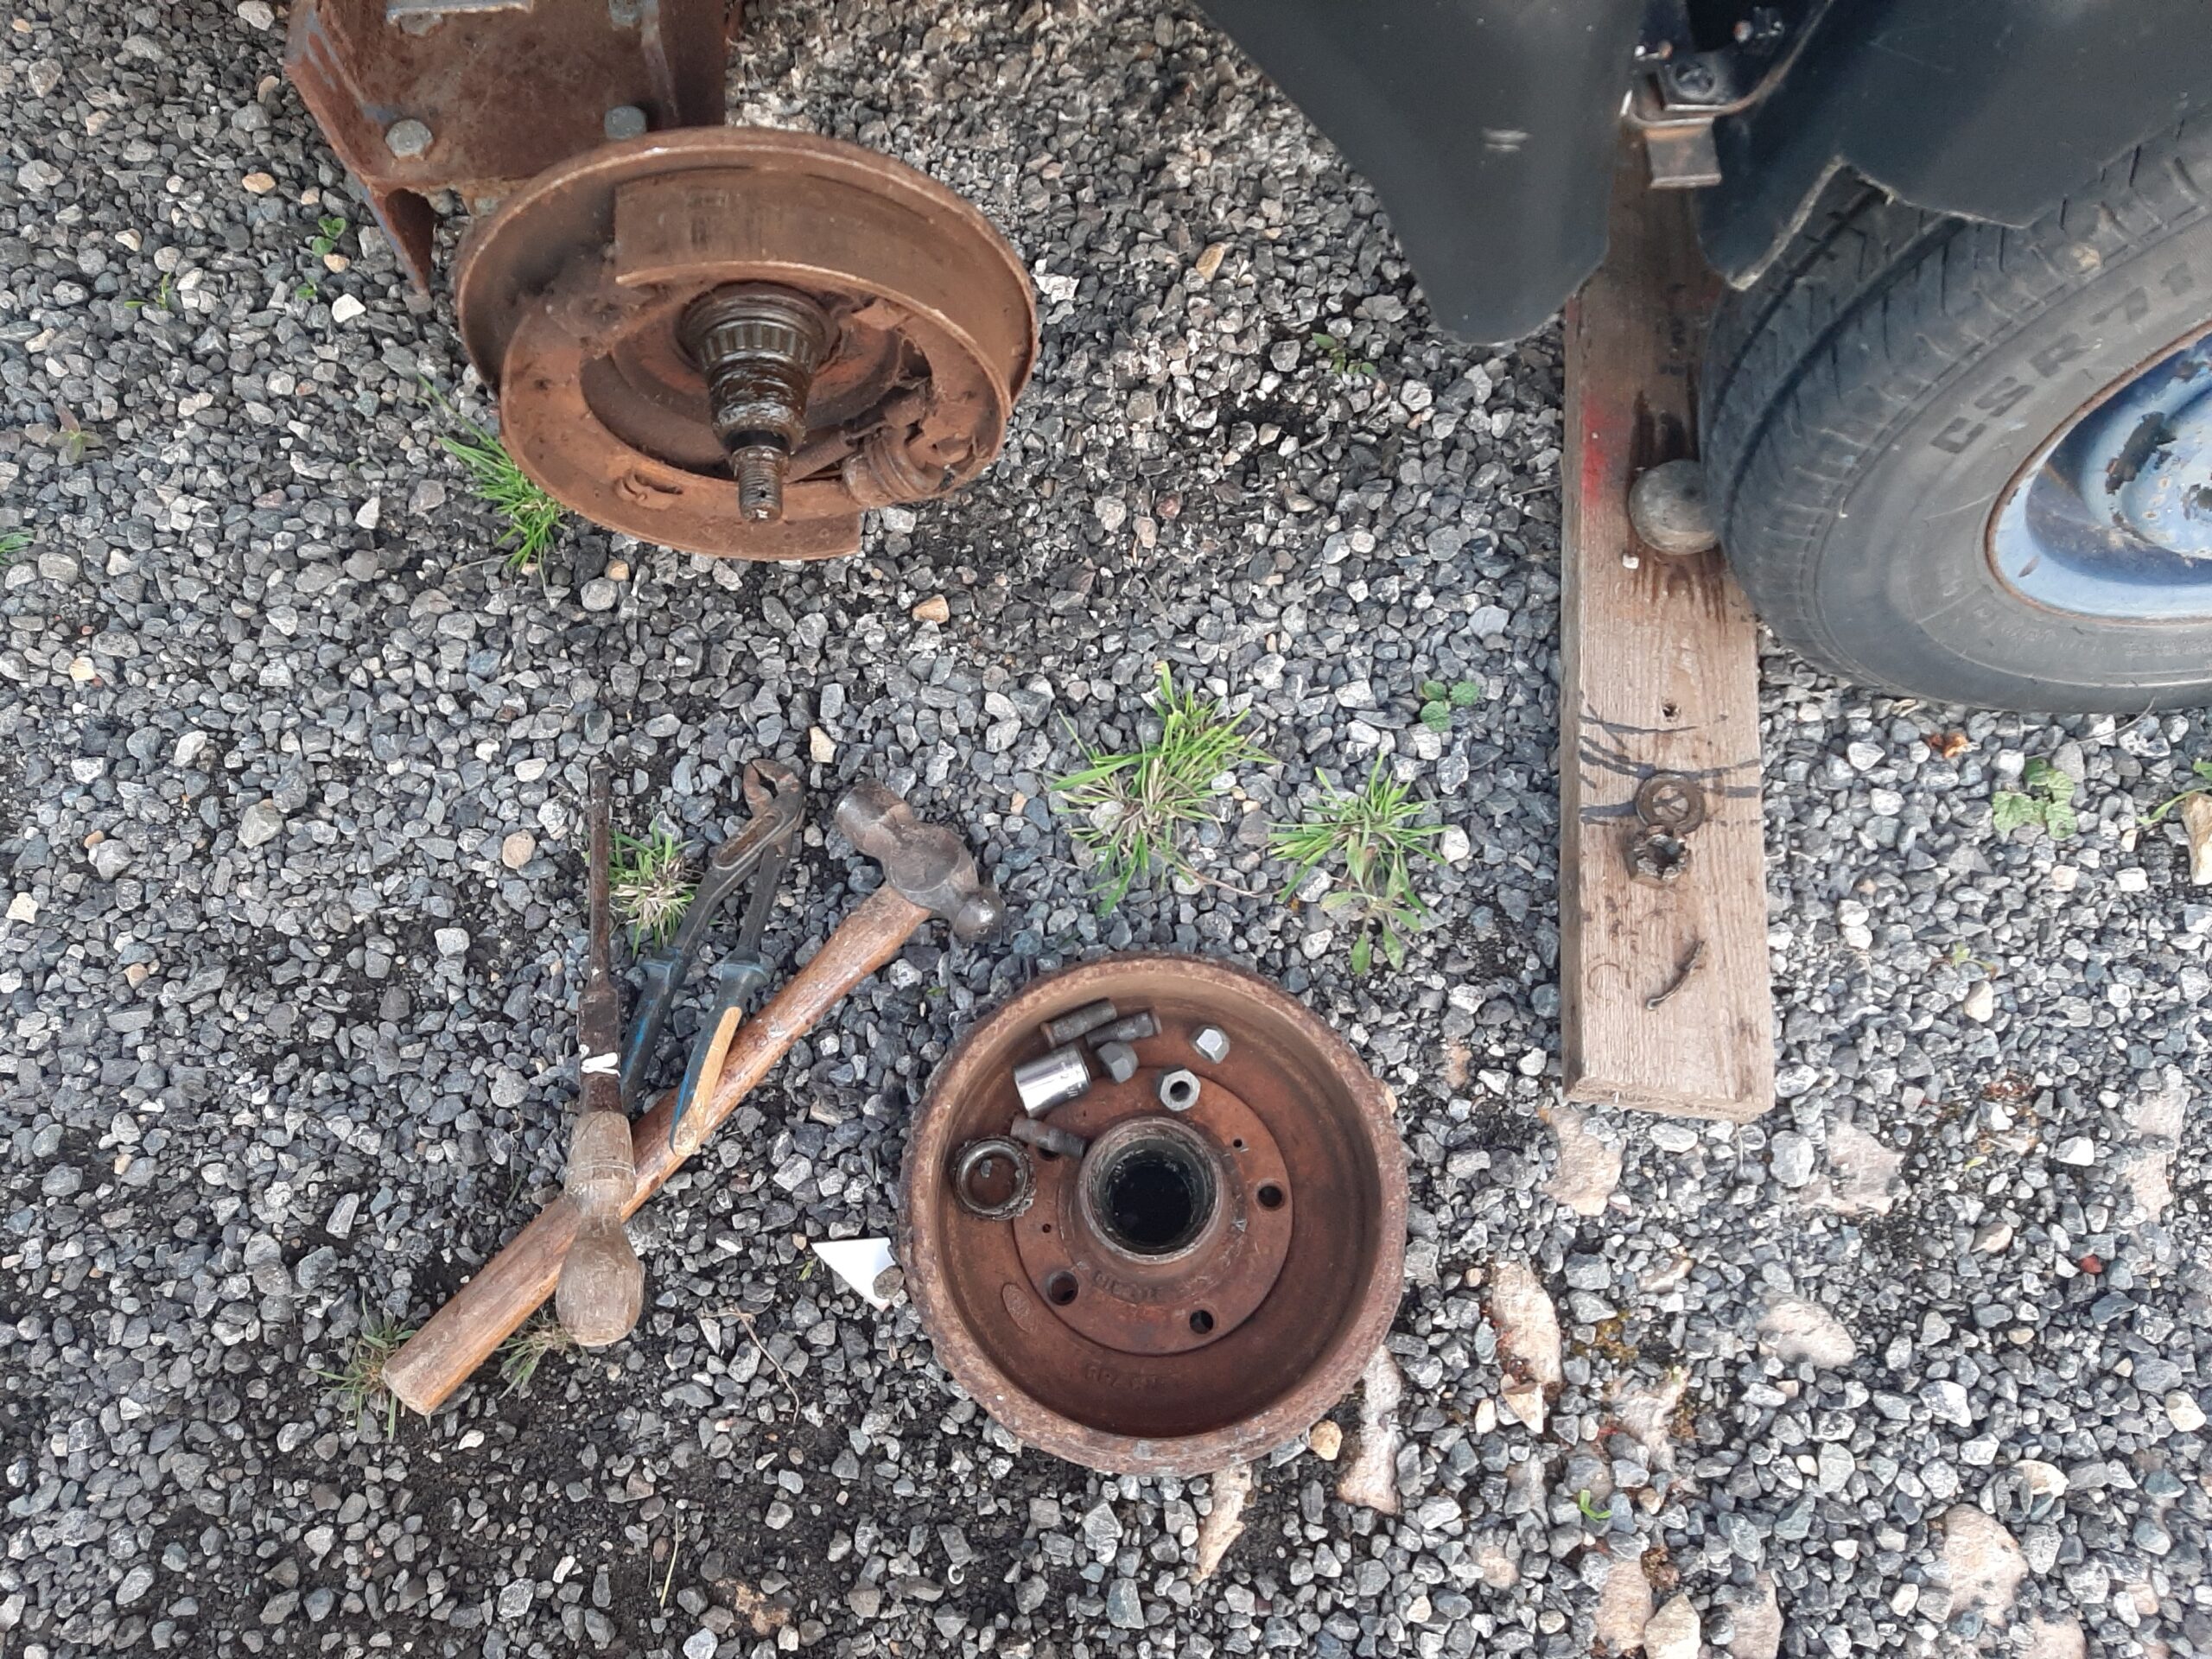
slightly larger splines on studs with various diameters and threads – The only ones I could identify with the right 13 mm splines were M12 thread. I am still a little concerned about going to a smaller diameter as the original studs were 1/2″ (12.7 mm) compared to 12mm for the new ones. The wheel fit will be OK because the taper on the nuts will still ensure the wheel is properly centered and cannot move radially under load but there is obviously less metal to bear that load. After trying various car dealers I drew a blank because they could only identify the right studs to sell if I knew the registration number of a car with the right size parts.
I had vaguely considered replacing the whole of the front hubs and brakes and will probably have to do that eventually to get more effective and reliable brakes but that will cost around £530 per axle (probably almost as much as a newer second hand trailer would cost!). I eventually
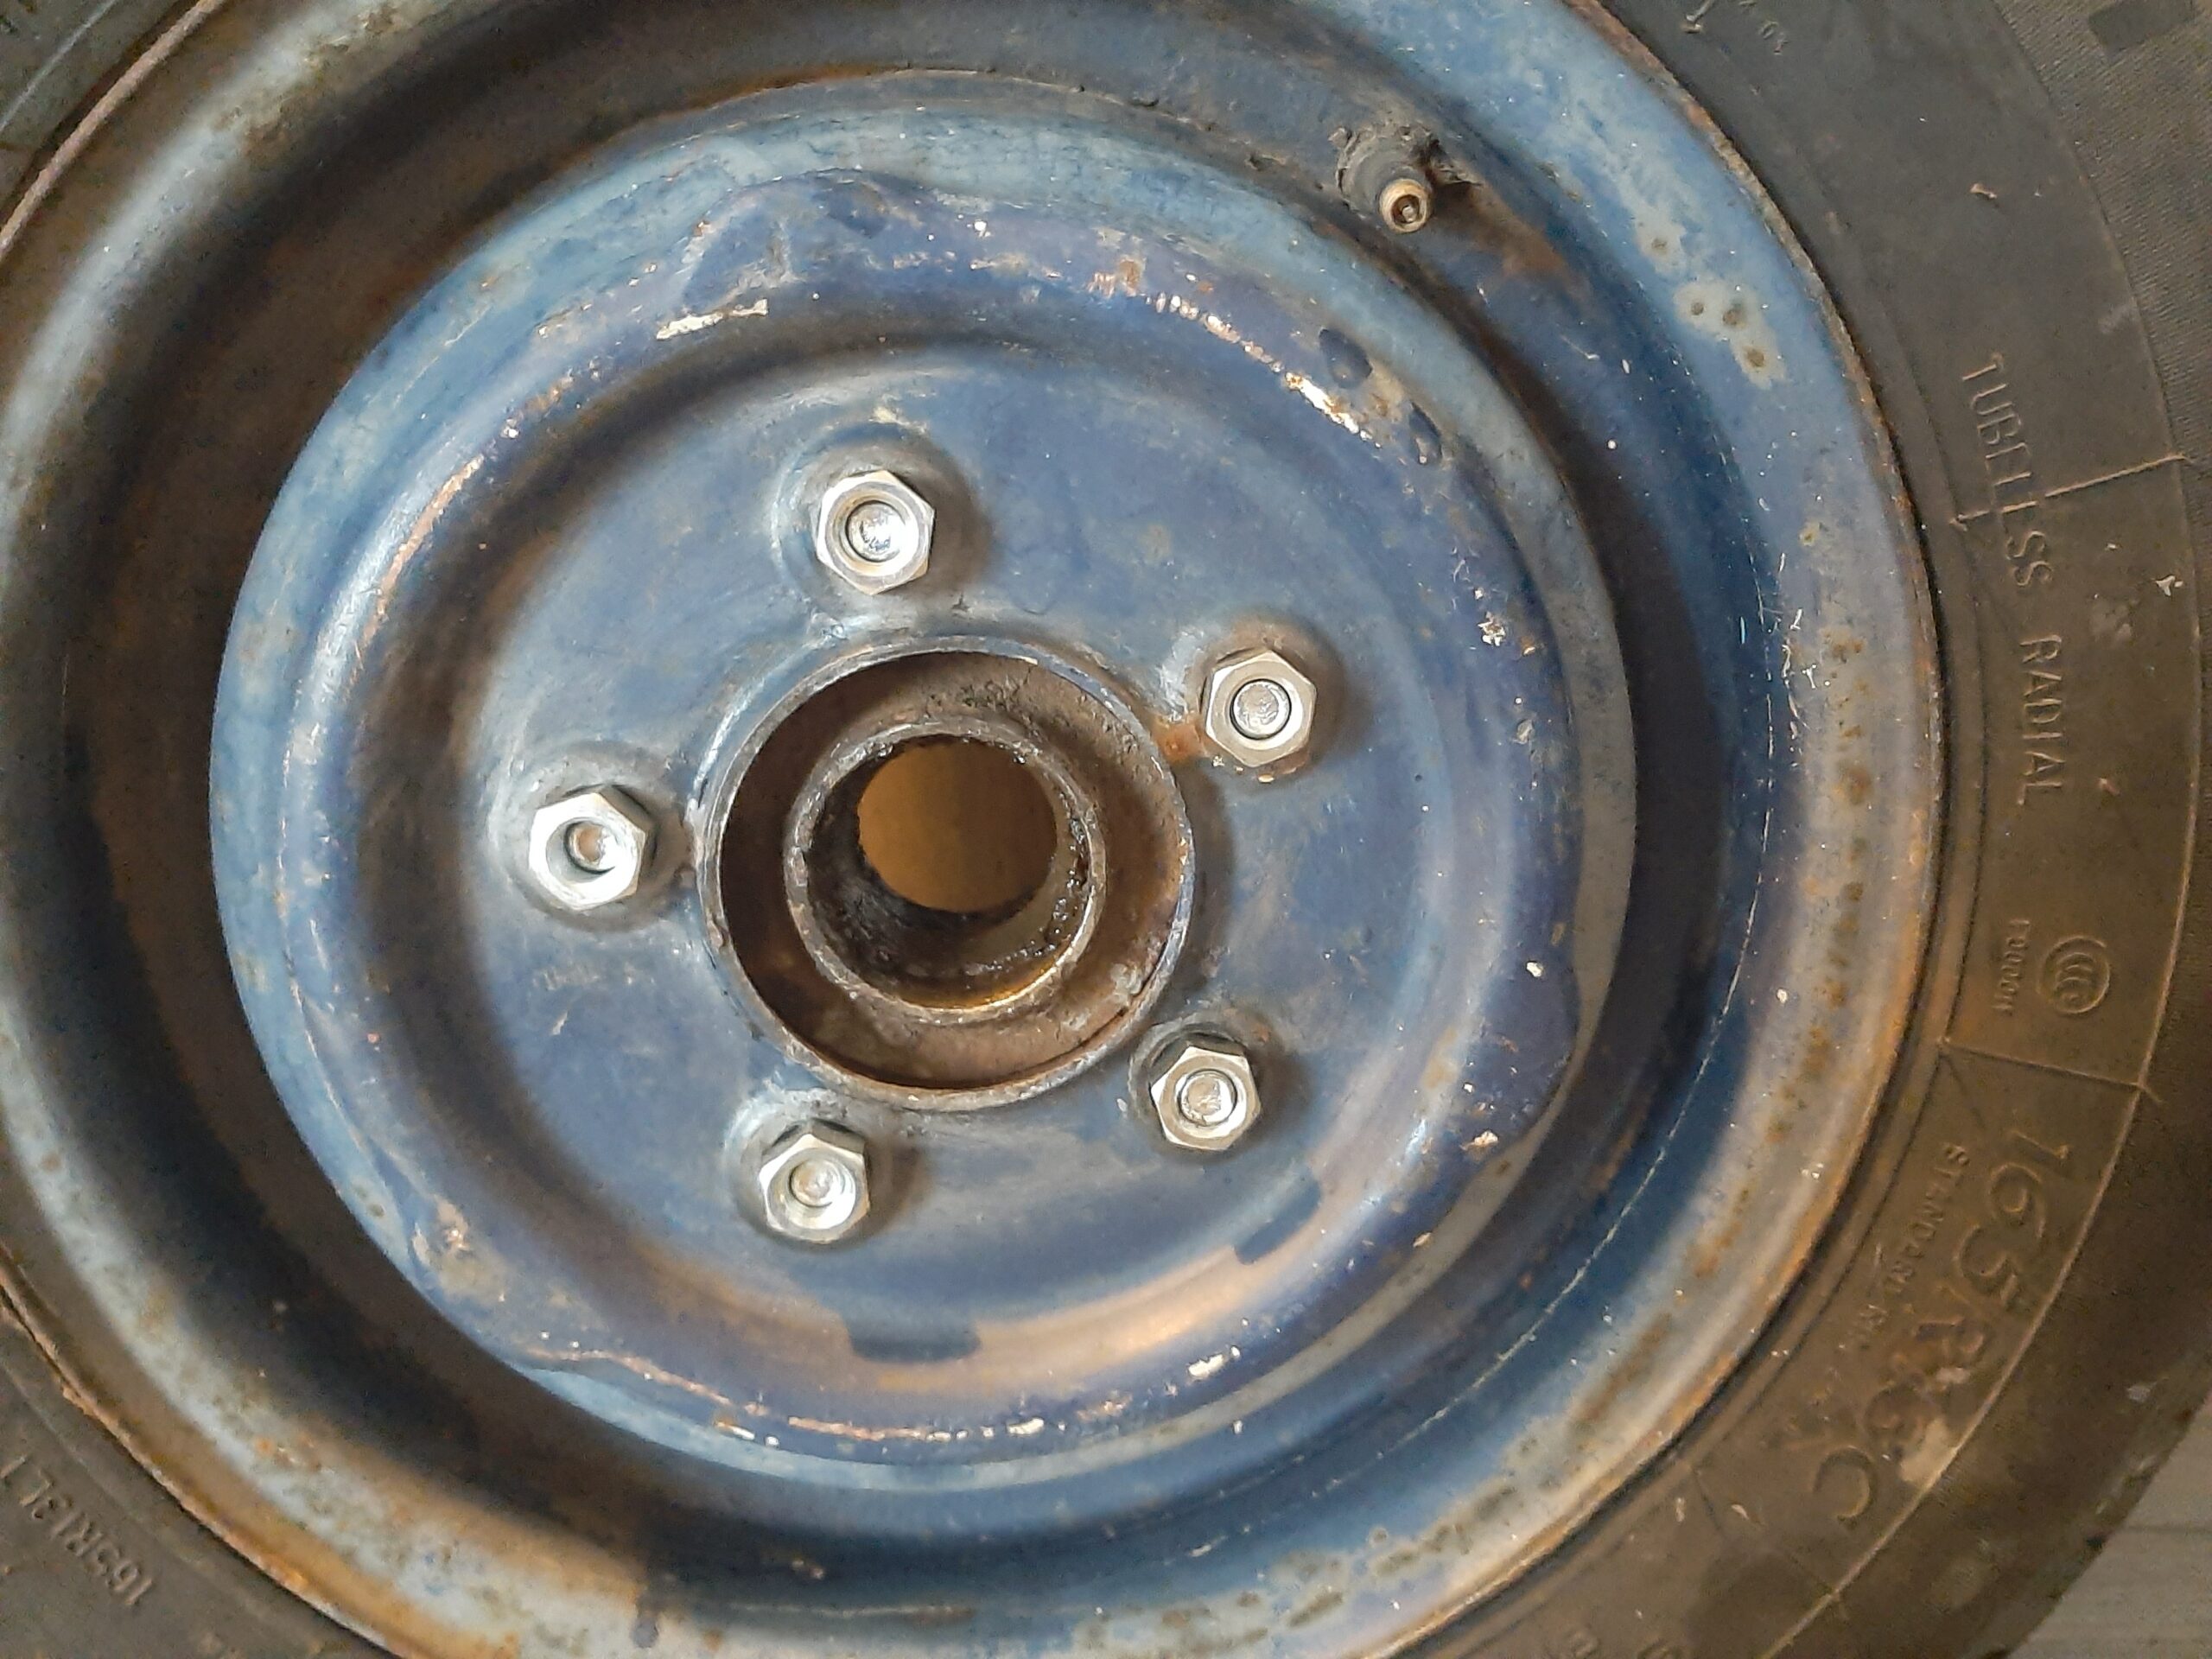 bought the full set of M12 studs on the internet and fitted them to the problem hub a mere 5 weeks after starting that little brake maintenance job. They proved fairly easy to fit as you can either hammer them in while the hub is off the axle or else push them into place by hand, replace the hub and wheel and then pull them into position by tightening the wheel nuts. Anyway the brakes are now as good as I can get them without a tension spring in the cables and the bearings on the front pair of wheels are greased properly. The “different” hub is clearly marked as having M12 studs with marker pen and I will eventually do the other side front hub so they are a matching pair again.
Finally able to consider taking the trailer home for welding but first I added a clamp made from angle iron and m12 threaded rod to make sure that the broken welds werent able to move or cause other welds to fail during the journey.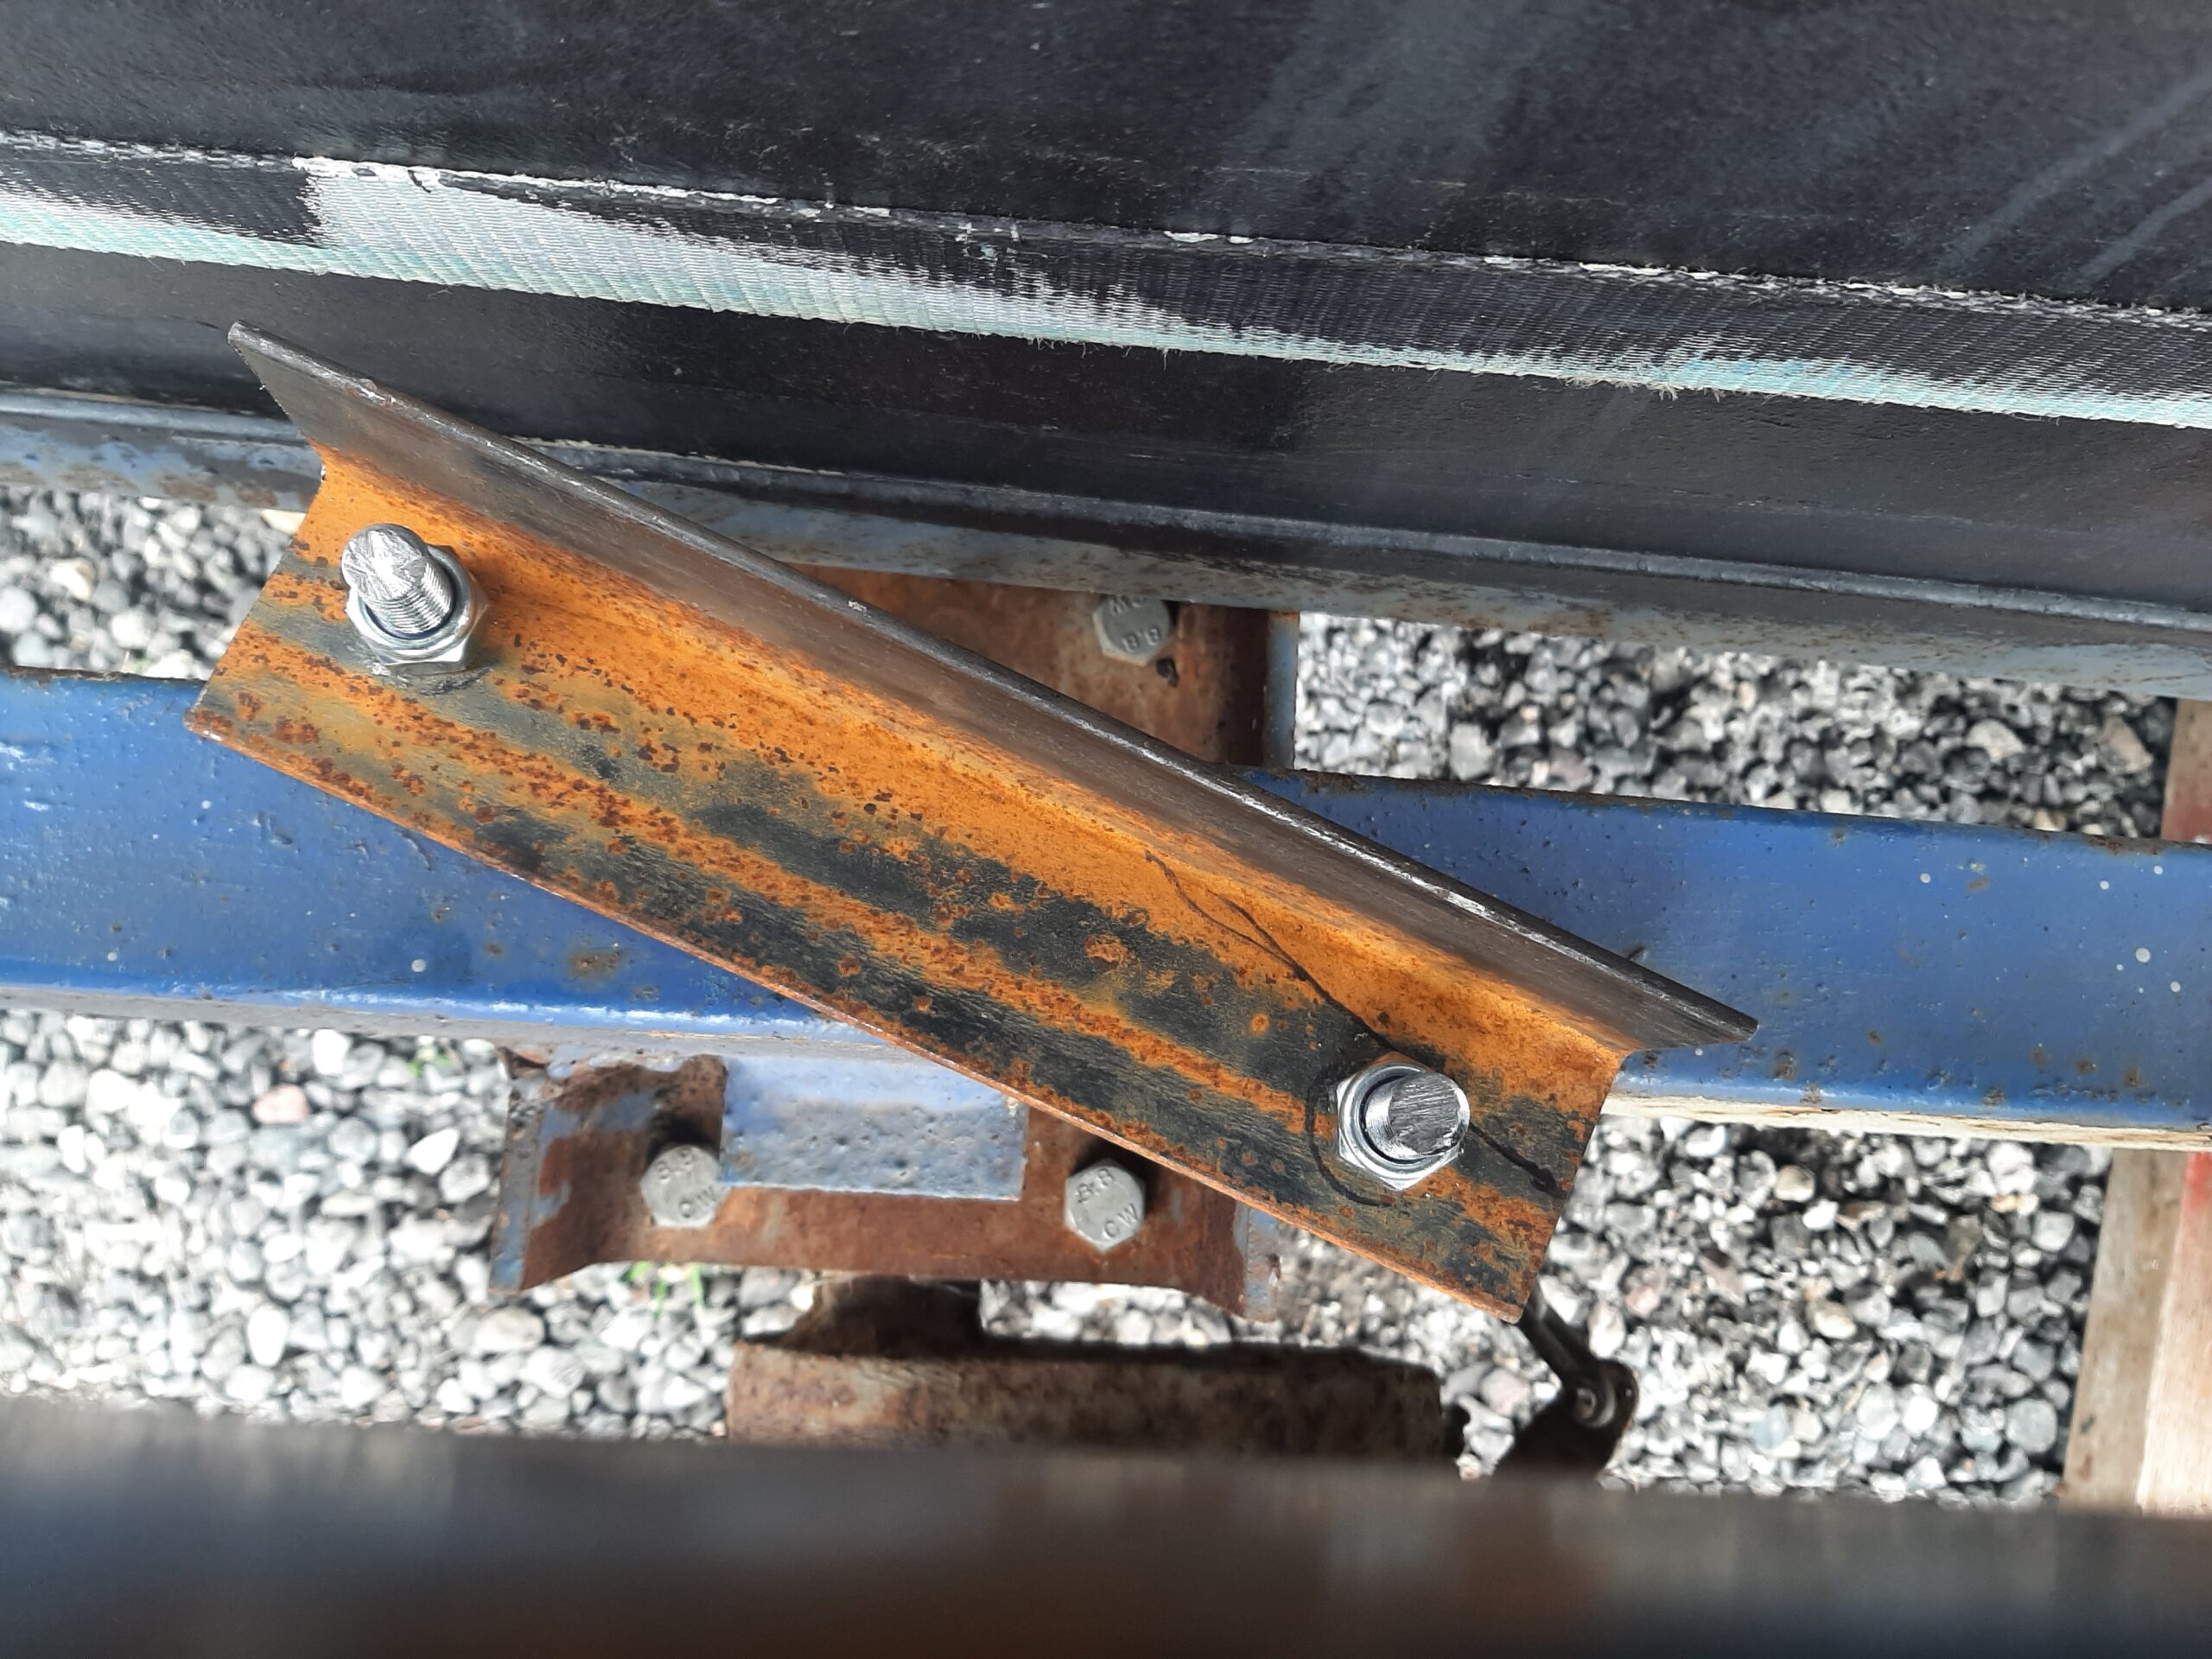
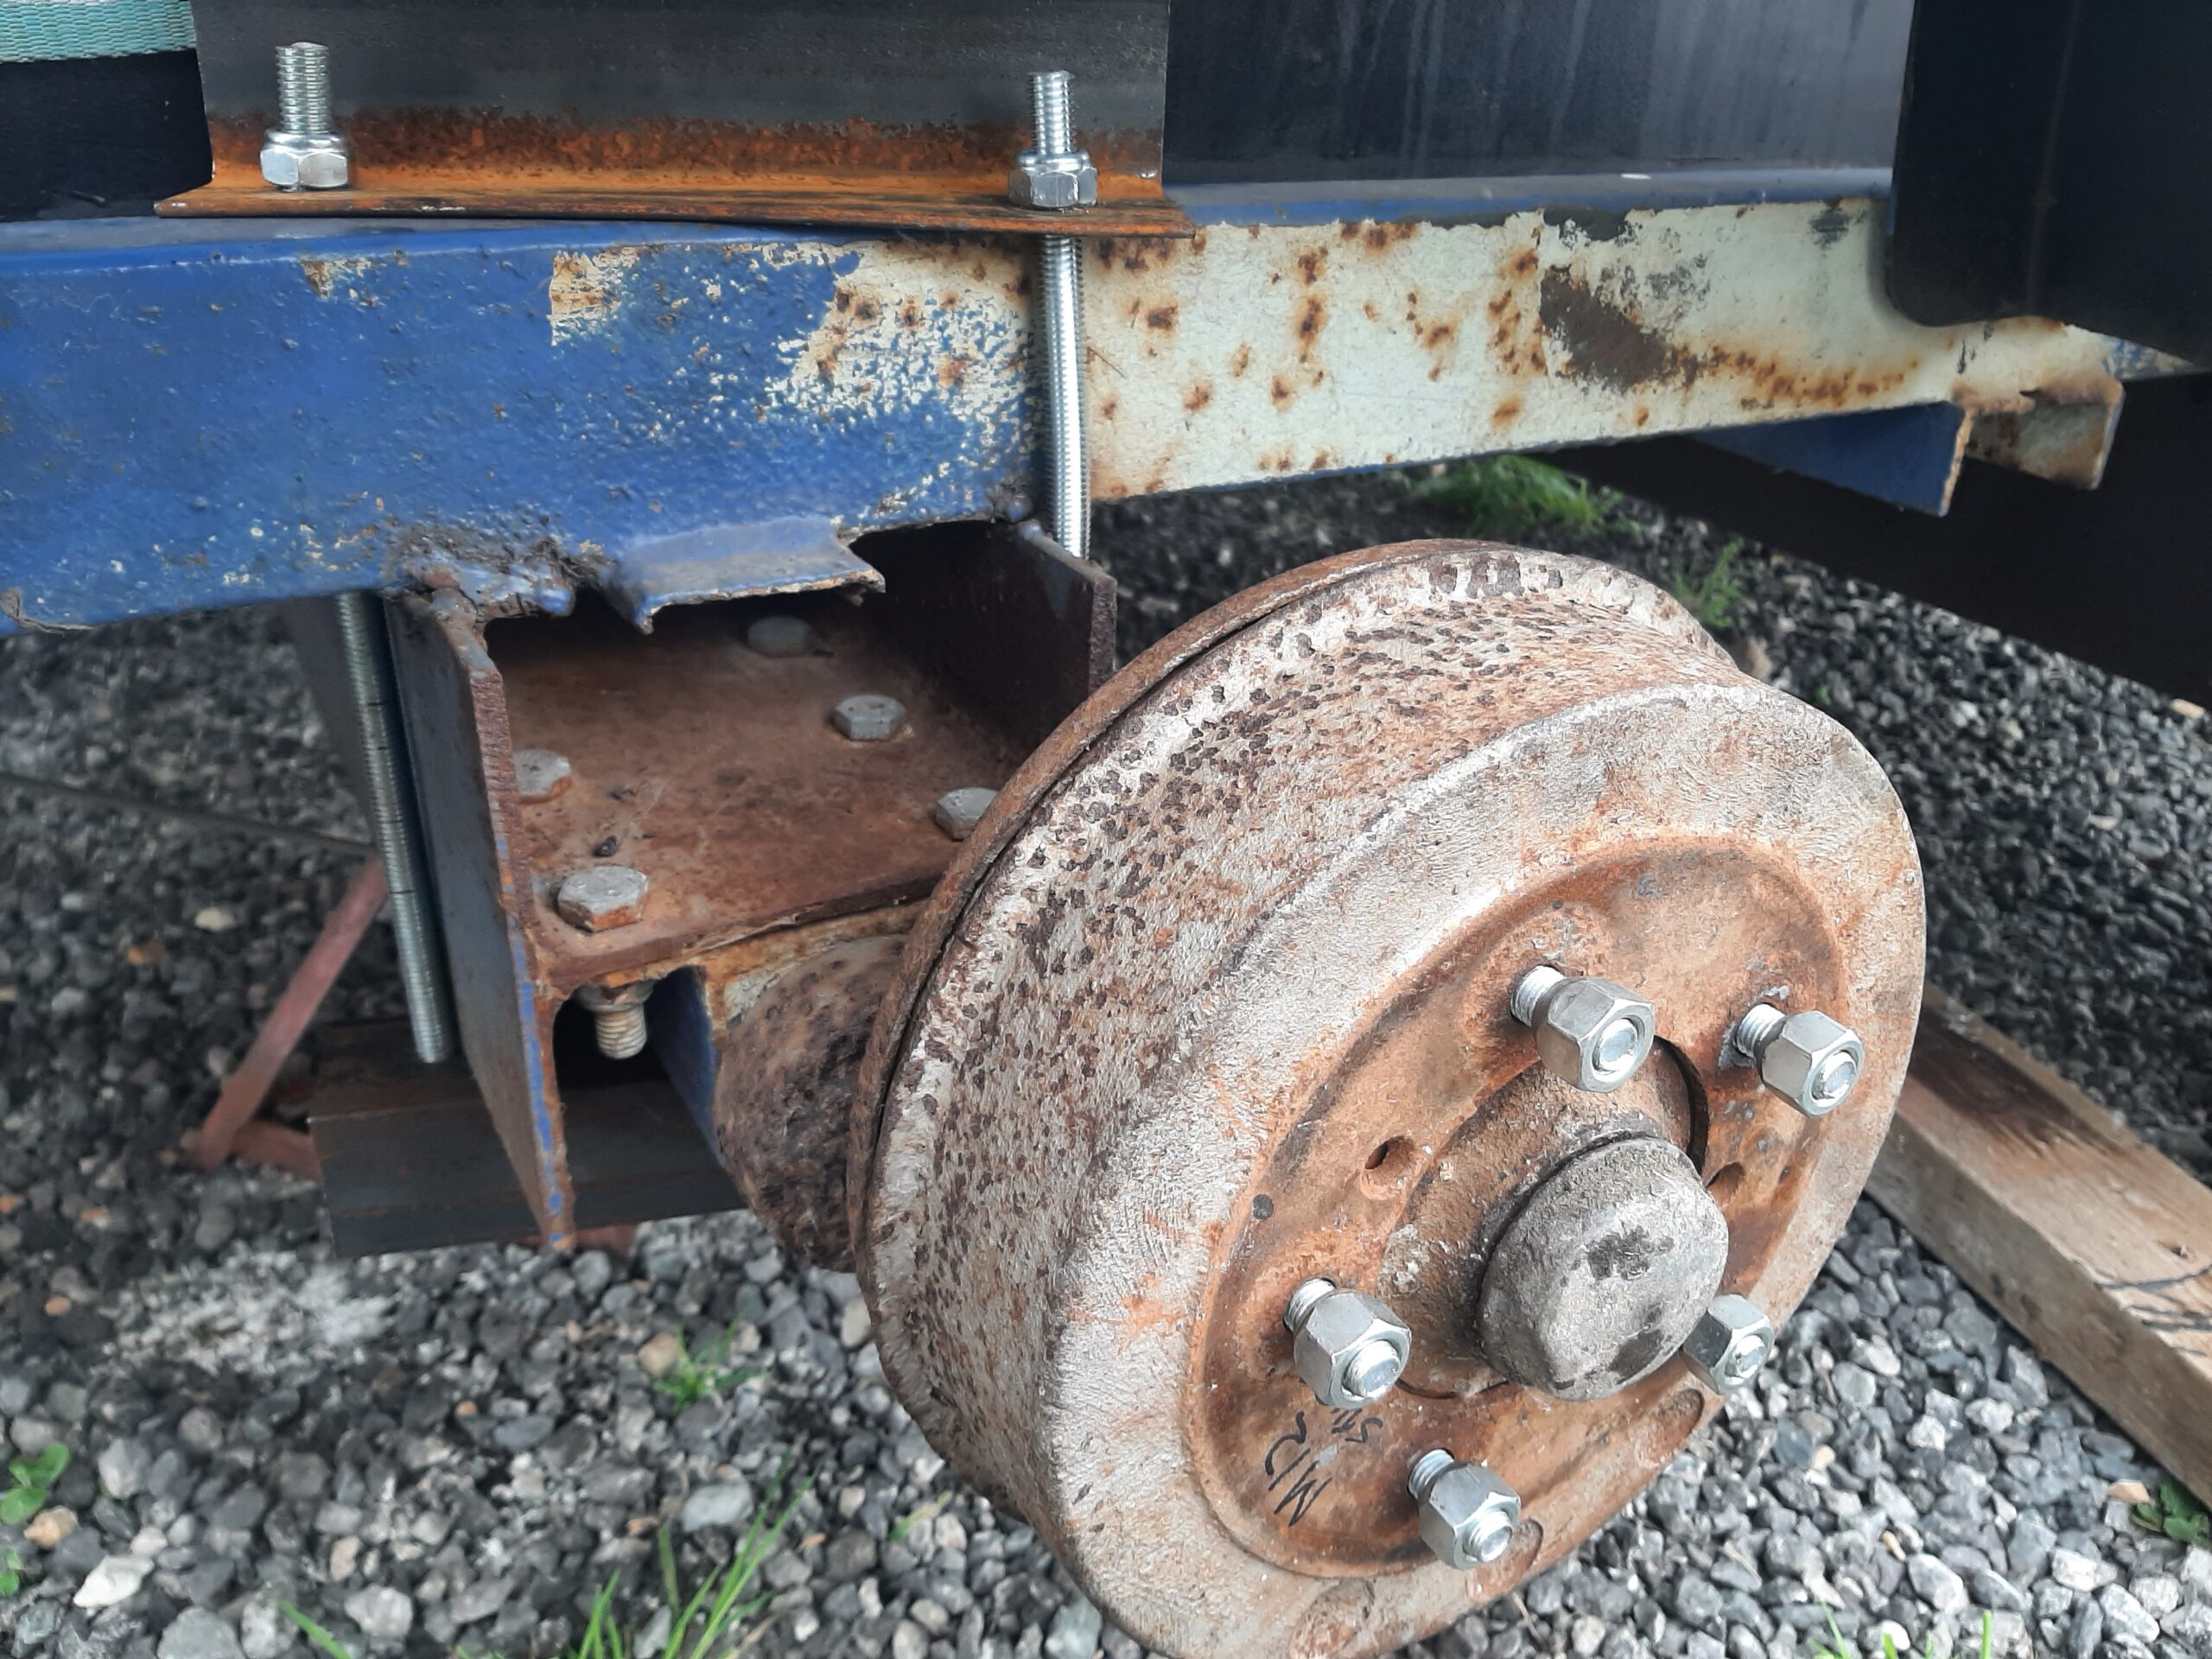
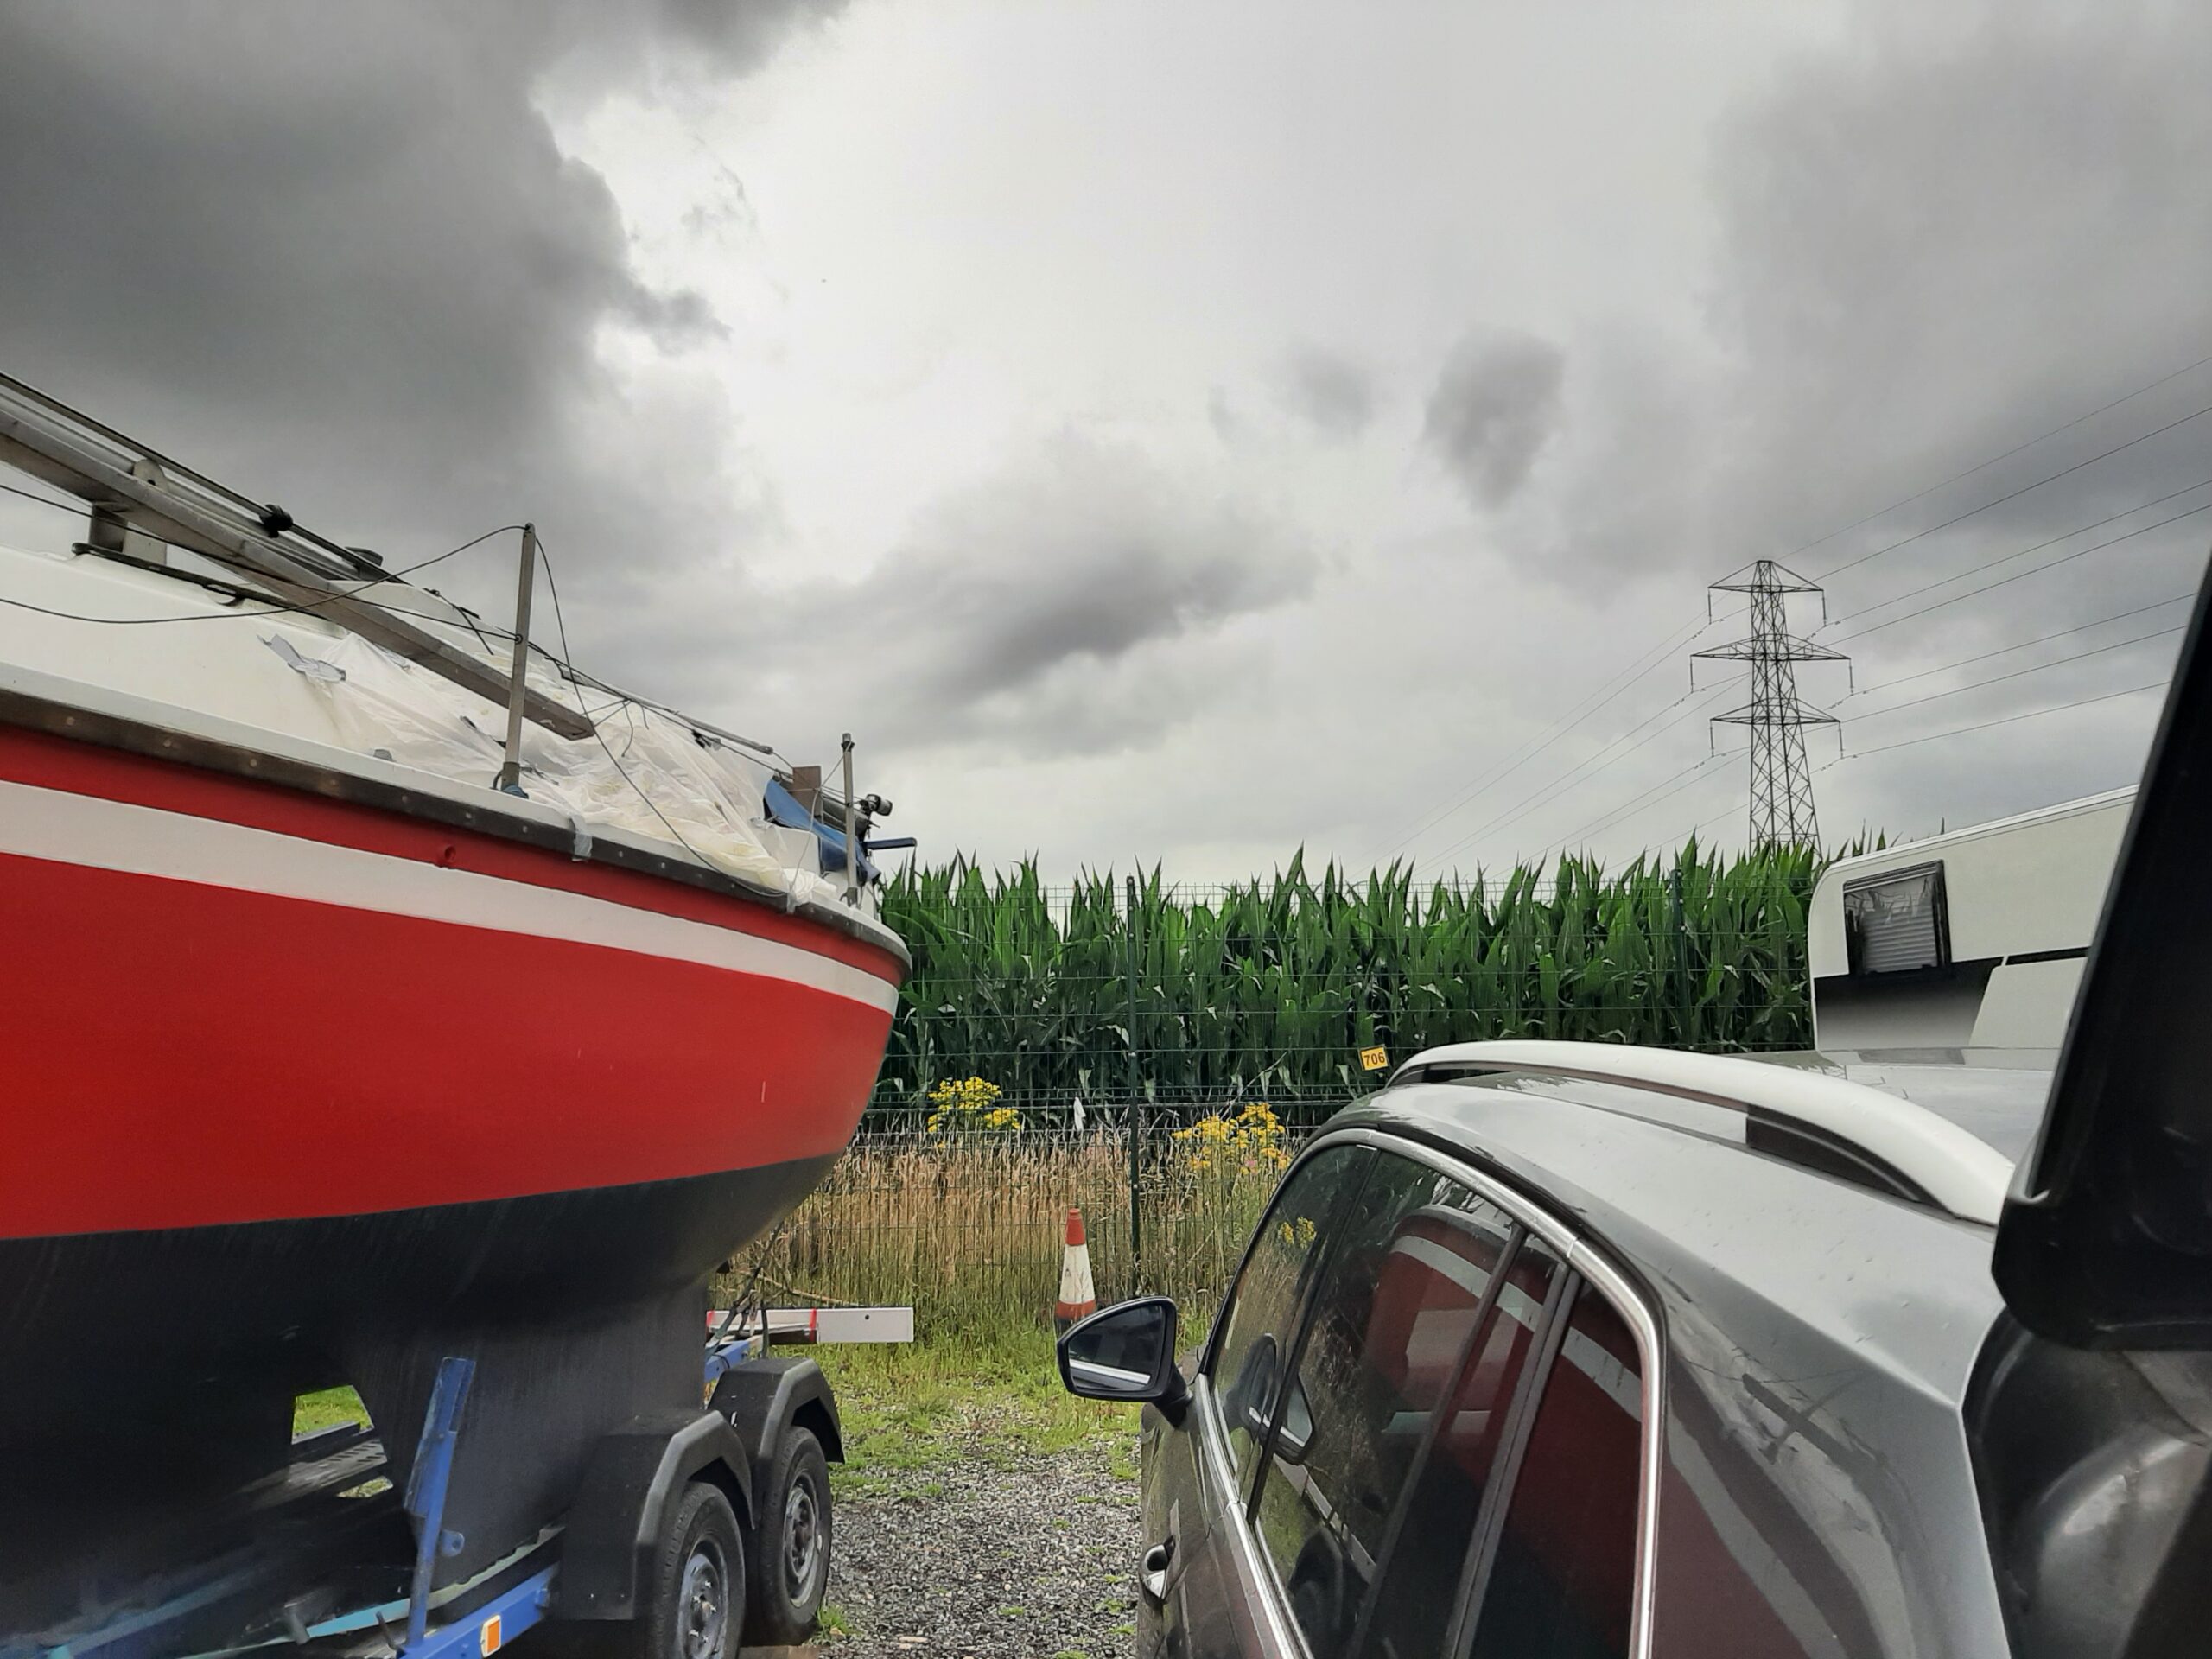
On 10th July I finally got an opportunity to collect the boat and work on it on the drive. Off to collect the boat at about 12 . It took a while to get moving because I needed to top up all of the tyres to something reasonably close to the maximum pressure. They are good for 65 PSI so I topped them all up to 54 instead of about 20 which was what was left in a couple of them.
Trip to the house was uneventful apart from a rather long queue behind me by the time I got to Bawtry because the trailer was bouncing quite a lot due to the somewhat rough road surface.
There were signs of a possible crack and loose flux so I re-welded the offside rear beam mount as well as the nearside front one which I had made the bracing for last week. Definitely all look better than the previous attempt even though it’s nowhere near the neatest welding job in the world. Once the boat is launched I may be able to flip the trailer upside down and do a decent job of all those bits of welding.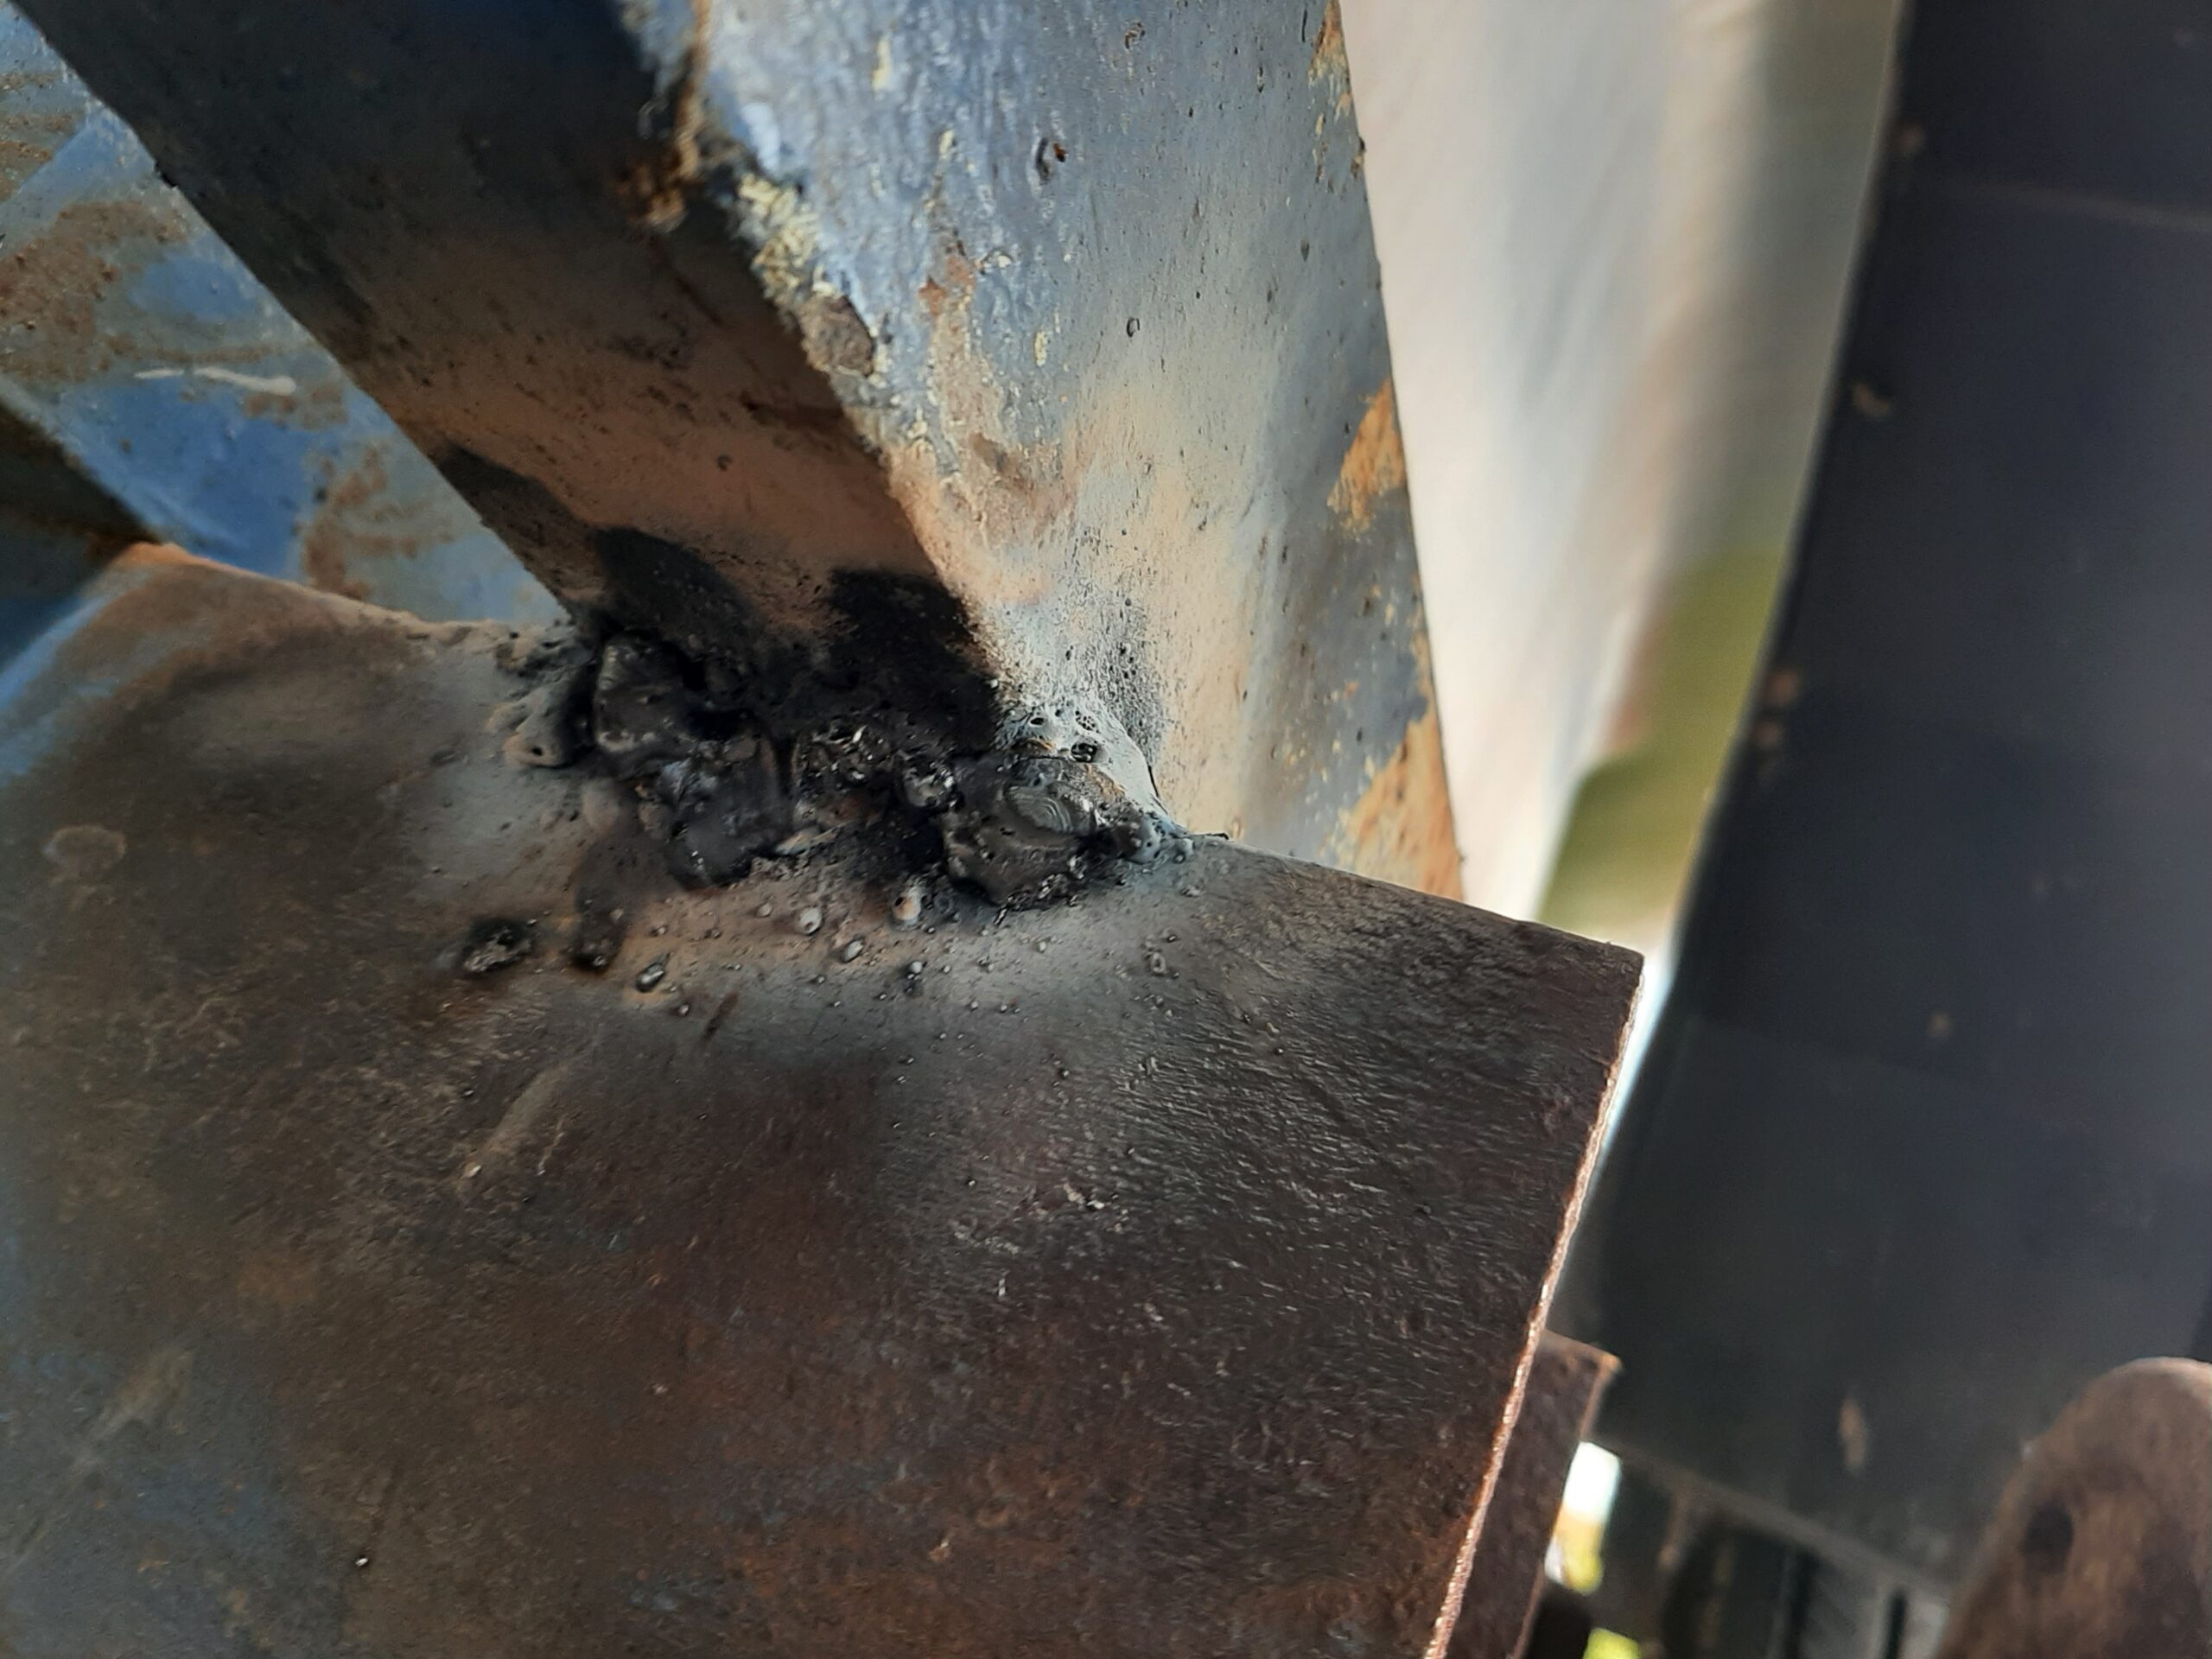
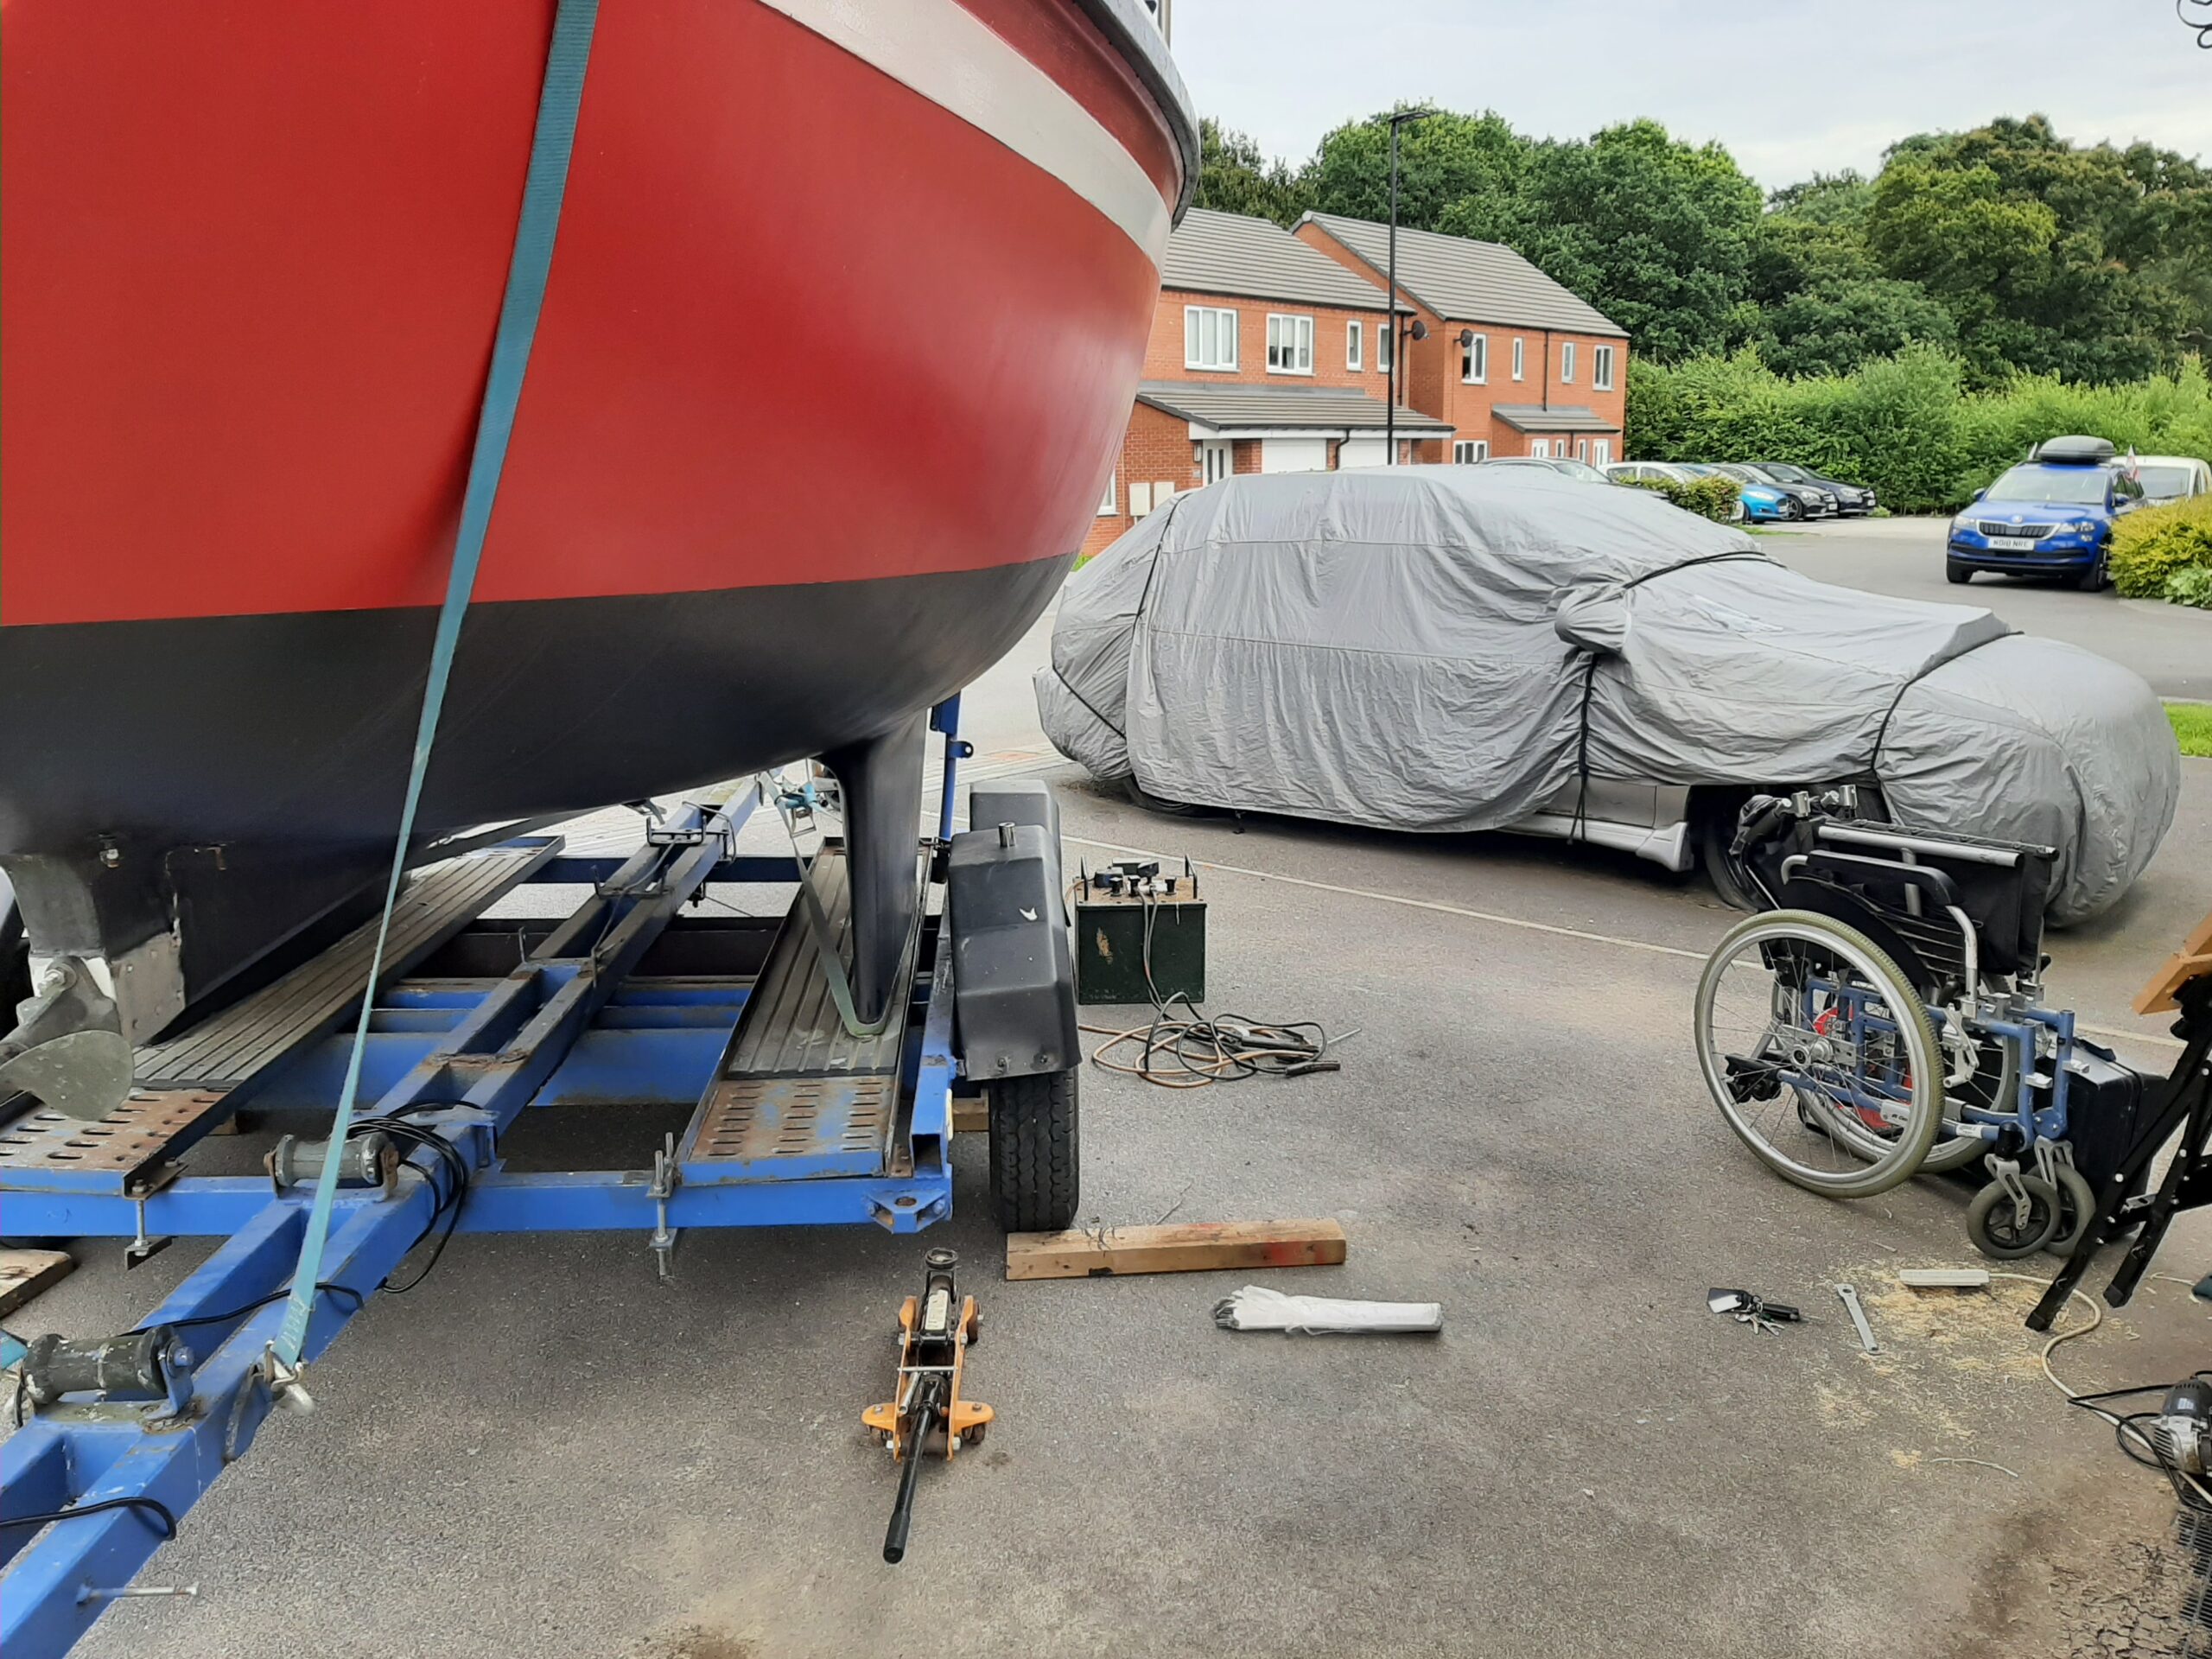
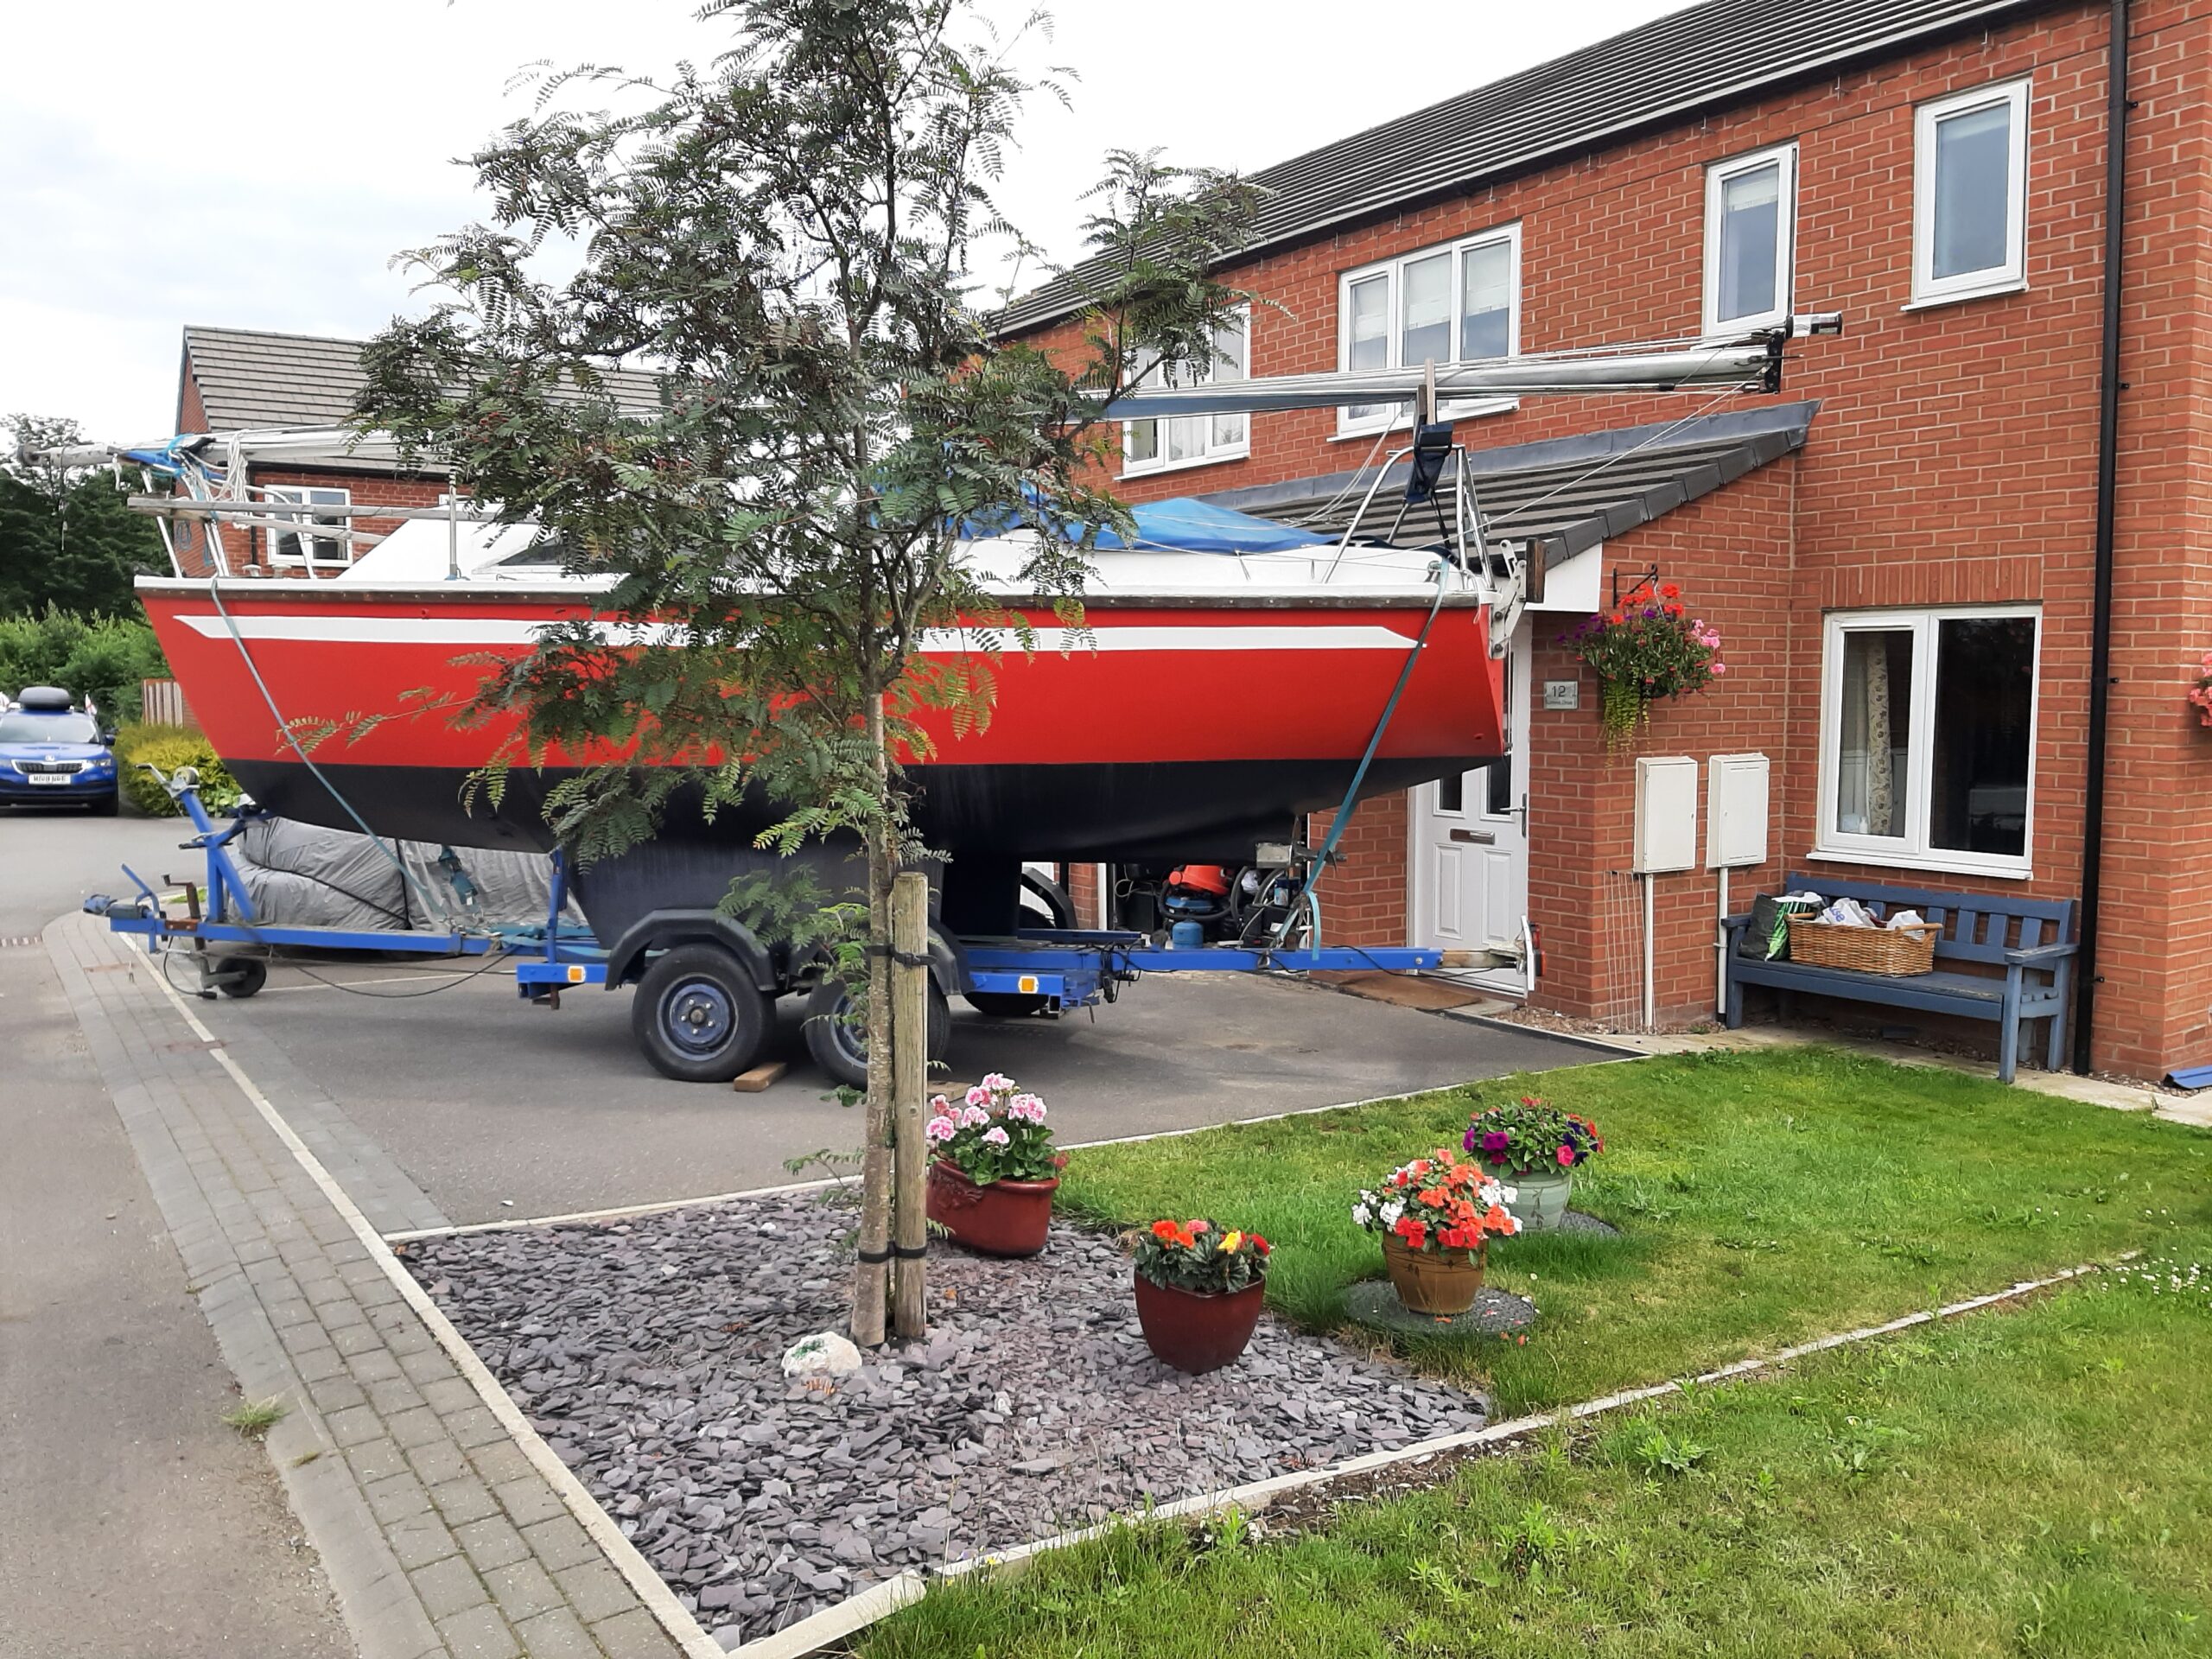
Couldn’t immediately find the stainless steel welding rods and really need something like carpet to stop sparks damaging the paint while I weld the pushpit so I didn’t bother with that.
Had a sandwich for lunch (2:30) then cleaned up the cabin a bit and too
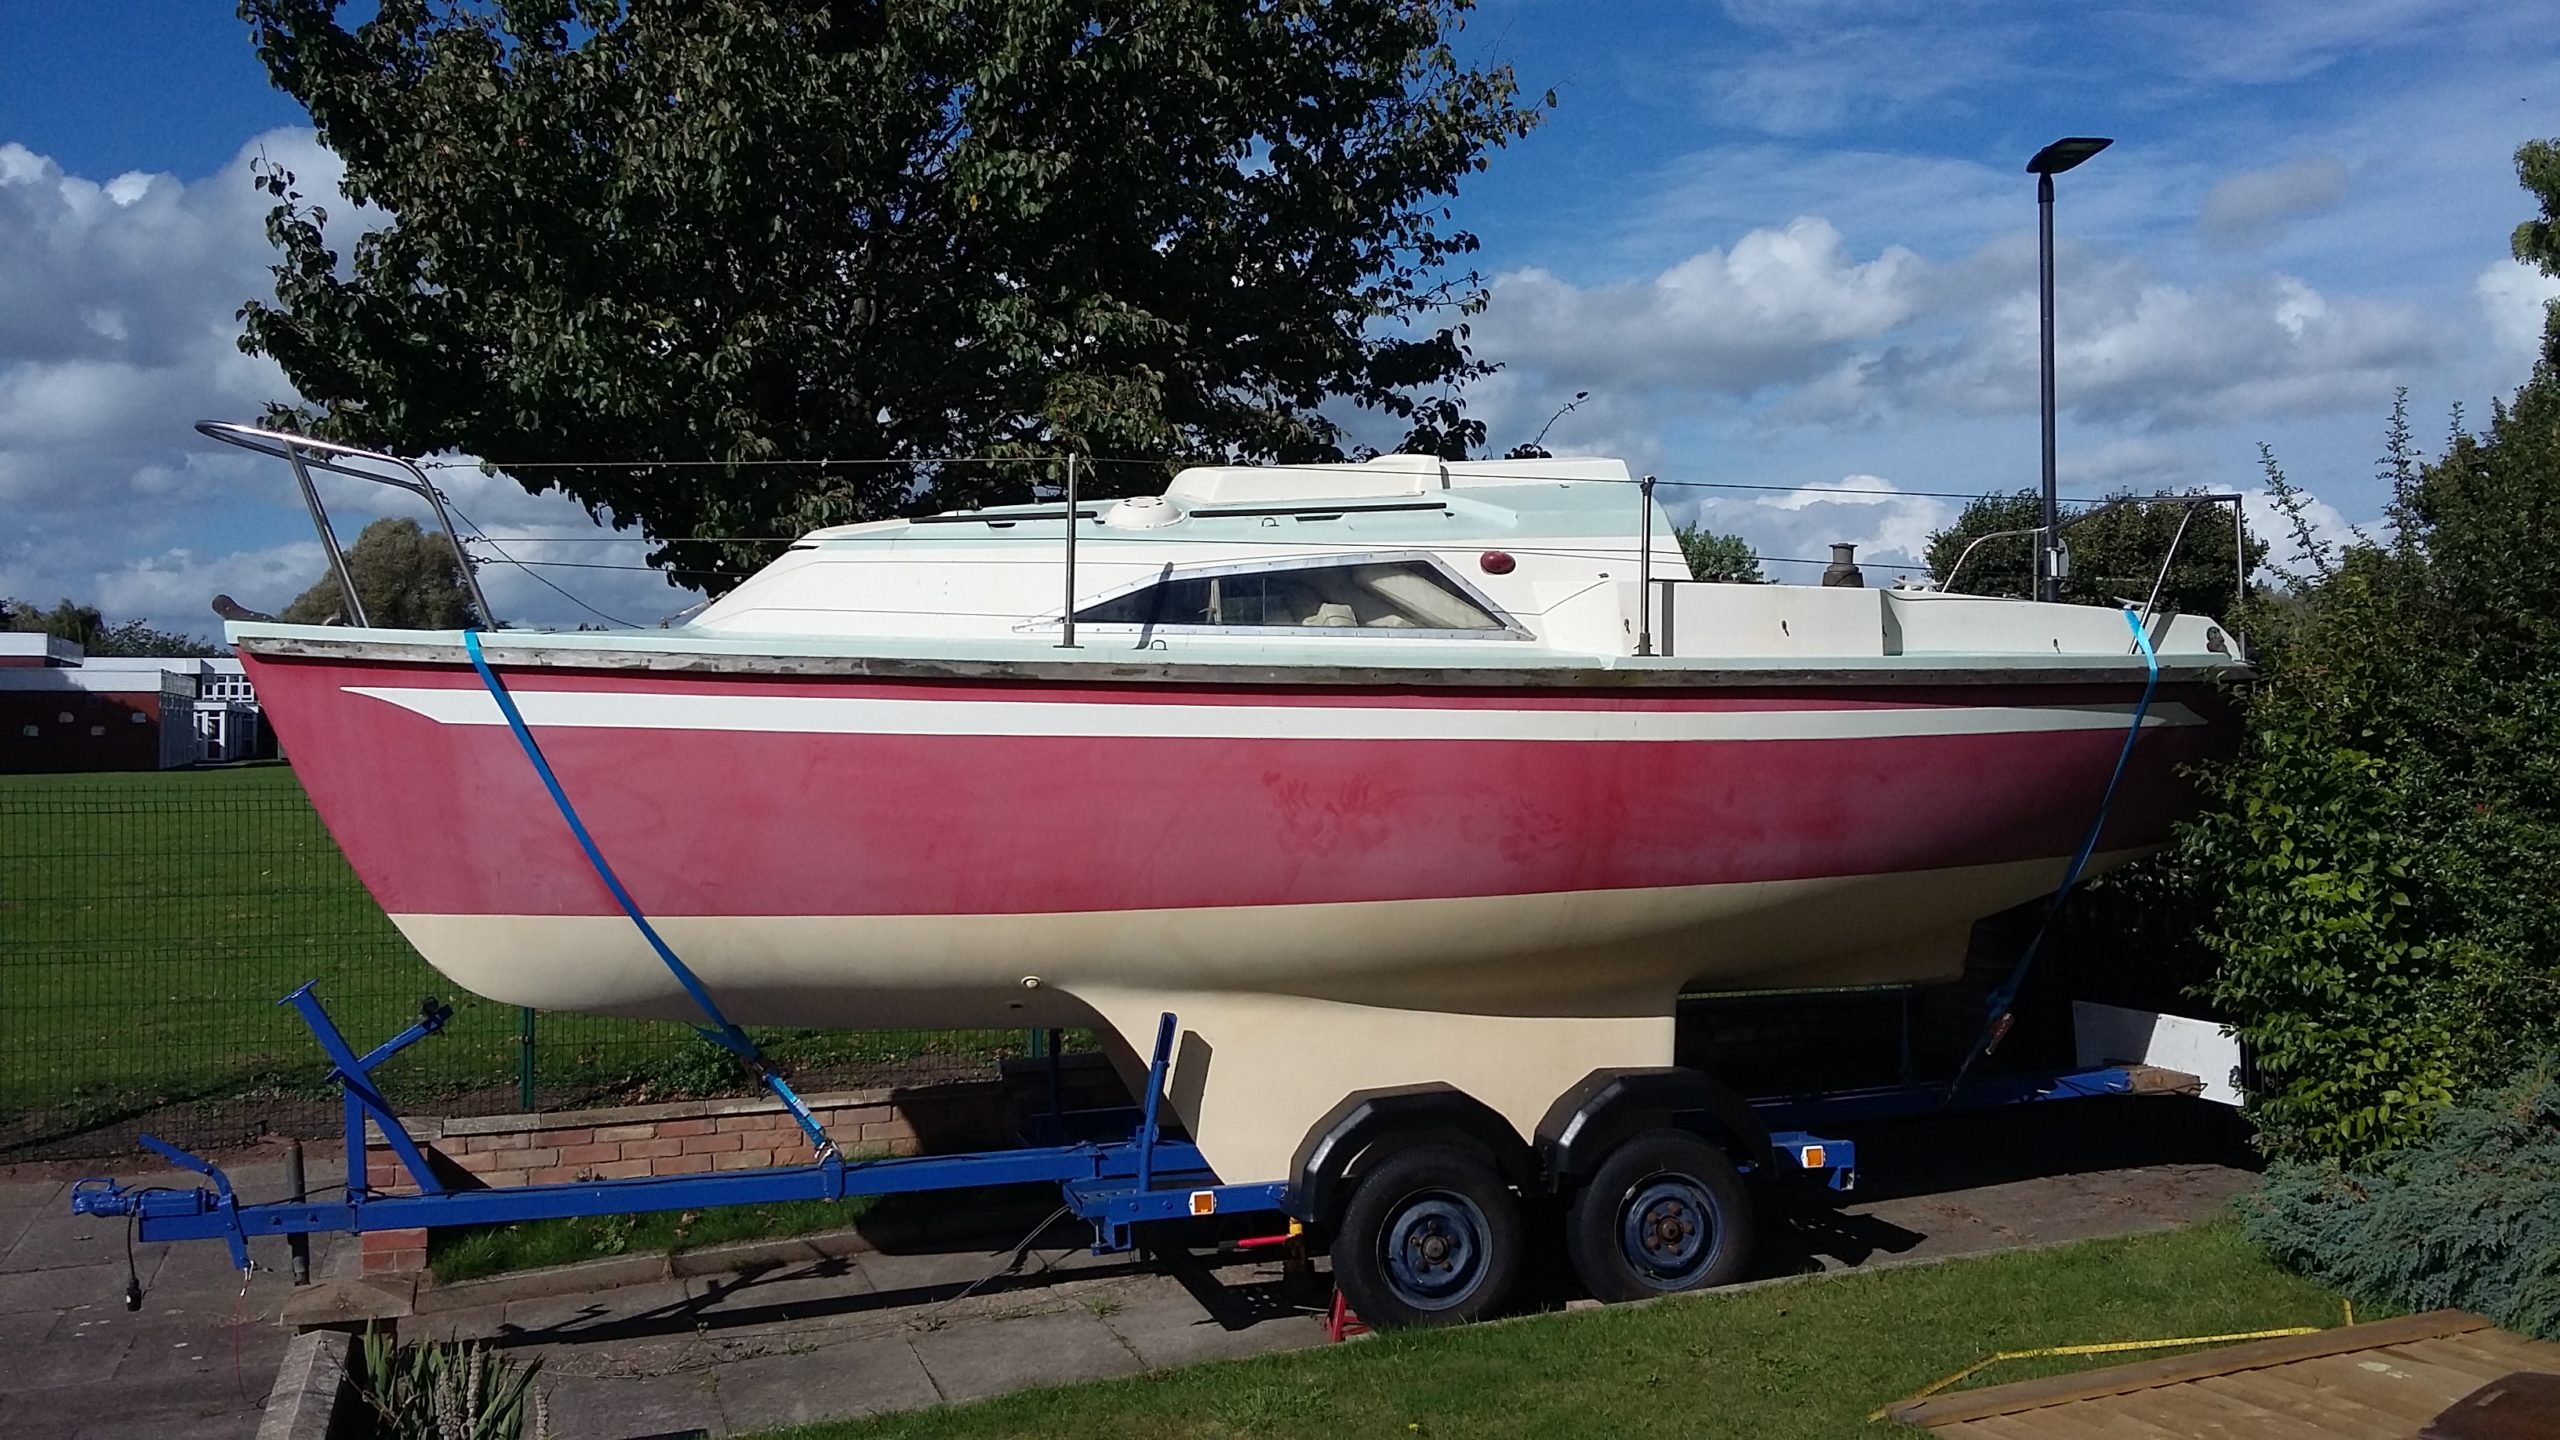
k the boat back to storage. Overall she is massively different to the original arrival pictures –
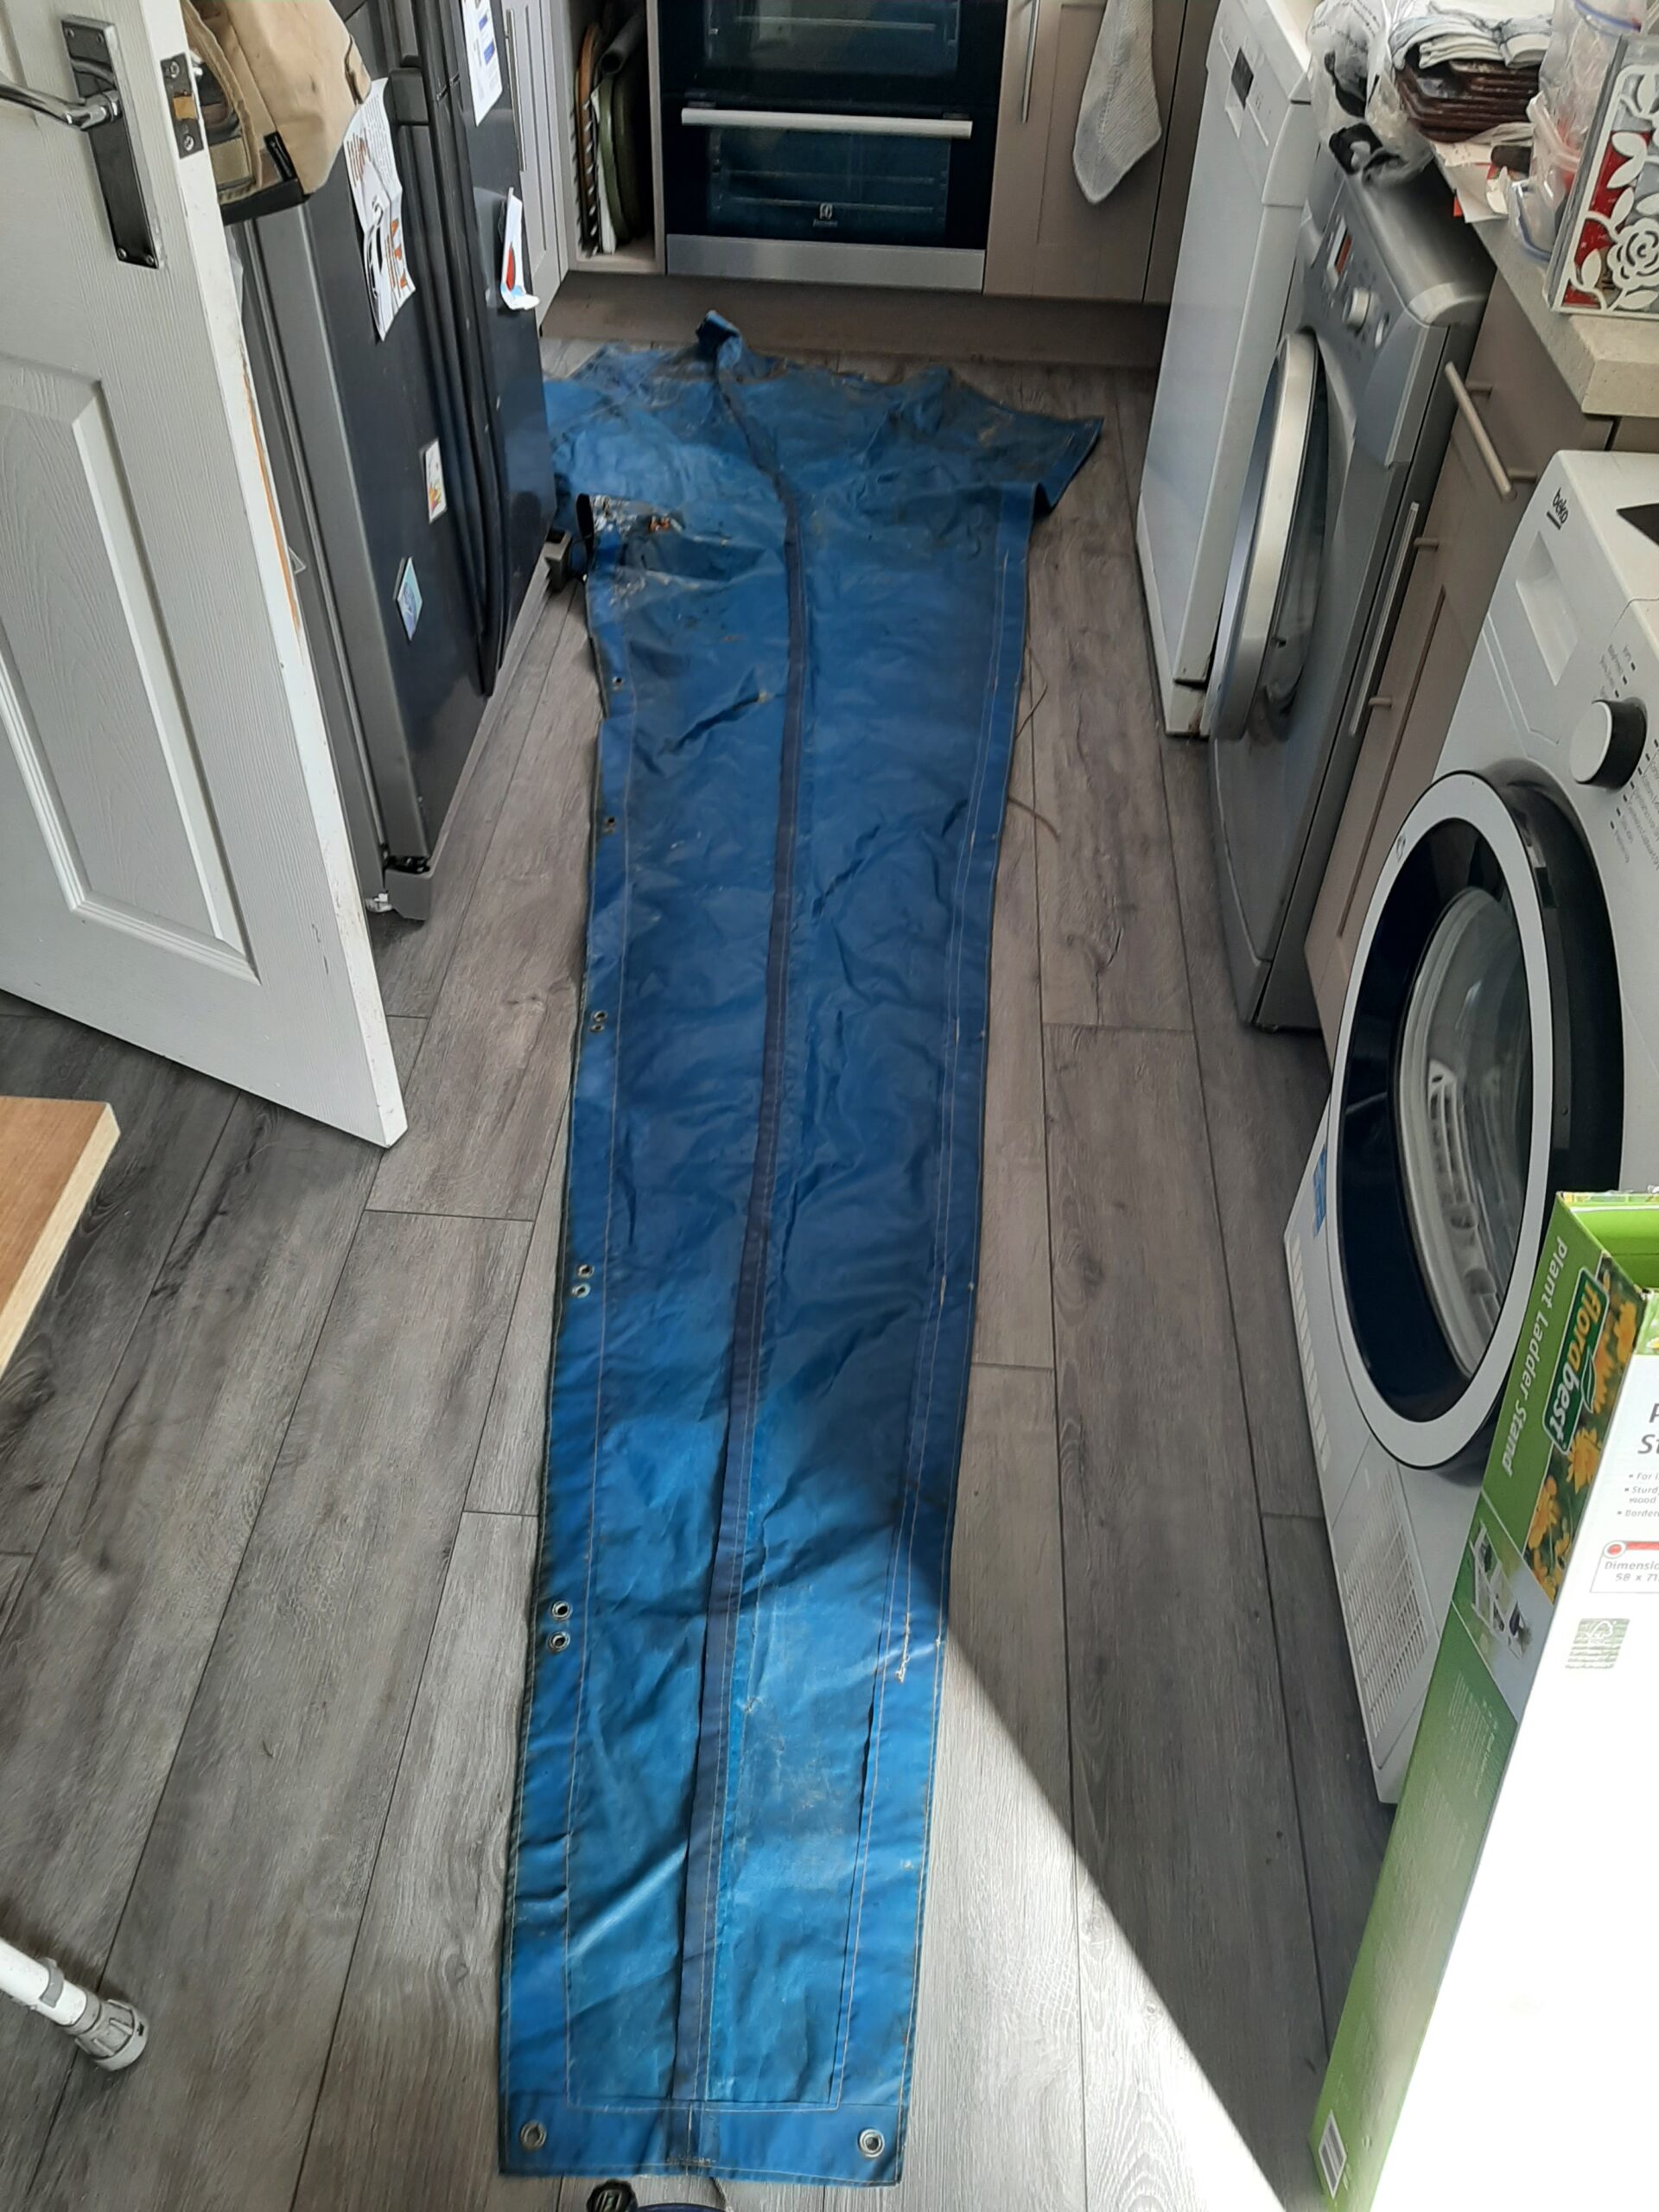
The second job i have been trying to do is to make the replacement cover for the mainsail. Original one is falling to pieces and only really fit for use as a template.
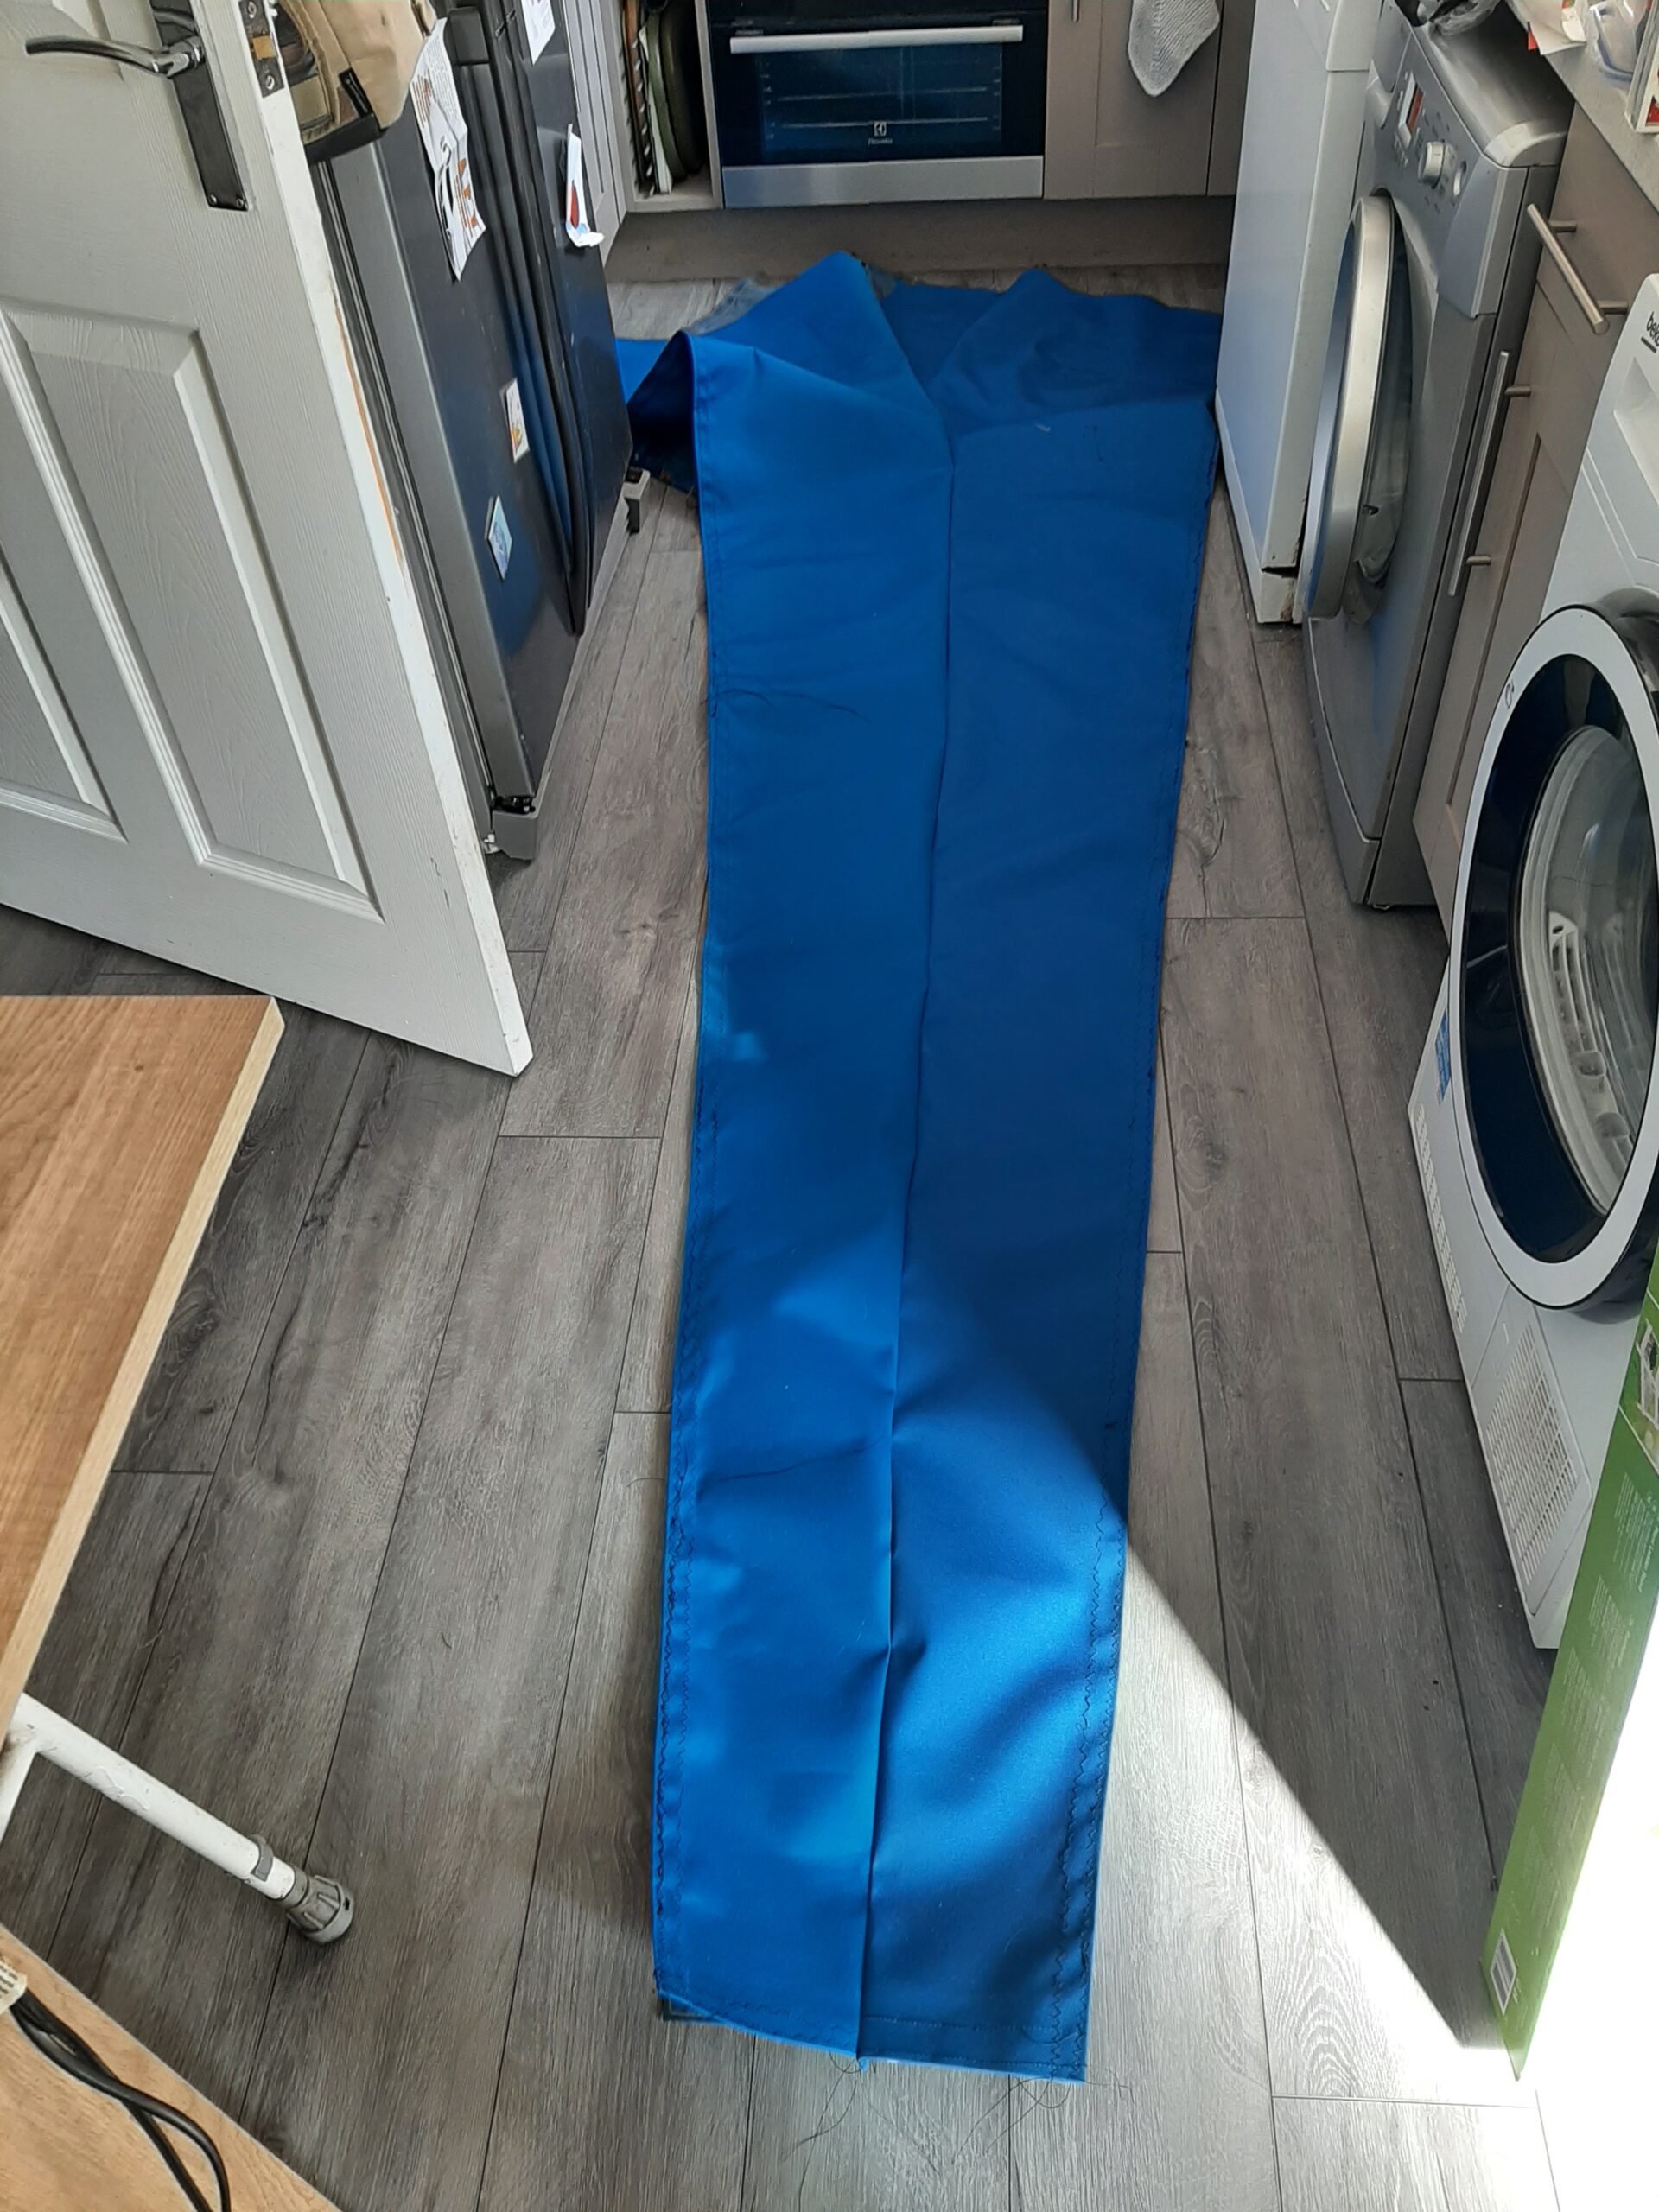 You wont notice the slight rookie error from the pictures but the two different sides of the Sunbrella canvas are
a slightly different colour, probably because of the waterproof coating. – The two pieces I sewed together should have been mirror image but are actually the same shape so the colours show up on that top seam. It wont be noticeable in use as 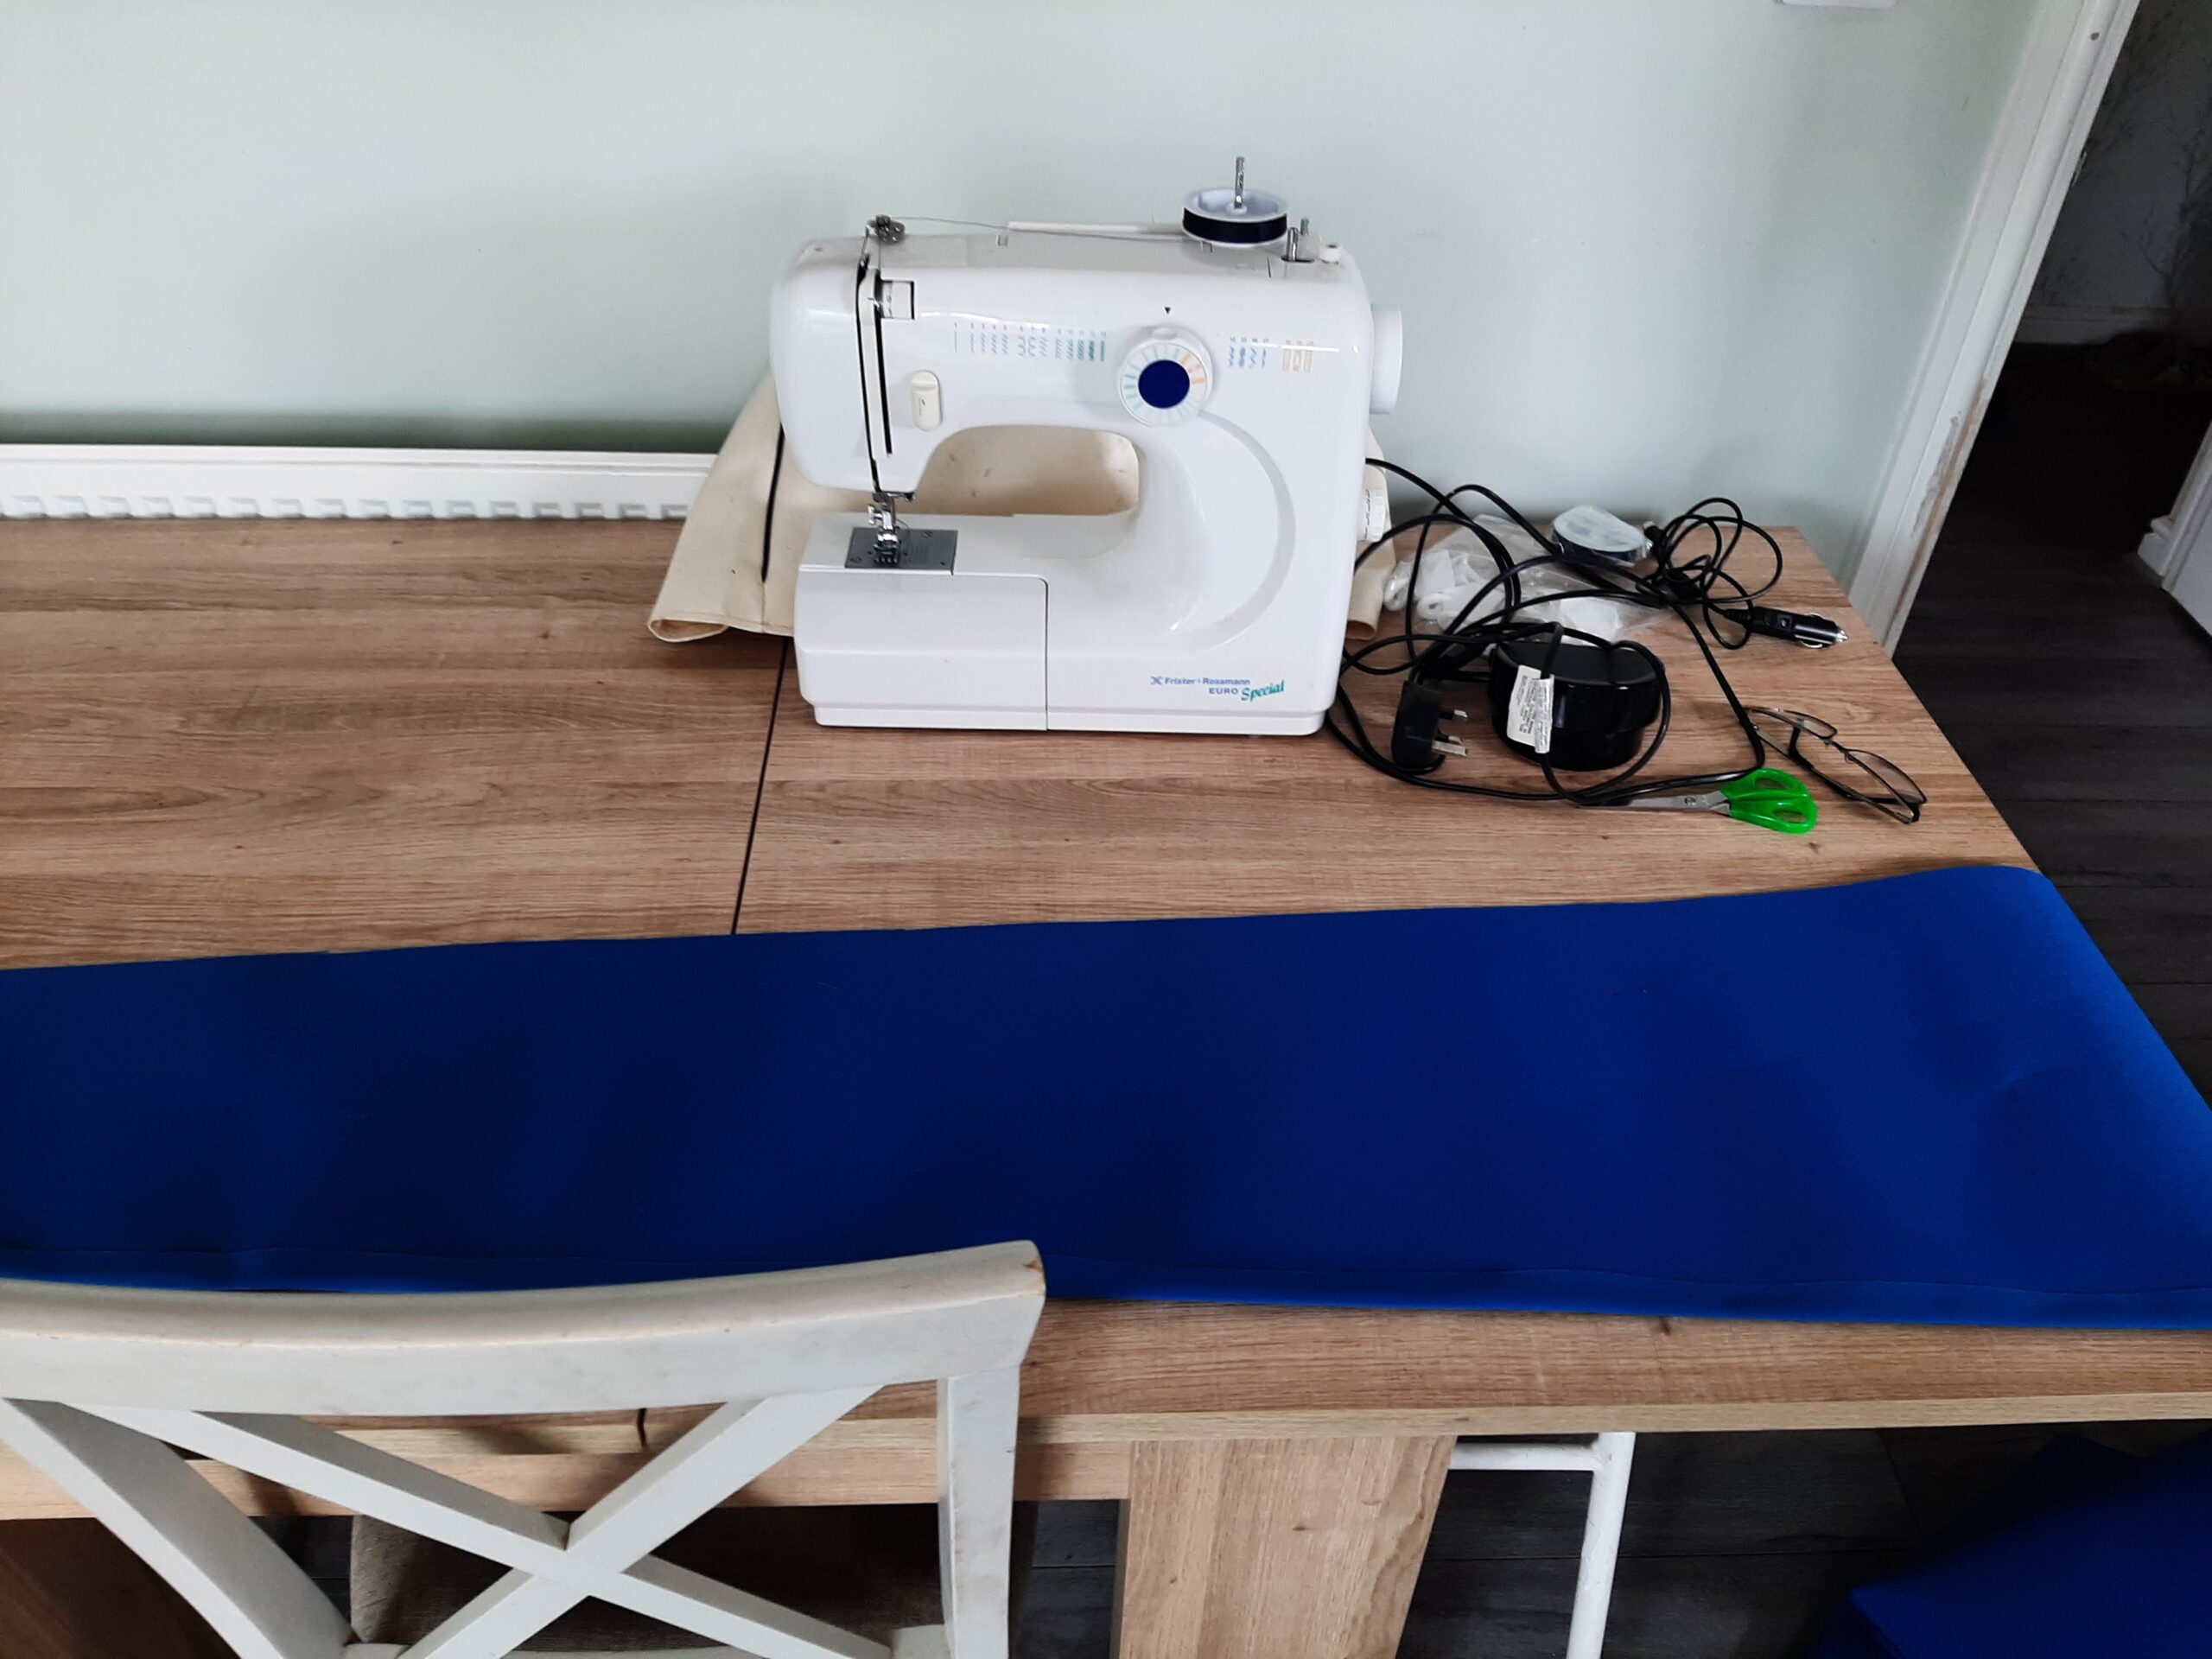 nobody is likely to see the two sides at the same time but I am a little annoyed with myself. The stitching is not the best because our domestic sewing machine is only just coping with the heavy gauge material and I have to pull it along rather than the machine’s foot regulating the stitch spacing. Progress is being achieved but is slow because I need hours of uninterrupted time and a completely clear kitchen table to be able to achieve anything.
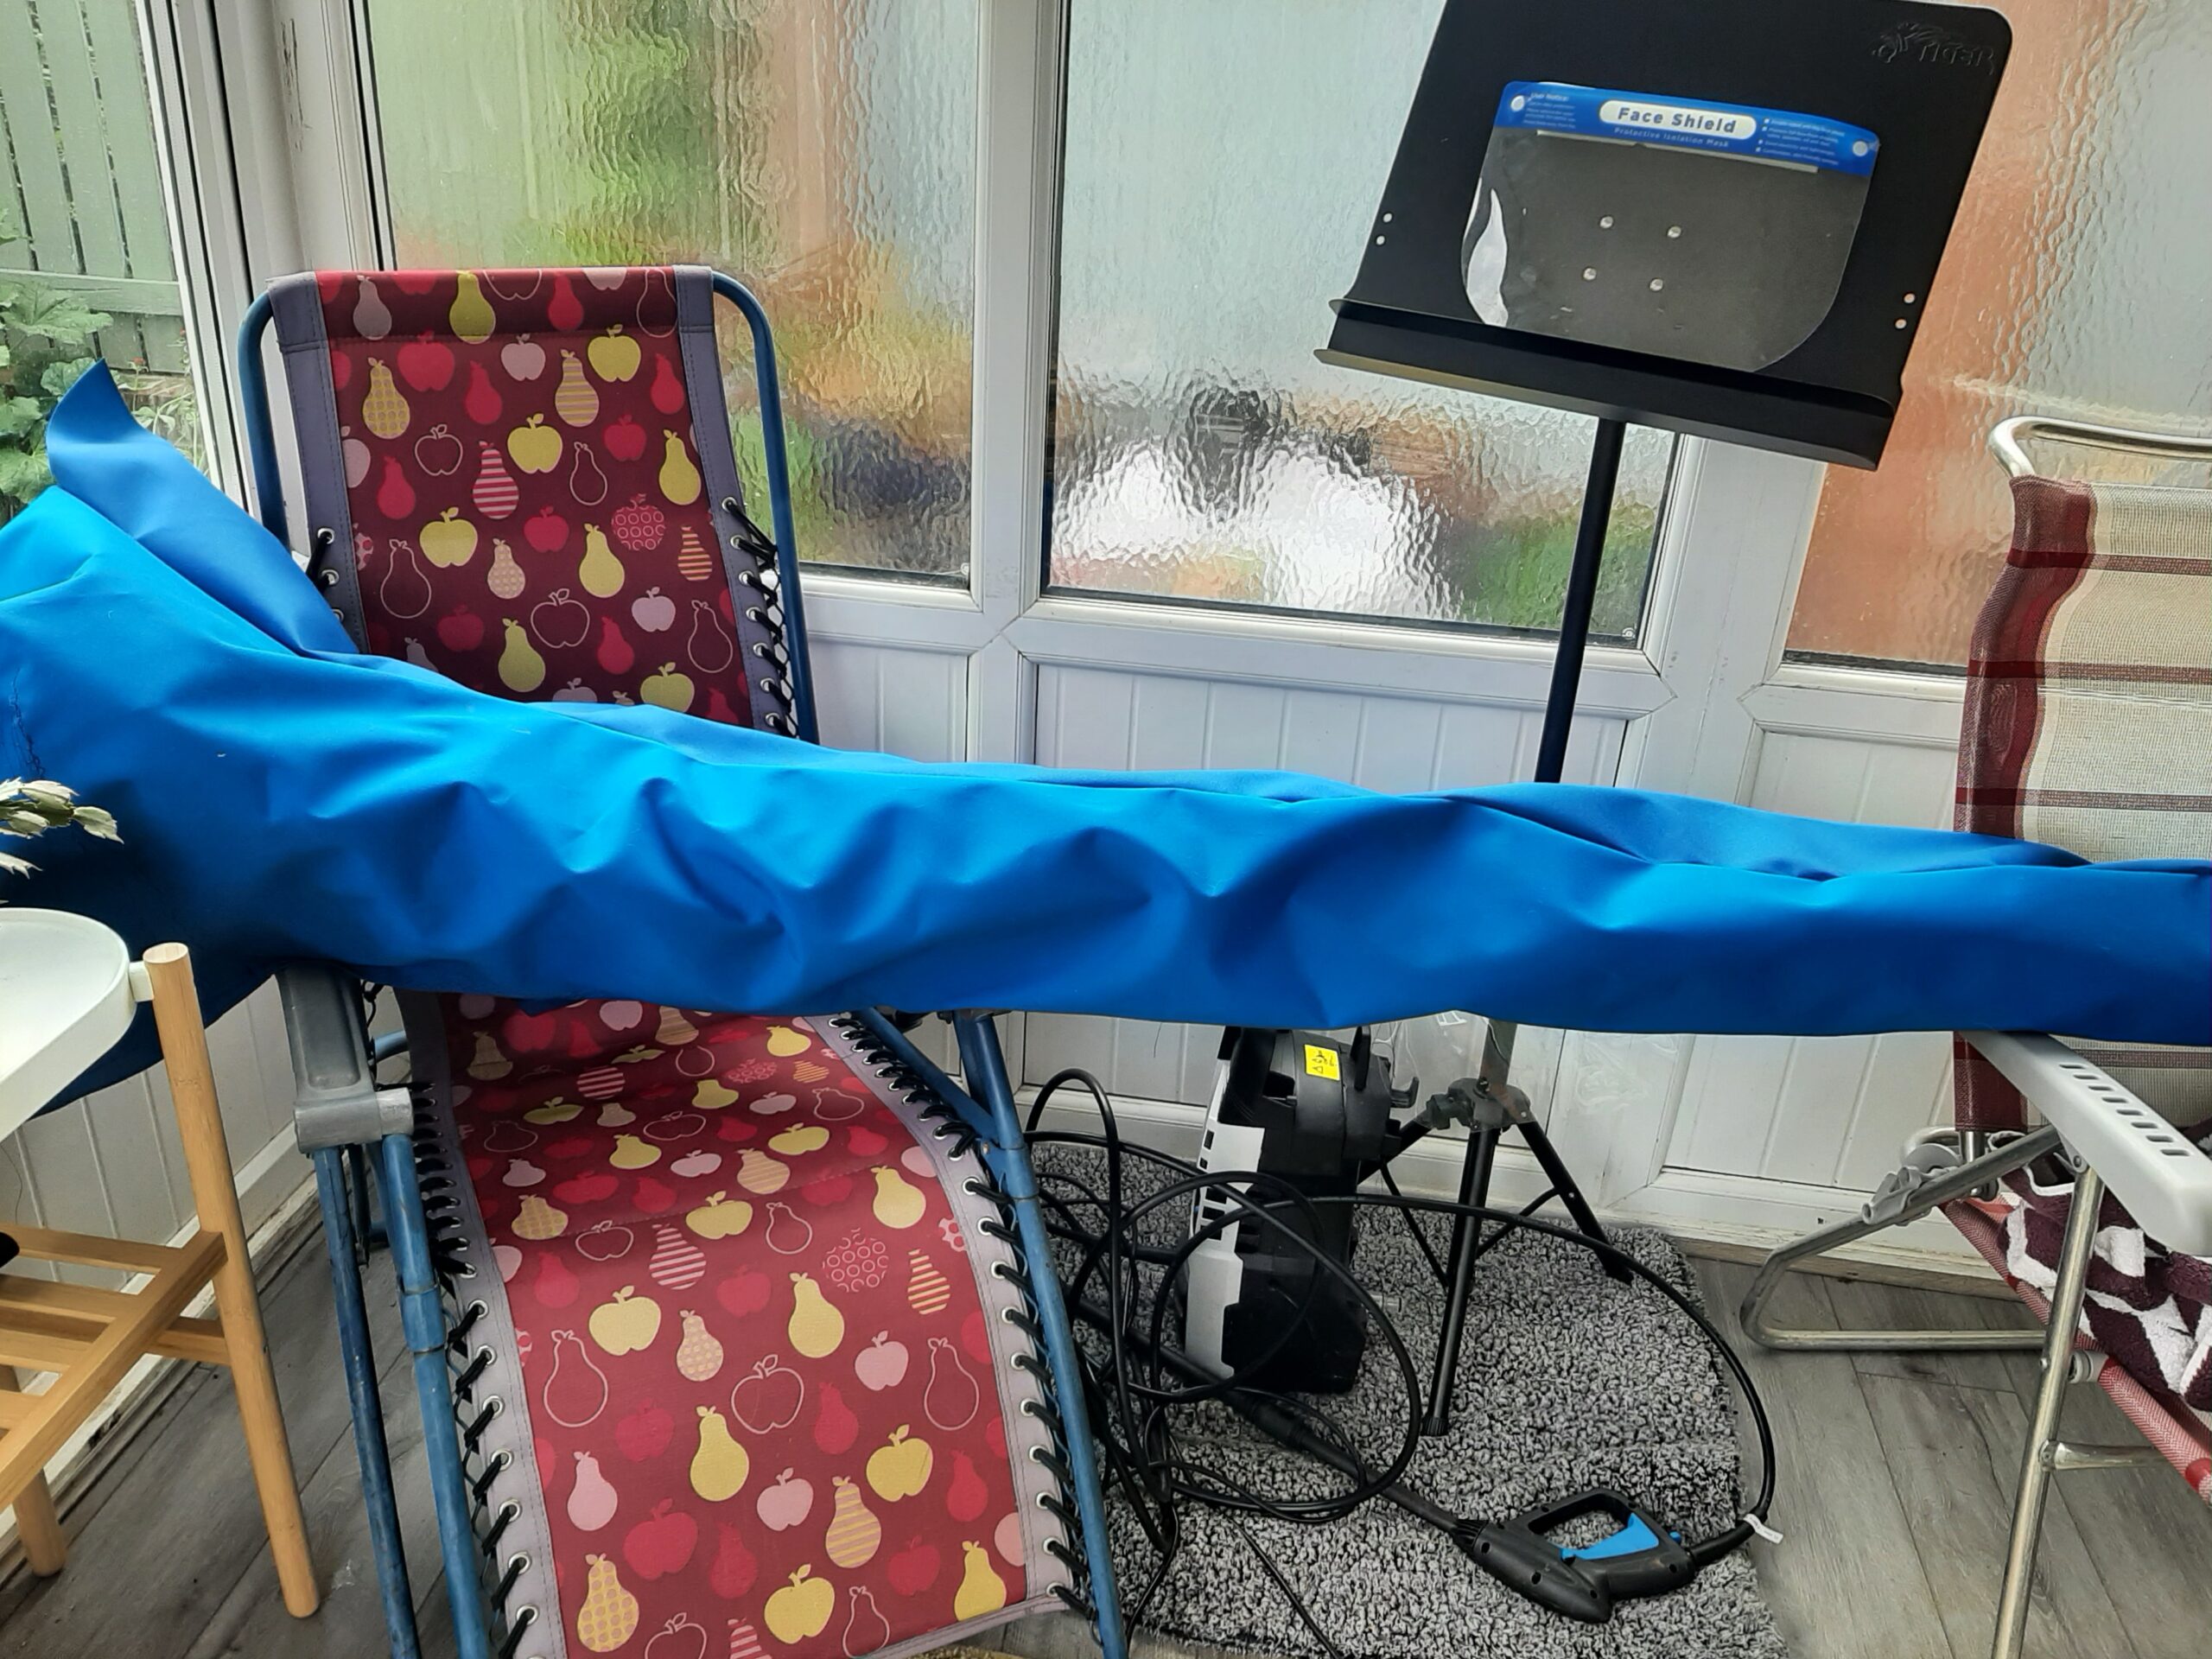
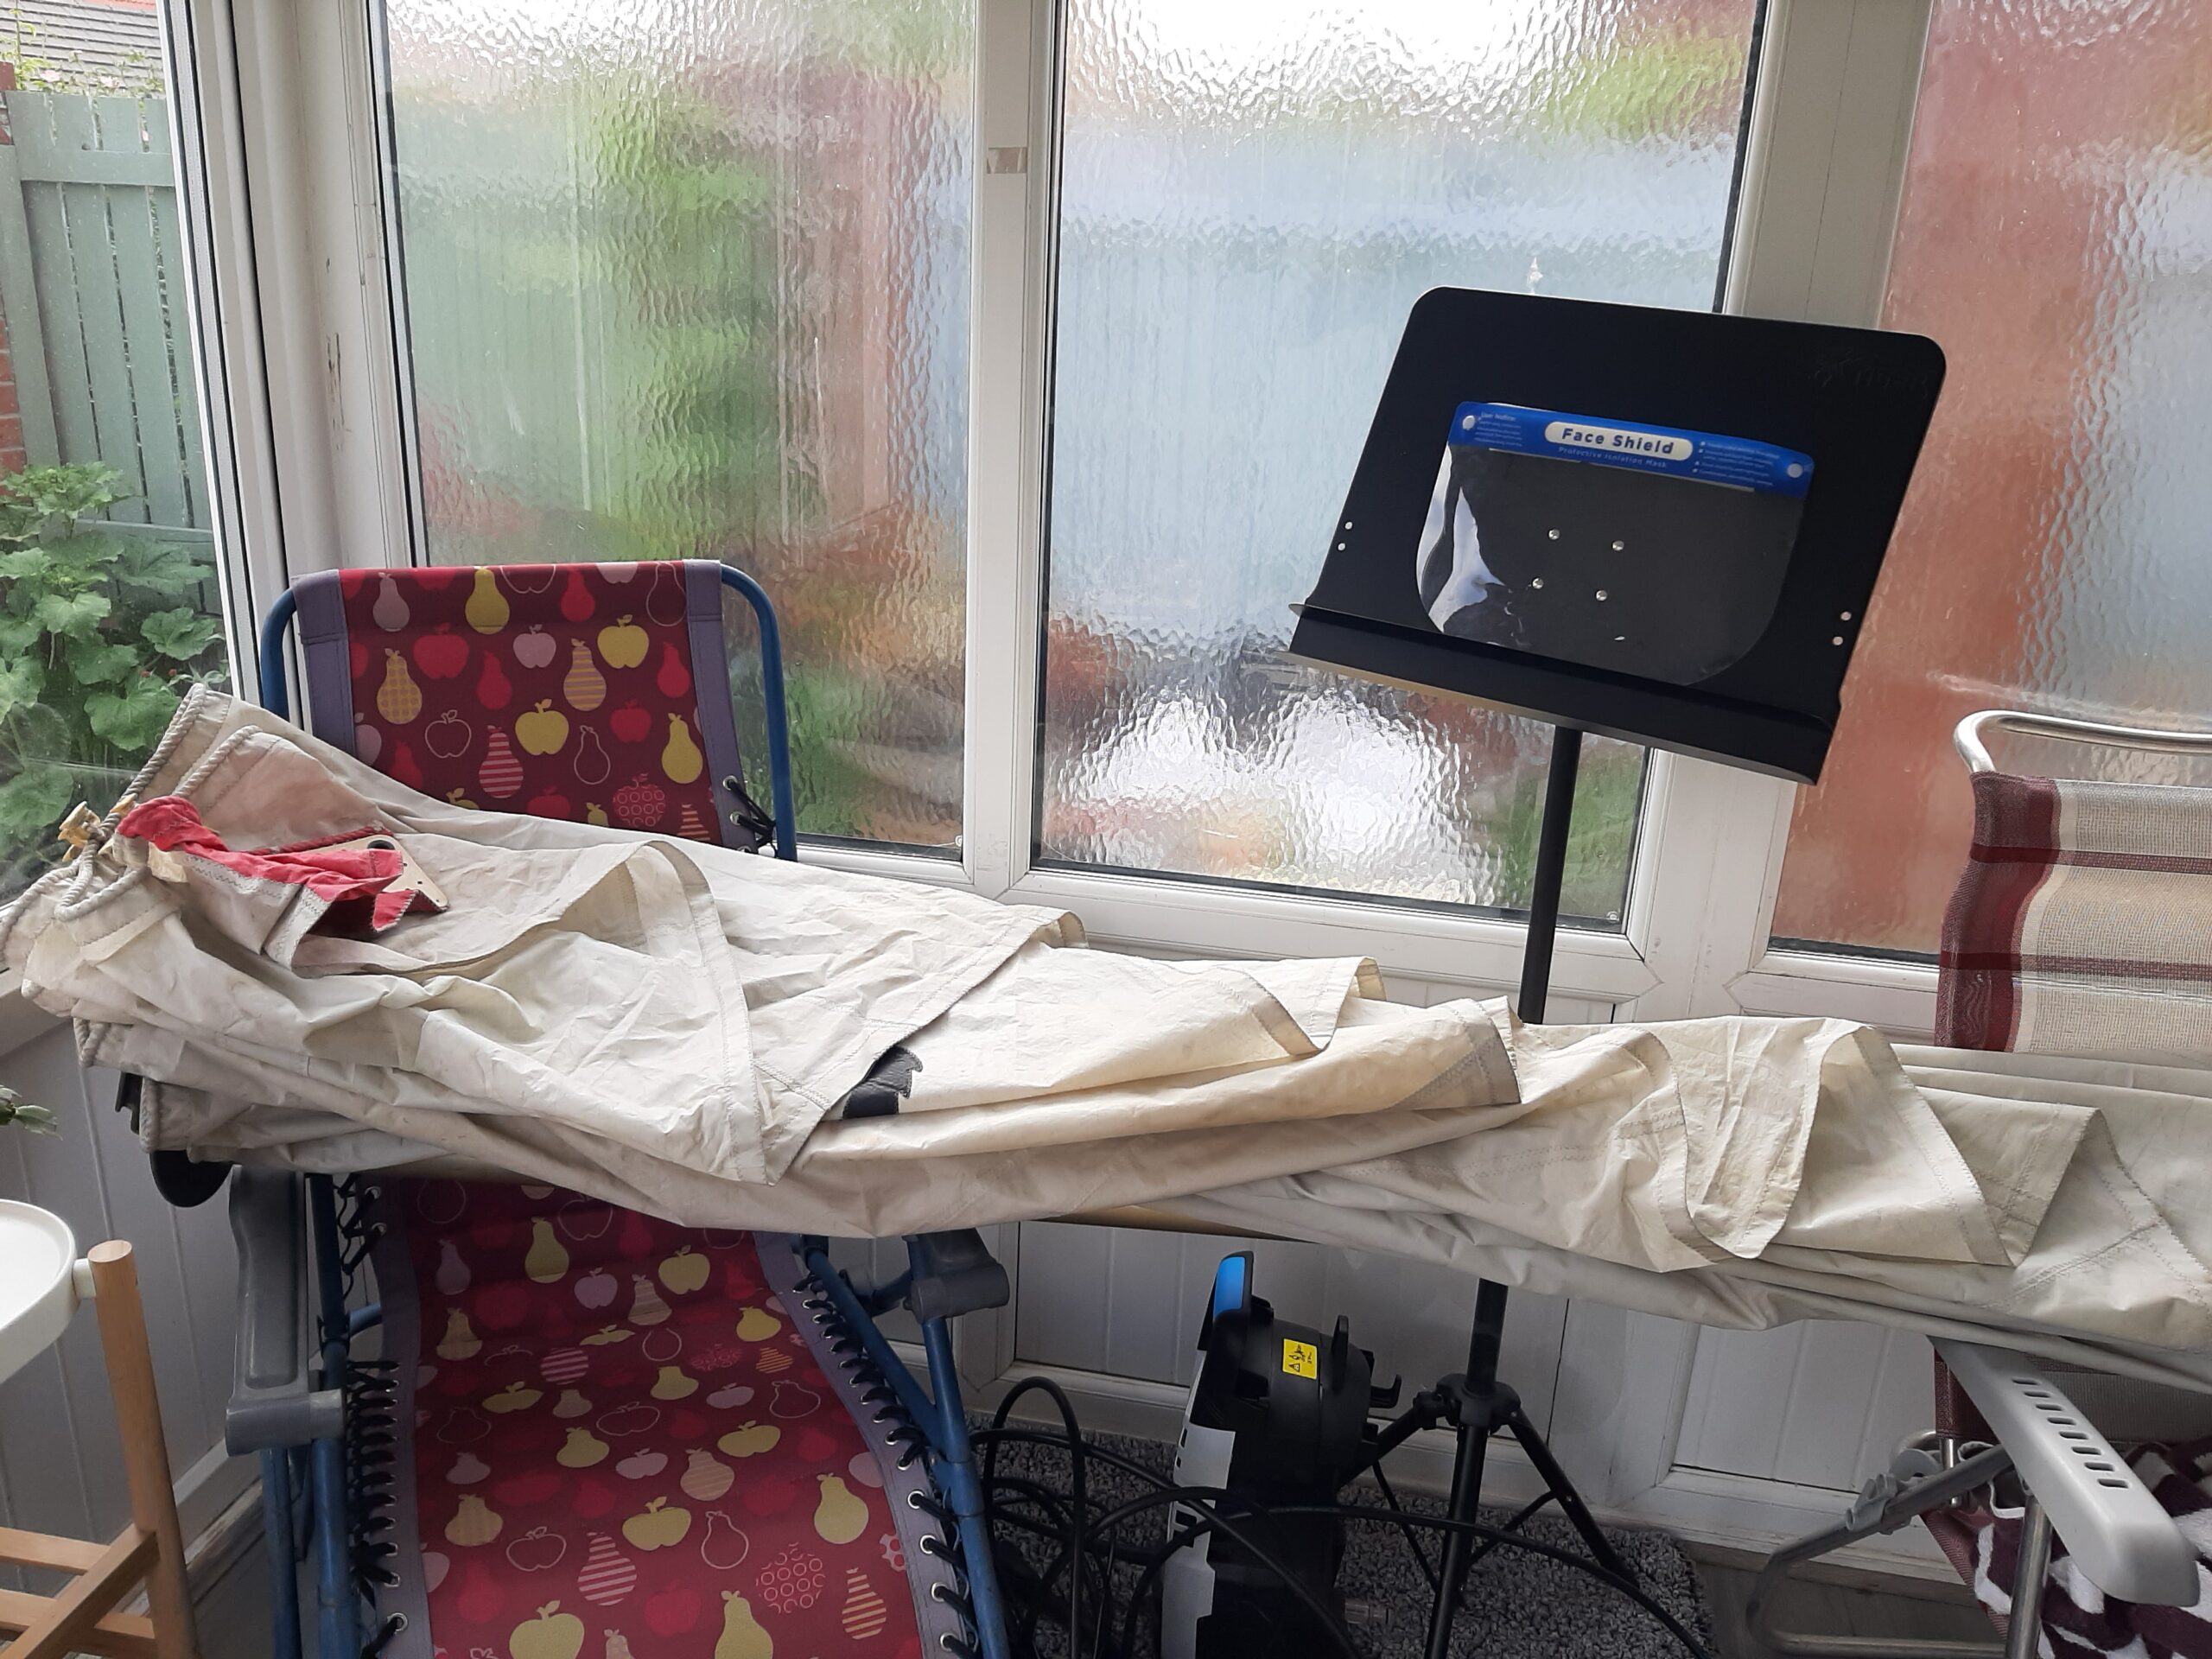 Basically it fits over the flaked mainsail at the moment but theres a little more work to do before I will be ready to sort out the closure mechanism and I think the next step needs to be to make some sail ties from velcro and webbing. That will help stabilise my next set of experiments with the boom and mainsail so I can get the cover to be a reasonably tight fit while I work out positions for the hooks and eyes that lace the edges together below the boom.
The other slow job that has been in progress is re-sealing the port side cabin window. This was particularly reluctant to come out and any spare time at the boat since January has been used to progressively attack the sealant using the Dremmel tool and a cutting disk to try to release the aluminium frame from the cabin side. This tool has mainly been being powered using the inverter from the boat batteries so it was a lot of fairly short work sessions. In July I got the generator working again and started to substitute an oscillating power tool. This finally managed to achieve release of enough frame to be able to take out the window. Of course that achievement almost immediately triggered a week of rain while I worked on the window at home.
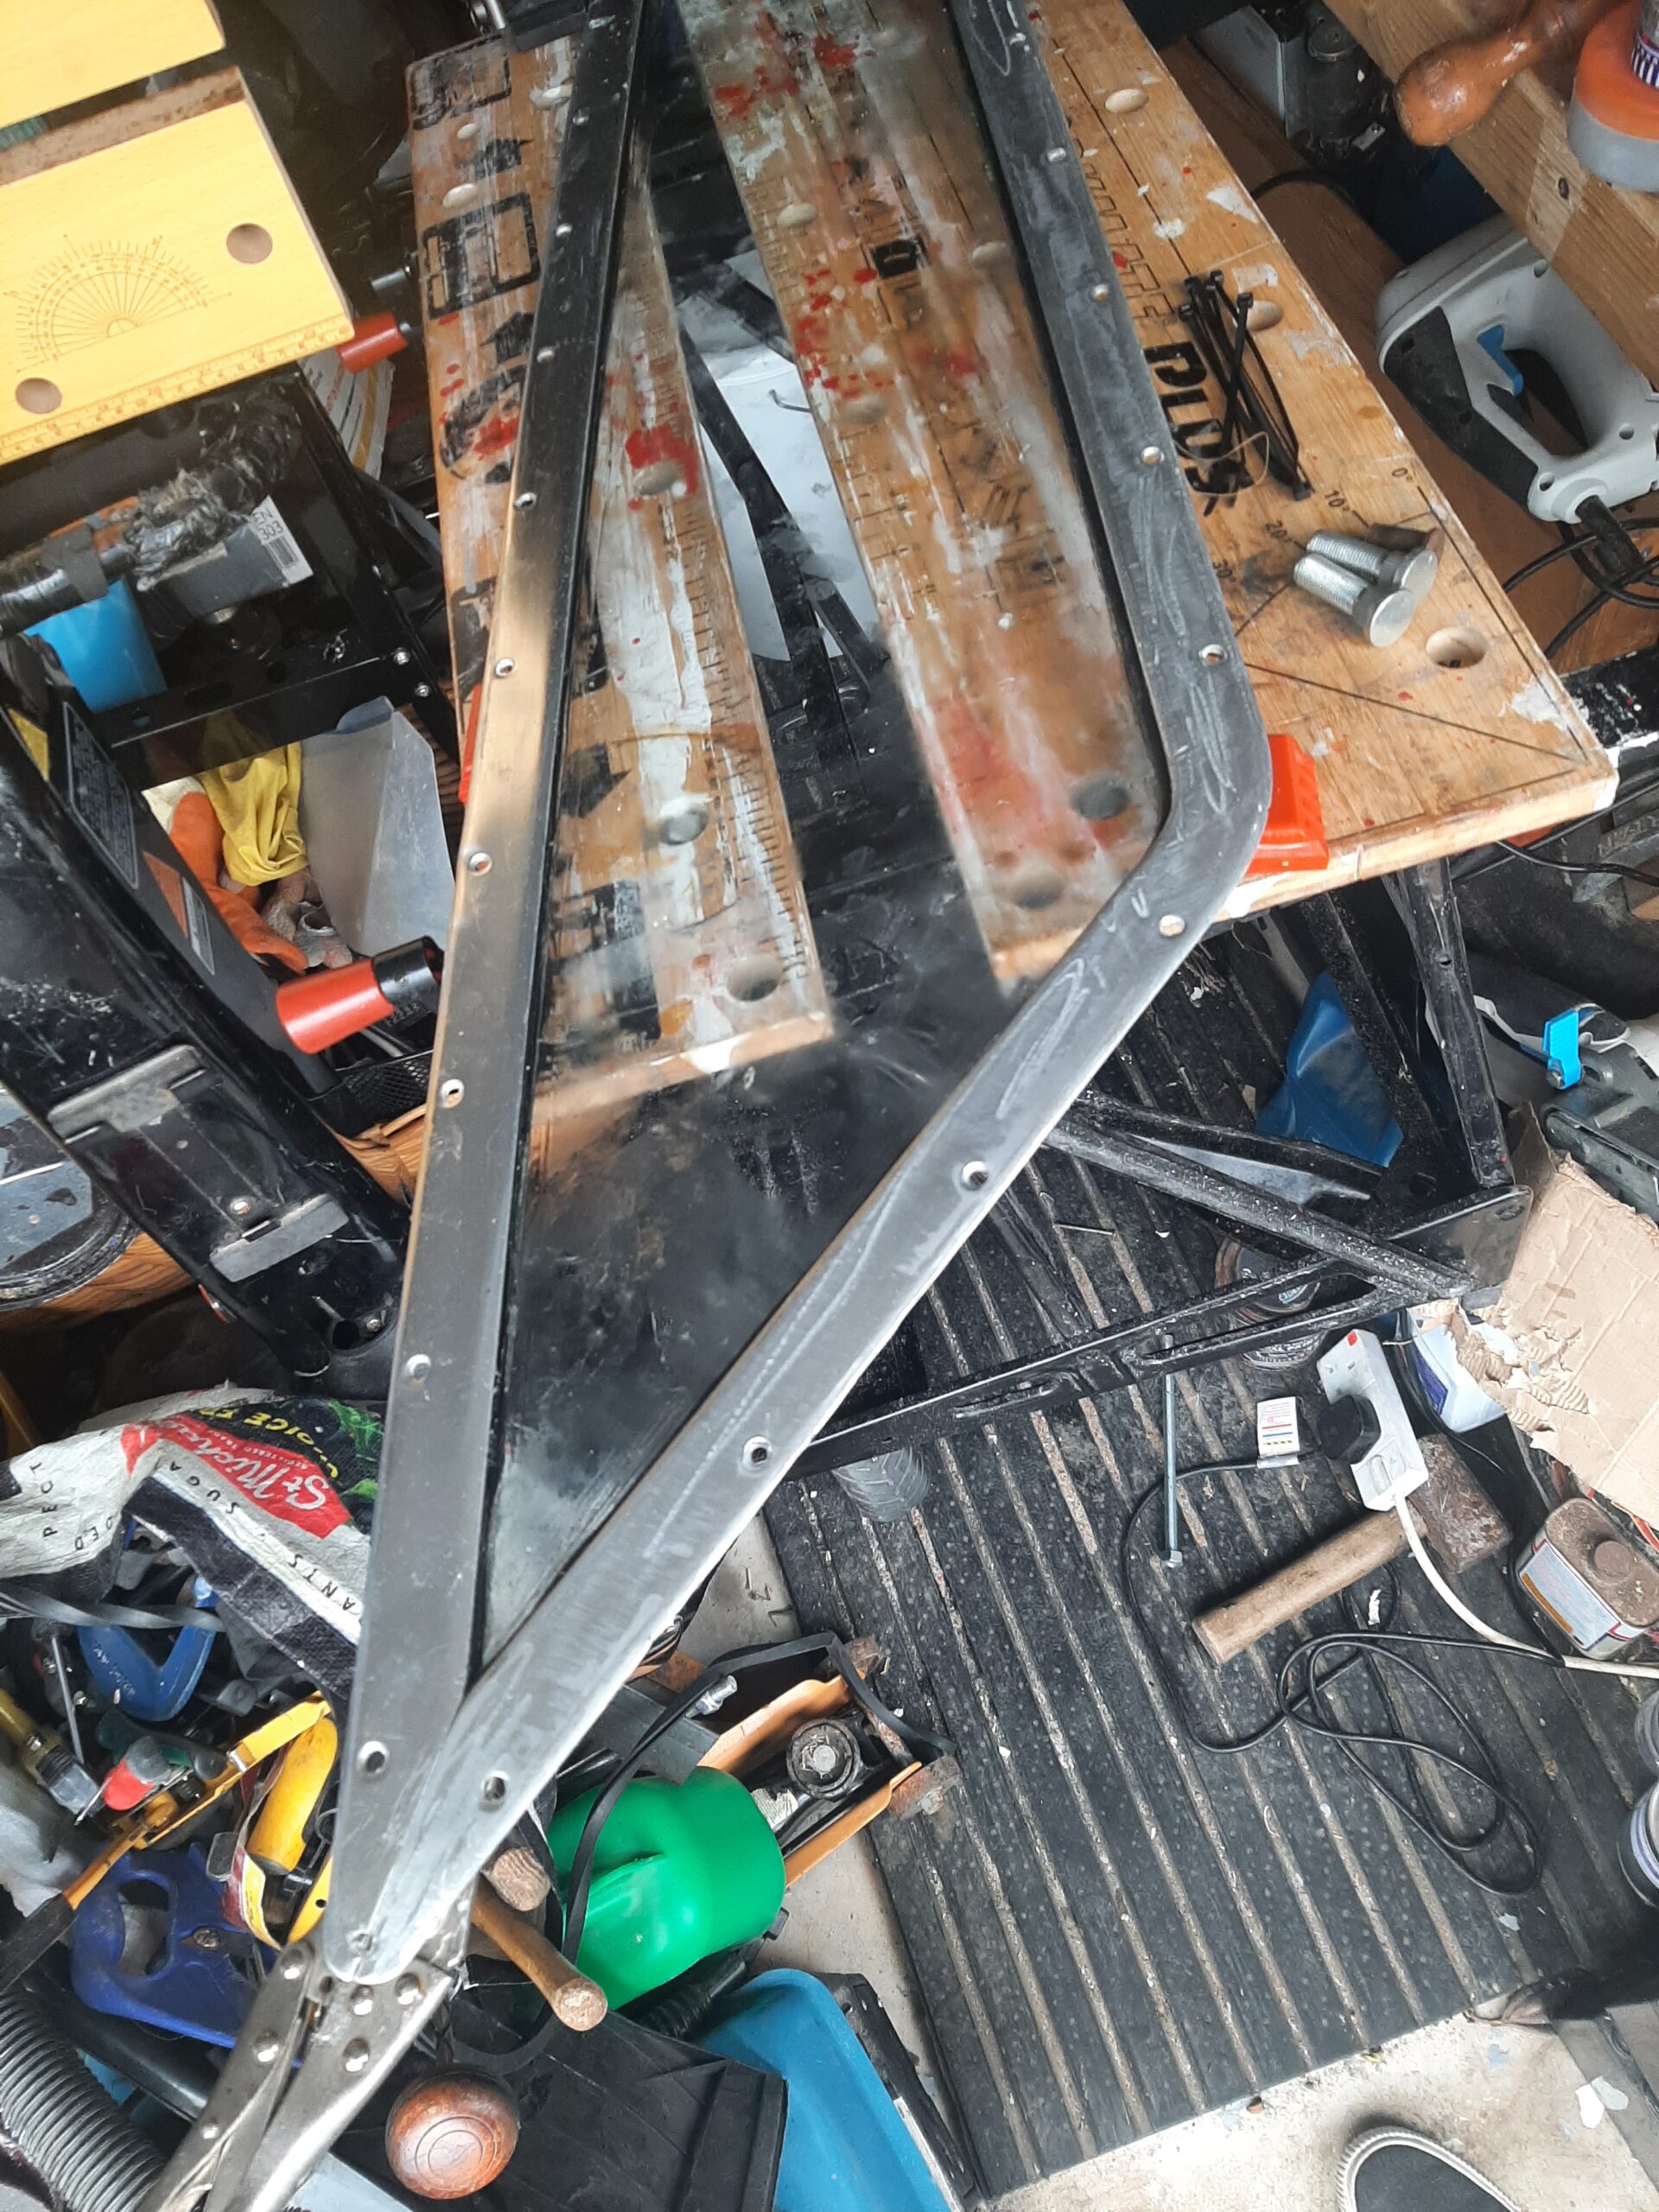
Dismantling it, cleaning up the frame and glass and putting all the bits back together again only took half a day of actual work as 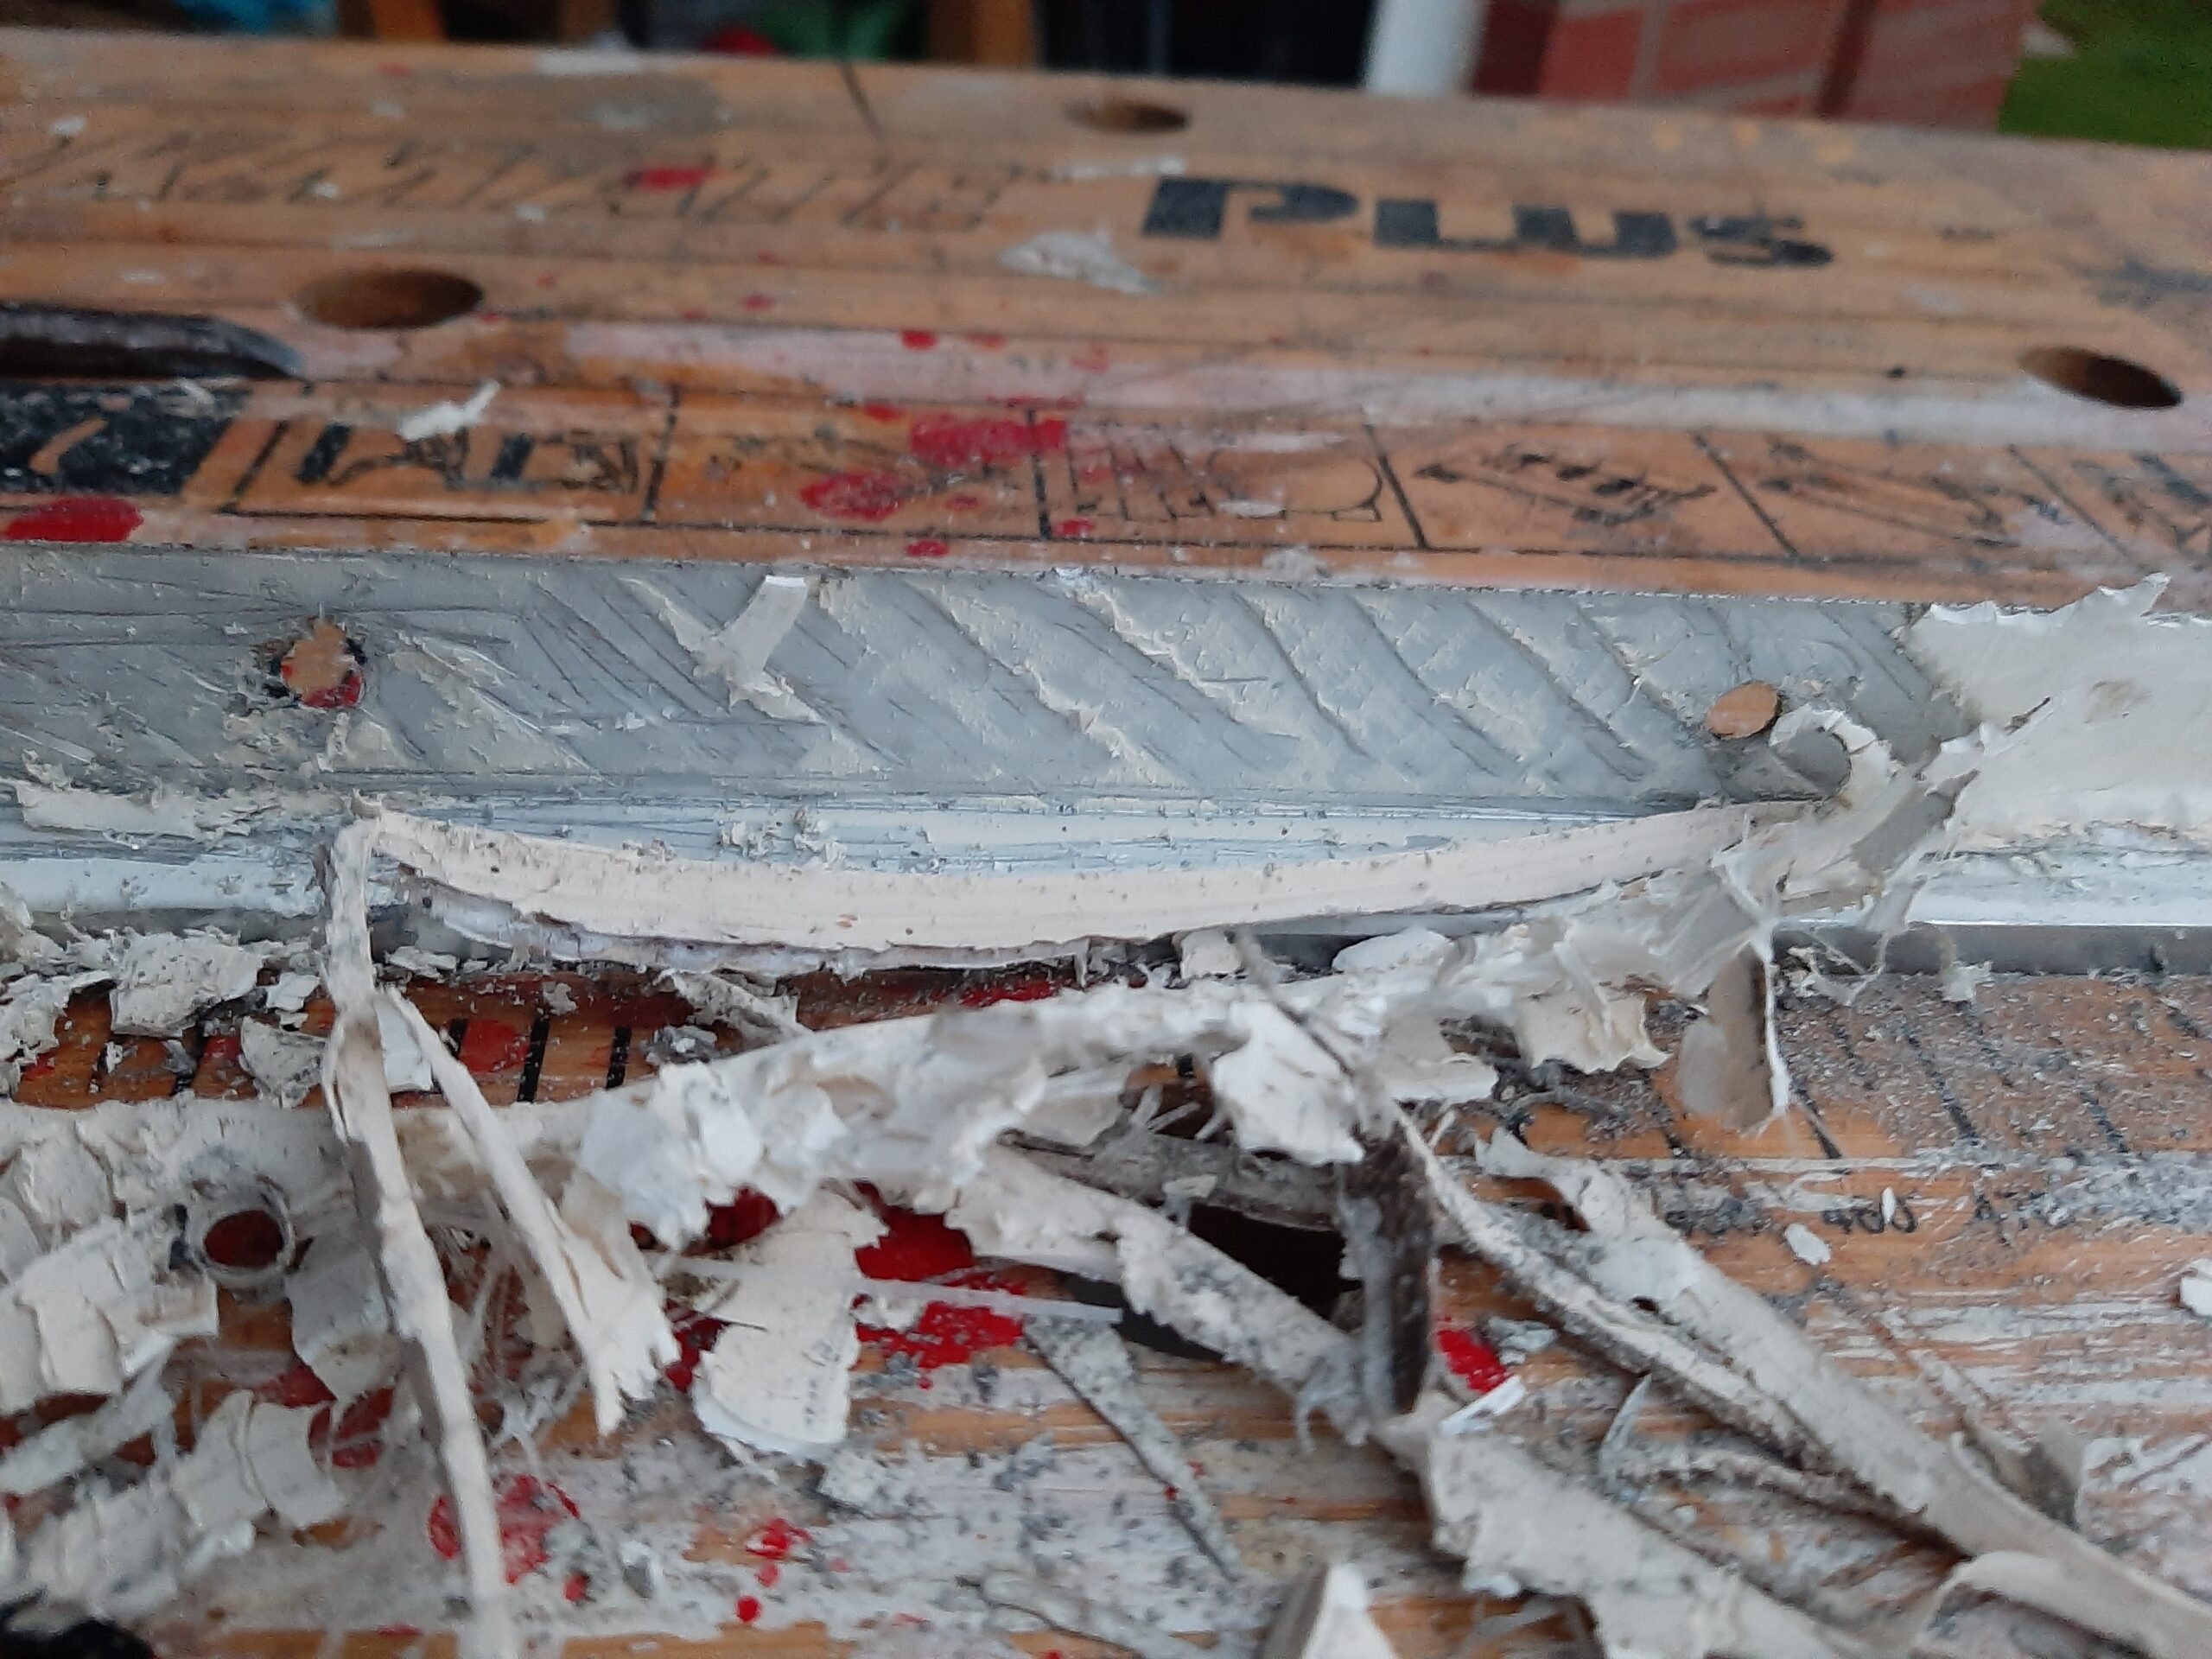 the other side had enabled me to understand how the frame was supposed to fit together. The gel coat came off the frame fairly easily by paring with a sharp chisel followed by sanding with the belt sander. Progress was neatly spaced out though as I took the opportunity to clean up the whole of the aluminium frame and give it two coats of the Everbright coating that was used on the mast. I still got the glass and myself rather covered in silicone sealant though during the re-assembly process..
After a suitable curing period the weather cleared up enough to repair the damaged fibreglass, paint the cabin side and eventually re-install the window.
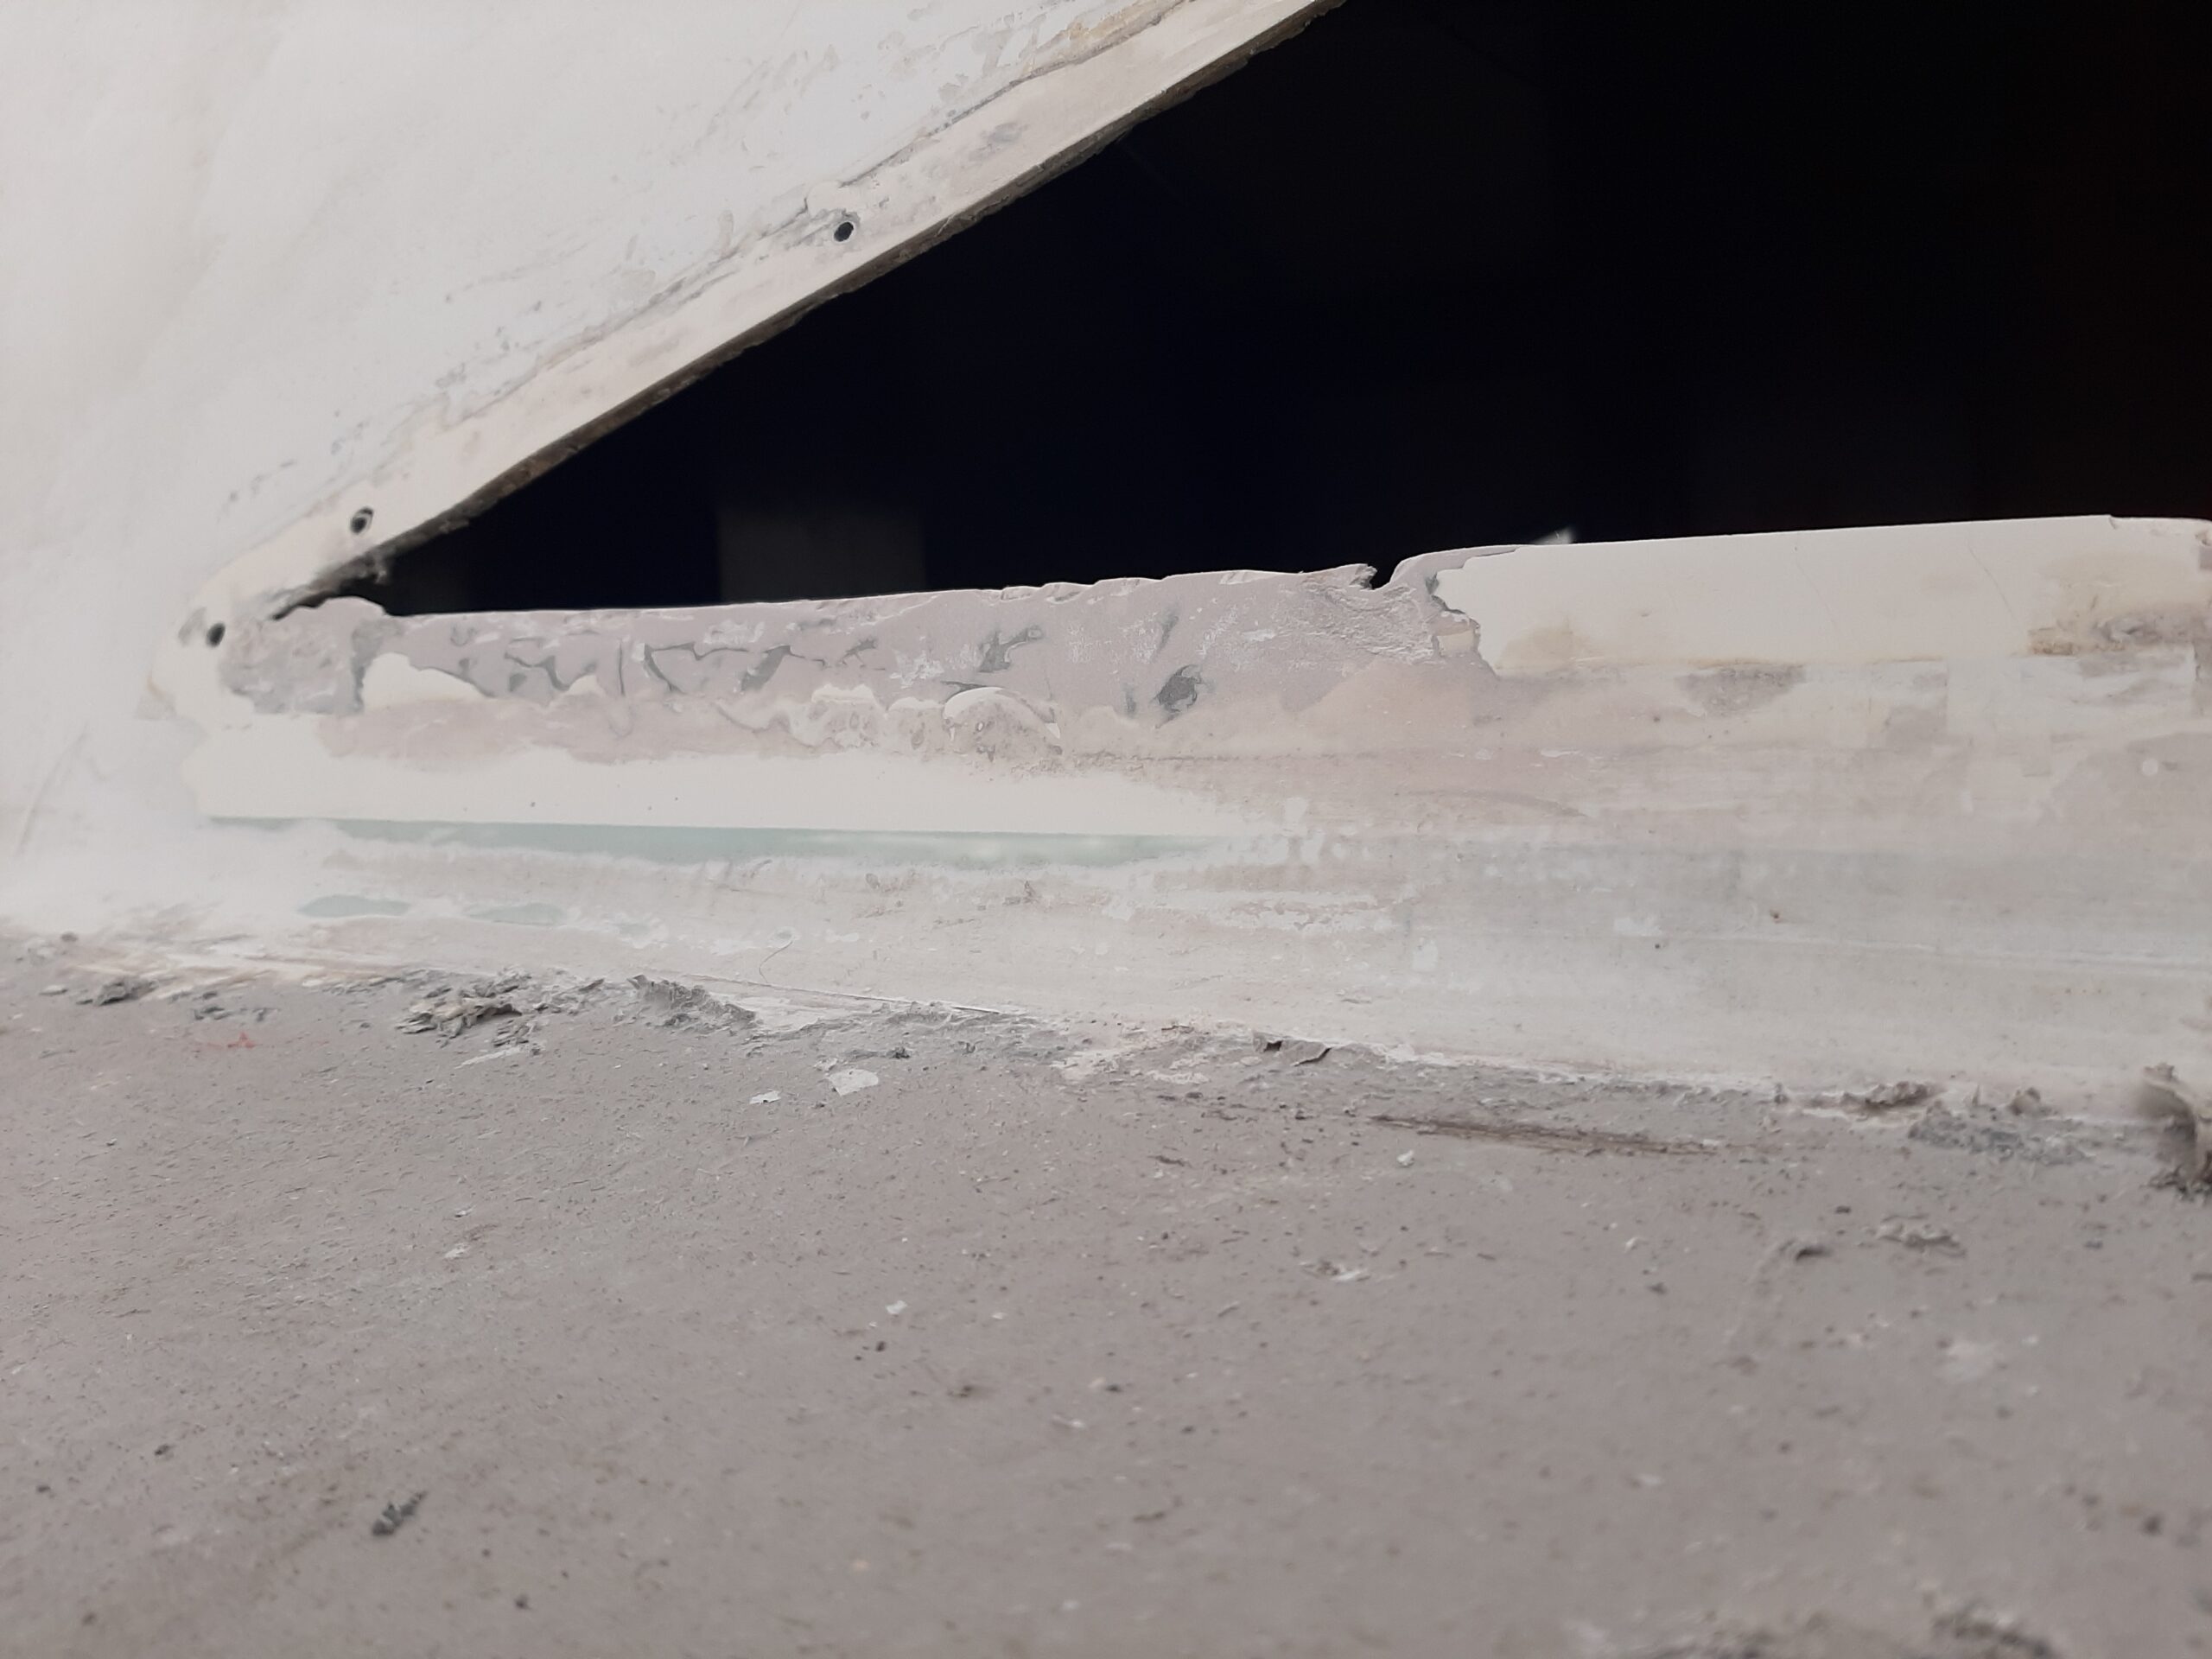
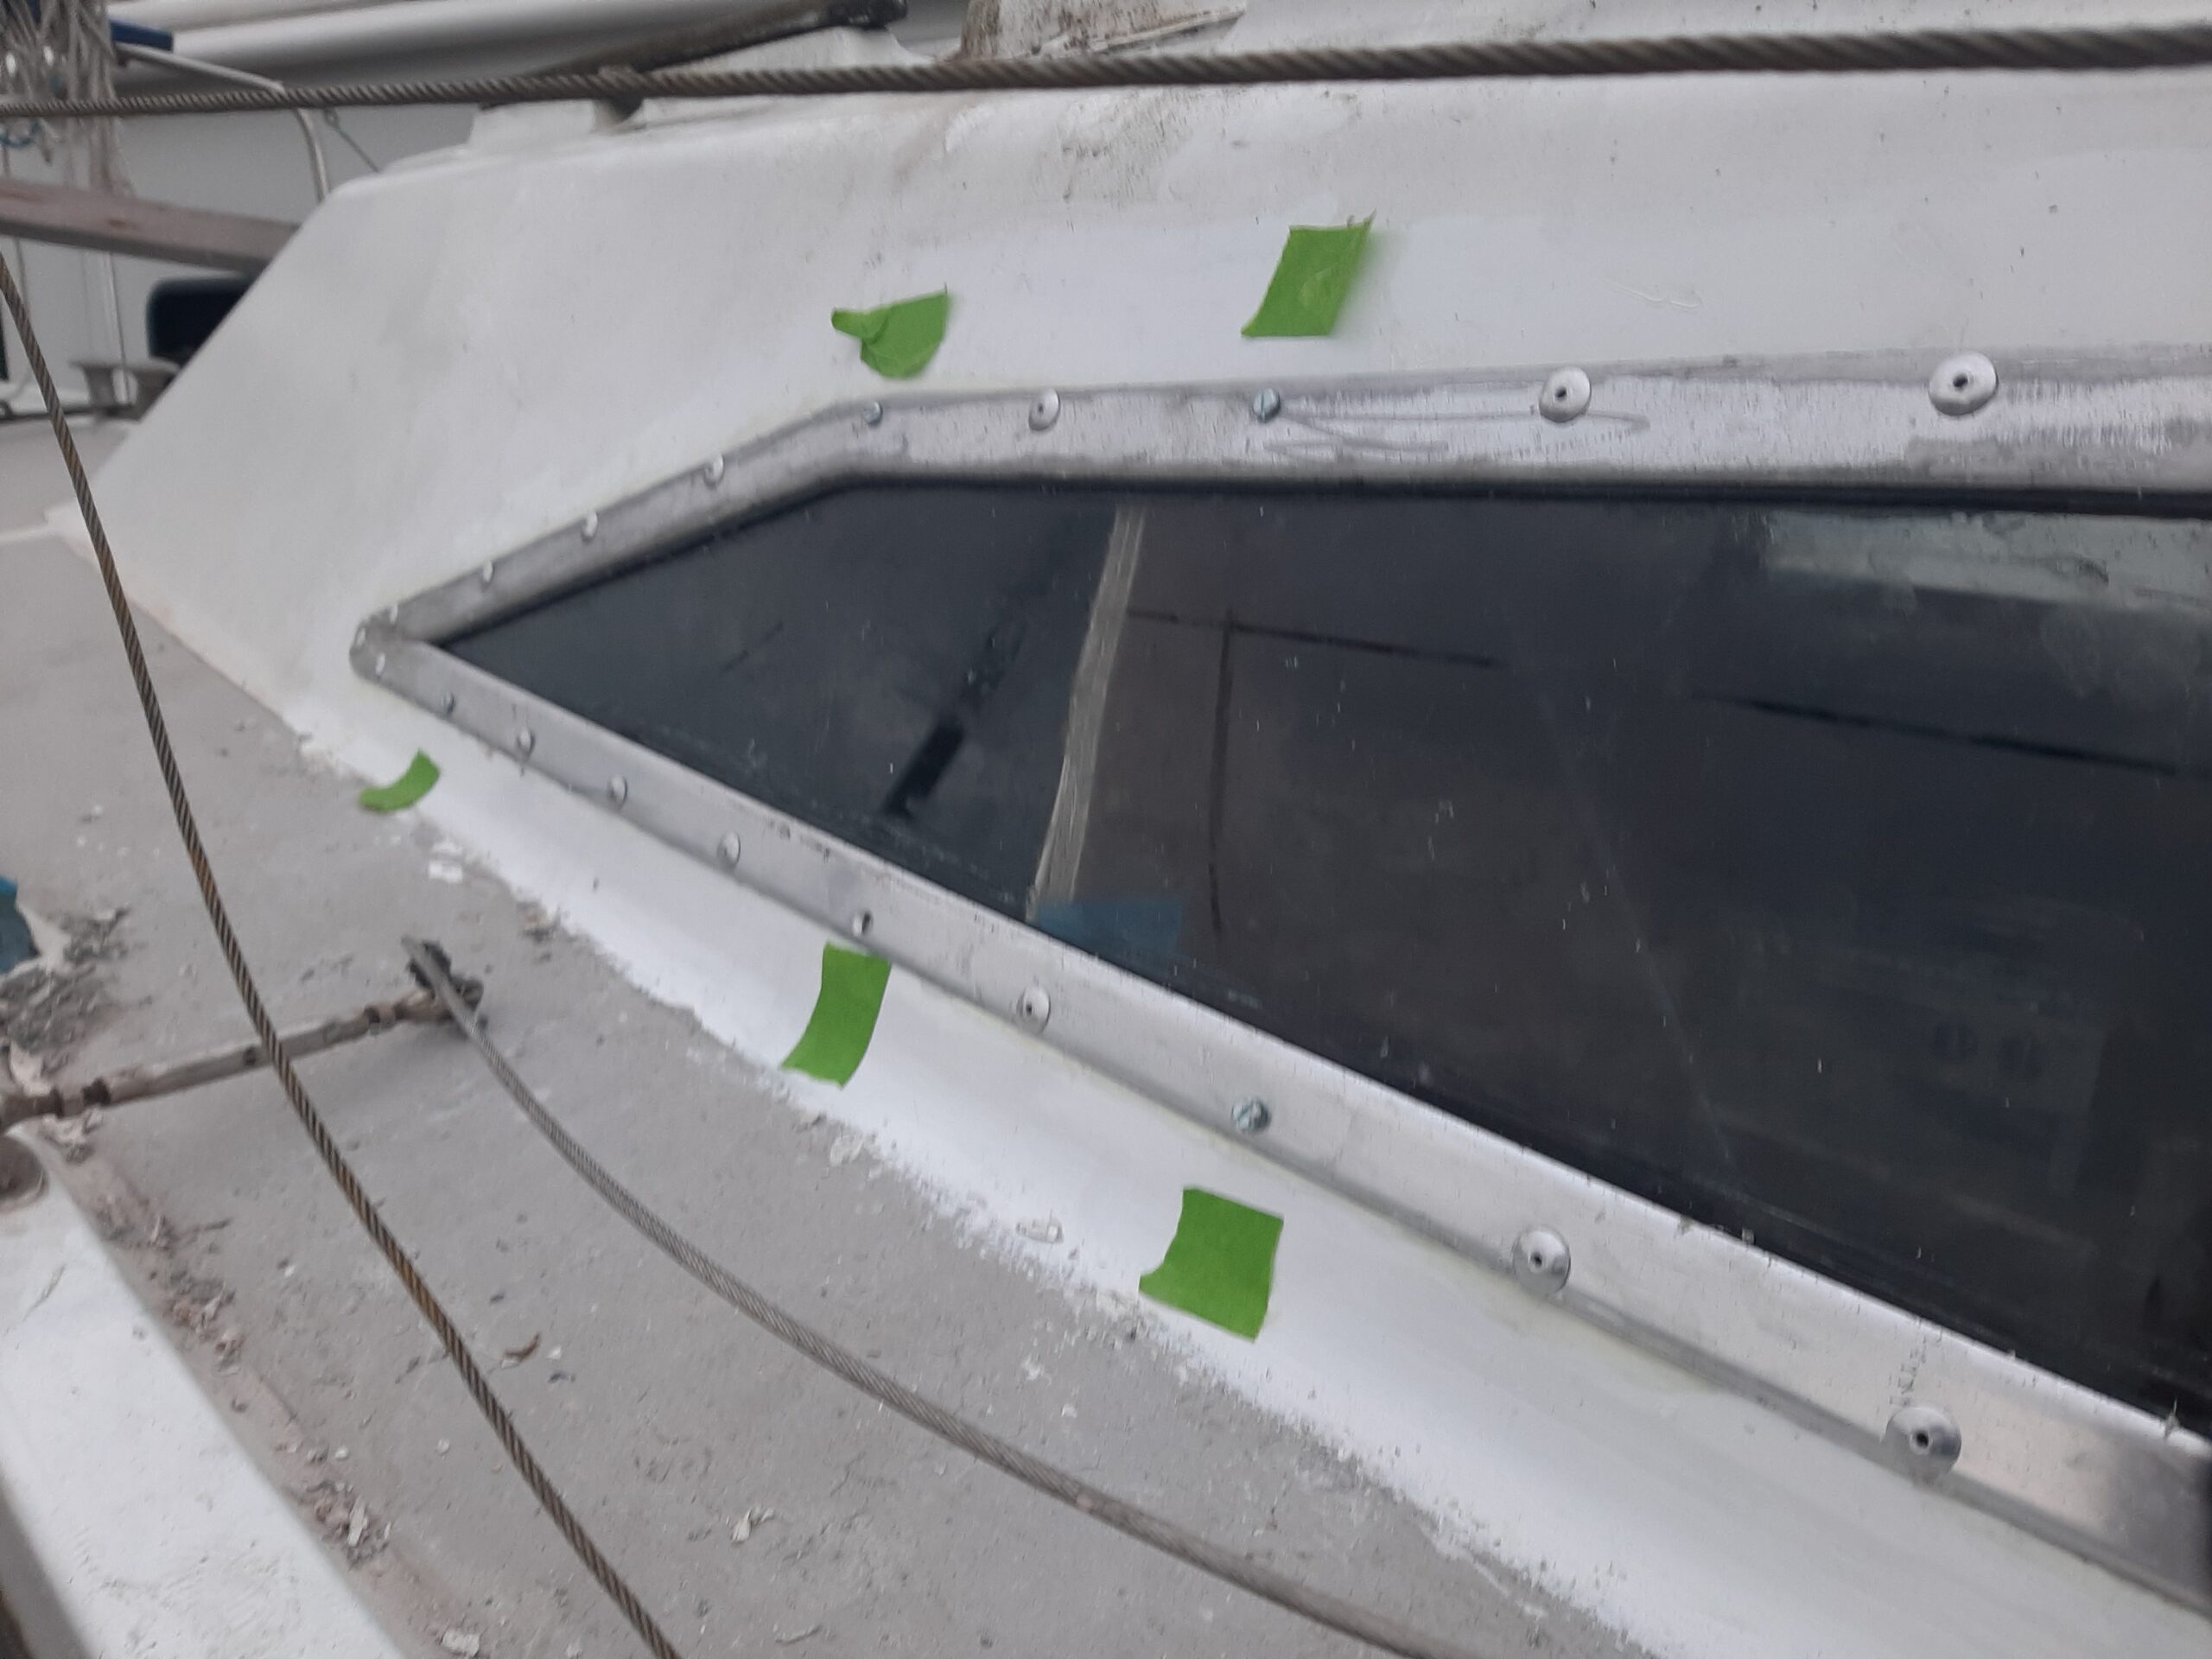
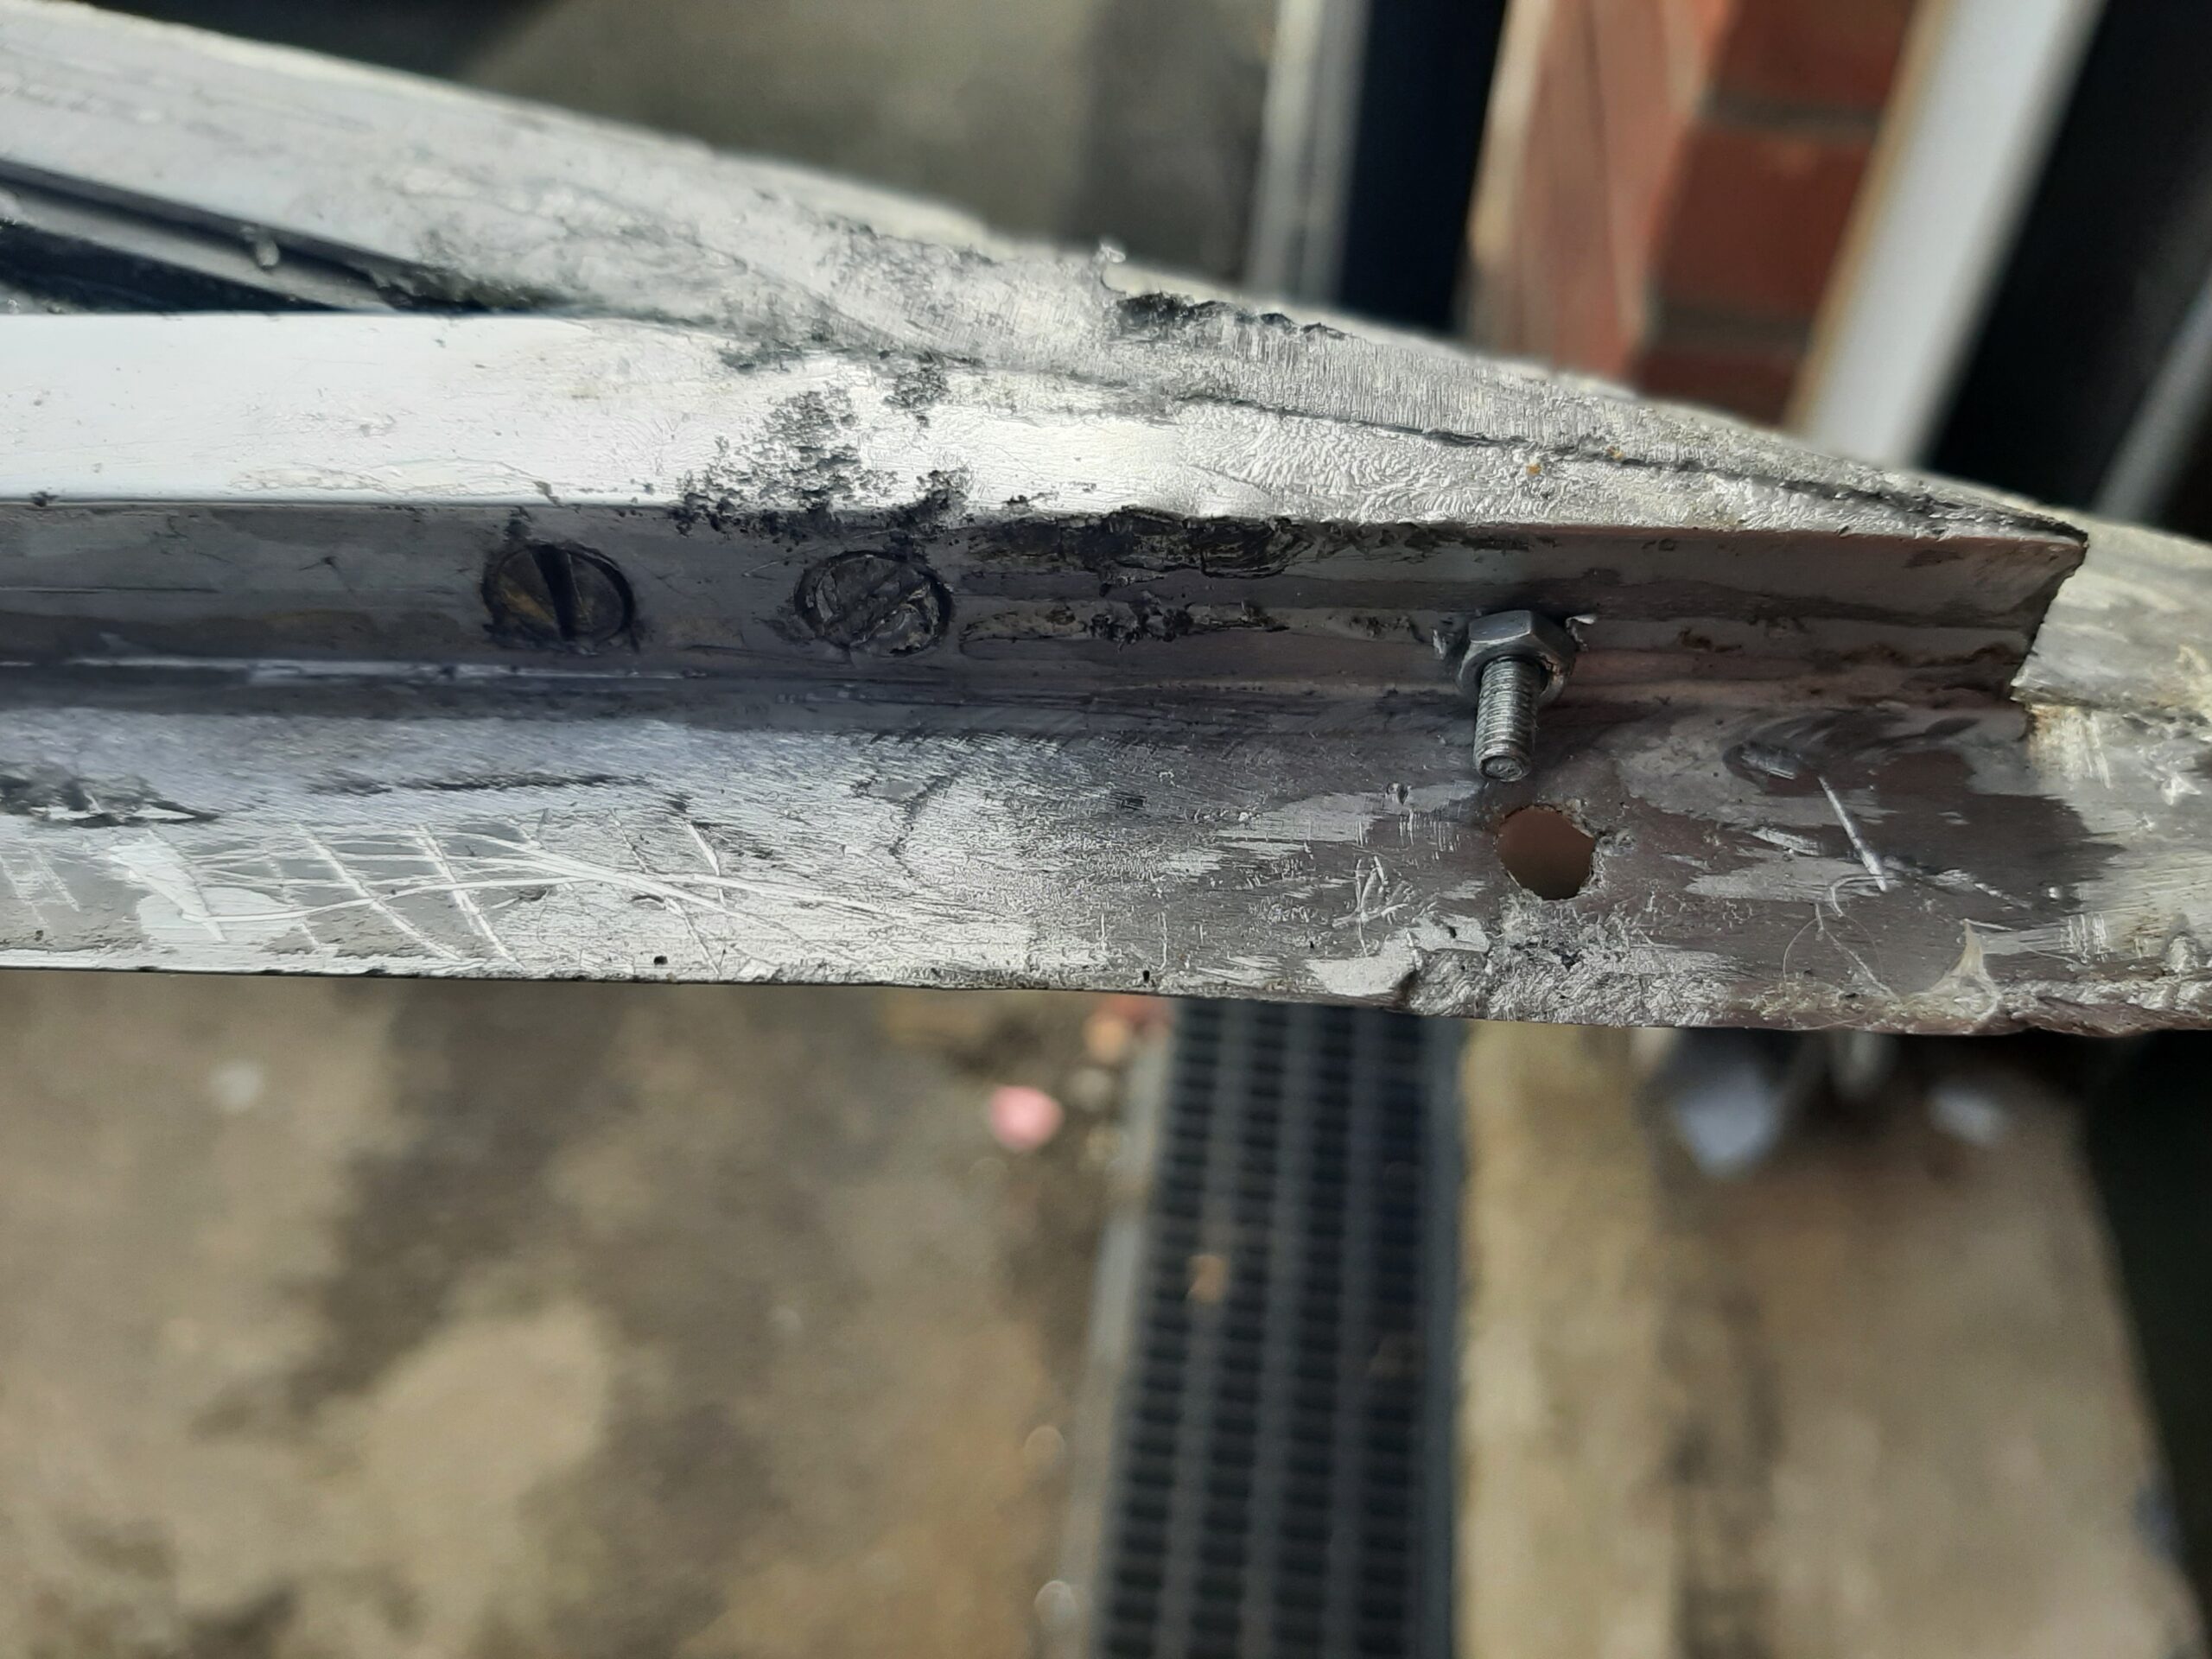
There are still some holes (marked with masking tape above) which will be filled by the screws that hold the wooden interior trim over the interior parts of the pop-rivets but the cabin is now fairly water tight again.