This was a relatively long term section of the overall project which was mostly carried out in the garden rather than at storage. This has actually been going on in the background from the first morning the boat was mine (26/8/2016) with a lot of the progress taking place in 2020 just before the boat was on the drive during lockdown. It was mainly there to get the shrouds, forestays and backstay built to the right lengths.
Four main themes with mast & rigging –
- Restore the Genoa roller reefing.
- Tidy up the mast and fit navigation lights.
- Replace standing & running rigging.
- Tidy up the boom.
Some of the early work was already in the posts about the first few day of ownership but I put it here as well so the rigging work is all together.
26/8/2016. To start with I couldn’t work out how the genoa halyard was supposed to be  tied off as it was mounted on the rotating part of the forestay (which seemed right) but didn’t have a cleat which rotated in the same way. Then I realised that the rotating bearing part was supposed to be hoisted up the aluminium track and actually the original halyard in the mast was supposed to do the job while the bearing allowed the sail to be rotated without tangling up the halyard. Having subsequently looked at the internet it seems there were always problems with this roller reefing system if the halyard runs too parallel to the forestay as any degree of drag in the bearing means the halyard wraps around the aluminium and can stop you reefing. There is quite a bit about this problem either on forums discussing the same system I have or more general tips such as these pages (http://www.sailboat-cruising.com/roller-reefing.html http://www.cncphotoalbum.com/doityourself/rollerreefer/rollerreefer.htm and http://www.inyourfootsteps.com/sailing/tips/9/246/a_stubborn_and_resistant_headsail_furler_that_jams_or_releases_and_jams_alternatively_when_furling/ ).
Having removed the extra home-made halyard mounting strap I started to see if I could get the bearing apart to add some more balls to the system. That meant I needed to get the forestay off the mast which was why I started the battle with the mast head pins.
Managed to get the one out which held on the forestay and also removed the remains of the backstay. Took a bit of ingenuity though – I used a large socket placed over the pin to be removed and then clamped it across the head casting as firmly as I could using a 9” G clamp. That didn’t shift either of the pins on it’s own but both pins yielded to the sustained pressure combined with a sharp blow to the G clamp using the lump hammer. Once they were moving I could drive them the rest of the way out using a light hammer and a mild steel bolt as the driving tool. Will need to measure the pins to see if I can drill out the casting very slightly larger or need to file or grind down the pins before re-assembly.
Having got the forestay and furling mechanism separate the next task looked simple to start with – The bearing is in 3 parts, A main piece which is the bit which slides up and down the aluminium sail track, the hoisting mechanism is the middle piece with a series of plastic balls between it and the other two pieces and finally there is a top piece attached to the core via a screw thread which controls the rolling tolerance for the plastic balls. The positioning of the screw section is locked by a hex socket grub screw. As is often the case, I have several Allan keys which are just a little too loose to fit (probably metric and the original is an imperial size) and only a few which are right. First one which fitted correctly might as well have been made of cheese, Didn’t shift the grub screw at all just bent the Alan key so I tried to help it along by applying torque using an adjustable spanner. That made the shorter limb twist and snap. The other key which fitted started off similarly so I ended up drilling out the grub screw. At least I will be able to re-tap the hole and use a bigger size of grub screw during the re-assembly. Seem to have around 60 plastic balls each around 4mm diameter. Given that this is a UK product from the 1970 s they are likely a non-metric diameter so am aiming to replace them with the 5/32 “ delrin balls from this supplier – http://simplybearings.co.uk/shop/Loose+Balls+&+Rollers-Plastic+Balls-Delrin+Plastic+Ball+Bearings/c23_5027_5028/index.html. Will order 1 pack of 100 to be certain there are enough to replace all of them and remove the majority of the gap (total cost £17:99).
I am not all that keen on solving the wraparound problem by having a halyard which is not parallel to the forestay either because of the location of the sheaf or via attaching a loop to the mast to divert the last part of the halyard when fully hoisted. Neither seem likely to give adequate control over tensioning of the luff of the sail and will also put sideways pressure on the forestay. I intend to try fitting an additional thin line which can be tightened after the sail is hoisted and acts to link the middle piece of the bearing back to the mast, that wont need much tension but will stop any tendency to wrap the halyard around the metal track.
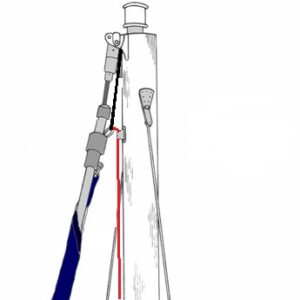 This picture (modified from the last of the web forum pages above) shows my idea with the red line being my new piece of cord and the black the original halyard.
For future reference the “Bulldog” name on my reefing system appears to be a successor to the “Rotostay” system and may even be identical as apparently the company took over manufacture. This website (https://corribee.org/technical/roller-reefing ) gave details of suppliers who had spare parts in 2012. This one has PDF files for the original installation and details of a replacement bearing kit using 3/16” or ¼” balls (https://verl900.wordpress.com/technical -articles/rotostay-furler-bearings/ ). Measuring the remaining beads suggests the diameter is more like 5/32 or 11/64 although that could be due to wear on 3/16 “ balls. The instructions for a maintenance kit say to fill the two tracks and then remove one bead from each. They do give numbers but are using larger diameter beads so the different models may use different bearings. Hopefully the mechanism will work better with a more adequate number of new balls and a suitably re-arranged sail hoisting.
After that early start the mast and roller reefing stayed on the trailer and no work was done until August 2018 when I towed the trailer to the house as being the best way to transport the mast and because I needed electricity to weld the pushpit tubing. From then on the mast stayed propped up on chairs in the garden so I could sand off the discoloured coating ready to re finish it.
The dates will tell you that there was nothing happening with the mast, rigging or roller furler for almost 2 years. All that time was spent lying along the trailer bed under the hull while other things made progress.
Saturday 28th August 2018 Left for the boat around 7 and the gentle drizzle turned to a fairly serious downpour as I drove. Mainly trying to get the cabin tidied up ready for a n intended trip home to do welding on the drive but I did get enough time between showers to construct wooden supports for the mast. Stern one is essential as the previous damaged pushpit cross member is absent and the bow one will be a help as it avoids having to tie the mast onto the pulpit.
Went home around 3:00 to finish off the mast mounting device. It’s a slightly guestimated creation at the end as I needed to increase the mast mounting position height by around 6” so the mast can be supported in three places. It is only screwed together so there is scope for adjustment if needed but the 9” or so offset from centre line should mean it clears the mast tabernacle on the port side.
Sunday Harvest service then trip to Sheffield followed by some time in the garage to paint the mast transporting devices. Looks don’t really matter but the wooden structure will be out in all weathers from now at least until launch day so I don’t want any deterioration. May also be a long term feature of the winter storage arrangements as a tarp over the mast will avoid most of the rain water ingress that happens at the moment.
Saturday 5th October 2018 Collected the boat from storage. Took a little time to get on the move mainly due to the time taken to get the tyres up to reasonable pressures. They haven’t done badly though as the trailer has been standing for almost three years and hadn’t lost more than half the initial pressure.  Uneventful tow home and the trailer fits on the drive better than Matt had thought it would. The mast mounting devices worked well so no modifications planned for the mast’s return journey whenever that may be.
The mast is now installed across a couple of deck chairs in the back garden ready for me to start the clean-up and rigging replacement process. 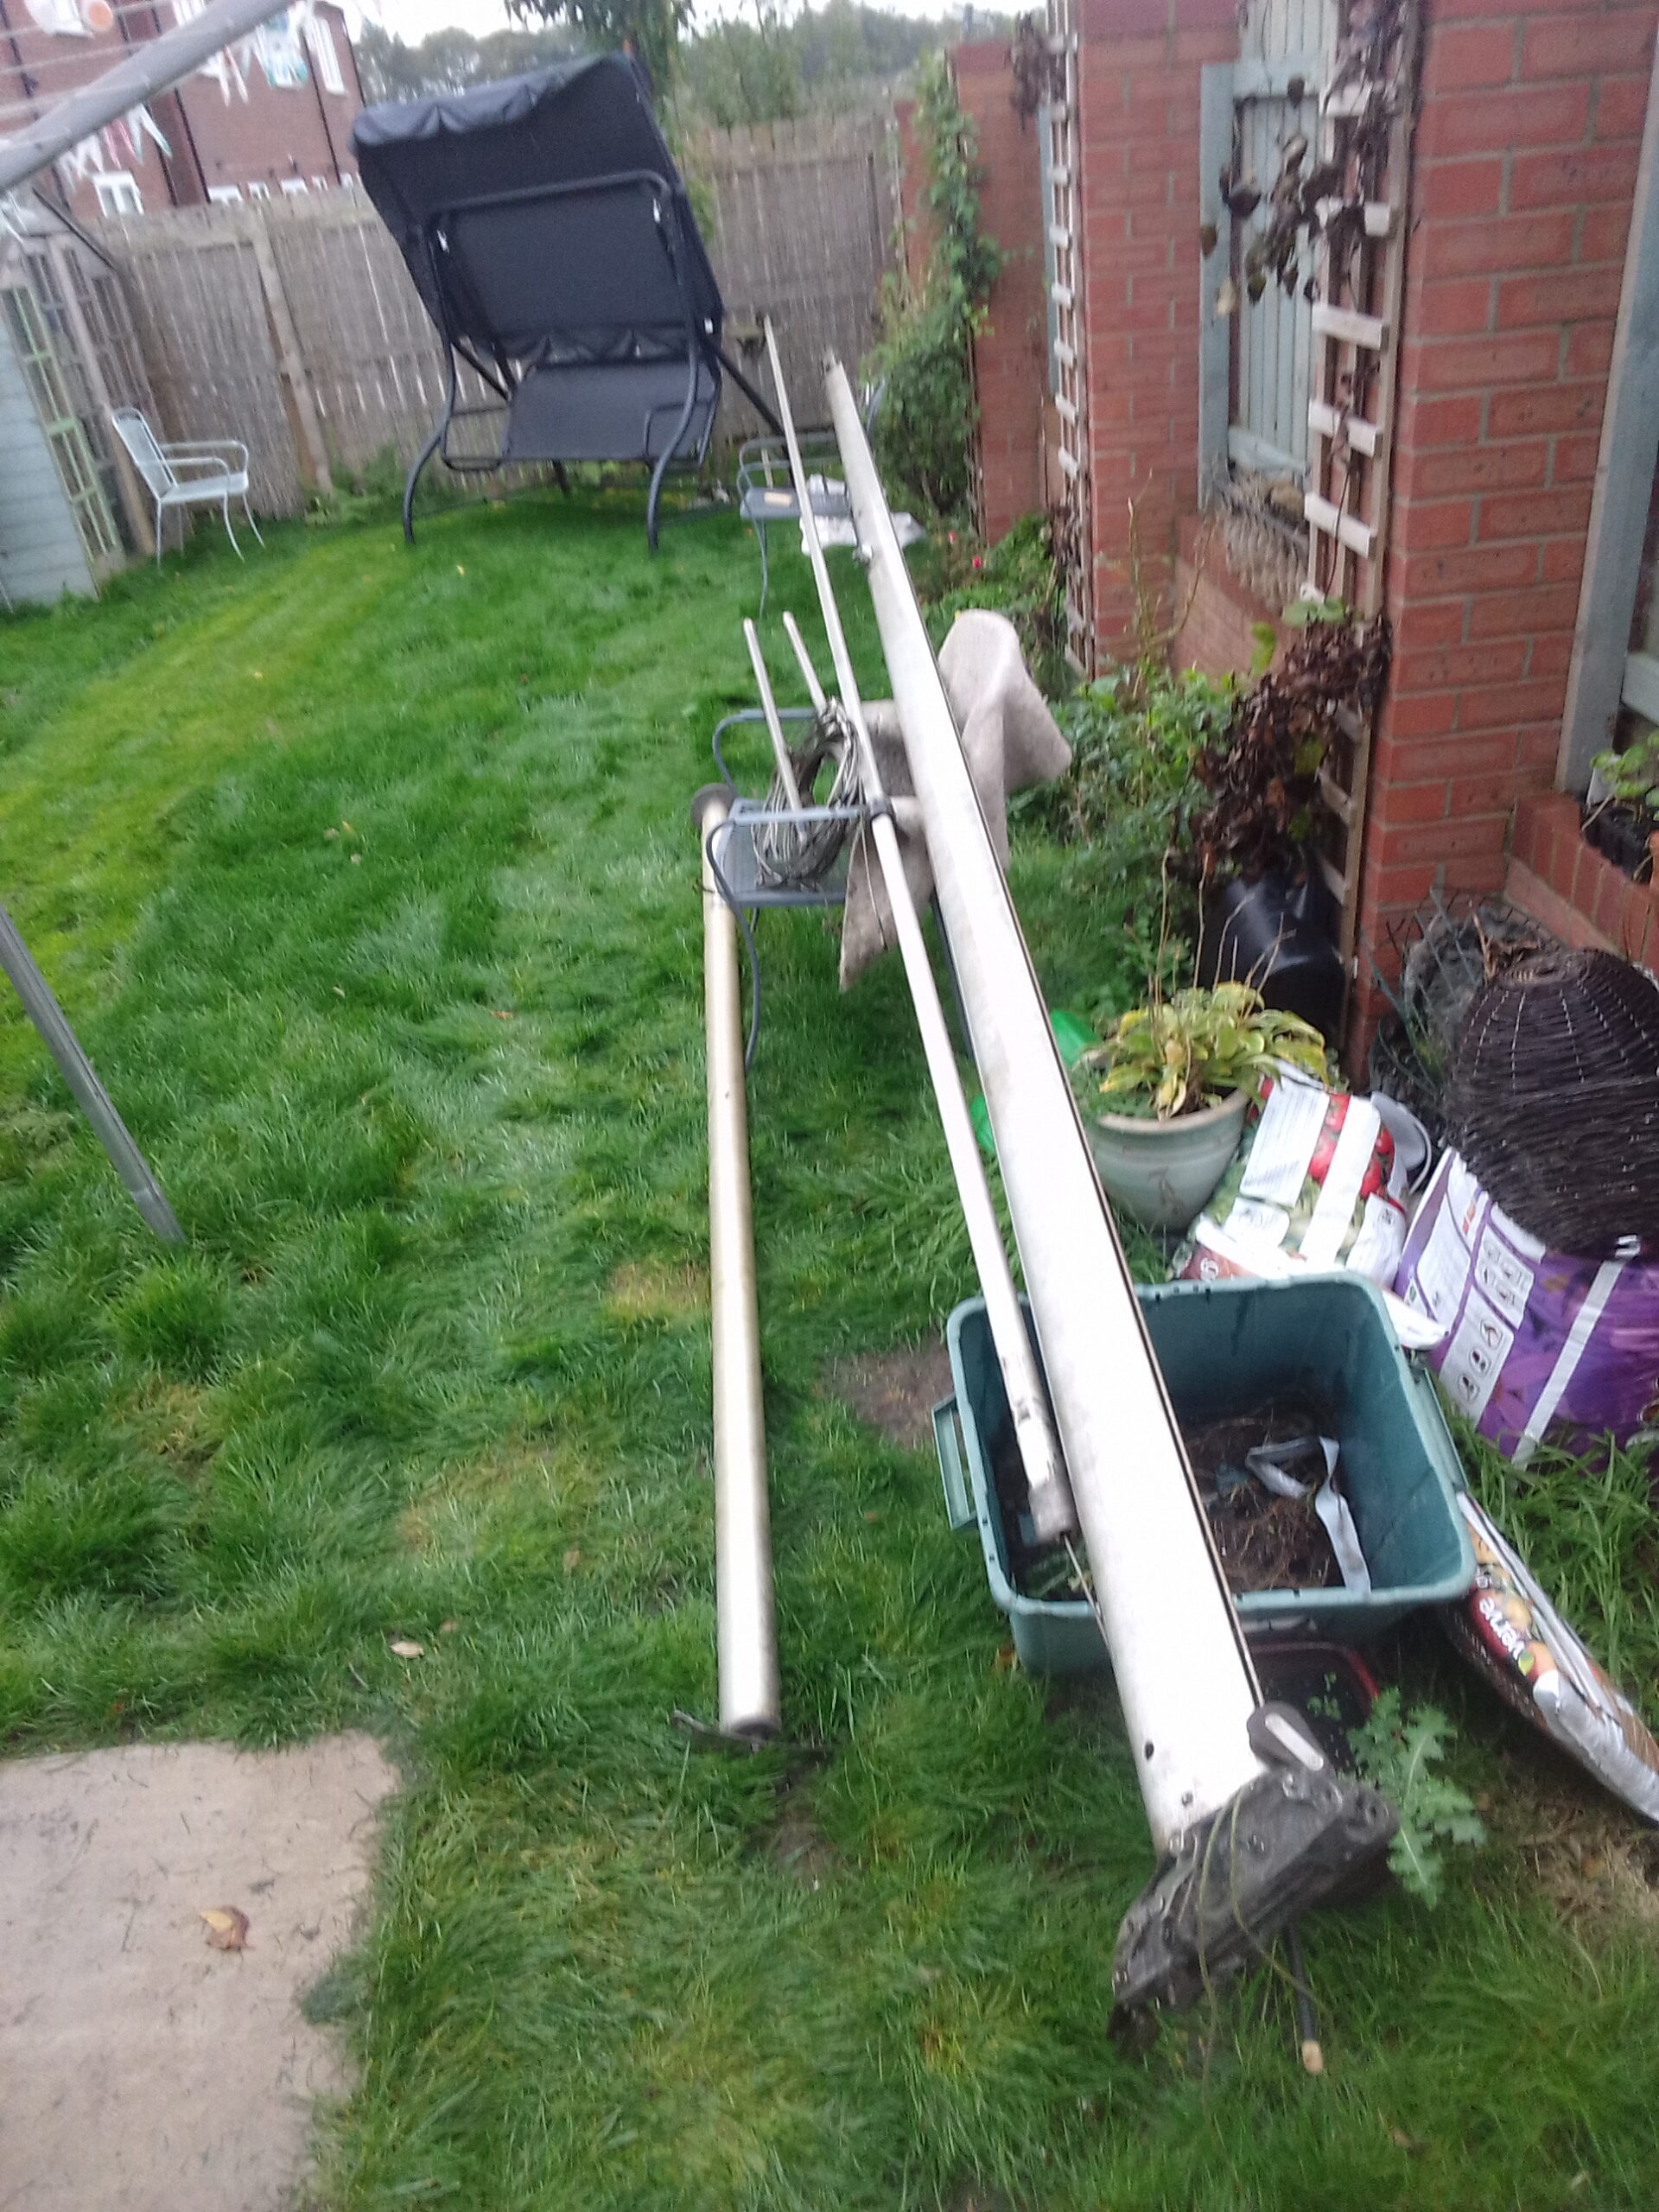 Hopefully I will be able to get that done step by step despite the darker evenings. Certainly has to be quicker at home rather than having an additional 40 minutes to an hour of travelling time on top of any work done.
Sunday 6th October Mainly spent the afternoon doing a rather messy job of welding the pushpit. Matt & I returned the boat to storage while it was still relatively light.
Monday 21st Oct Started on the mast at around 7:00 removed the dead motoring light, all of the stays and running rigging. 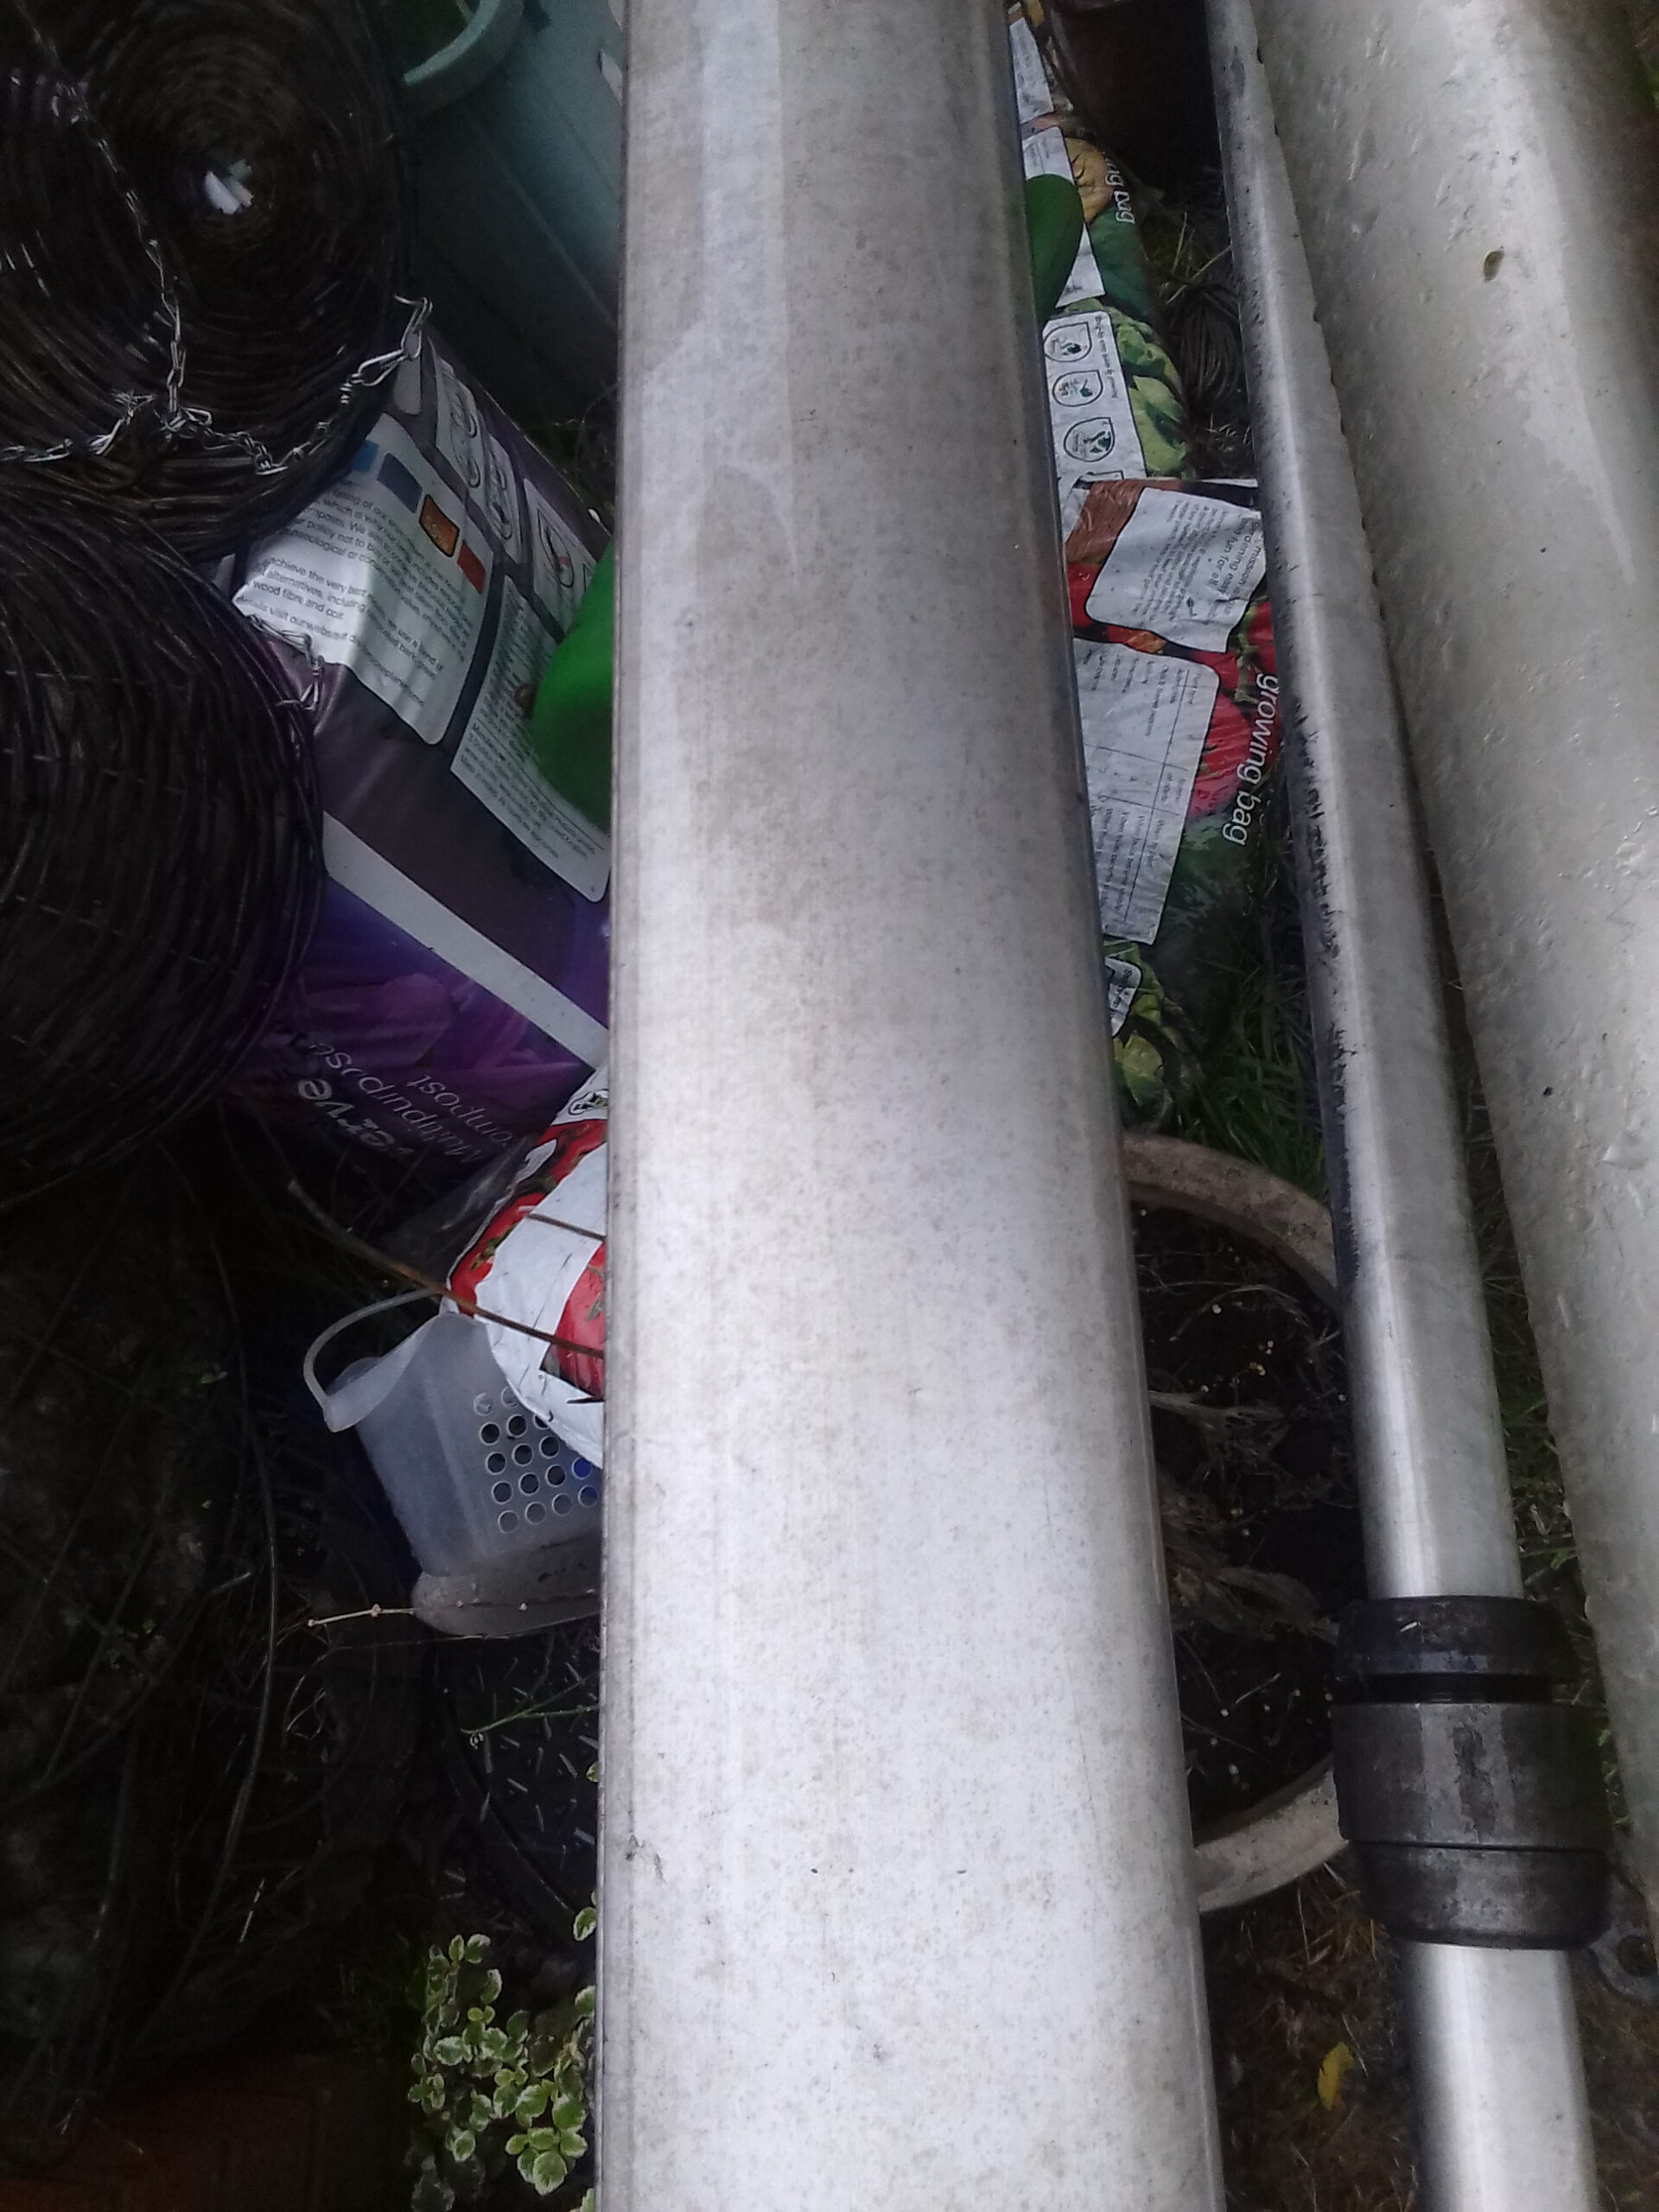
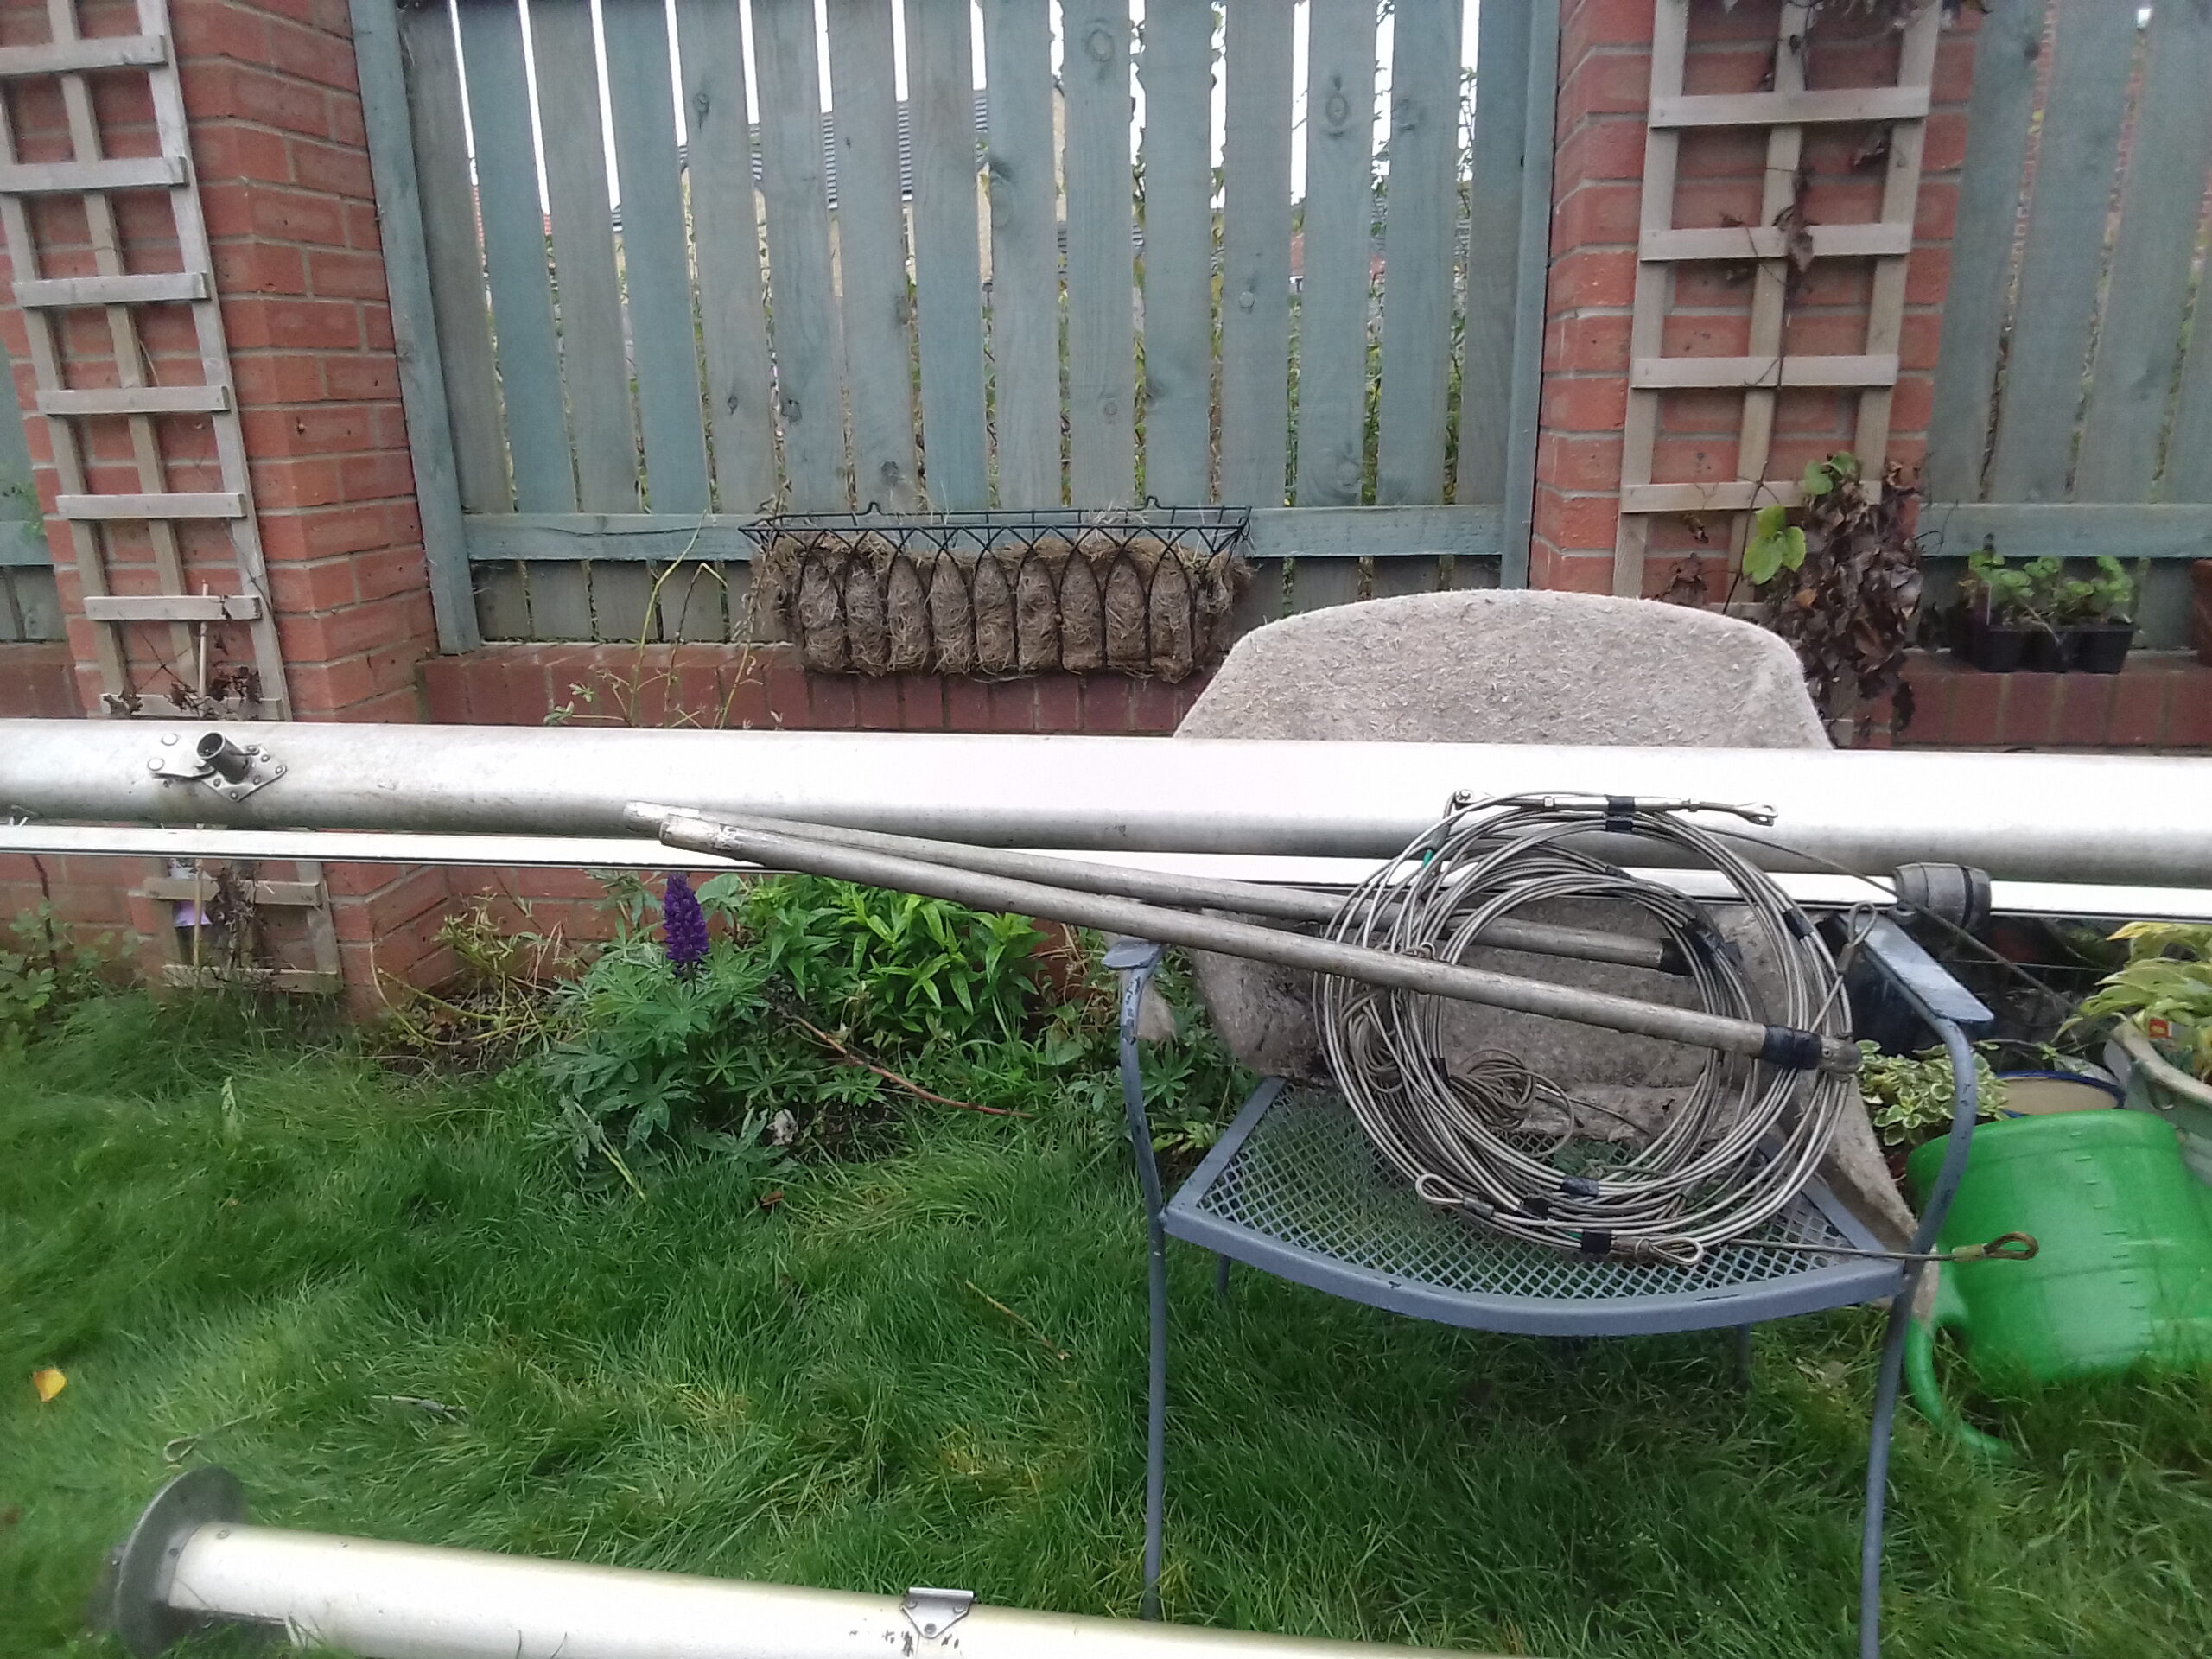 Then cleaned
the mast with a washing up sponge, looks better already now that the lichen and algae have gone. Surface is rather rough and there is a lot of discoloration left so the next stage will have to be a light sanding. Some of the forums advise against that but I think the original gold coloured anodising went years ago.
Also took out the internal electrical cables, replacing them with galvanised fence wire to act as pilot wires when I get to the re-install phase. The mast seems to have it’s interior filled with polystyrene foam to stop cables rattling as once the wires started to move that was the sort of noise made and the wires that came out had a coat of glue on them with a pattern that looked like expanded polystyrene pellets.
The wire that originally went to the top of the mast didnt emerge anywhere further down and as the wire colours don’t match I think the motoring light has been replaced using a new cable. Red & black down from the top of the mast and the right length to have originally come from that light but blue & brown from there to the mast base. Installing a tri-colour light at the mast head seems to be a sensible option from a safety perspective (Better visibility while sailing) however that will be a challenge. I may have to push the cable in using a fairly rigid guide wire and remove and replace the mast cap casting to help capture the upper end and divert it out of the grommet in the side of the mast. It is only fixed by pop rivets so that may still be an option.
Friday 15th November Got the mast treatment kit from Everbrite. Not sure the weather will be suitable for doing the prep work let alone the actual coating but at least I am ready with the equipment.
Saturday 16th After lunch I started on the mast. The light sanding with my battery powered random orbital sander shifted a lot of the muck and possibly some sort of coating. When you start sanding it quickly becomes obvious that the mast is not particularly smooth to start with as any imperfections in the extrusion die emerge as ridges or dips in the cross section and run all along the length of the mast. You tend to only sand the ridges so get stripes. Got about half way down one side of the mast on one sanding disk and couldn’t swap to another because I think they are all either at the boat or in the boot of the car which is currently somewhere between home and Leicester with Matt collecting a printer.
The results don’t look particularly good while sanding in the rain as there is a lot of black aluminium dust created so I think I need some aluminium cleaner / polish to treat the surface before I make a final decision whether to have a silver mast by coating the bare aluminium or do a coat of paint first. 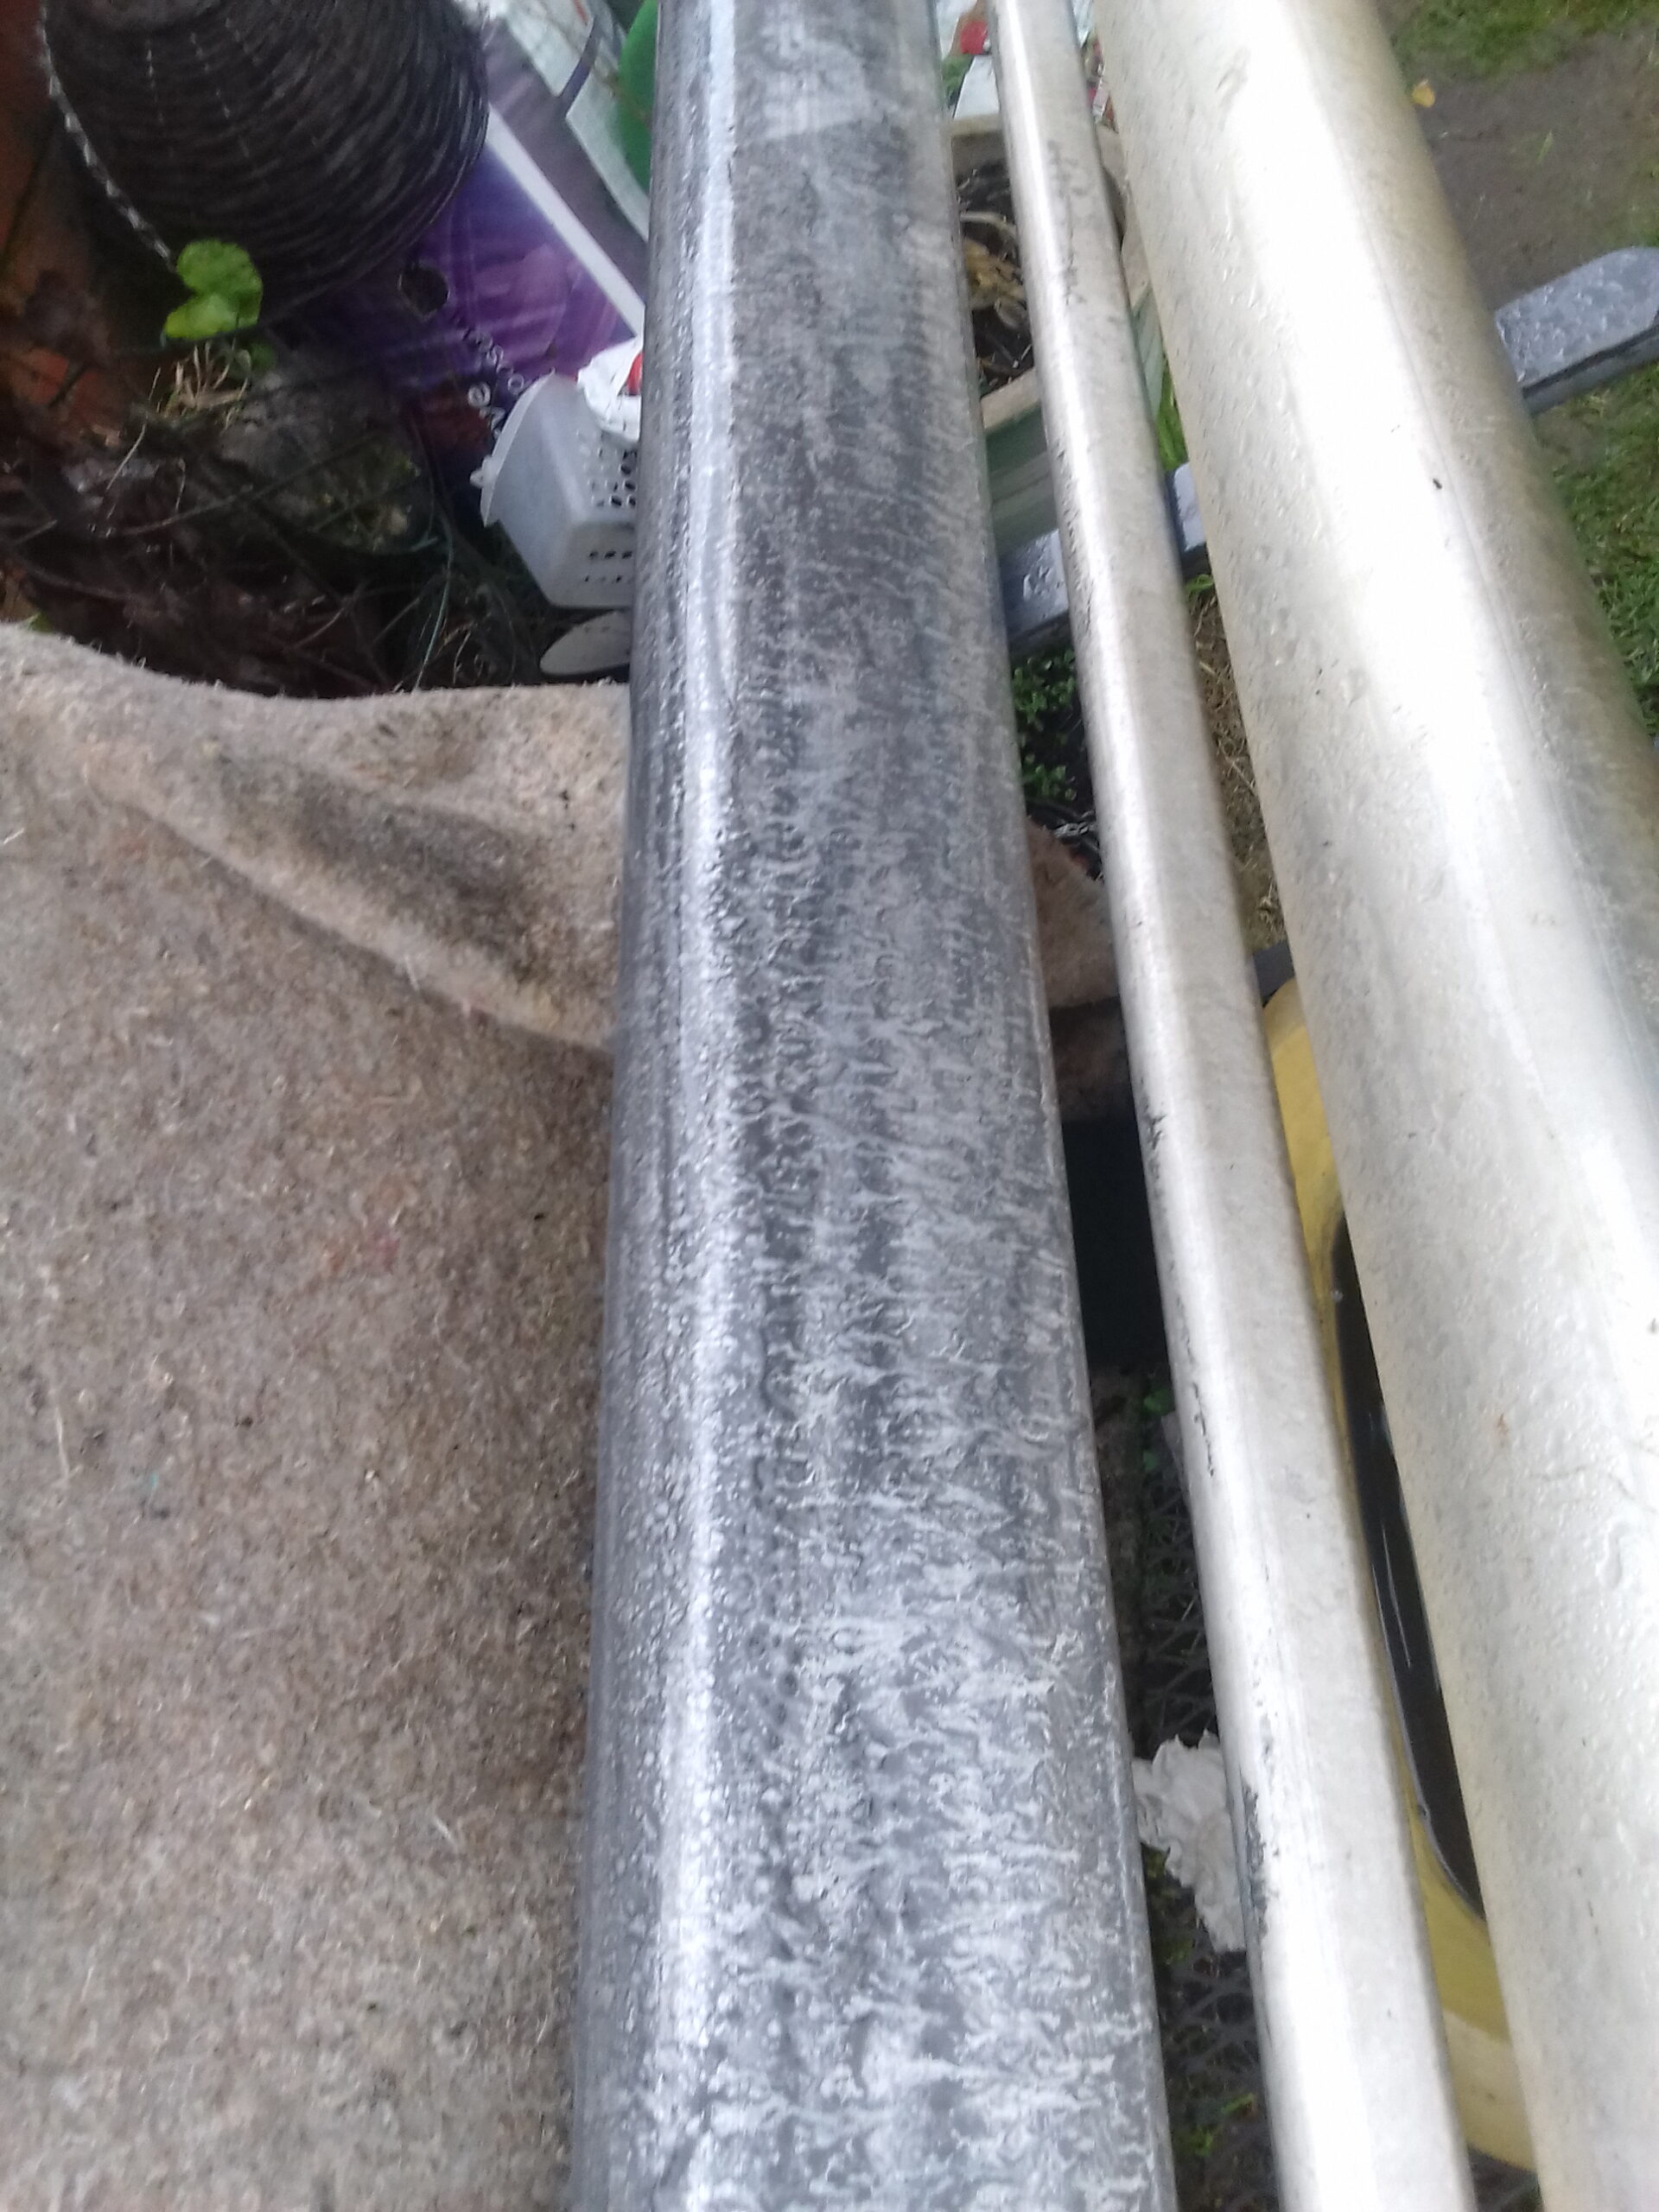 The only indications of the original gold anodising are inside the mast tube and under the pop rivets that hold fittings together. Not sure if the anodising has already been sanded off or just faded with exposure to the weather.
I also managed to remove two of the pins from the mast head casting and then took the casting off the tube of the mast. That helped me to put in a pilot wire in to enable replacing the power supply cable up to whatever lighting will be at the top of the mast. Actually turned out to be quite easy to thread a piece of “garden” wire through after I had used a length of heavy duty earth wire as a leader from the mid height light position up to the open top.
As it will be difficult to obscure I am tempted to have a tri-colour lamp there for use when under sail as well as the masthead anchor light. The combination lights are expensive but probably worth it for the extra safety. Effectively means the three power wires to the mast will be Motor, Sail & Anchor with the last two going to the mast head along with the common return.
My brief attempt at cleaning up the cleats at the bottom of the mast has convinced me that those and the casting at the mast head are not going to clean up significantly. It must be some sort of alloy which stays dark grey when sanded so I think the best option will be to wire brush those parts and apply black hammerite paint. The genoa furling slider can also match that paint scheme.
Ordered the bearing balls for the furler tonight so those should arrive next week and I can finish that mini-project that I started on about the third day of owning the boat.
Sunday I managed to take that time to remove the remaining pins and sheaves from the mast head casting and wire brush it to remove the muck and corrosion. Much tidier now and ready to receive whatever paint I get. 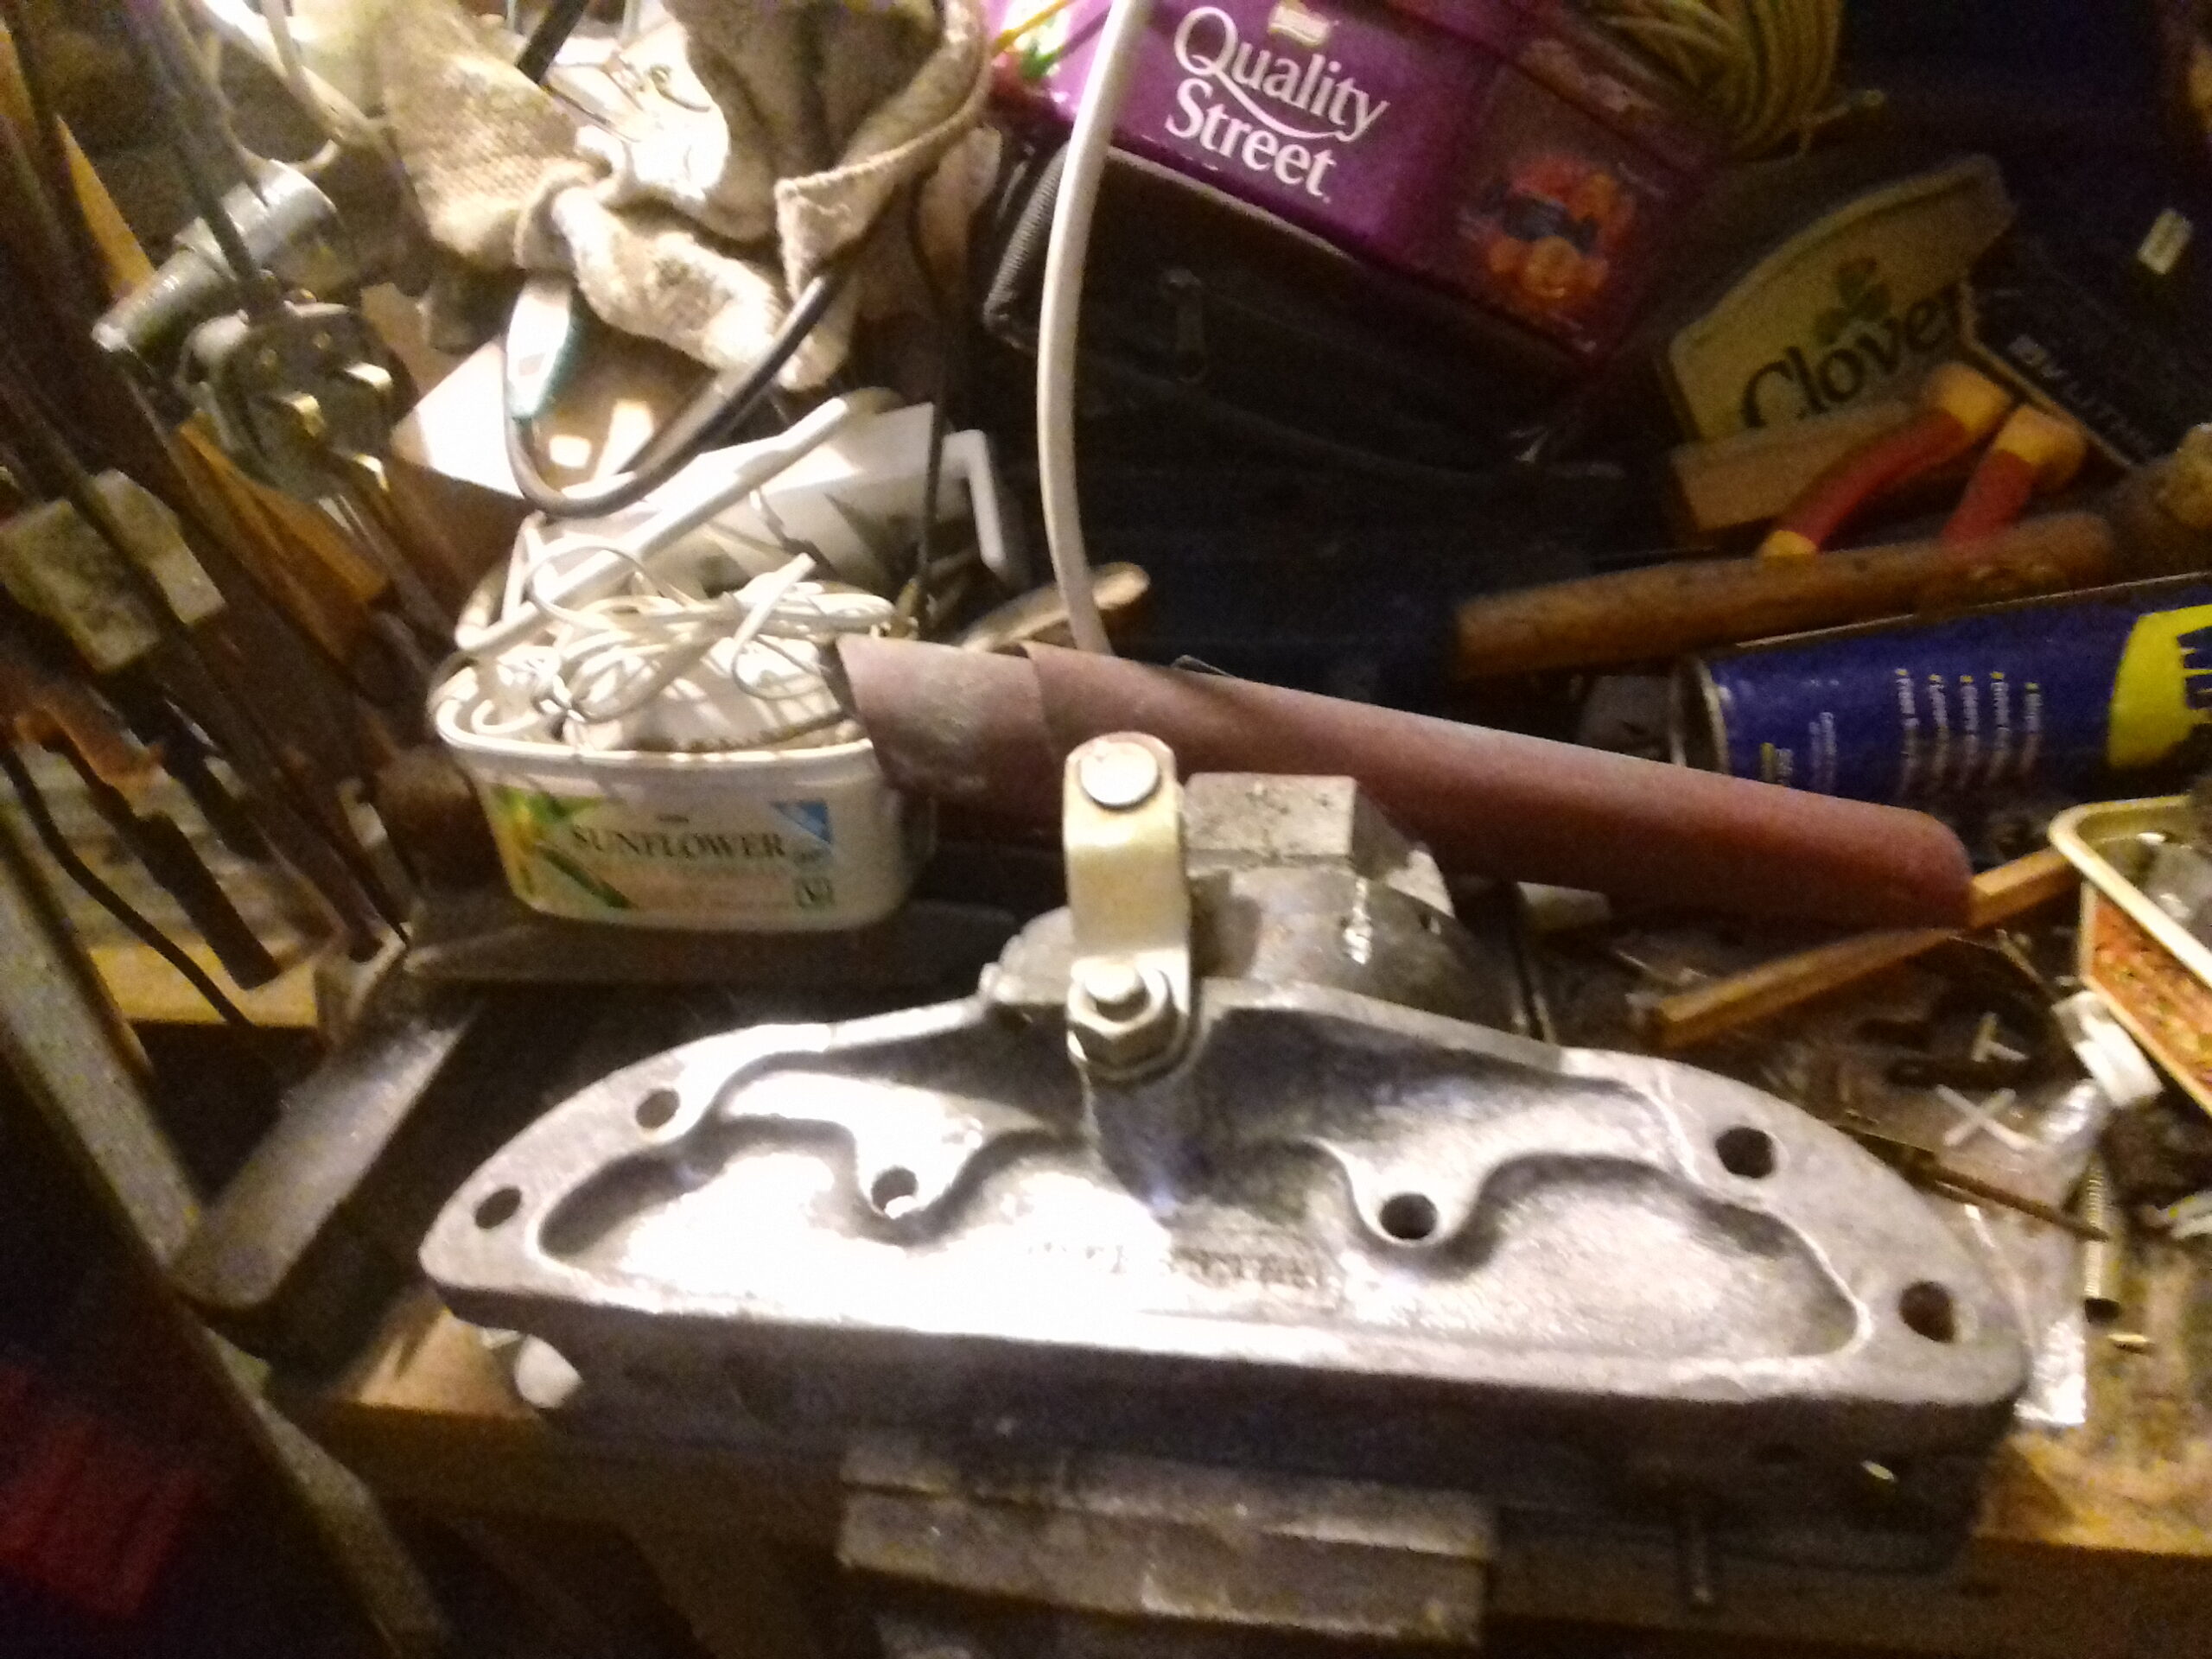 There are a couple of small cans of hammerite metal paint in the garage but they are white and dark green, neither of which seem appropriate colours for the top of the mast. I still need to clean out the holes that the fitting pins go through but, the bag at the boat has a fine wire brush that fits the holes as well as the pins that attach the forestay and backstay.
When this part is eventually fixed back onto the mast I will improve the top portion of the burgee hoist as at the moment it was simply a loop of cord through a hole drilled into the casting. At the very least we should have a pulley of some sort.
Wednesday 20th Another parcel arrived today with the delrin bearing balls for the genoa furling system. Wont be needing those quite yet because I haven’t cleaned up that bit and also don’t yet have the paint.
Thursday 21st November Matt collected me from work at 5 then we picked up Helen to take her to baby-sitting. I cooked and ate my tea and then we collected a can of black hammerite paint from the field on the way to take Matthew home.
Found the bag with the other pins and the wire brush so I didn’t need to go to the boat for those. I then finished cleaning up the mast head casting and gave it a first coat of paint. Just finished as Catherine called me to collect her from badminton as I had not noticed it was 7:30 already.
By 11:40 when I was back from collecting Helen, the paint on the casting was almost dry and looking good. 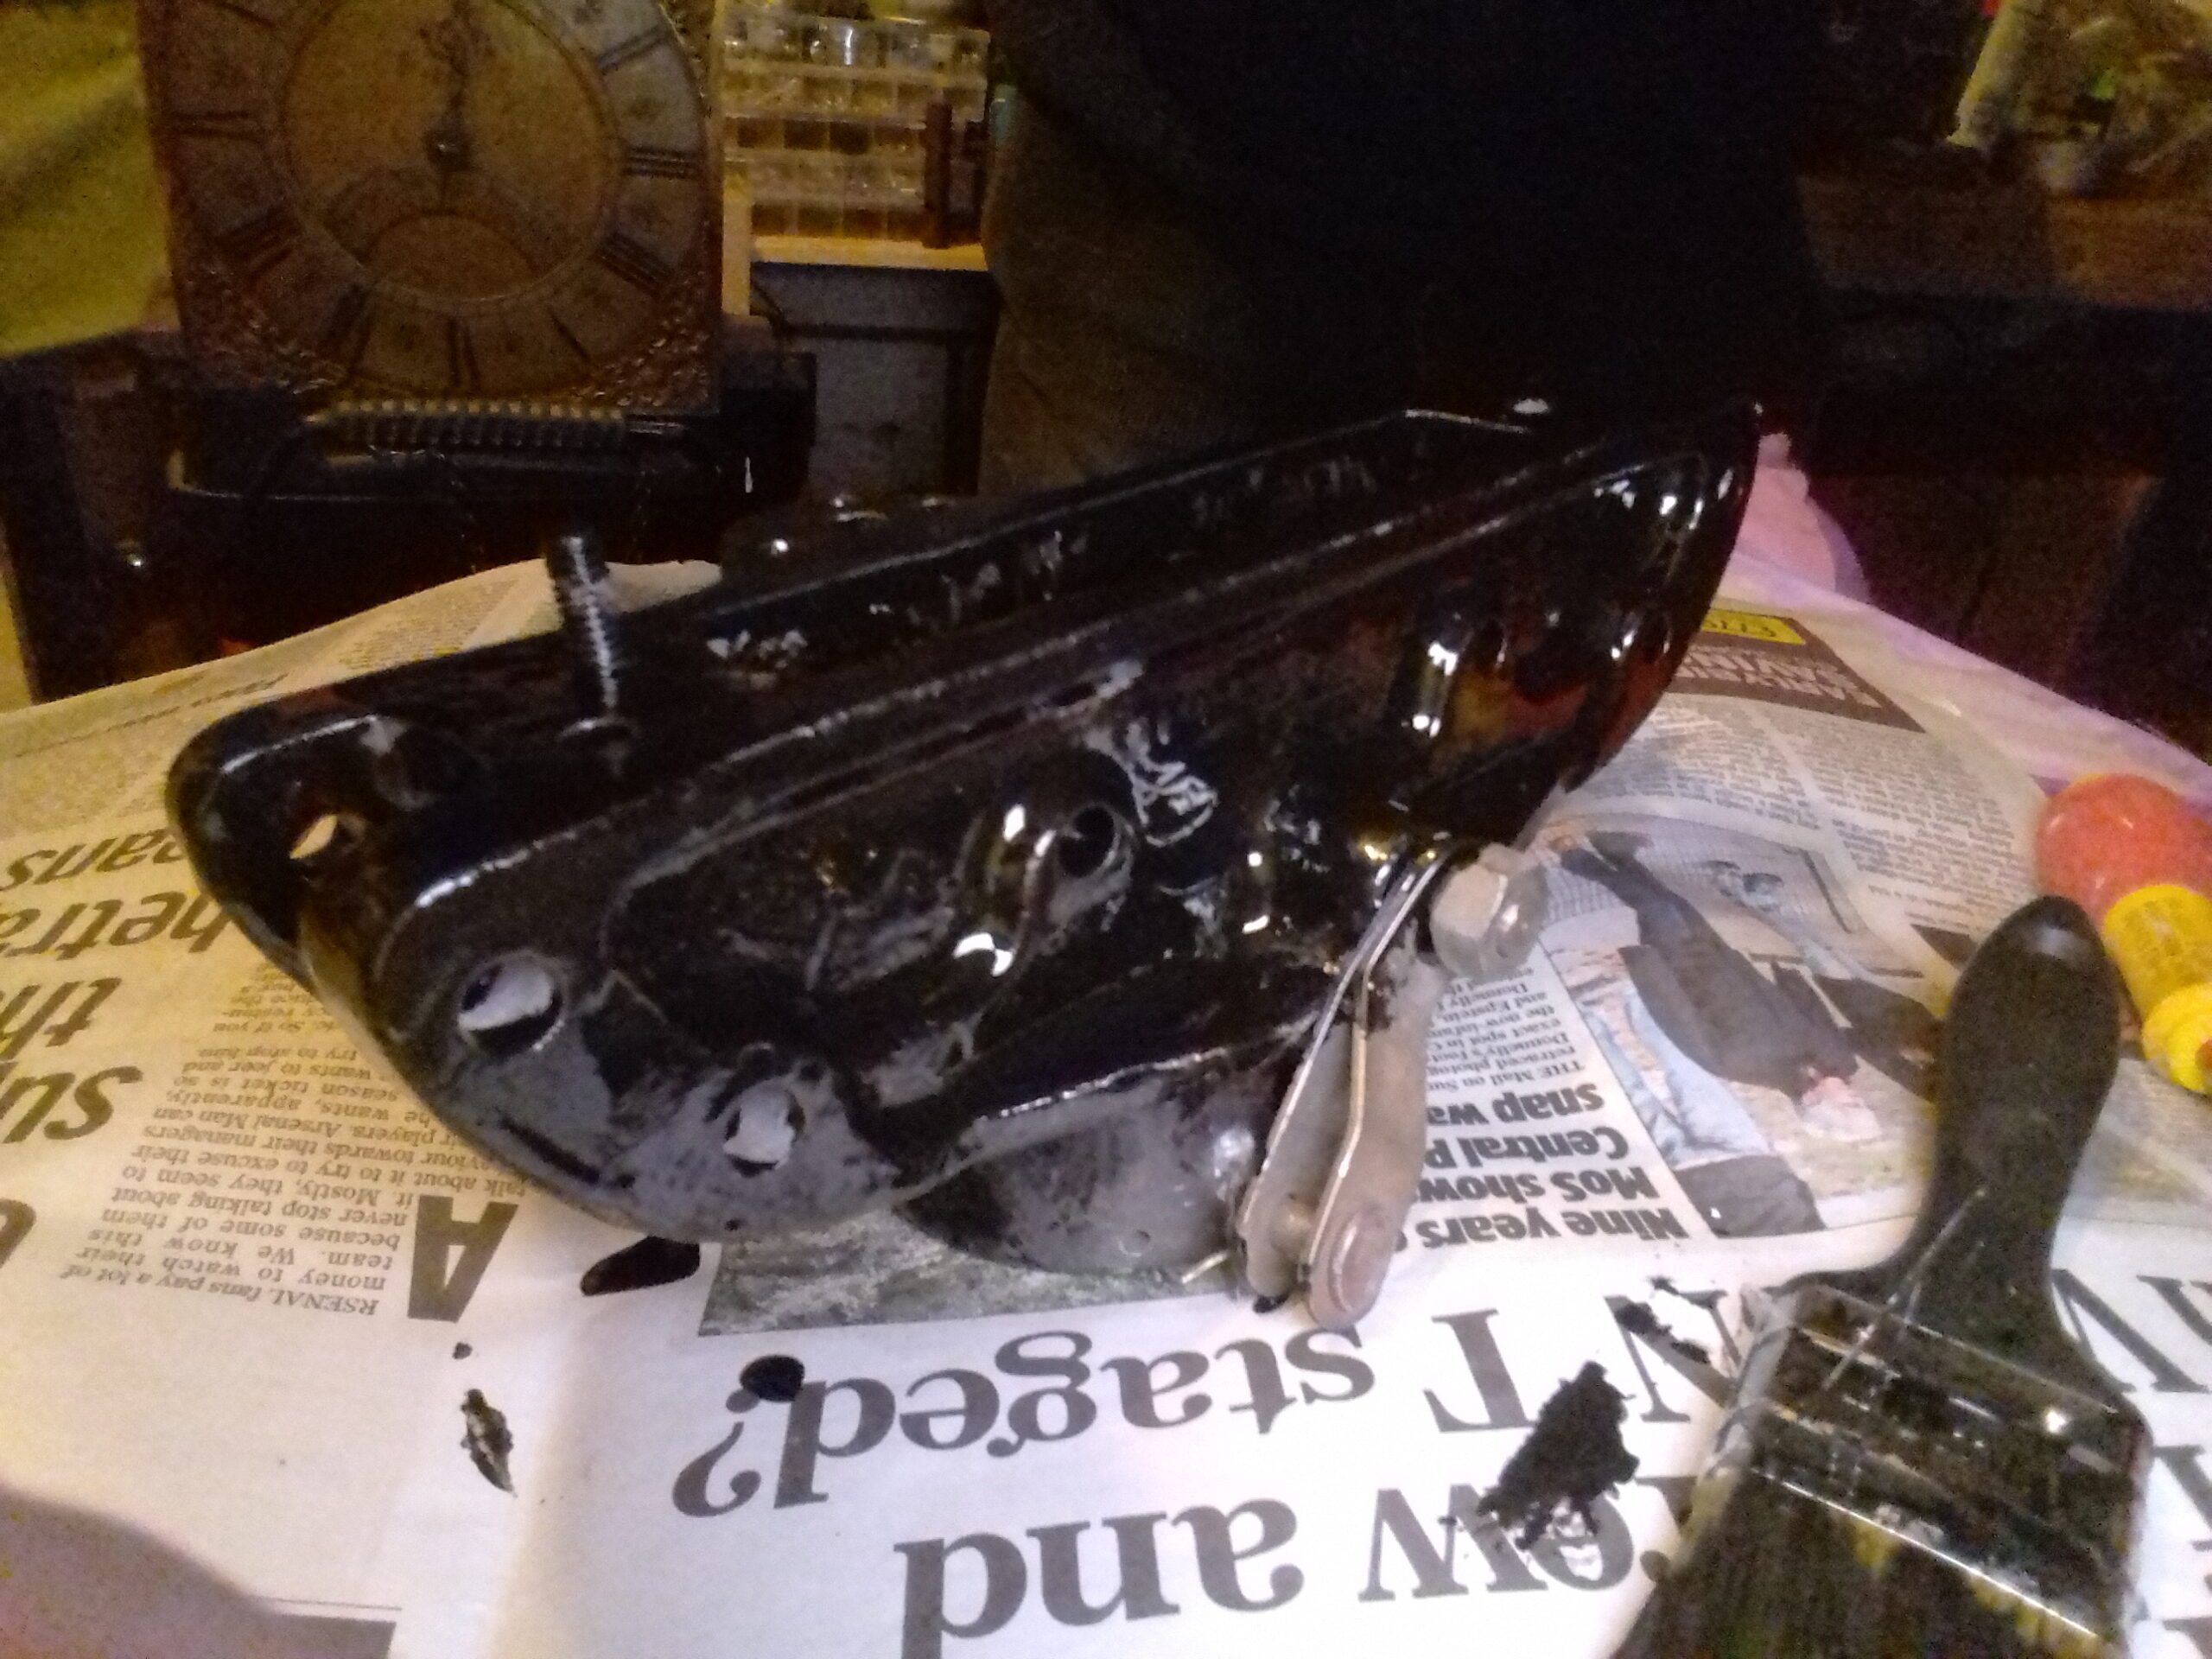 The main casting probably wont need a second coat tomorrow but I will check before I set off for work. The plate that goes between the two sets of sheaves will definitely need a coat on the other side so the can will be open anyway and I can probably do any touching up that is required as well as getting the insides of the holes. Probably try to do the sliding part of the roller reefer at the same time so that will be ready to re-assemble with the ball bearings.
Friday22nd Mast head didn’t need any more paint this morning because it was still a little tacky and seemed to be well enough coated. The divider plate from between the pulleys needs a bit more paint though and I could start on the reefing gear if the bits were dry but that wasn’t going to happen this morning or this evening because of cold and rain.
Saturday 23rd Off to matt’s house to collect him around 7:30 as arranged. Arrived at Ted’s house 9:22 and finished in time to be Home just after 1:30. After juggling the usual family taxi tasks, I worked on re-assembling the mast head unit.
Re-installed all of the pulleys and pins. The split pins to fix them in place are on their way from ebay so this tidied up unit is as far as I can get at the moment.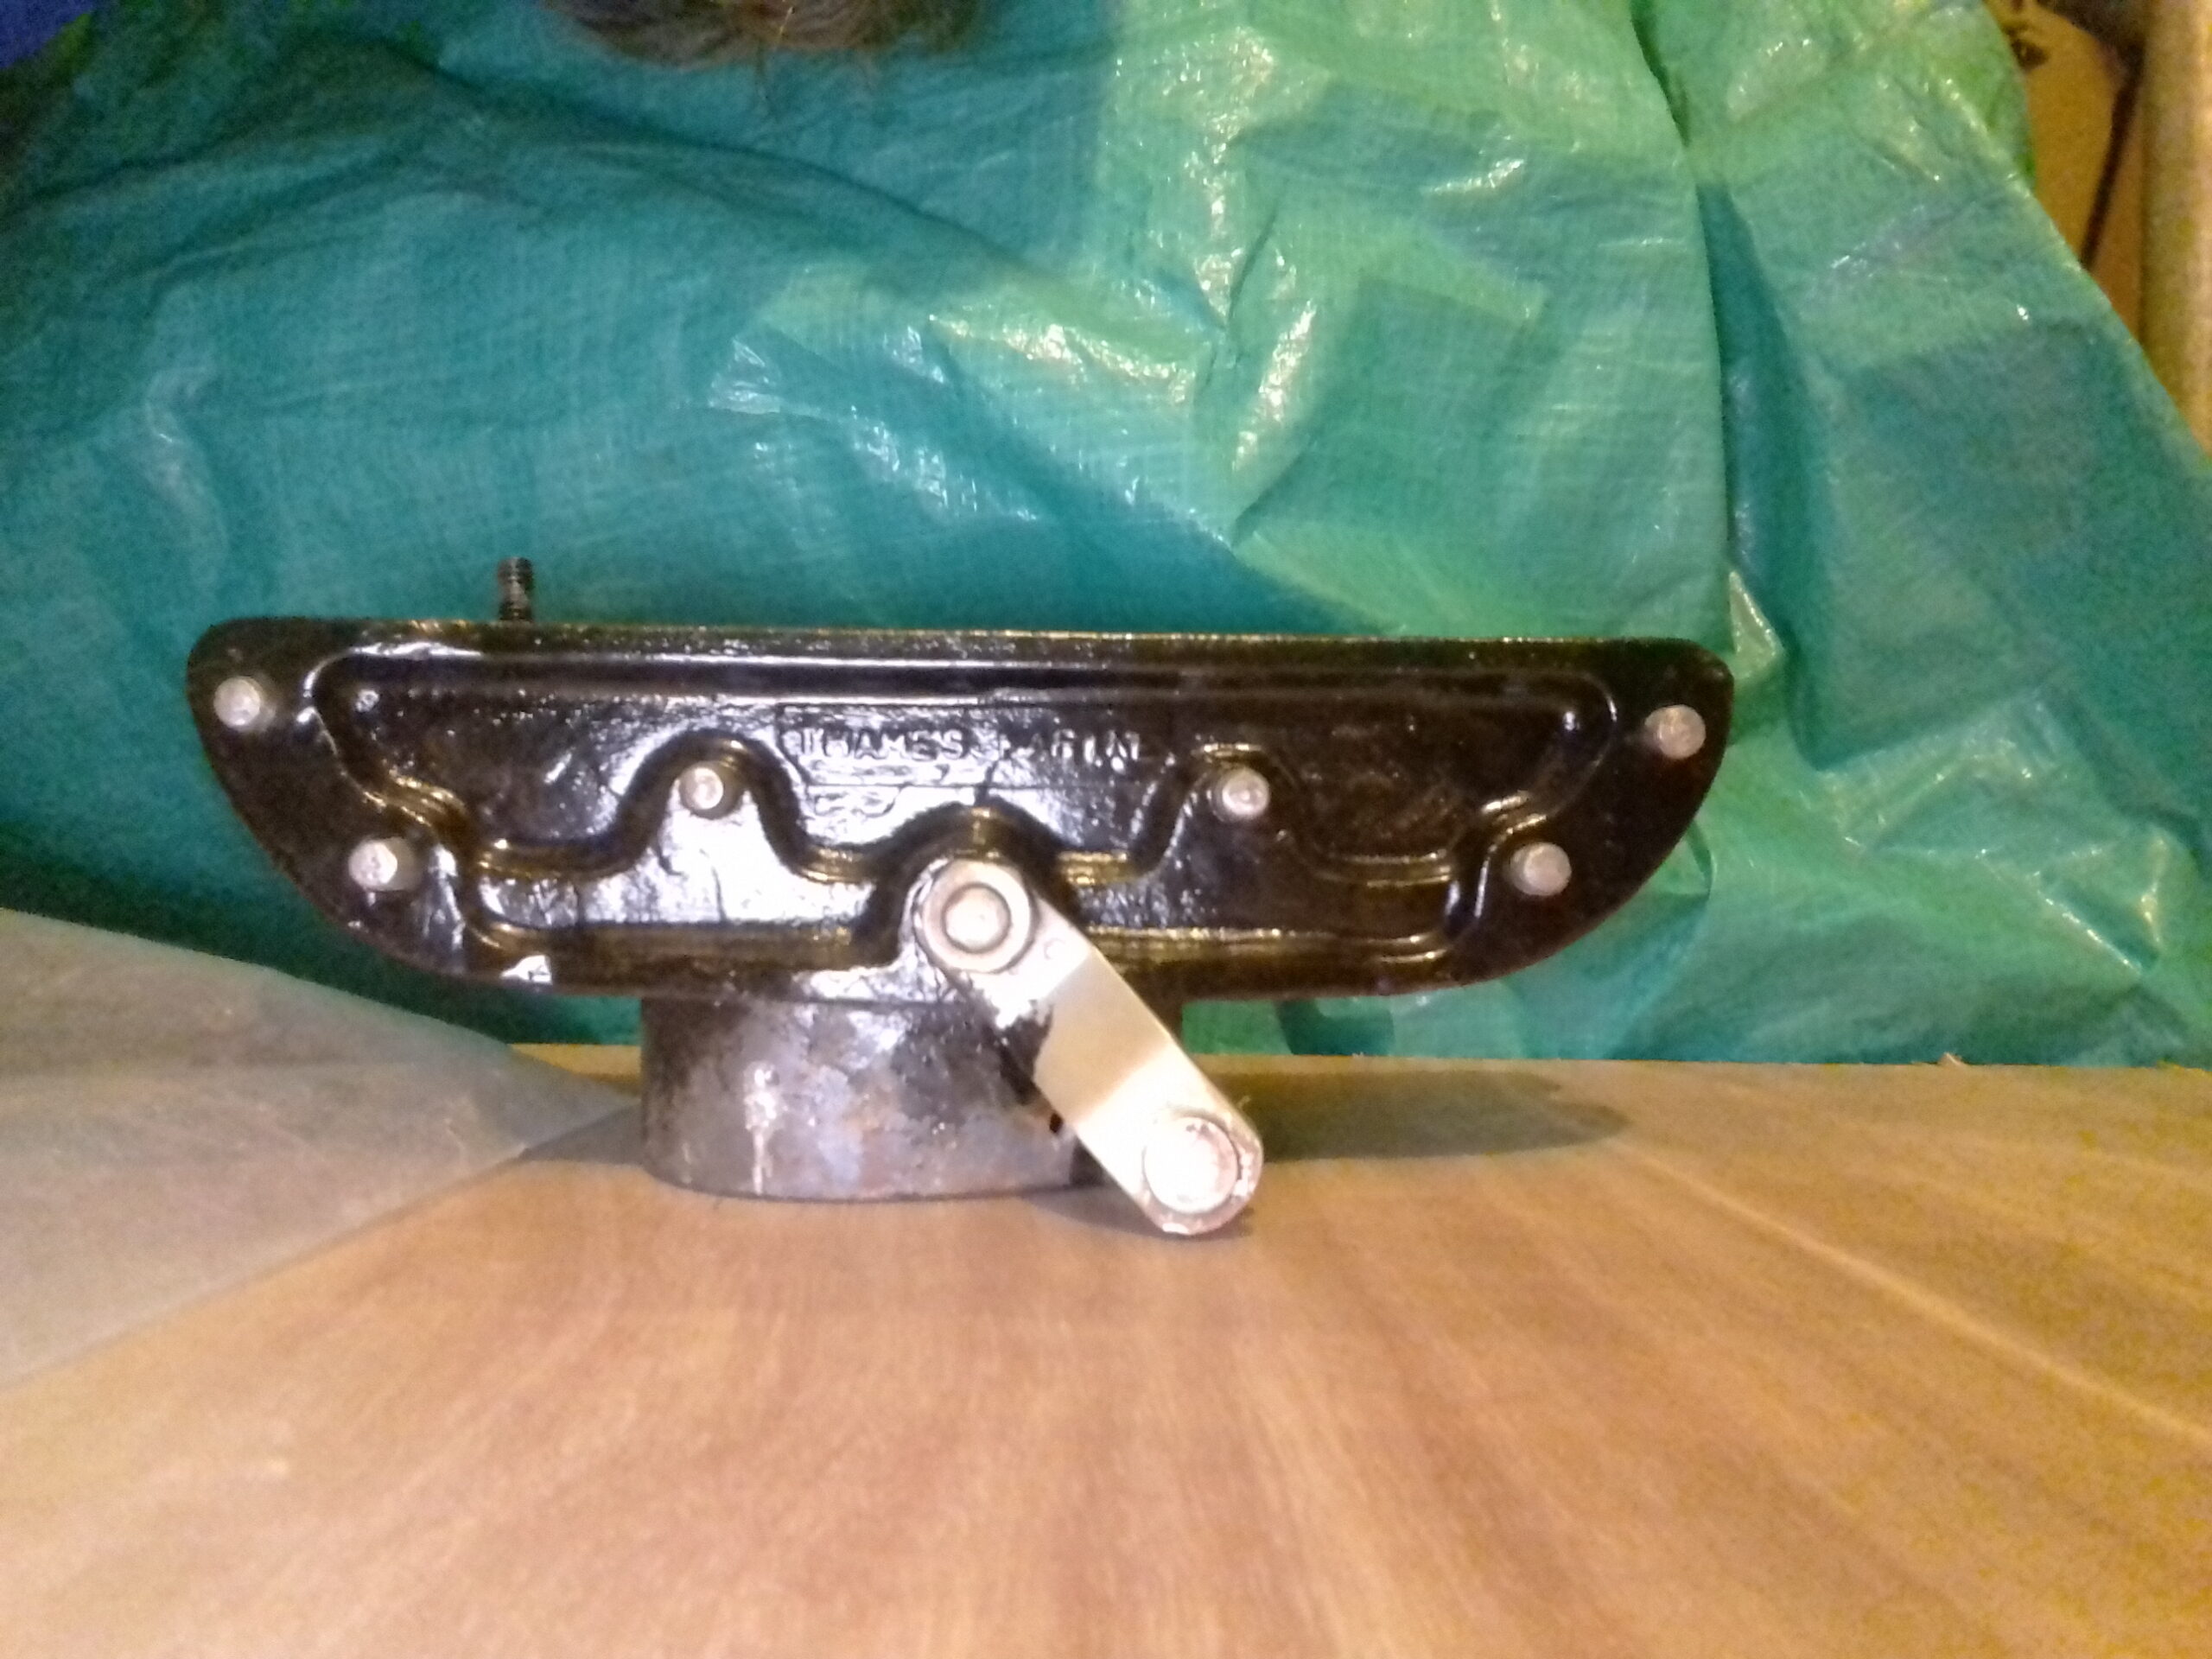 Should be able to finish it off by the middle of the week but the mast itself will take a lot longer so it probably wont get re-fitted for a week or two. As well as replacing all the split pins I need to re-fit two pulleys and do something about the burgee hoist.
Thursday 28th Some progress today but not as much as I might have hoped. Helen was going to school today to teach so I got 20 minutes to put in some of the split pins in the axles and attachment pins of the mast head unit.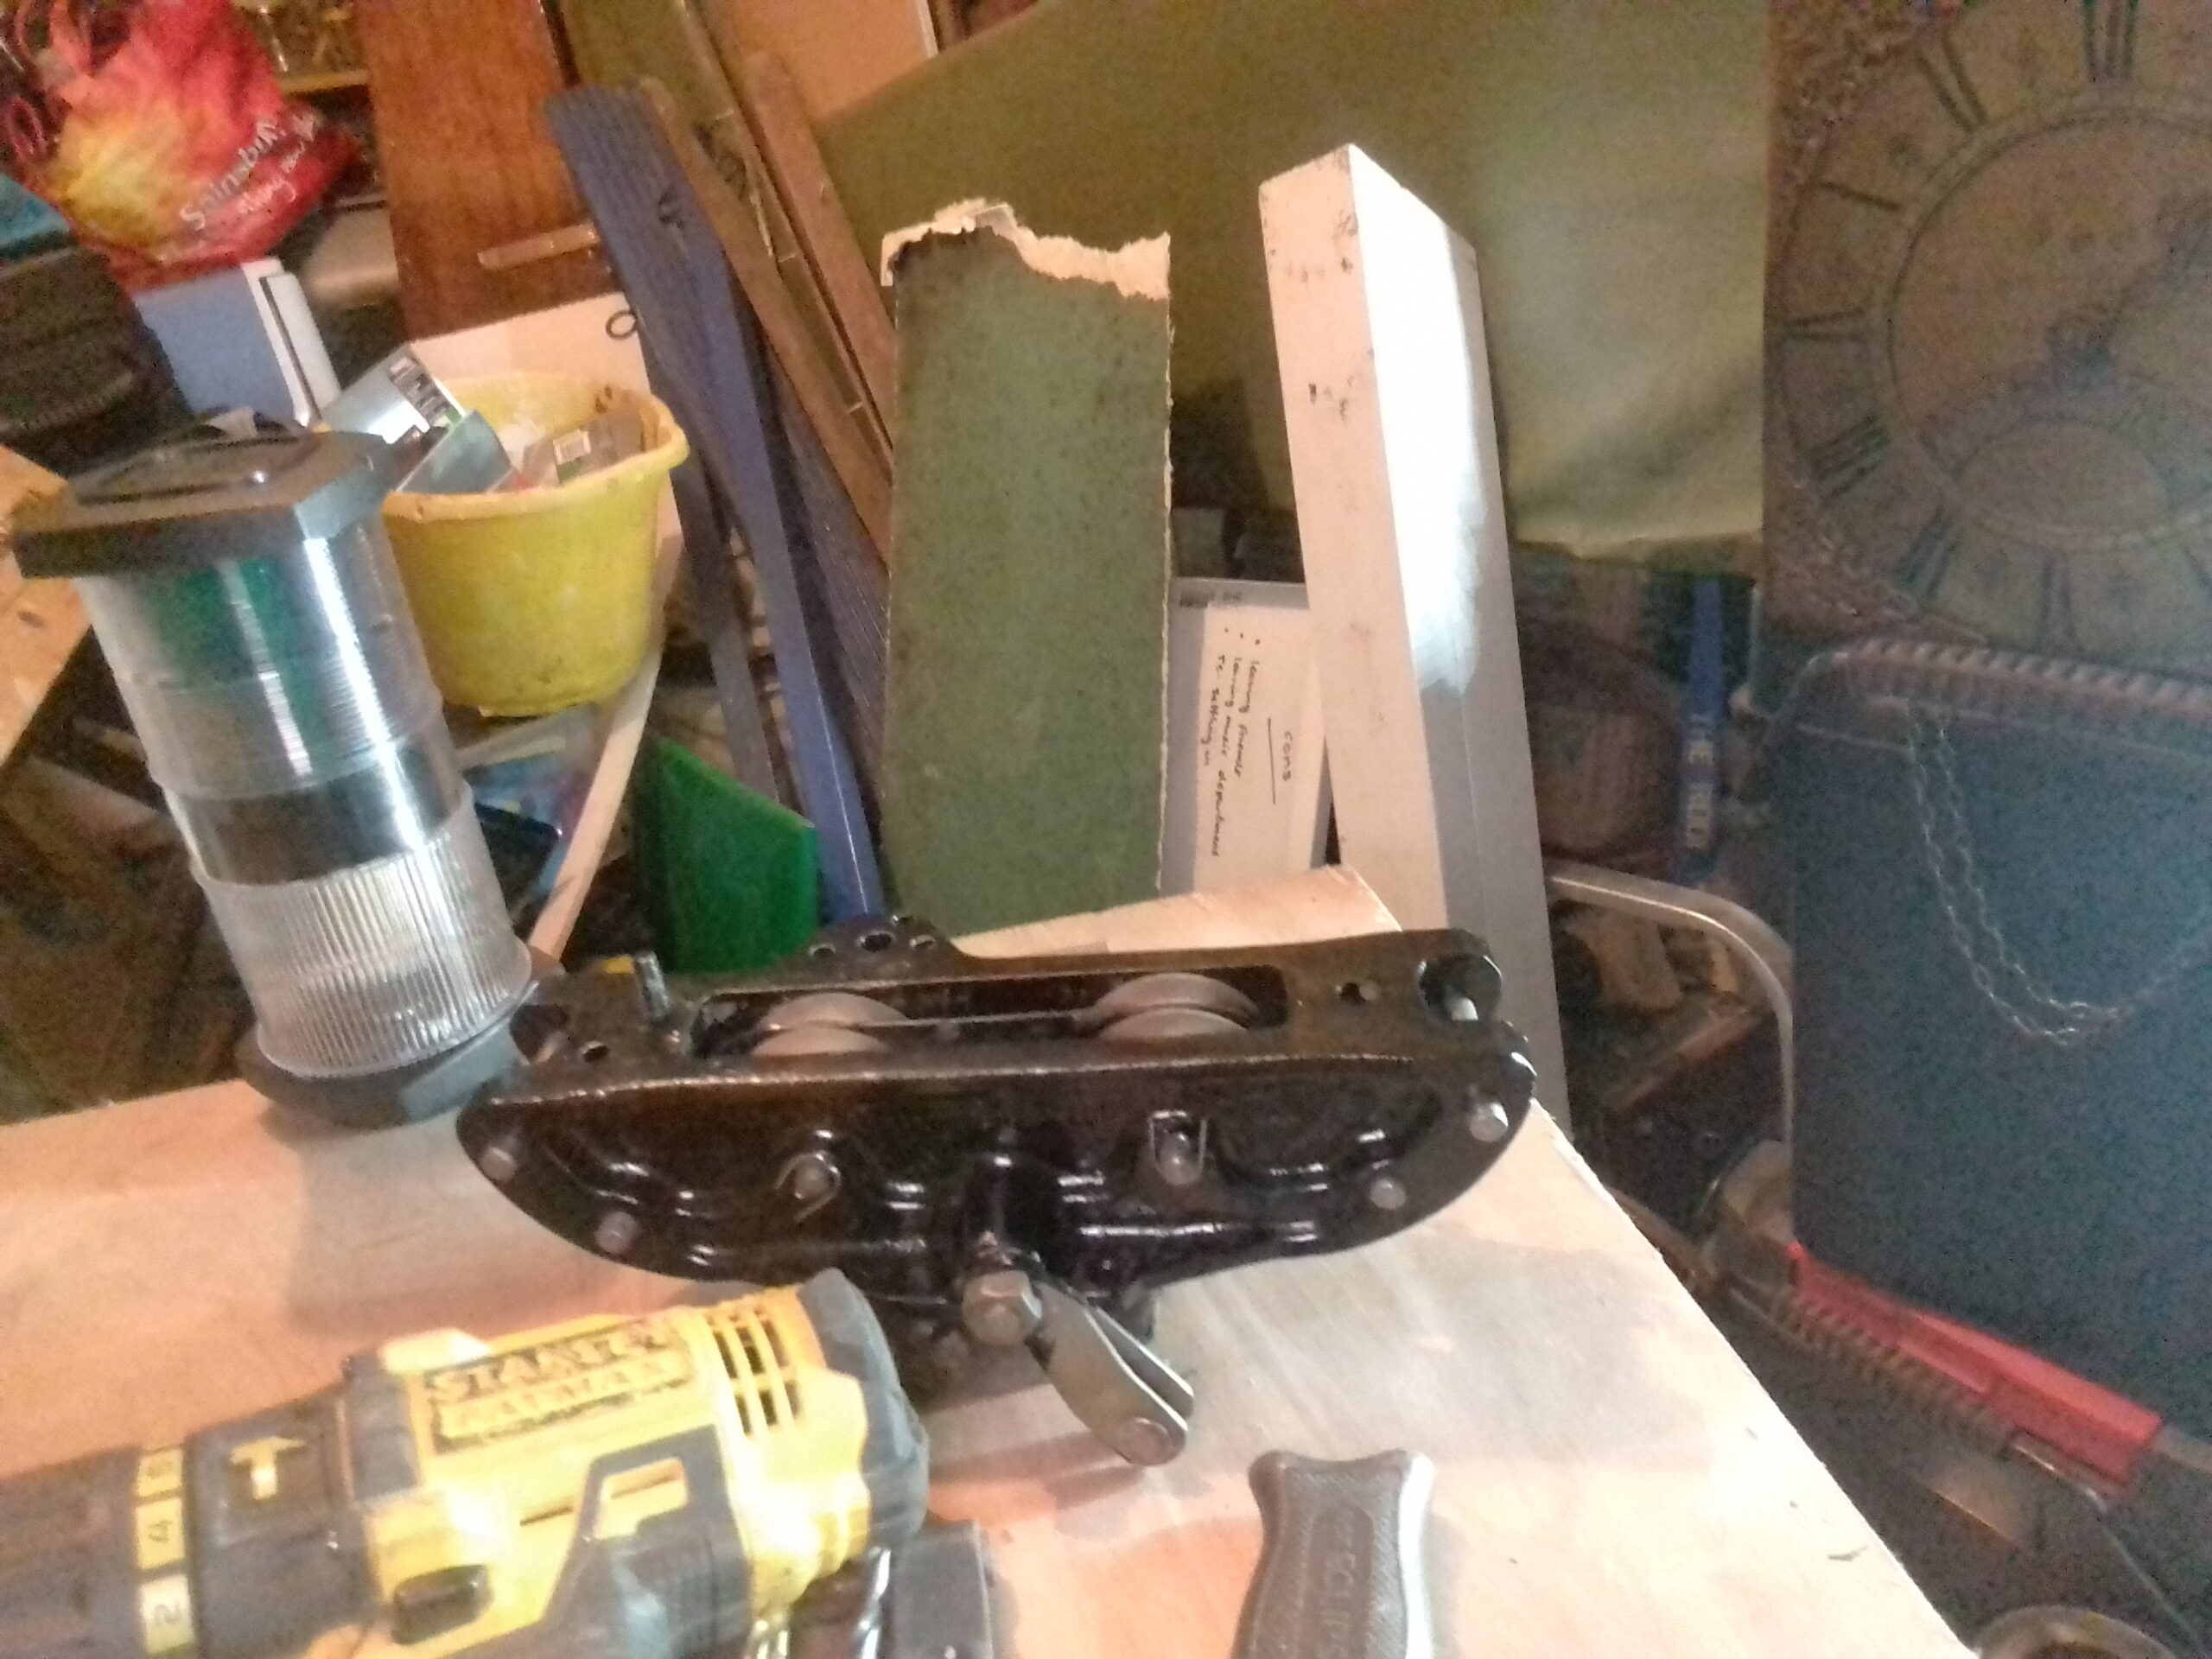
I have cut out a rectangle of stainless steel to act as the mounting bracket for the tricolour masthead light although drilling the mounting bolt holes was going very slowly. All of the drill bits have been used on building projects so I will get a new set in the hope of making more progress. No fixed mounting yet but I have slightly enlarged the wire grommet, installed the wiring into the base of the light and tested it. 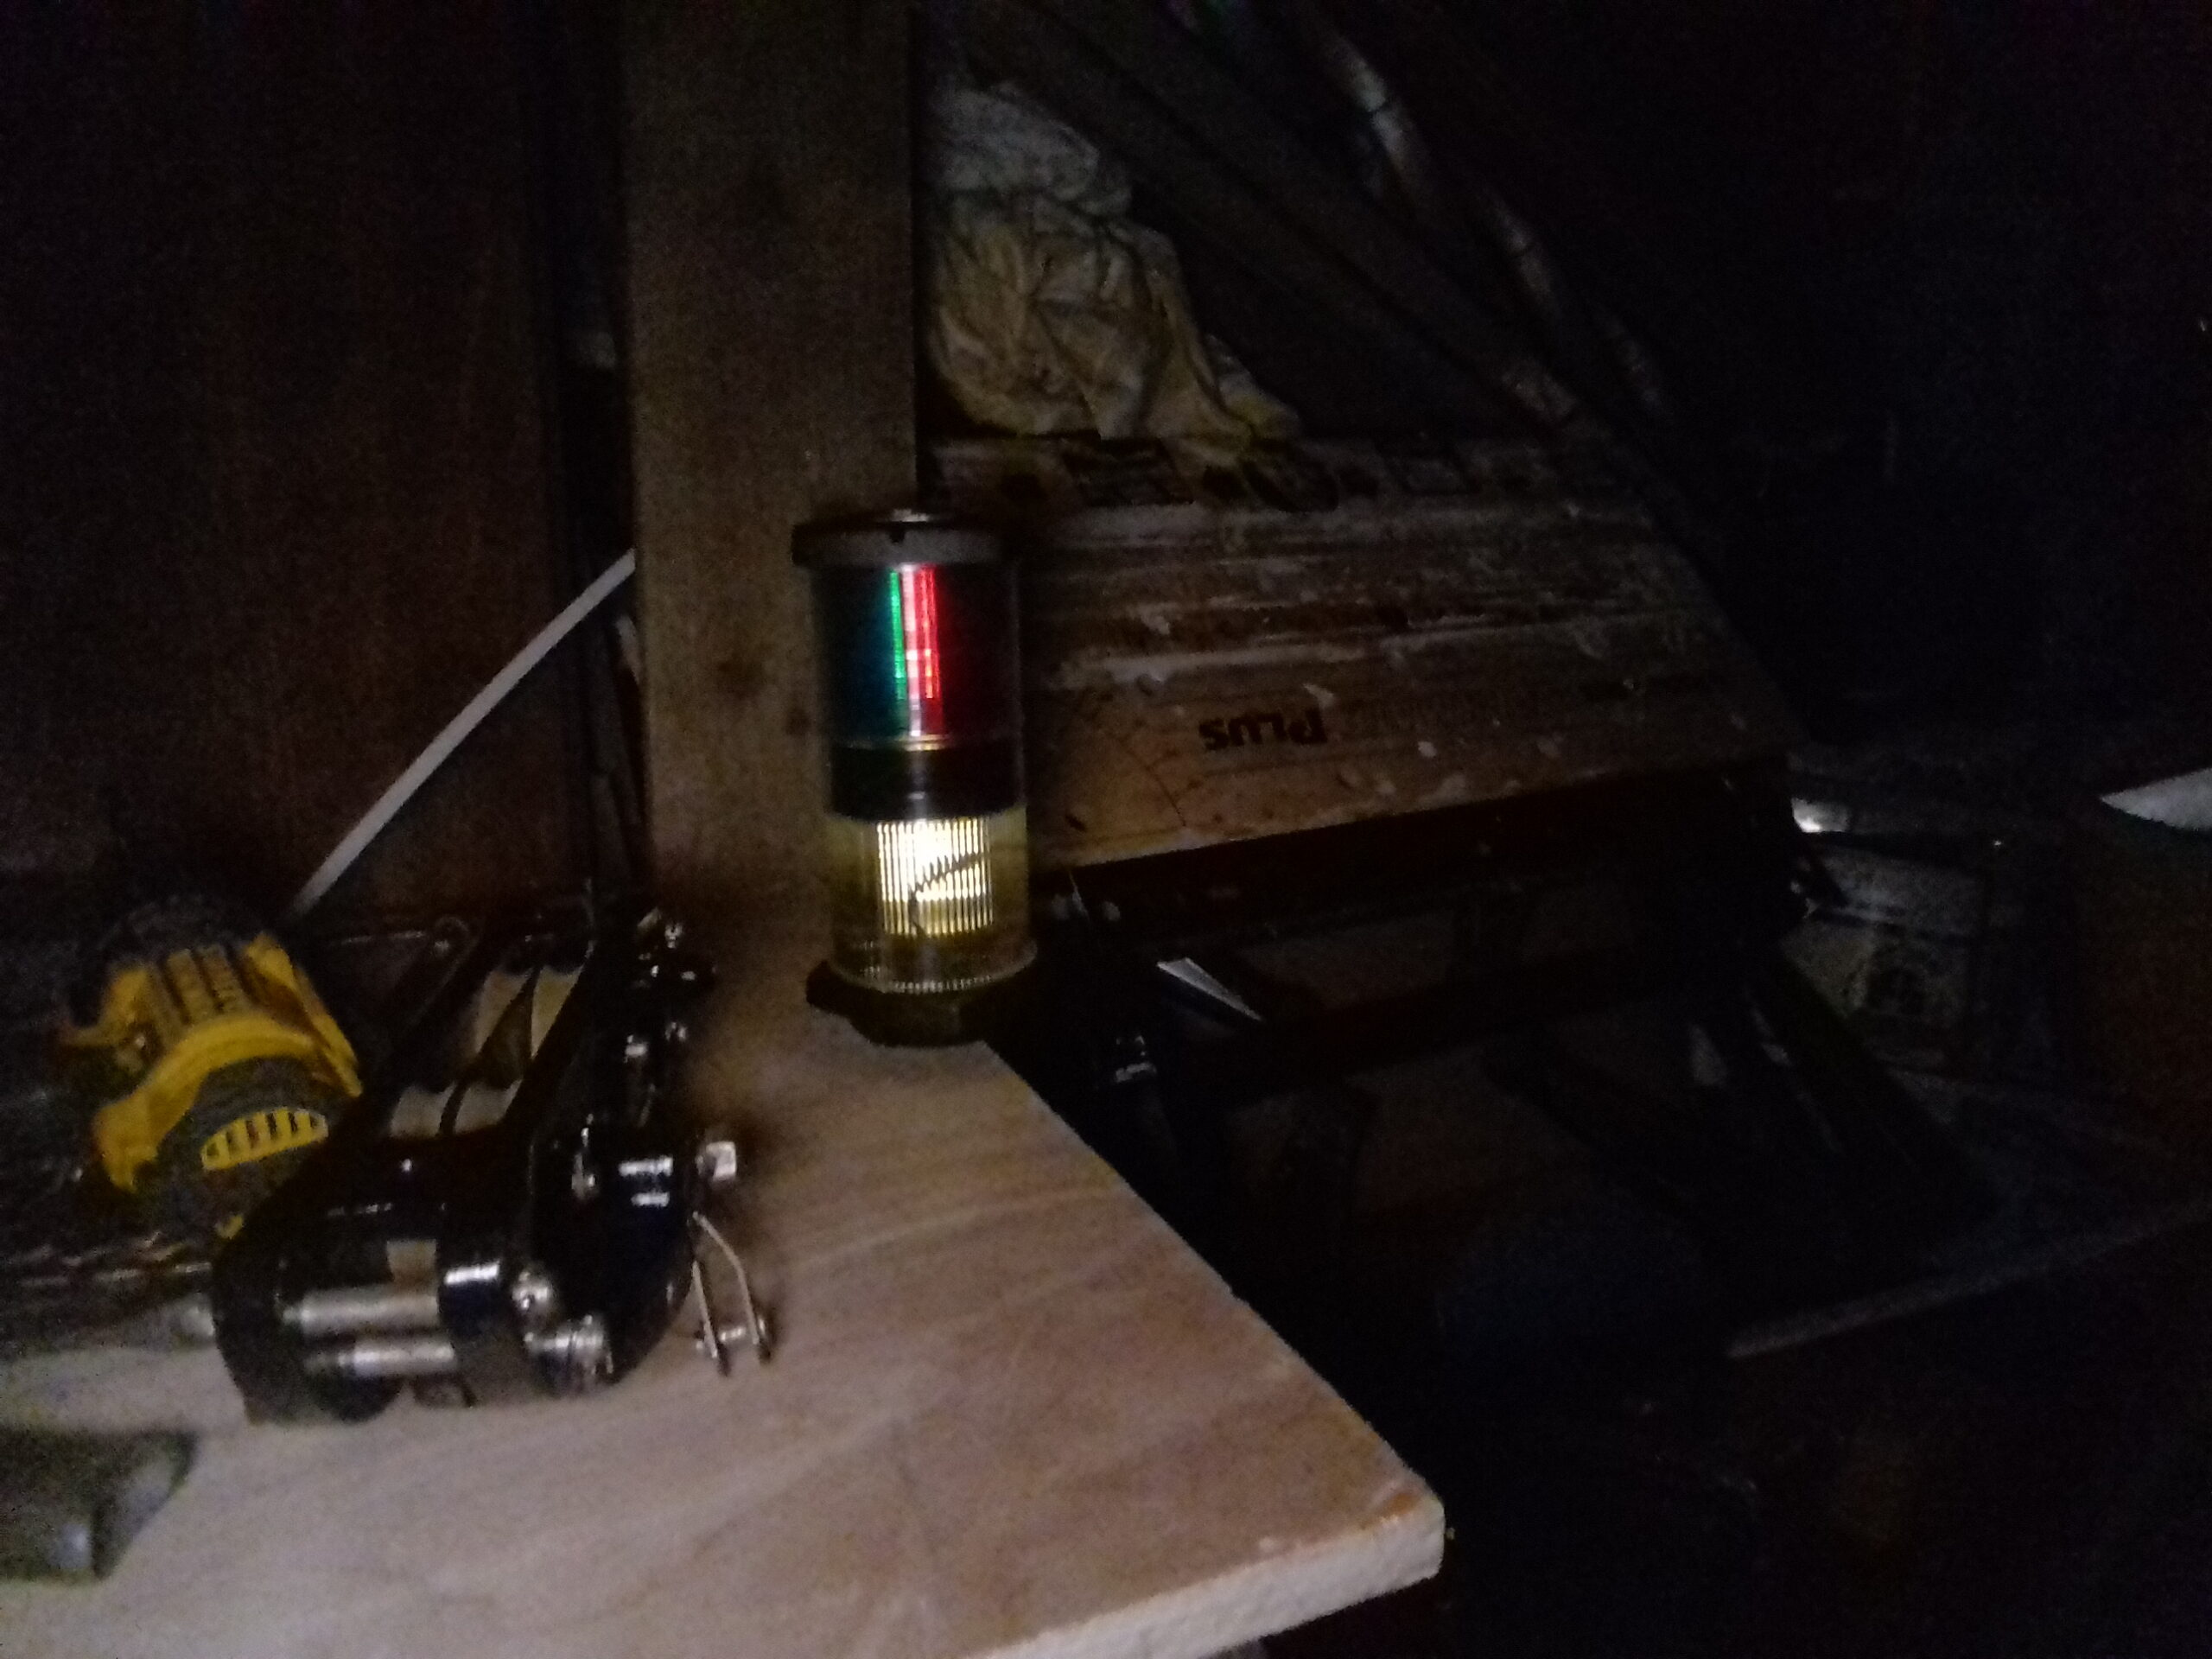 Somewhat dim light but I suspect the battery is not at it’s best having been sitting un-used since Bethany’s original car got sold. Will charge it up either over night or during the day tomorrow.
Saturday Woken at 7 by the alarm on my new phone so at least that bit is working. Took me until just after 1 am this morning to transfer all the phone numbers and other data via bluetooth (Should have been easy but there was not enough space on the old phone to run the mega bloated transfer program. Personally I would have written it differently so there was a sending and a receiving part and you only needed to load a smaller program on the old phone, the one they use has both parts of the program and also a section to manage choosing which way the software runs on each device.). The new phone definitely makes a big difference to the quality of the photos so it is worth the grief of getting used to a new phone.
Amazing the damage that boat restoration can do a smart phone due to boat bits in the pocket scratching the lens cover and occasionally lying on the touch screen while working in difficult to reach places. 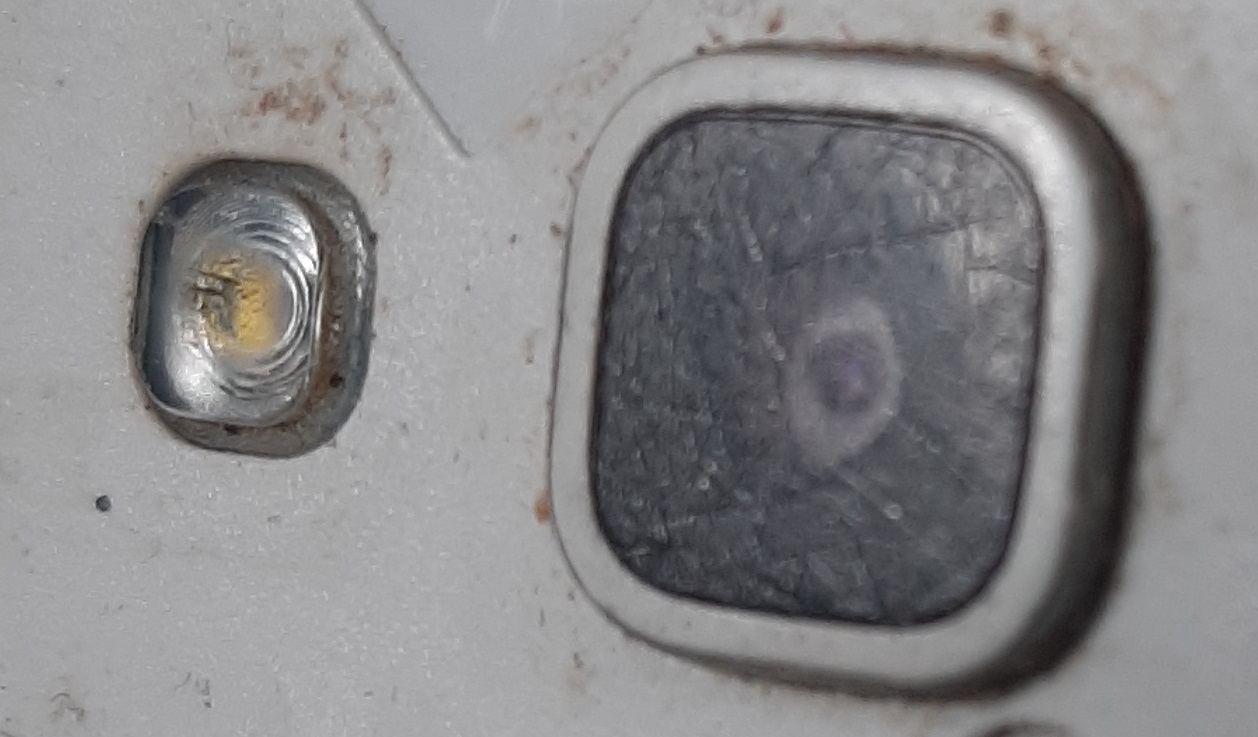 Probably a small miracle that the photos were even visible at all when taken through that scratched window.
Spent almost all of the morning working on the mounting plate to attach the tricolour light to the masthead casting. It is all assembled in the photo but I will paint the bolts that attach the stainless steel plate to the casting. 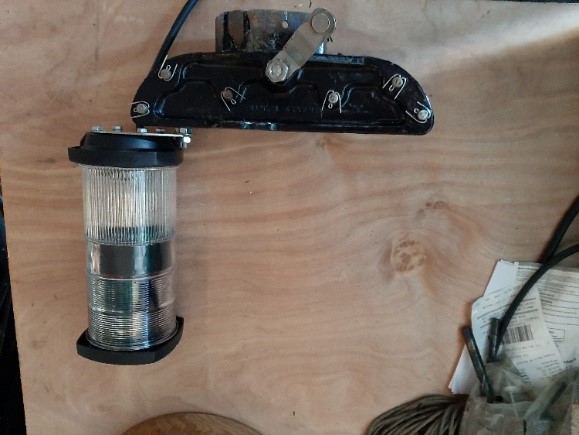 For now I am risking unprotected mild steel for the ones into the lamp base but may swap them for stainless steel at the end of the season, it all depends on whether there is much corrosion.
Not sure if this is the best place to put it but I was trying to keep clear access to where the main and genoa halliards go across the top of the mast while also not getting in the way of the spinnaker halliard pulley which goes on the upper pin just below the light. Possibly might flip the plate over to move the light to a more central position but will need to test that with the original VHF antenna as I am not sure whether that is forward or aft of the shroud attachment and it might be in the way.
Sunday 1st December Tried to order the stainless steel website to get the standing rigging sorted out. Ended up emailing the list because their website is weird. Clicking between two windows (spreadsheet list & the website to order items) causes each line of the order to be in a separate shopping basket. Hopefully they will phone me tomorrow and we can sort it all out.
Monday 2nd Email from the stainless steel company at first wasn’t particularly helpful as it pointed me to a very expensive version of their sales department with all the extortionate markup you would expect for architectural items. Turns out that almost all of the same items are available at the same price as the website just by looking on ebay so I was able to order everything at the right sort of price. Does mean it will be delivered in 3 or more packages with the first one estimated to arrive at Matt’s house tomorrow, more on Saturday and the biggest lot as a royal mail parcel drop on Monday. Of course that has the usual ebay caveats and could turn up any time, in any number of packages or potentially not at all for weeks.
Wednesday 4th The first of the parcels has arrived at mat’s house and there is something that needs signing for awaiting pickup from the sorting office as well. Turns out that the packages today included two different parts of the rigging order .
Monday 16th Having a few days off work this week because I still have around half my leave to “use or lose” by April. My plan is to work on the mast. Stopped for lunch at 12:45 because after all the drilling and sanding, I now have two batteries that need charging and the third is part way through charging. 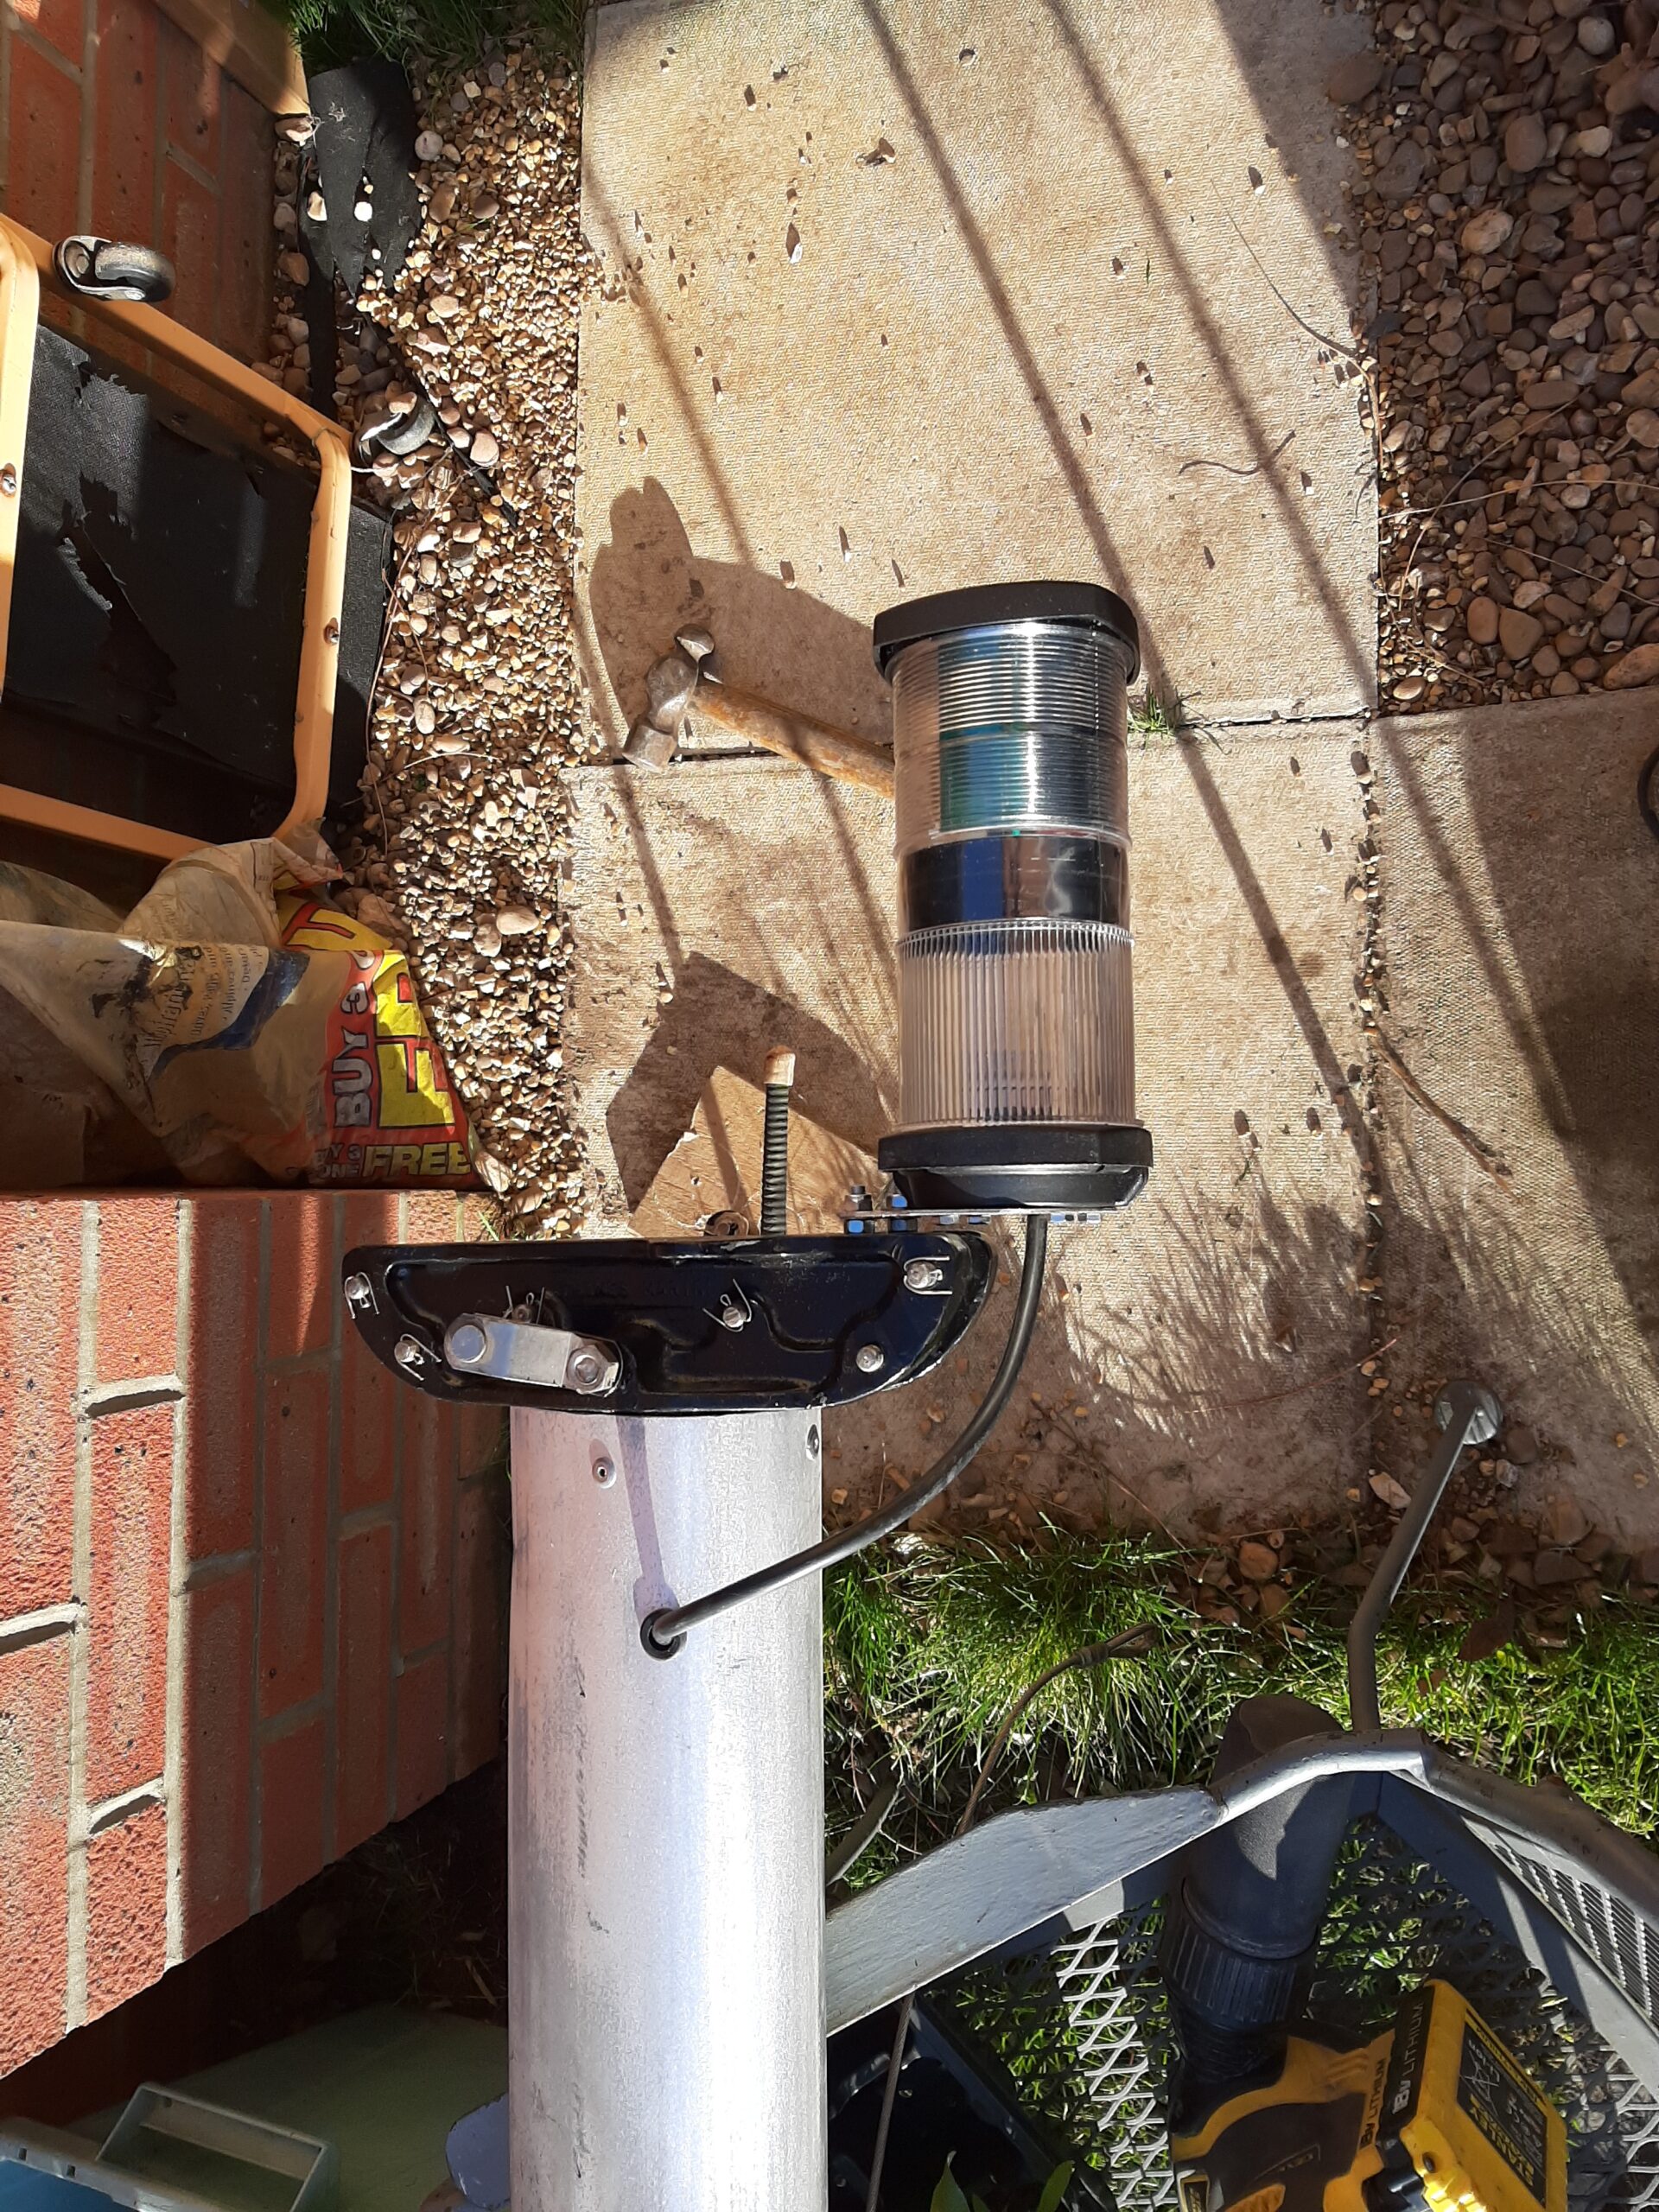 The cables are in the mast following drilling out the corroded screws, sanding the areas around the entry and exit holes, re-sizing several of the holes to fit the grommets which match the new cables and re-fitting the mast head casting with pop rivets. I will eventually need to put sealant into the rivets to protect from salt water because there is still the remnant of the steel core left exposed.
 The original motoring light was on a stainless steel bracket screwed to the mast but has now been replaced by the all round white light in the masthead unit.
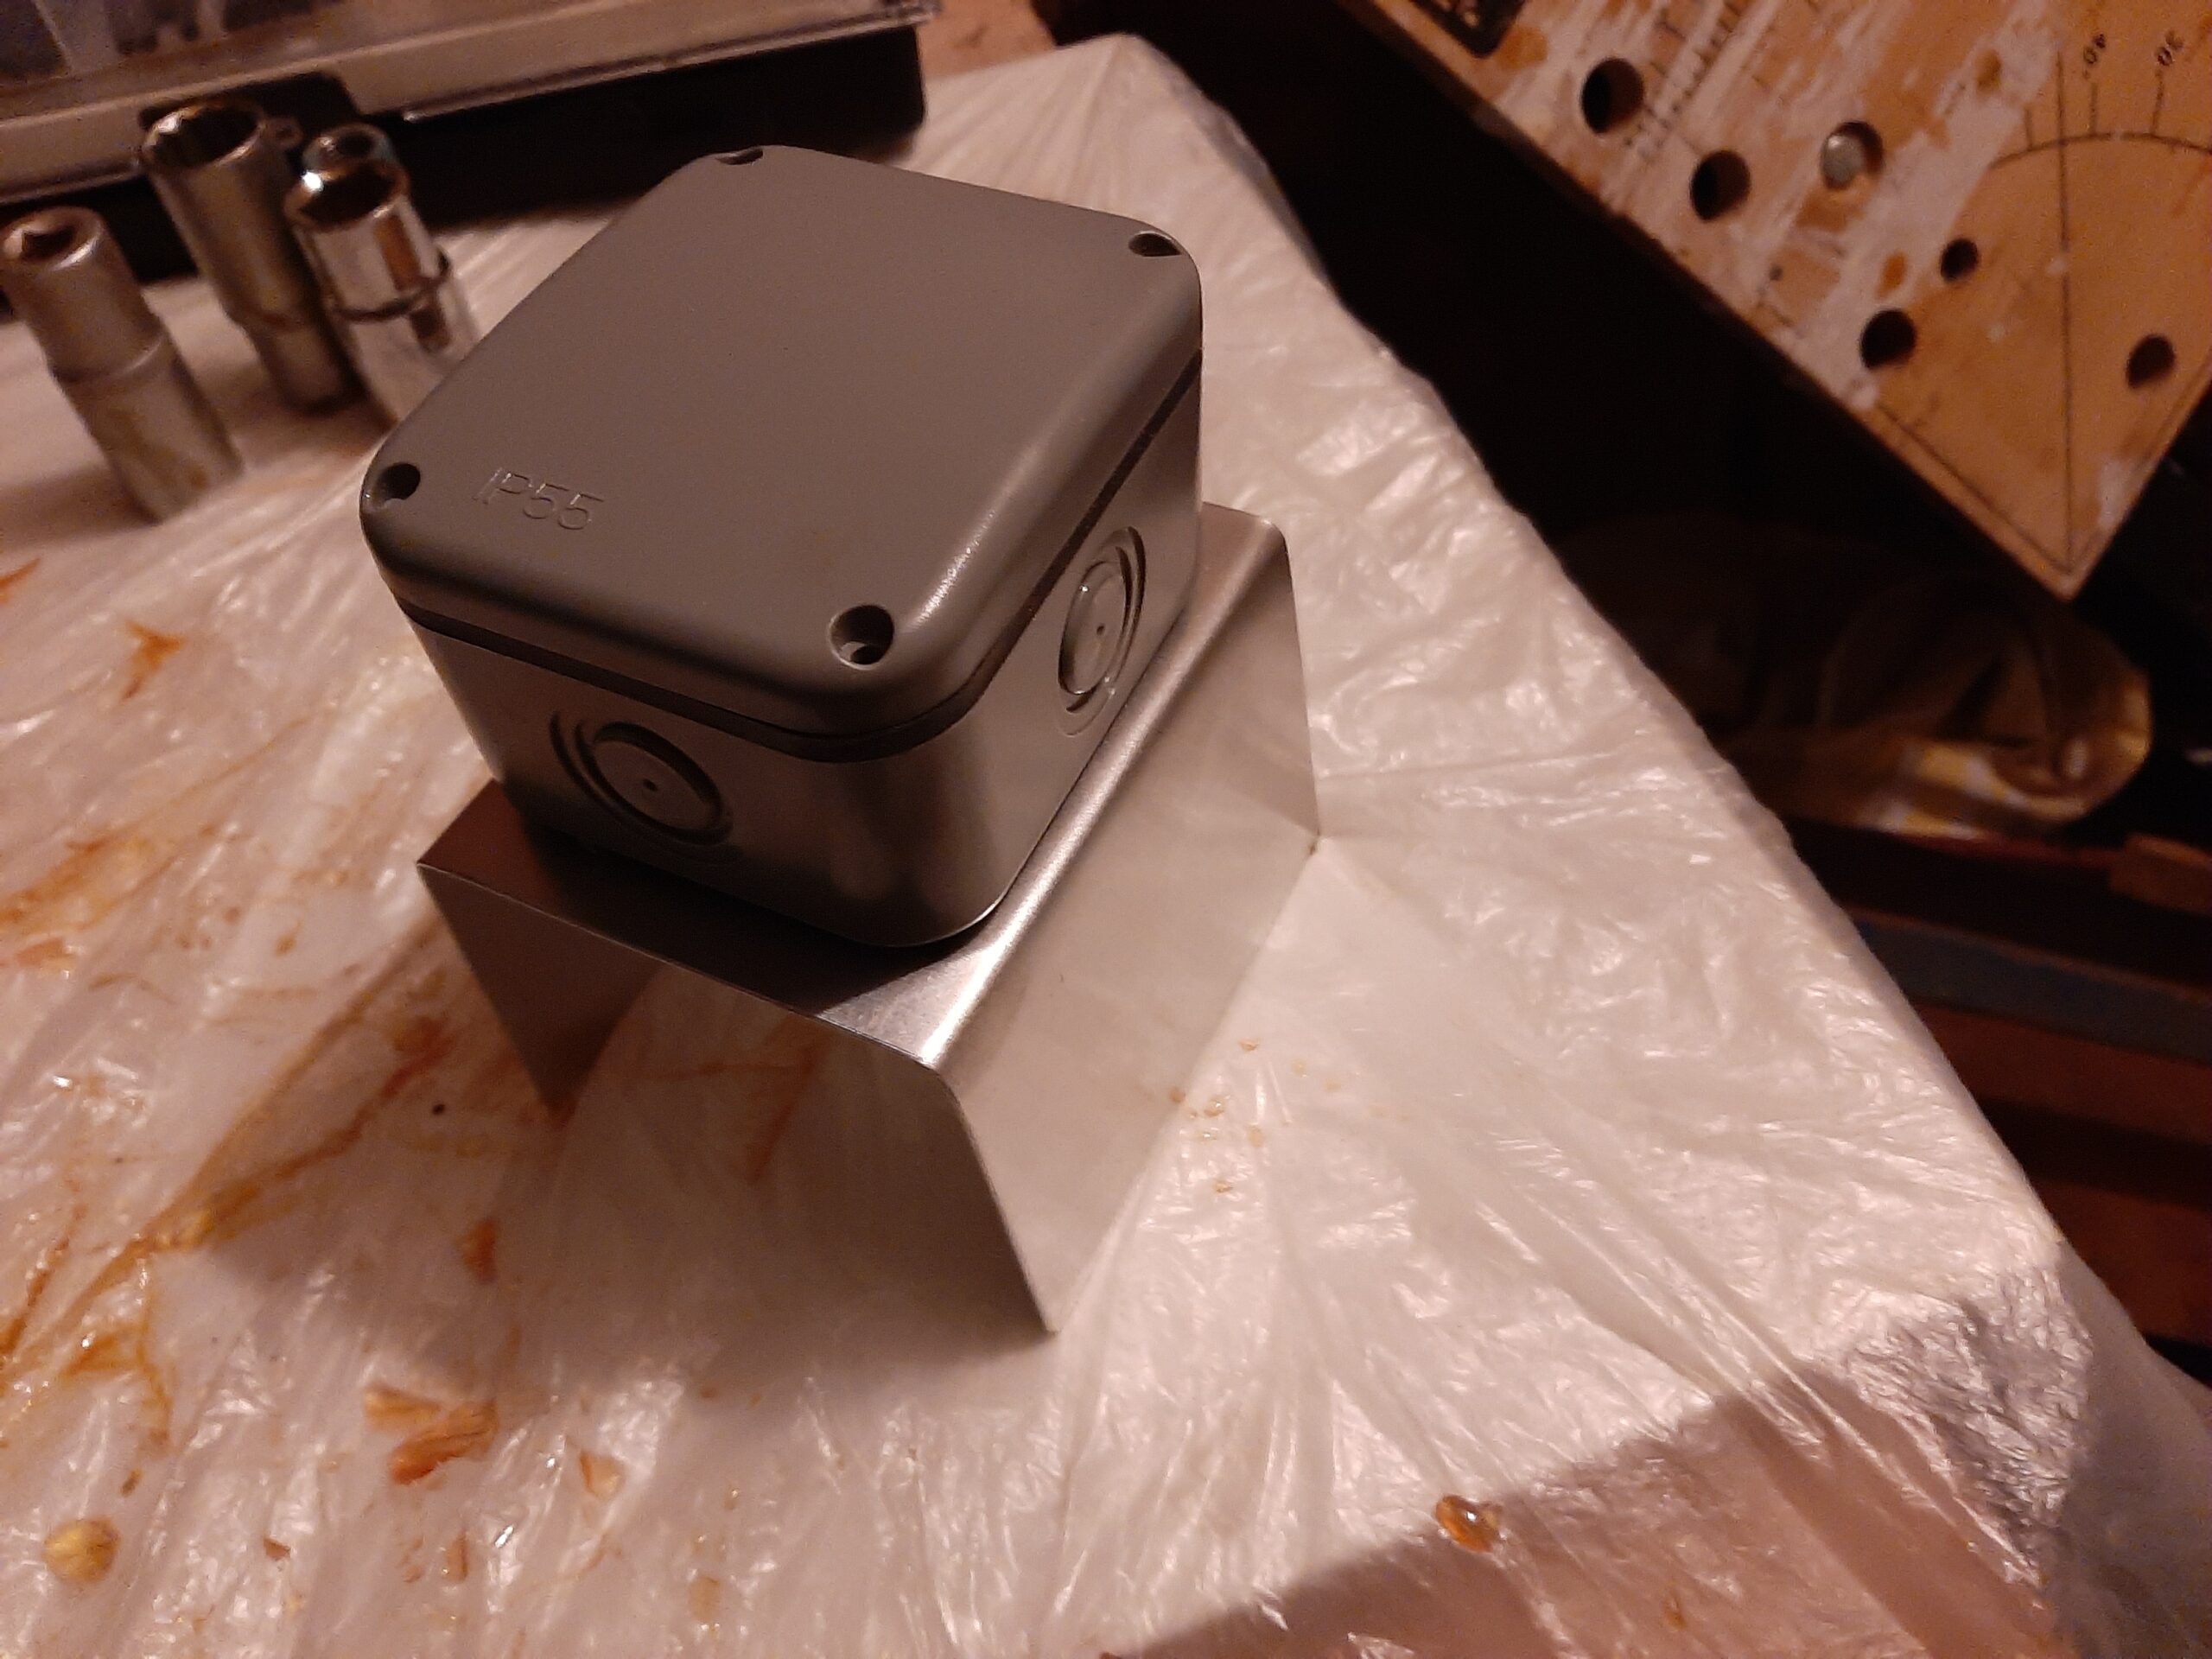
  It’s original position will be taken by a junction box between the cables which will also allow me to eventually install work lights to illuminate around the mast and the foredeck. The plastic IP55 category waterproof box will be on an aluminium bracket attached to the mast with pop rivets to try to avoid the corrosion problem that had been caused by the original mix of aluminium and stainless steel. The corroded steel screws have been drilled out but there is corrosion pitting in the mast where the two metals were in contact. Even with that it’s not bad for a 45 year old mast. This will be covered by the new mounting plate and the assembly shouldn’t need protection between the different aluminium components as should have been in place for the original.
Slight catch is that I want to get the Everbrite coating on that area of mast and the bracket itself before assembly because otherwise there will be aluminium behind the bracket potentially exposed to salt water spray. The box will be sealed with silicone where the cables come in through grommets. That should maintain the waterproofing category effectively but more neatly than screw in cable glands would do. The joints in the box will be simple enough – red to red (all round white), green to green (Tri colour sailing light) and the common return is white in the 4 core cable and black in the 3 core. These will be soldered to avoid corrosion and protected using the adhesive type heat shrink tubing.
Nowhere near to being ready to coat the mast yet but I cleaned up the large cleats at the mast base and did them a first coat with the black hammerite paint. 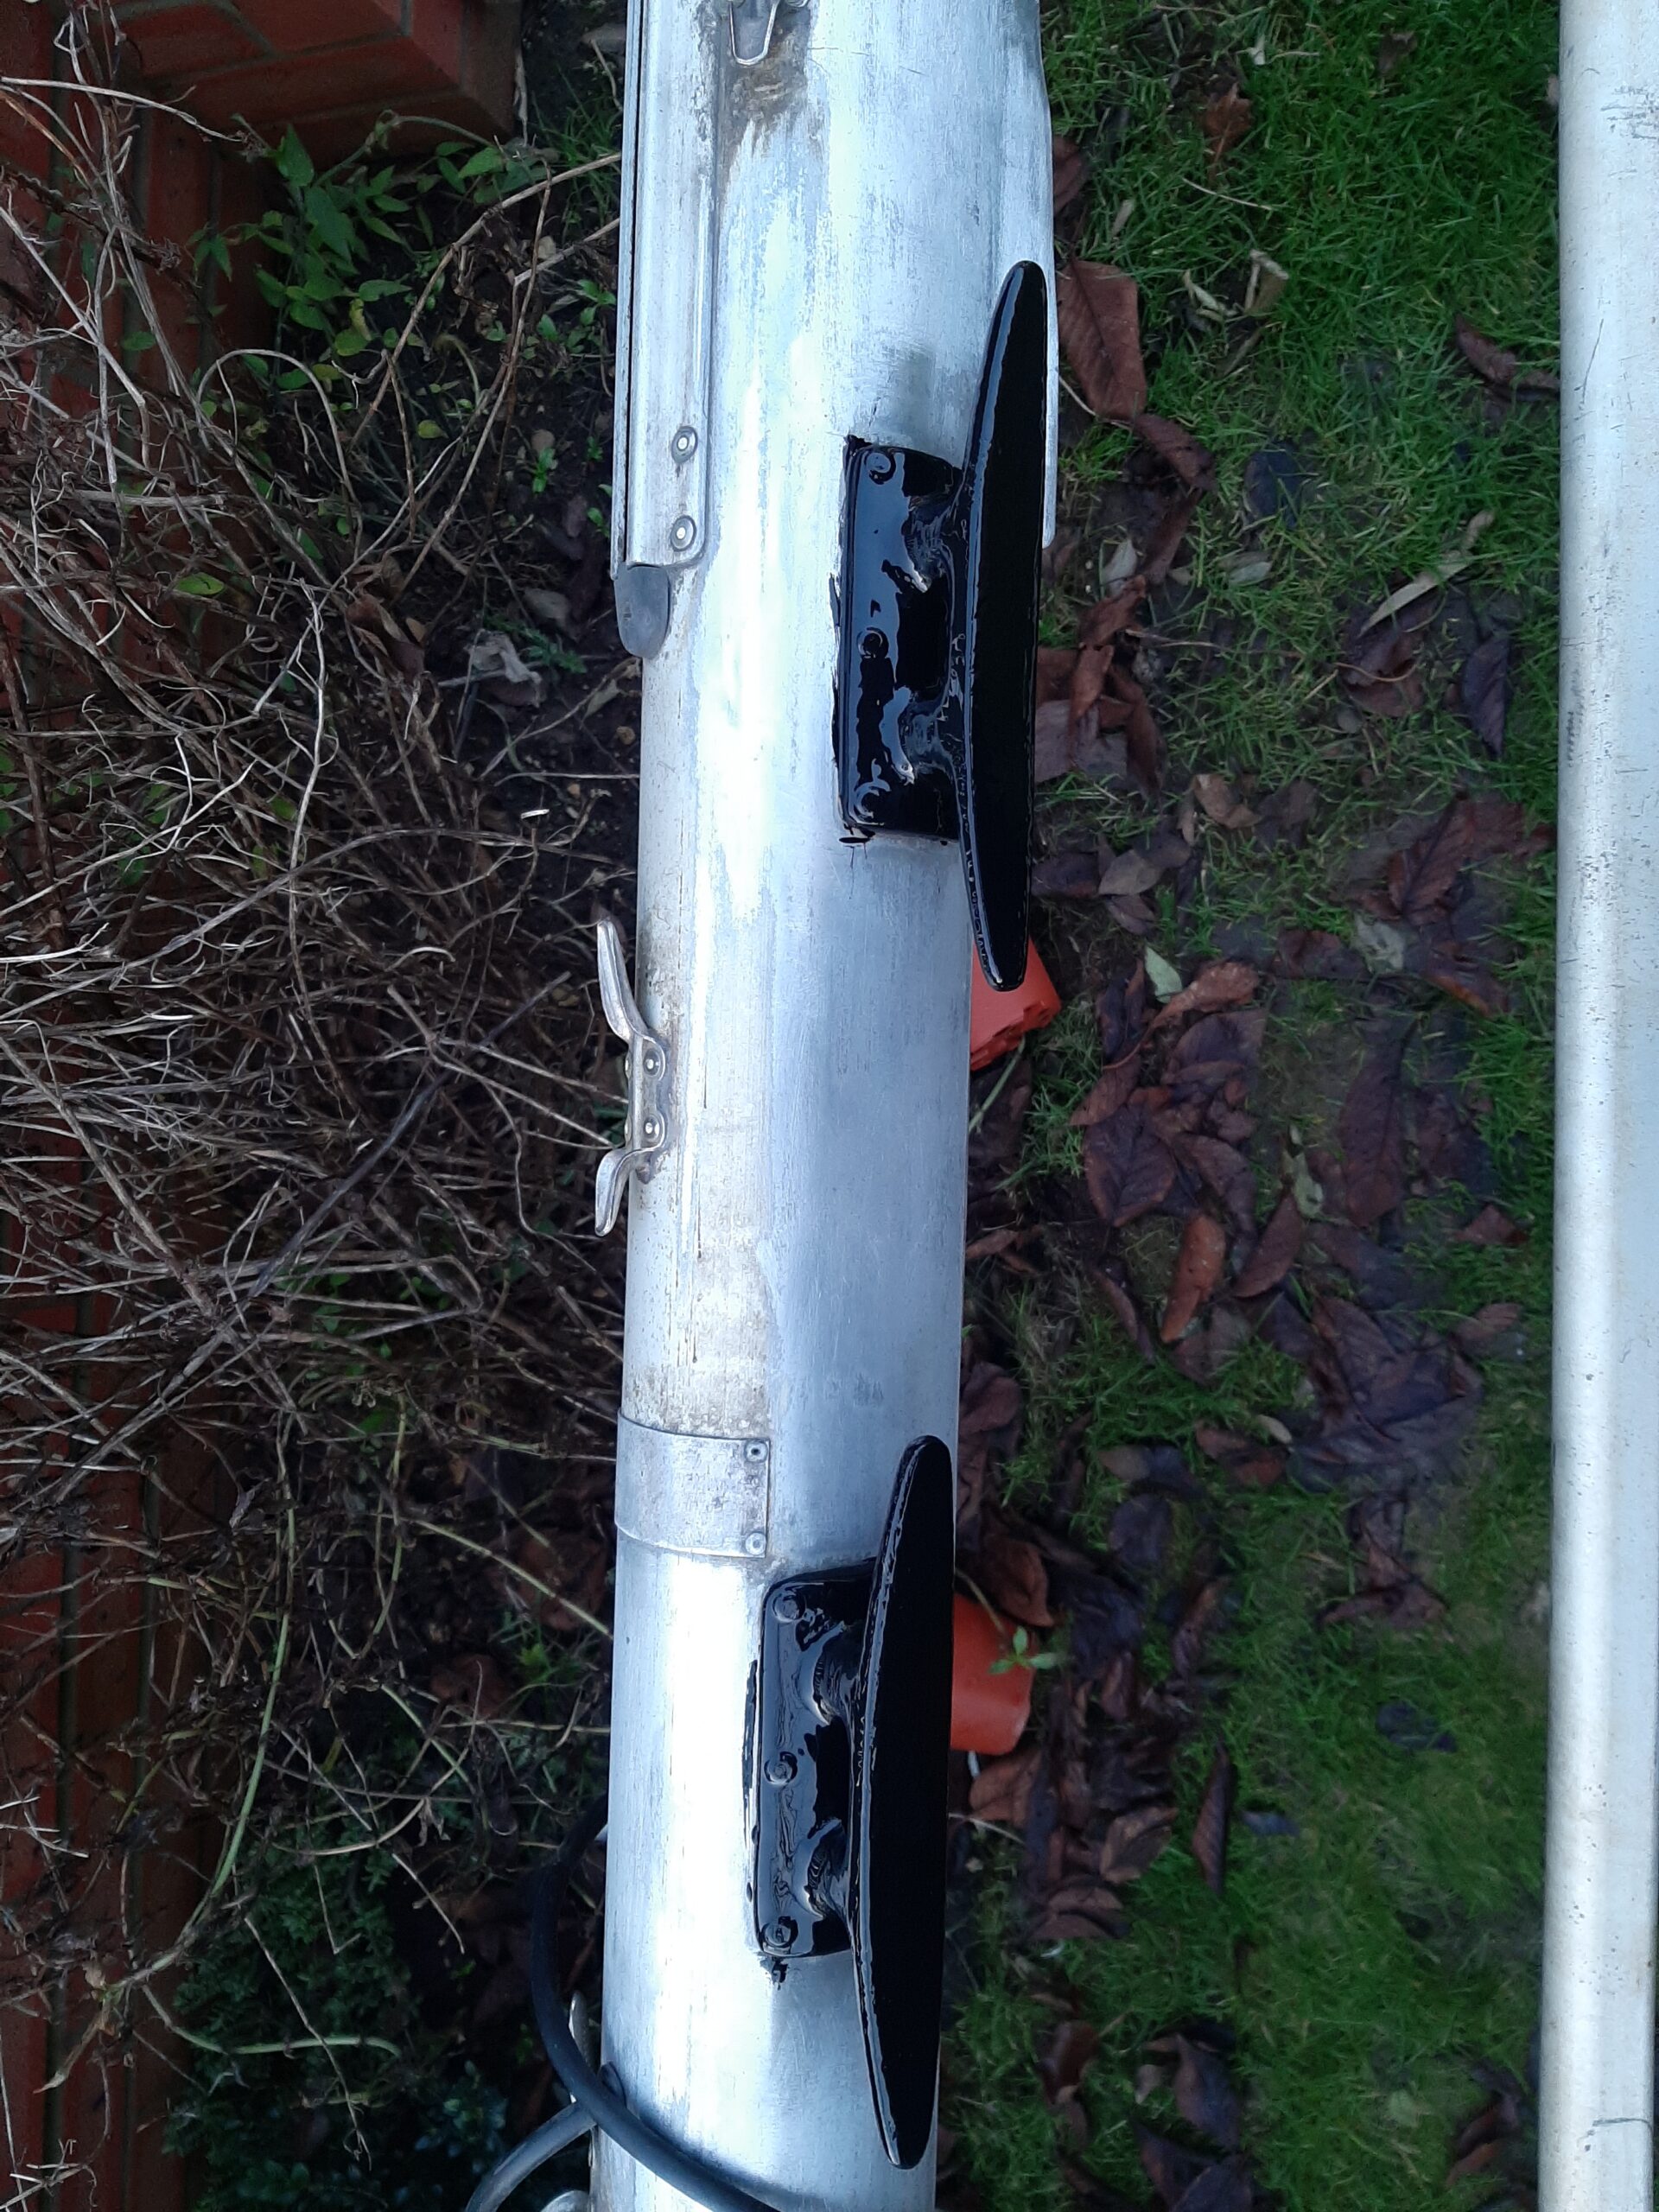 Had to re-repair my mains drill first though as I had clamped the live connection onto the insulation rather than the wire during the previous fix to the damaged mains wire. In the process of cleaning up the cleats I uncovered more of the original gold anodising which had been protected under the four Dymo tape labels that identified the various halliards and topping lift.
Wednesday Mast mounting bracket is finished although currently assembled with mild steel bolts.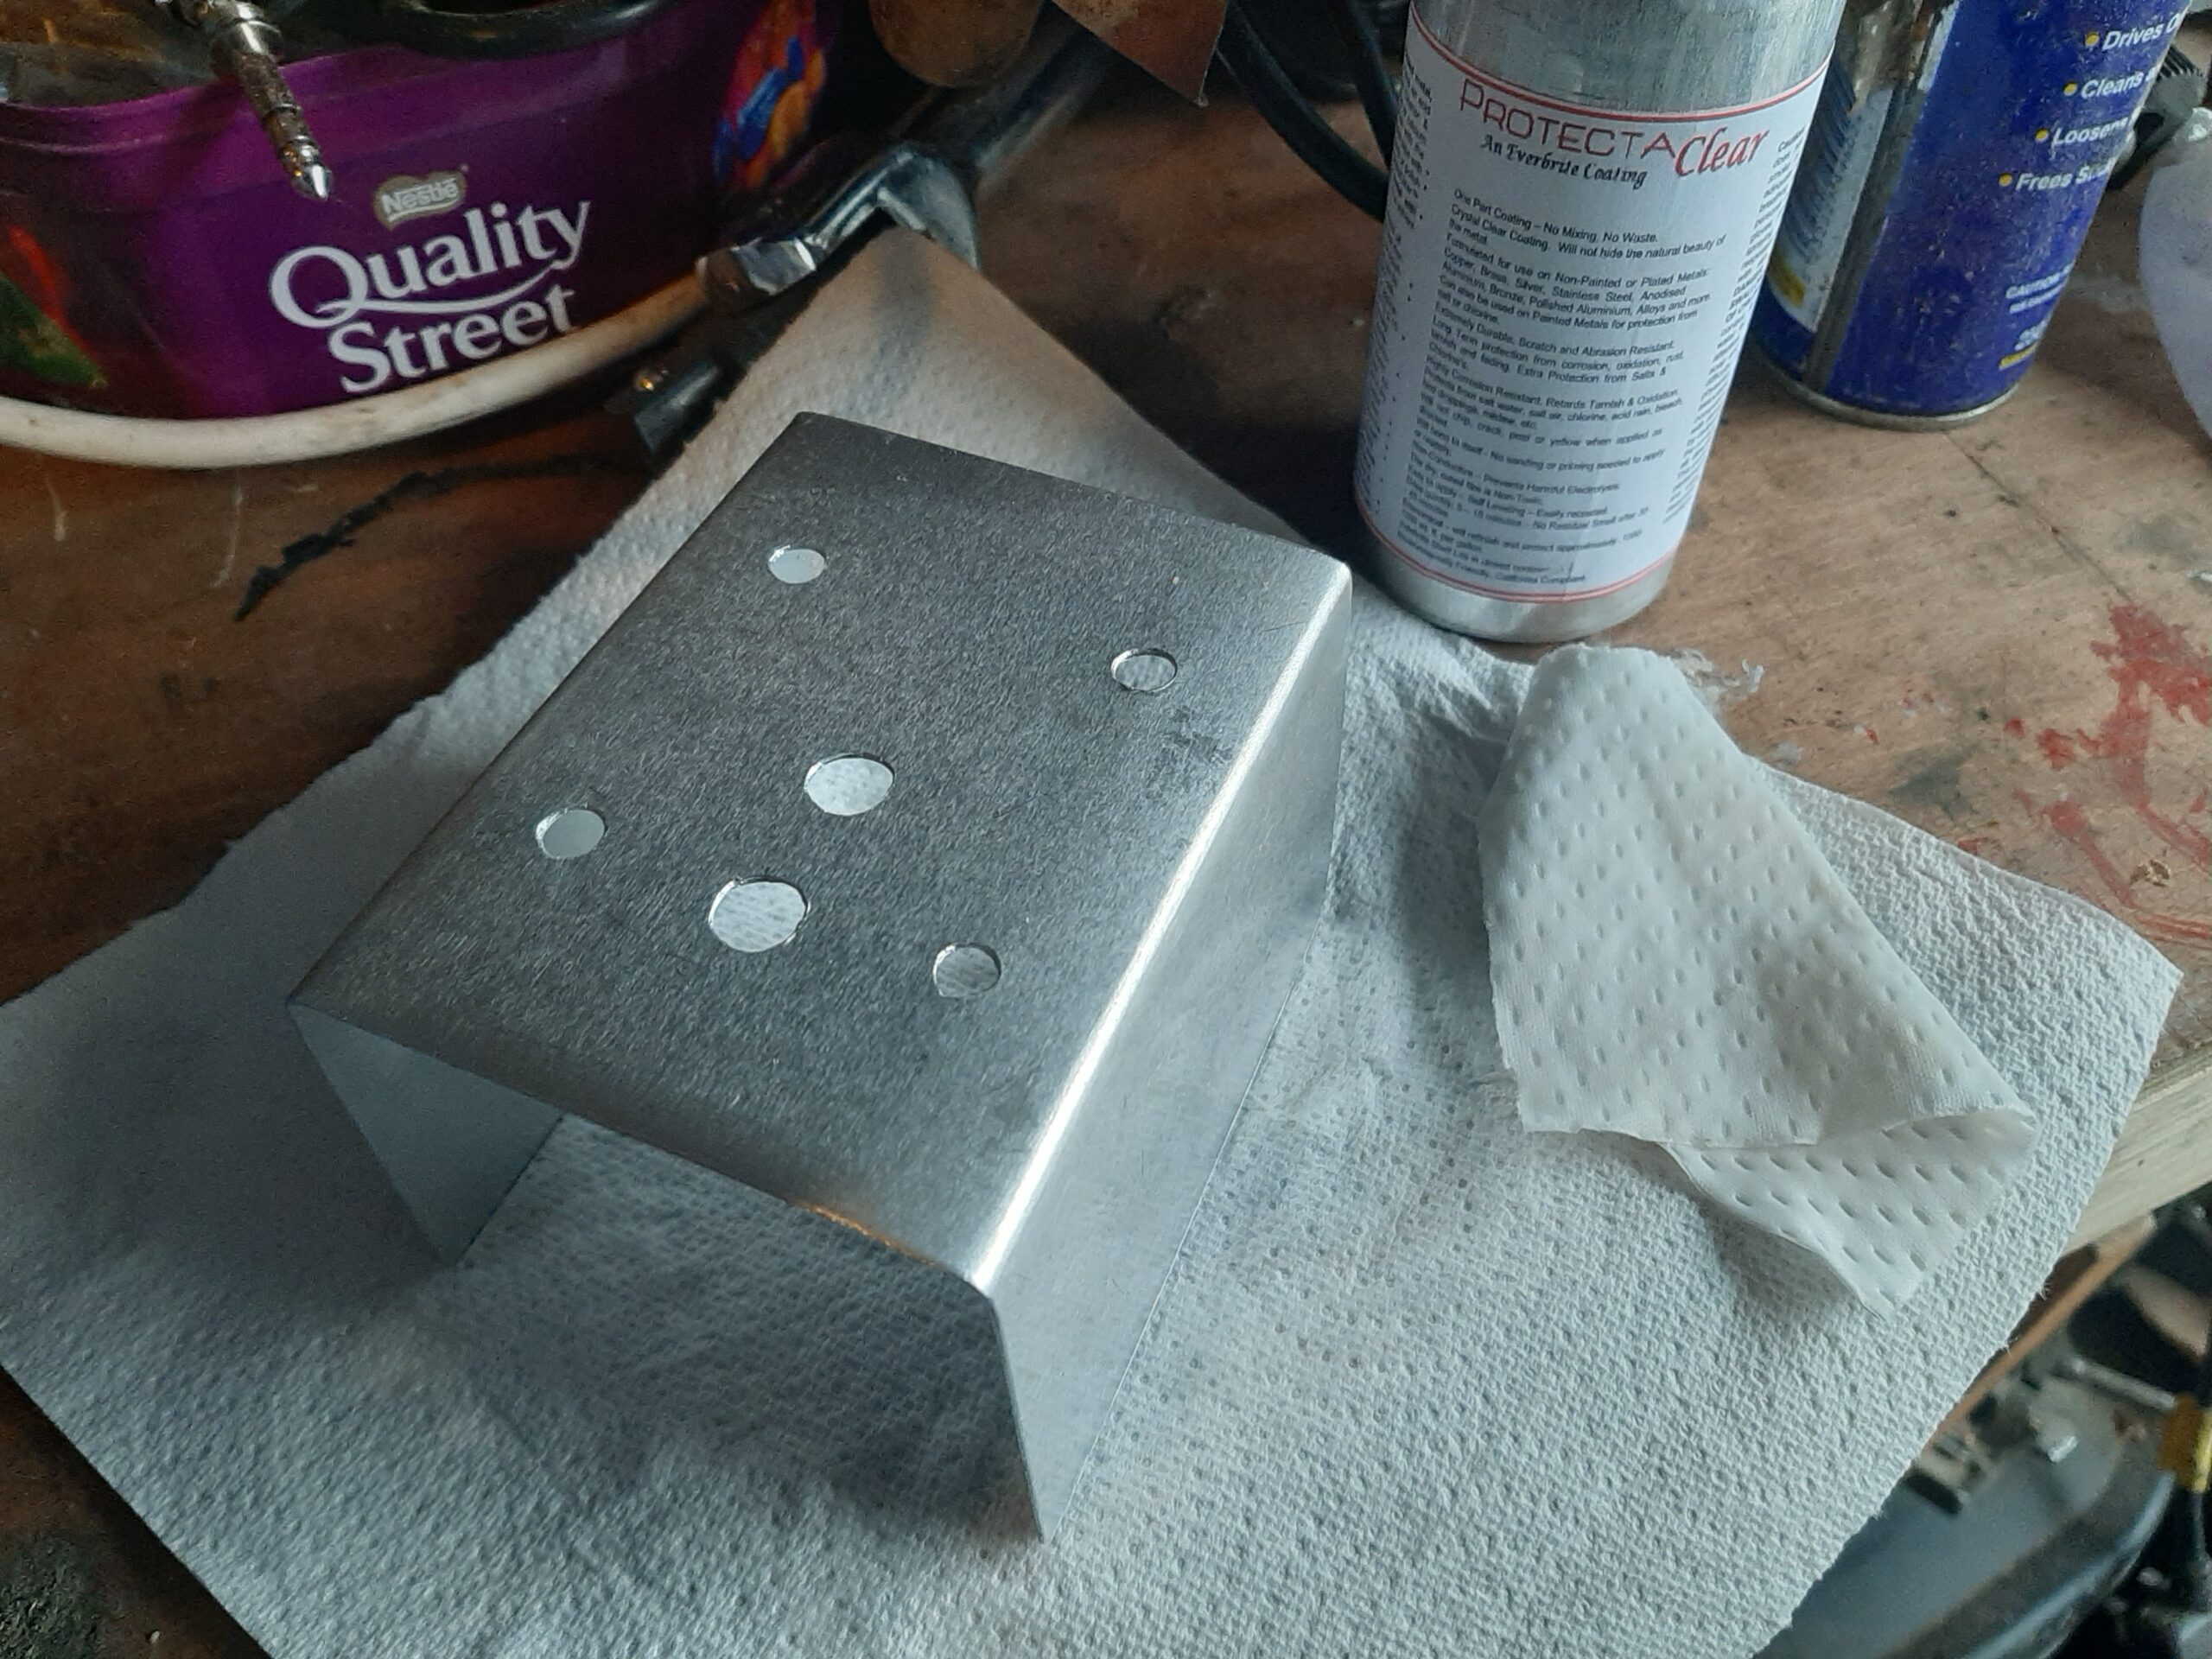 Still needs a little filing to remove corners and ragged bits from drilling and sawing. I will deal with those bits when I do the prep for the Everbright coating. That wont be particularly soon as it is cold and
 raining today so no sanding the mast and no second coat of paint on the cleats either.
Friday 16:00 – Grand total of useful boat work so far has been to get stainless steel bolts, nylock nuts and washers to do the electrical box on the mast properly. As usual for screwfix there’s a massive mismatch in pack sizes so I have 100 of the washers and nuts and 10 bolts. Just adds to the surplus parts stock in the garage.
Wednesday 25th December Christmas day service at 10:30 followed by heading over to Matthew & Annabel’s house for Christmas dinner.
One boat relevant present was a telescopic ladder which will stay in the car or live on the boat. I had been looking at one ages ago to get on and off the boat while working on it. I find climbing on via the front of the trailer is OK but Matt was worrying about the possibility of accidents while I am there on my own (or maybe he and Helen are thinking I am too old to be doing that sort of thing even if I am fit enough not to have any problems).
Thursday 26th Awake and having breakfast by 7:30. Once Grace had got up I could retrieve the Mast prep & coating kit from her bedroom / study so started on clean-up and coating the bracket for the junction box on the mast.
Once the coating was on I delivered Helen over to see Elsie and take her the belated Christmas dinner. The coating is taking a bit more than the 15 minutes stated by the instructions but leaving it to dry in the garage probably means it is nowhere near the anticipated temperature of use (It is 4 degrees or so outside according to the car). I am not intending to do anything with the mast yet as there is no real hurry to attach the bracket but I do want it to be assembled and otherwise ready before I try to get the mast sanded and ready to coat.
Then of to Matthew & Annabel’s house to do the New year’s eve with them and Katherine.
Wednesday 1st Jan 2020 Started the day with Annabel’s birthday cake. Home about 1:00.
Woke at 8:00 and went to the boat by a little after 9 to work on general stuff.
In the afternoon I did a quick re-sand of the mast around where the junction box will go then treated it with the prep solution and added a coat of the Everbrite coating so the mast will be protected under the mounting bracket. It is a bit cold already so I will leave it until tomorrow evening to dry before I drill and pop rivet the bracket to attach the box.
Saturday 4th Jan I managed to fit the junction box onto the mast and coat the join with Everbrite. 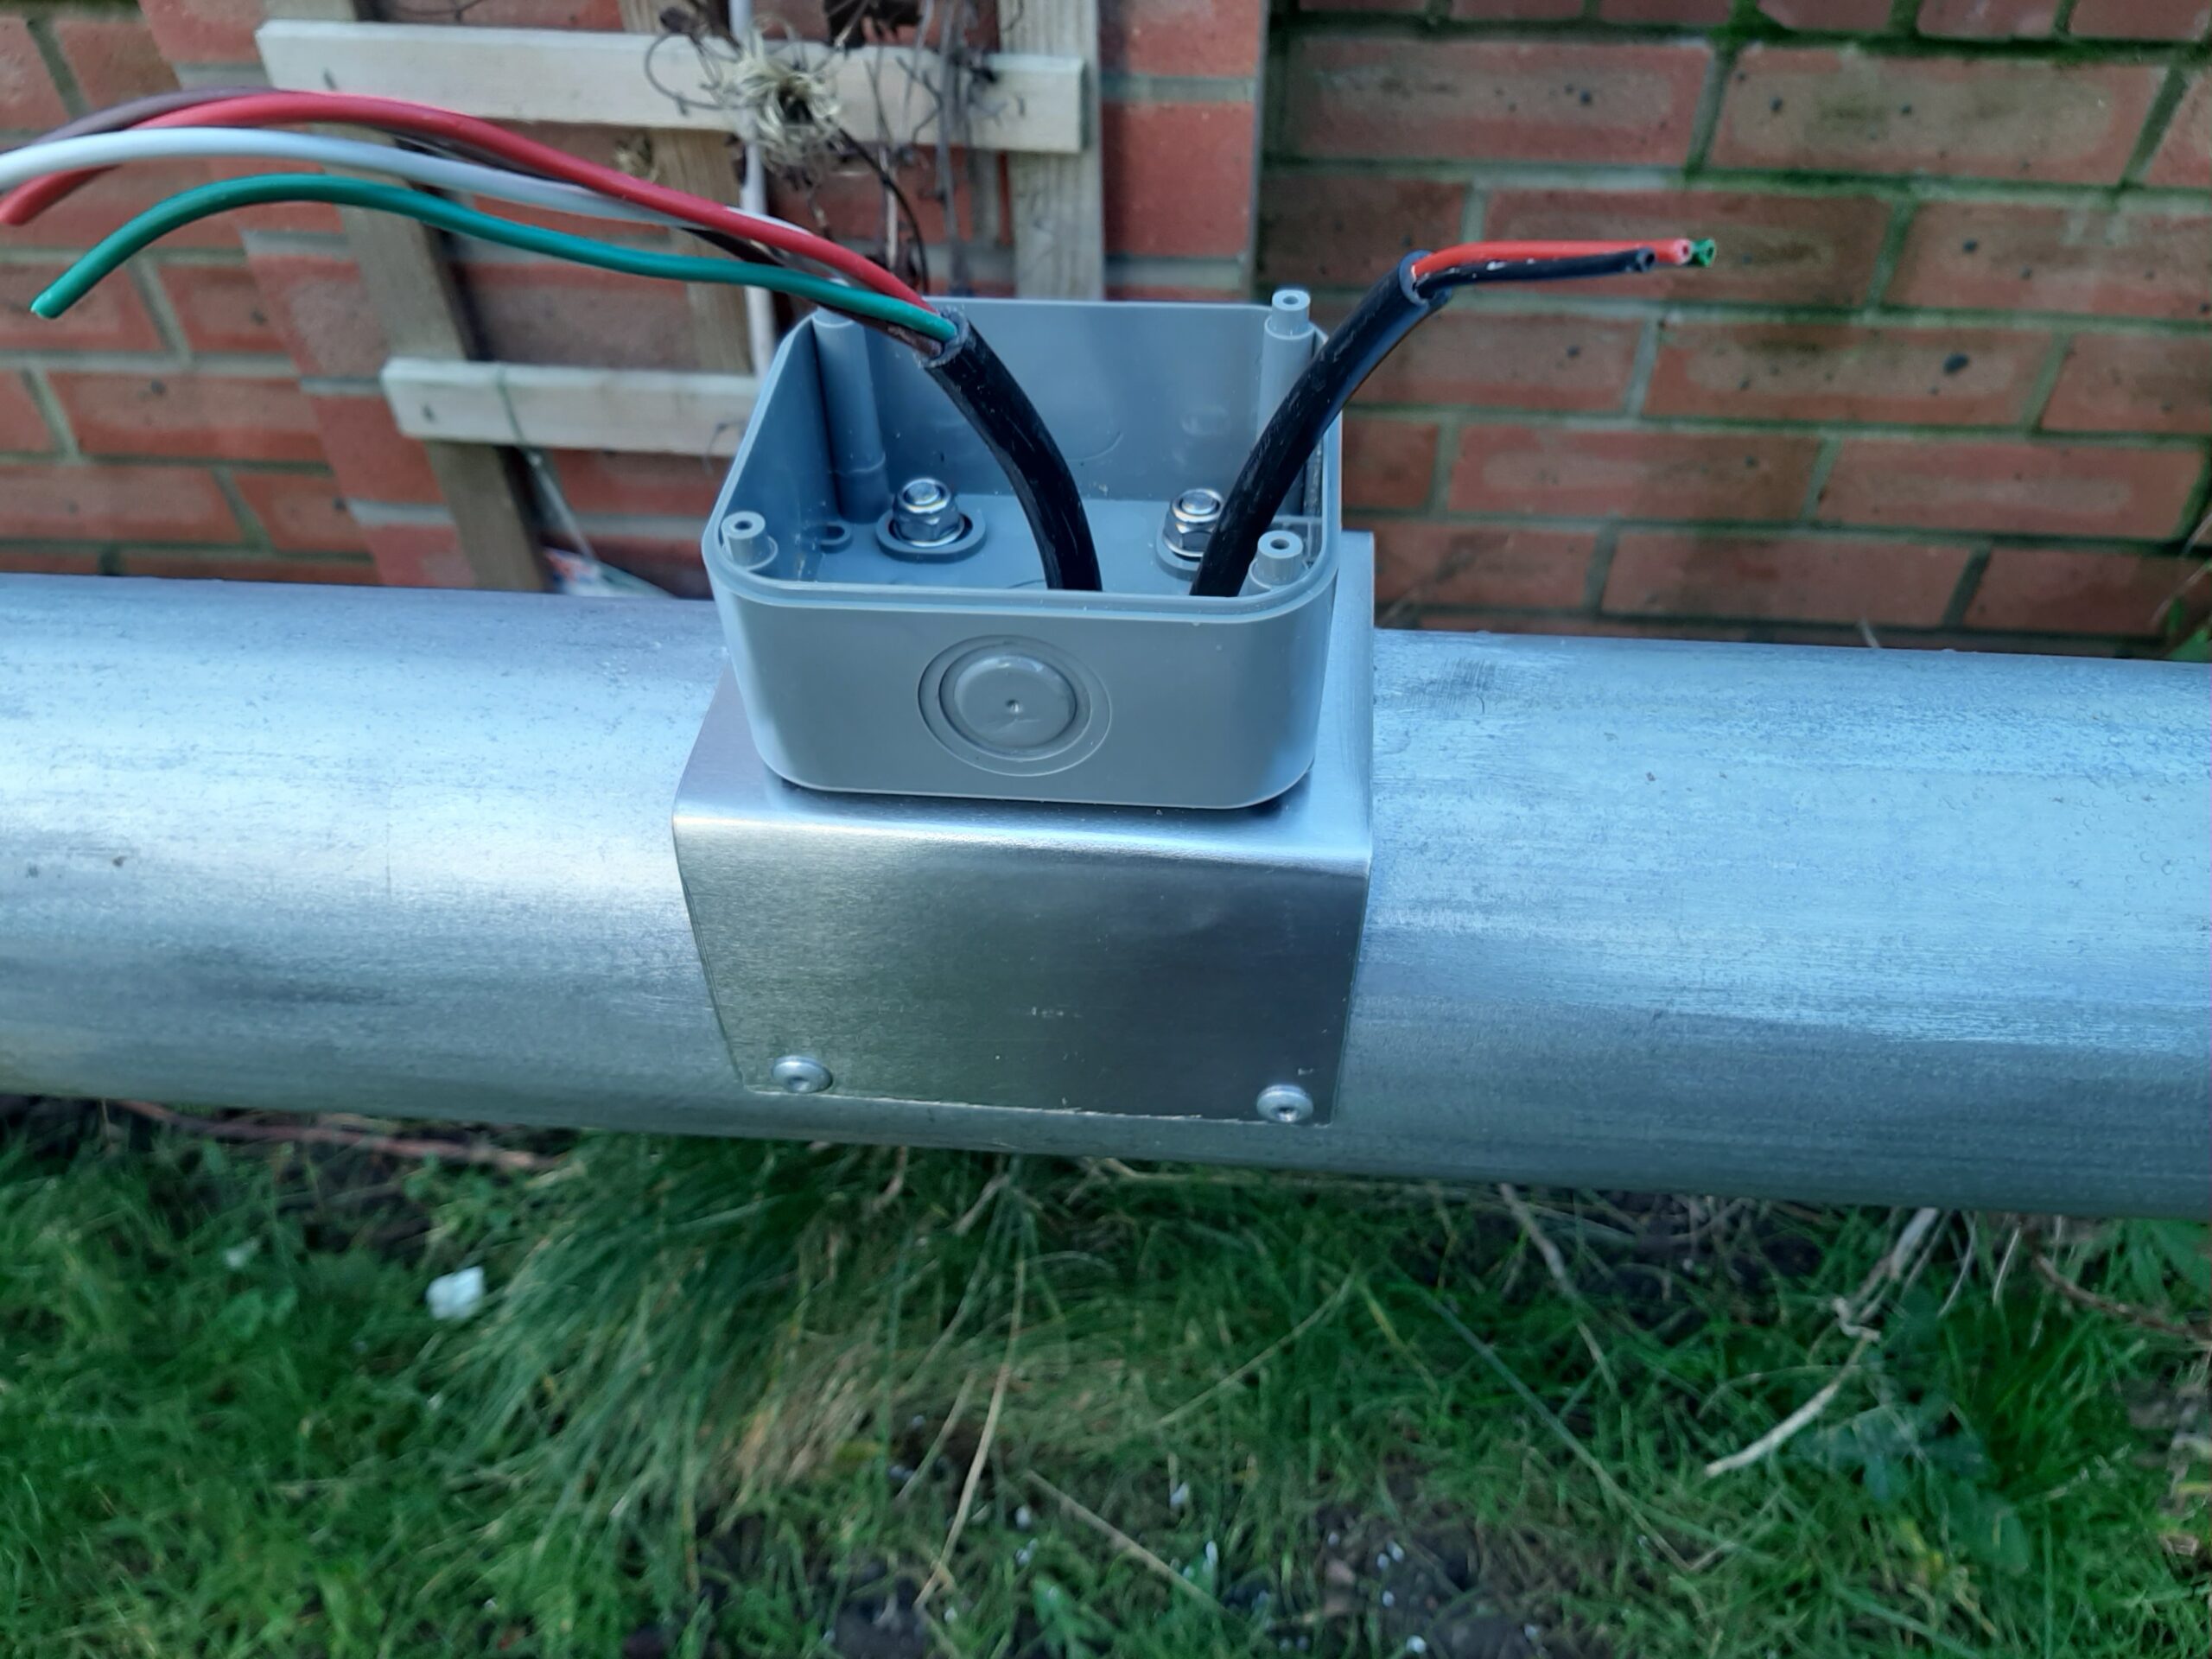 Next part of that job will be to waterproof the cable inlets then solder together the connections and protect them with heat shrink tubing.
Sunday 5th Ate at lunch time and then did the soldering and sealing on the mast junction box. The lid is now on temporarily but will have to come off again when I have sorted out a heat gun to shrink the tubing. That may coincide with fitting the deck lighting. Didn’t remember until afterwards that there is still a connection to do properly inside the mast head light so I will also need the soldering iron out again when I do that.
Wednesday Cleaned, painted and re-assembled the jib head rotation device. Still needs the locking ring tapping to take a suitable grub screw 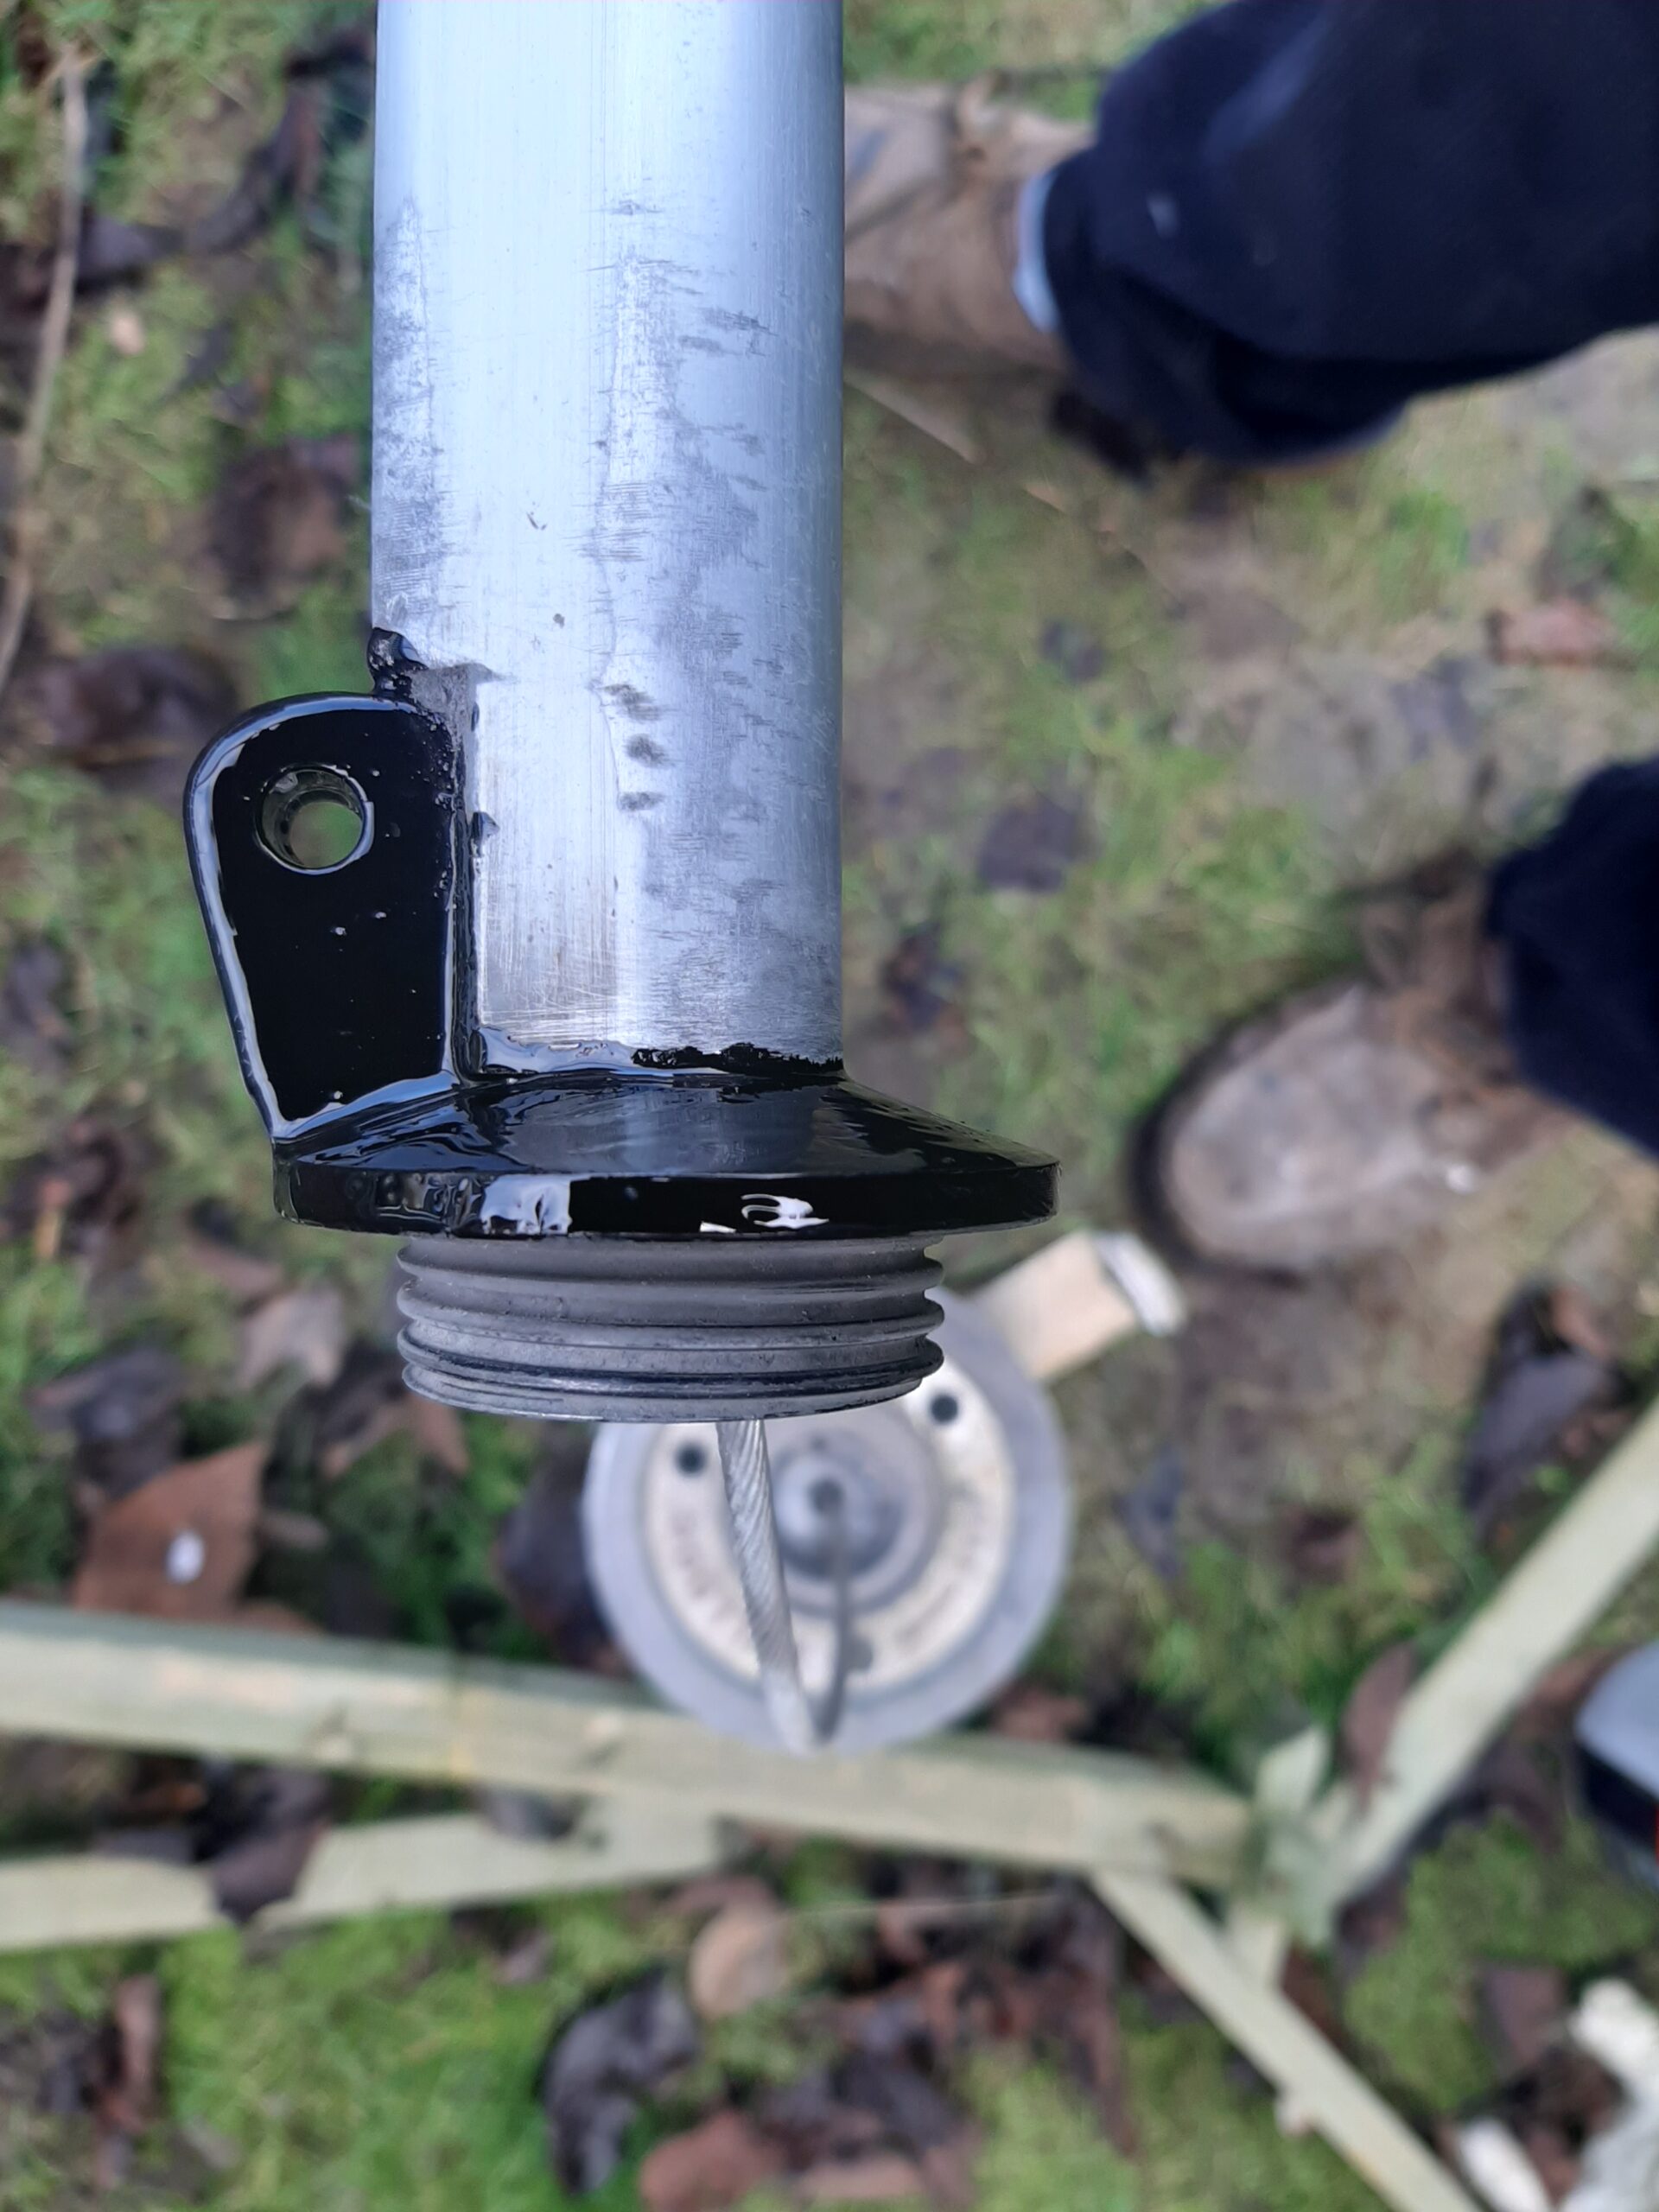
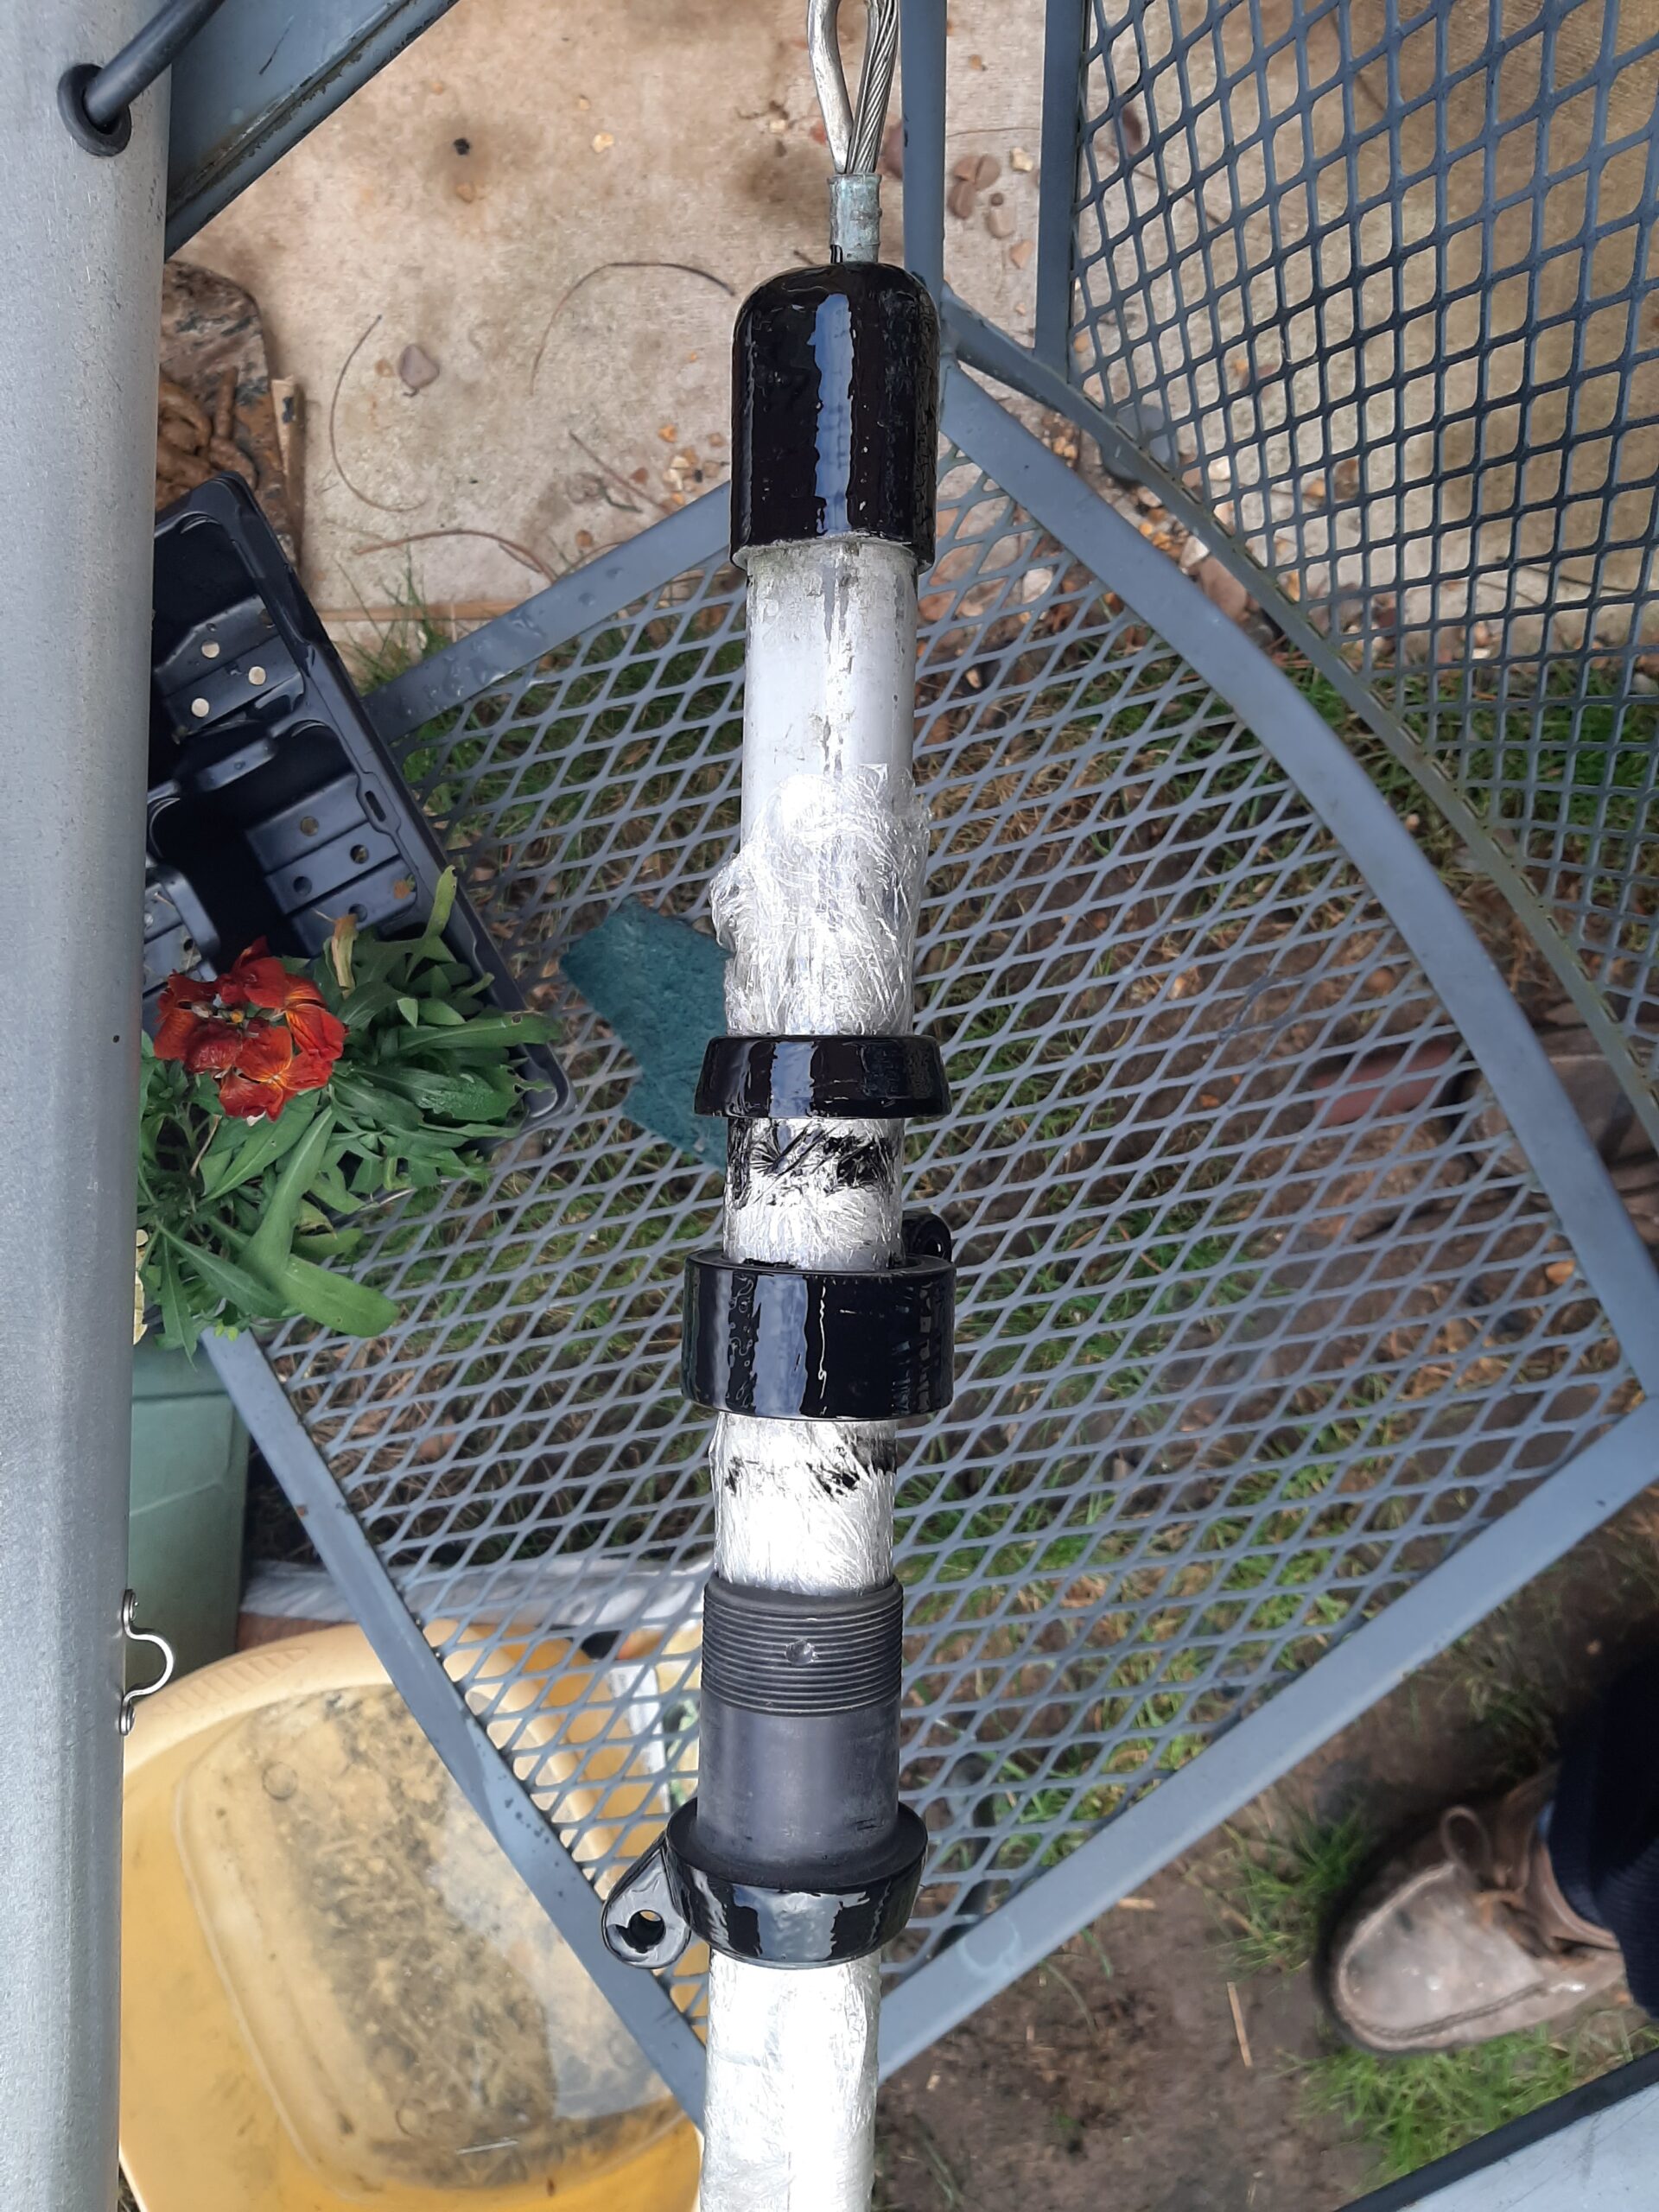
as one of the first jobs I did on the boat was to drill out the original one because it was too tough to get out with an allen key. Also measured the mast to bow fitting distance off the plans, set it up like that in the garden then measured the sail length and worked out the rough range of positions for the device when the sail is fully hoisted. That meant I could fix a fairlead for the anti-wrap line. Need about 50’ of cord to operate that and a similar length to act as the hoist for the burgee. Also measured for the other bits of rope and cord needed –
- flag hoists on the spreaders need about 25’ each.
- Roller reefing line – Need about 30’ of 6 mm diameter line.
Then moved my attention to the gooseneck, track and boom roller reefing. The track was a mess with broken bits of tufnol and the first 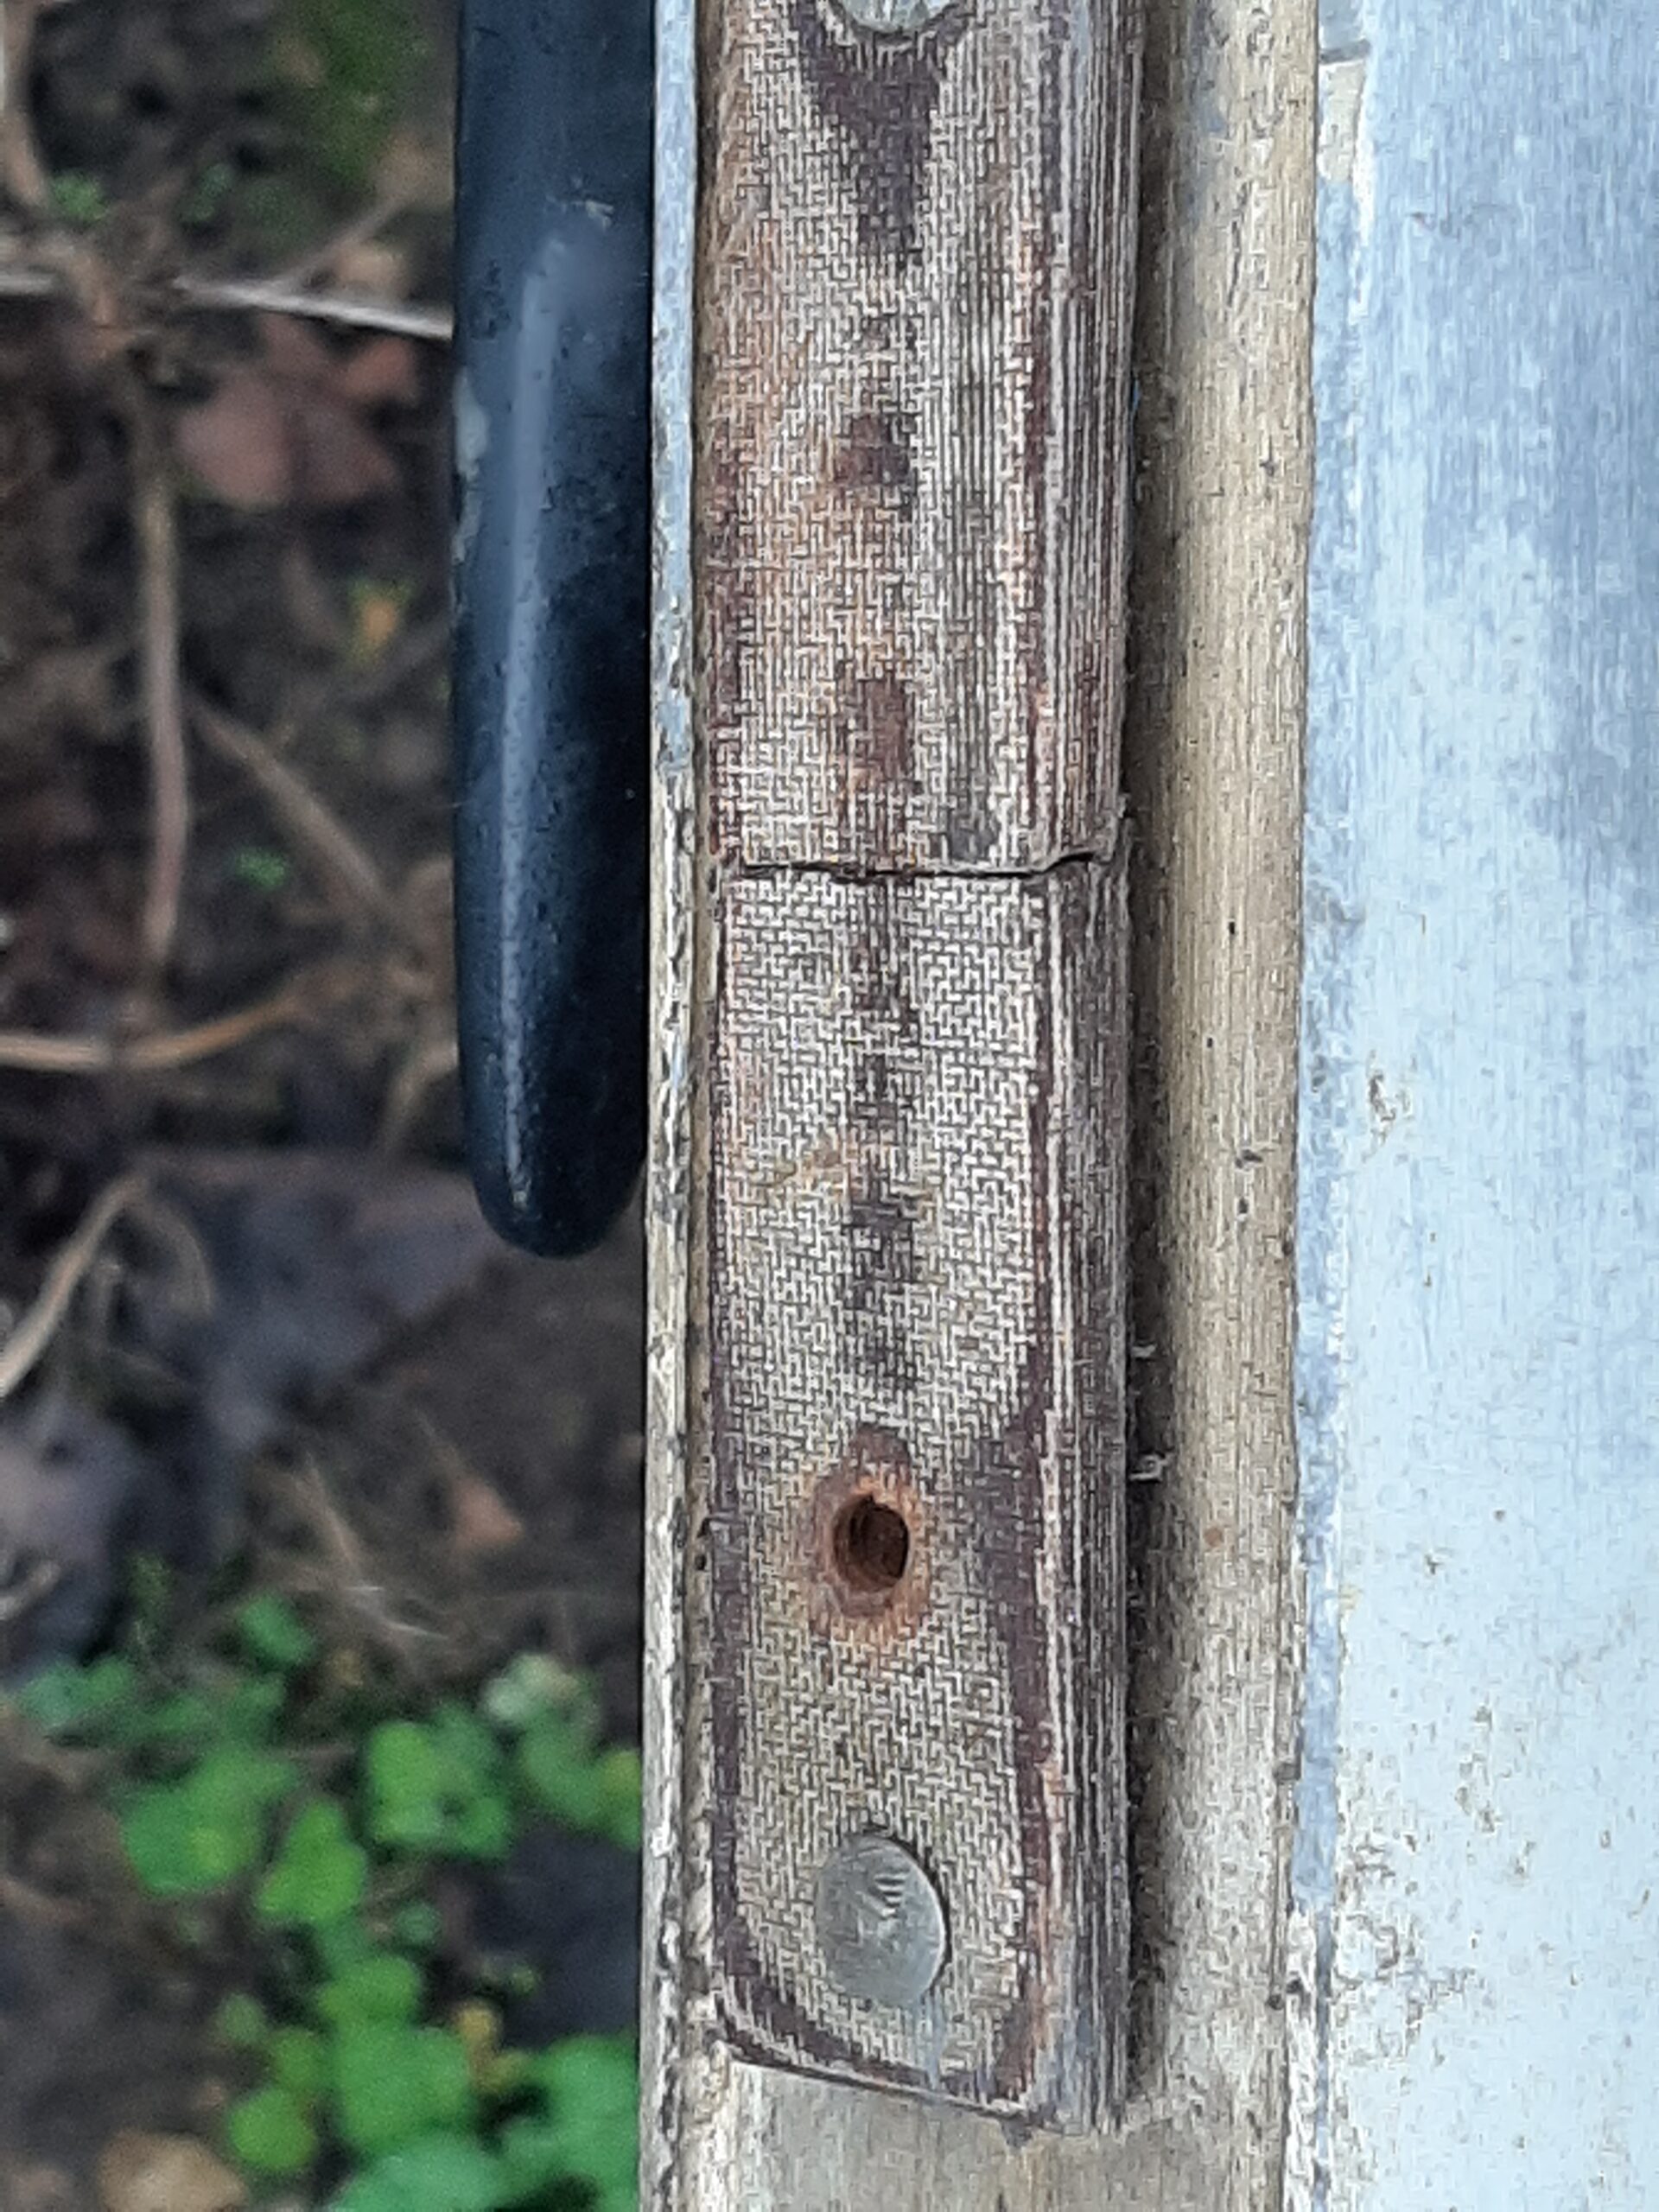
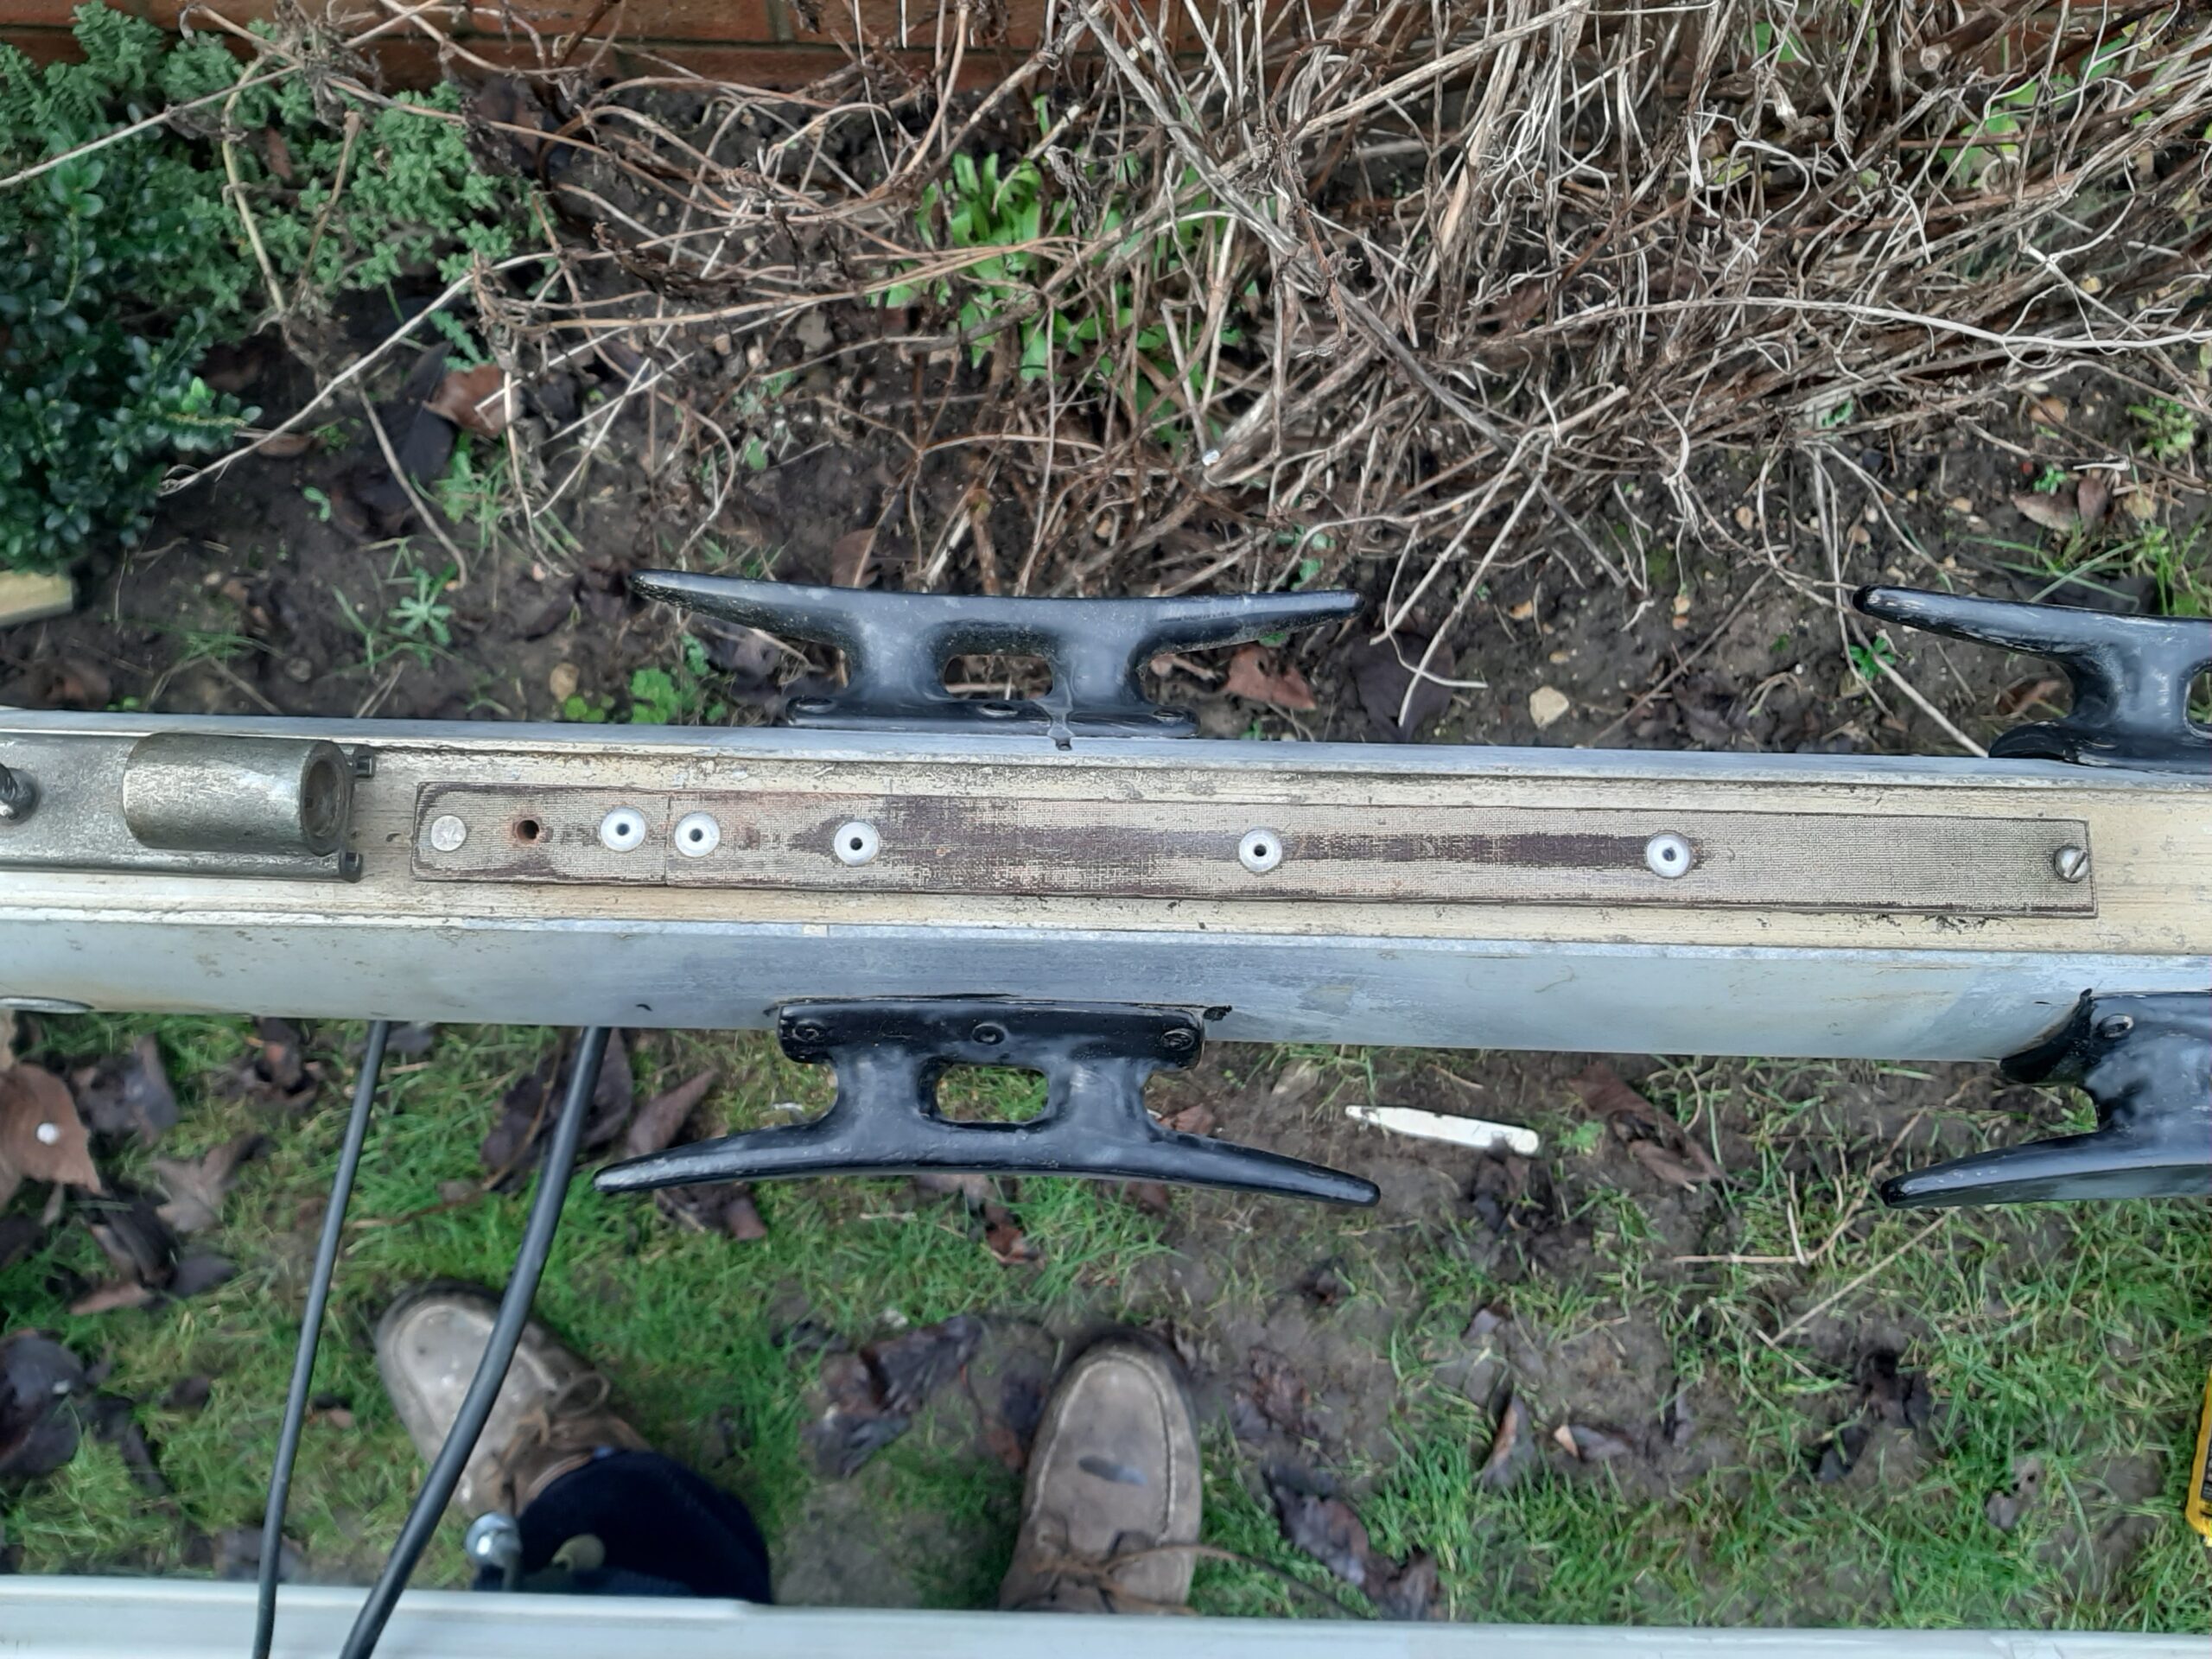
step of the repair revealed that the original rivet closest to the break was no-longer holding in the mast so I started by re-doing all the pop rivets and adding two new ones either side of the break. Currently doesn’t have a lower end stop but I think I can now trust the mast track.
The gooseneck itself is a rather different matter though. At some stage there has been a failure as the threaded portion is shorter than the nut thickness and stops with obvious signs of a fracture.  The main part of the gooseneck fitting appears to be chrome plated steel because the surface finish and end of the broken section are very different.
  There is
also a problem with the nut having about the same width across flats as the bore in the mast slider. And I am assuming it was a replacement for something that fell off at the time of the failure.  As there is not enough thread left to add a washer, seems to me that as a permanent repair I need to drill and tap the fitting to take an alternative size of threaded rod and then fit either a washer or a thicker mounting disk so the nut wont jam or even pull right through. Not much I can do with that immediately but I did clean and lubricate the reefing mechanism with WD40. The worm gear and pivot will eventually need some more permanent lubrication but at least it now rotates reasonably freely.
Final job of the morning was a relatively small one in that there used to be two loops fitted to the bottom of the mast and one had come off due to the pop-rivets having corroded through.  Rather than just fix one of them I removed the other and cleaned up the aluminium underneath both fittings. There is a corrosion risk with attaching stainless steel to aluminium and these fittings had originally been bedded with some sort of sealing compound between the dissimilar metals. The plate which was still attached had some signs of the material and also evidence of pitting in the mast where it was possible for water to get behind the fitting and collect above the remaining sealant. I replaced each of these with a good sized blob of silicon sealant behind them and wiped off the excess once the three pop rivets were pulled up. Assuming the mast lasts another 40 years I hope the sealant will prevent any further corrosion.
Saturday 25th January Started with the intention of re-assembling the roller reefing system for the genoa which, like all boat jobs seem to do, proved to be more of a challenge than I expected. The easy part was re-tapping the locking screw thread in the collar (although I couldn’t find either of my 2 tap & die sets so had to buy a third!) so it will take a M5 grub screw.
The plan is to stand the foil up so the bearing seats are horizontal however the slider is currently at the mast top end of the foil. 
 Turns out the foil has a fracture in the extrusion and that has allowed the bolt rope slot to widen over a length of about a foot somewhere close to half way along the length. I had to spend some time getting it back in a more consistent width and hammering to get the slider past. Now slides OK but I am left hoping that the visible crack doesn’t allow the slot to widen again under load and let the sail escape. Didn’t do the edges of the foil a lot of good though as I had to use the engineer’s vice to squeeze the slot shut where it was obviously wider and binding and it damaged the sides of the extrusion. Shouldn’t matter in the longer term as I will be sanding and coating the whole foil before it goes into use.
Having sorted that out the next challenge was to stand the foil upright and use the workmate to steady it in that position – That in itself is not a trivial task on your own and with a semi flexible item around 35’ long.  Now free to position the 5/32” diamater plastic ball bearings round the rubber lined races at either side of the rotating middle piece. The original Bulldog maintenance instructions are on line and require you fill each race and remove one ball so they are free to rotate (I have 25 of them left out of a pack of 100 so there may still be an odd one rolling around the drive) and then screw up the retaining collar. Success –
 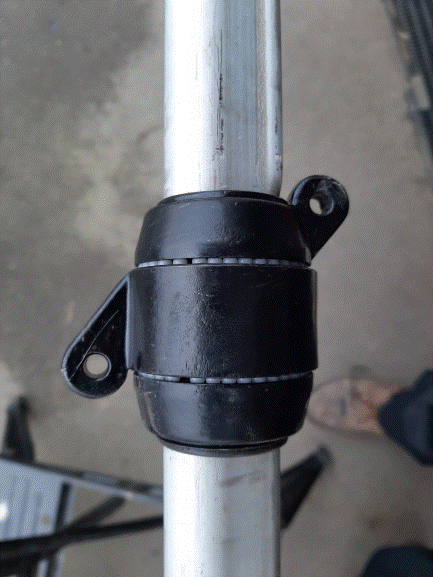 Rotates freely and slides the full length of the foil. The lower right eye in the photo is where the head of the sail shackles on and the other eye is for attaching the halliard and my additional anti-wrap line. At the moment the locking ring does not have a grub screw in it but I have ordered a kit of suitably short stainless steel grub screws. It is tapped for a M5 screw but I could re-do as M6 if necessary.
Next job is the Gooseneck. After a little filing the fitting seems not to be steel but chrome plated brass. Might possibly be bronze but seems to me to be the wrong colour and to drill more easily that I would expect for bronze.  Drilled it out to 6.5 mm diameter then tapped it for M8. Not the straightest piece of machining ever or the best centred but unfortunately it was not the sort of job you can do with a drill press without significantly more dismantling first. Thinking it was steel and therefore starting with a 4mm pilot hole, allowed the 6.5mm drill that I used before tapping to go in rather too quickly and pull everything off square. The thread has come from a bolt and is finished off with a stainless steel penny washer filed to have a flat on one side. All held together with a stainless nylock nut.
  Ultimately really needs a smaller washer so the nut can be tightened properly but it is more robust than the previous fix and at least the washer and locknut are A4 grade stainless steel even if the thread portion might be carbon steel at present.
This afternoon I aim to make at least some of the new standing rigging.
- The stays will all be same length copies of the originals.
- There is no current inner forestay to copy but the documentation claims it should be 13’ 9 ½” which is almost exactly 3.90M.
- From month 13 – I calculated the required double backstay length to be 31’ 5” to allow for 9” bottlescrews.
Total standing rigging length is a little over 50 M and that doesn’t include the amount of wire that goes round thimbles and is ‘lost’ under the crimping. So, unless they were generous in measuring the cable loaded onto the drum, I can make all except one of the lower shrouds. 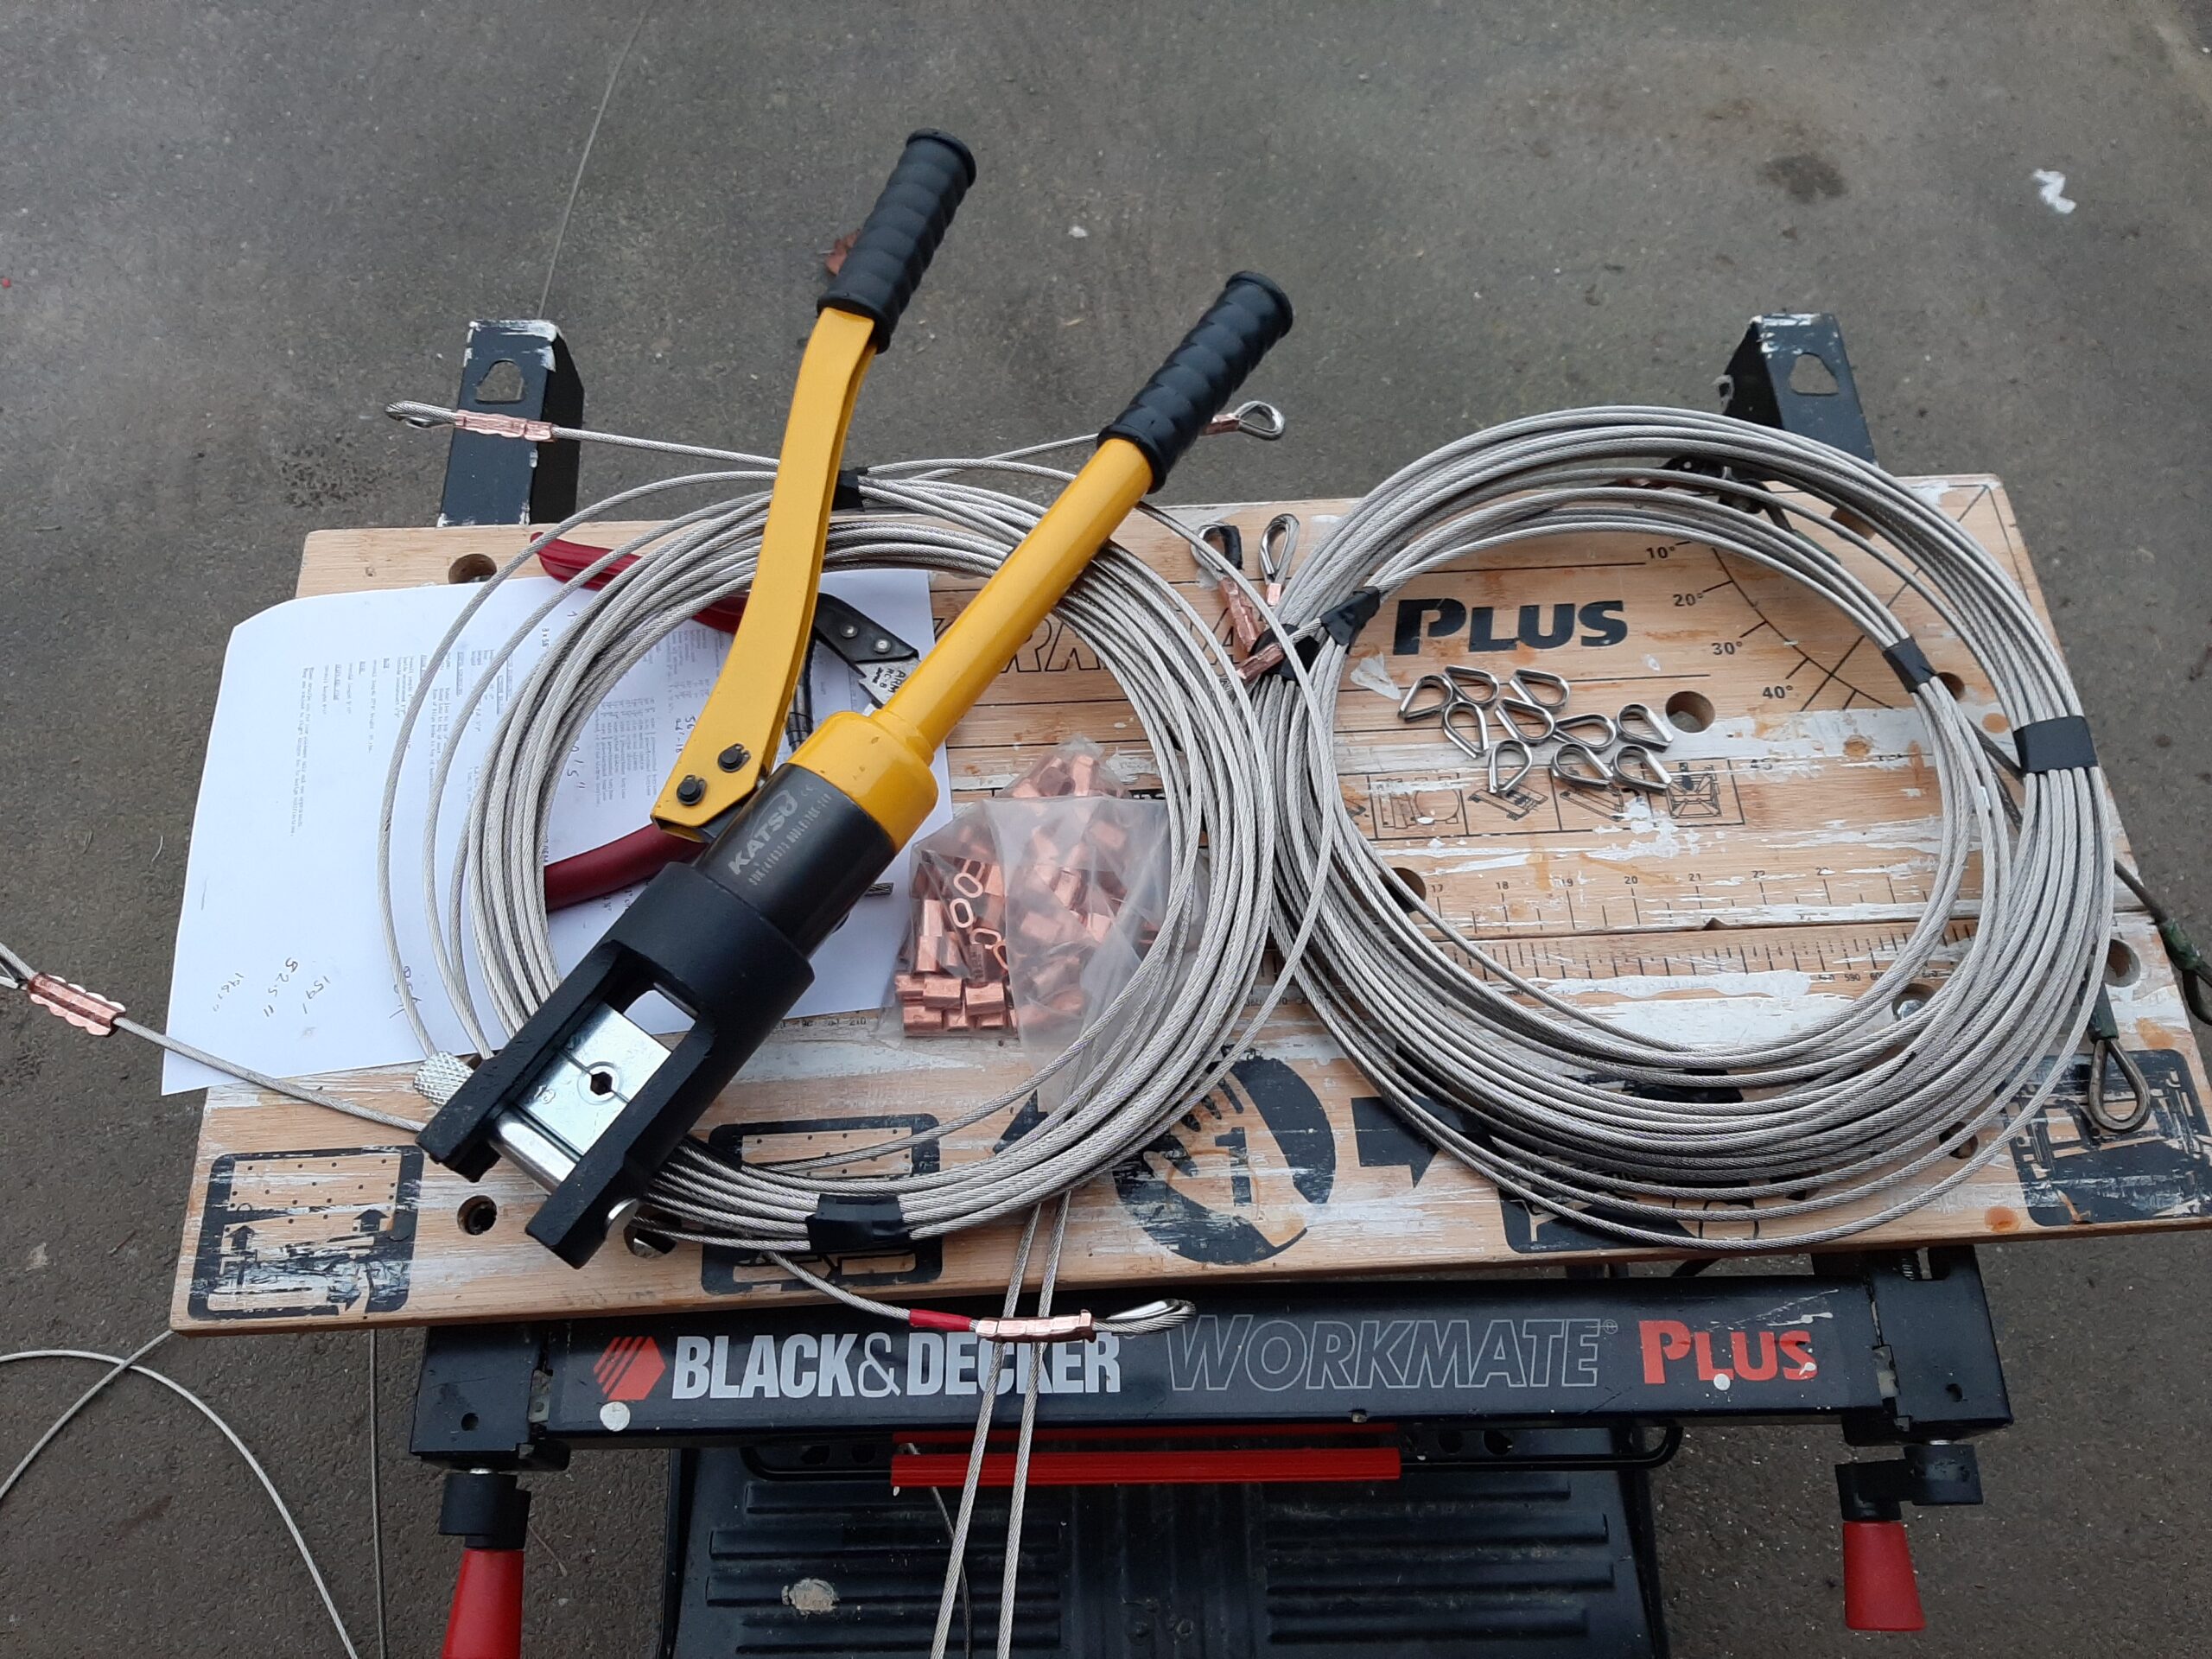 Actually had time to do the main shrouds, backstays and inner forestay before it started getting a bit too dark to make more outdoor progress. Alongside the rigging crimping I was wire brushing the spreaders. Starboard one was done with the first shroud but the port one needs finishing off so later this evening I will be able to do the rinse and Everbrite coating on those.
Final work of the day was to rinse, dry and coat the spreaders. Hopefully the finish will dry OK in the garage despite it being fairly cool already tonight.
After today the standing rigging jobs list is now down to 1 set of shrouds when I get a little more wire, sanding and coating the mast & foil and of course installing the U bolts for the backstays on the hull. Then I need to install the mast associated bits of running rigging ready for a trial mast raising to finish off the backstays, adjust all of the bottle screws and test the electrical systems. With another 2 days off next week I just might be doing a mast raising before the end of this calendar month.
Sunday 26th We have decided to eat sometime around 6 so it was a sandwich lunch followed by working in the garage because of the drizzle. Turns out that the 50M was generous or else I have made something quite a bit shorter than my metric estimate – I have enough wire left to make both of the lower shrouds and still have about a metre and a half left over. So there is now just the completion of the backstays to be done once the mast sanding and coating is finished.
Did a little of the sanding but it is rather difficult to keep track of progress when all of the removed metal dust is hanging around as black mud. The port side of the mast has all been sanded at least slightly all over it but will need a bit of finishing off before I do any coating. There are still some areas with untouched anodised coating which will require hand sanding to get a fully silver shiny surface.
Monday Assuming the weather is encouraging, tomorrow I aim to get at least some progress made towards fitting the two u bolts that will attach the backstays. 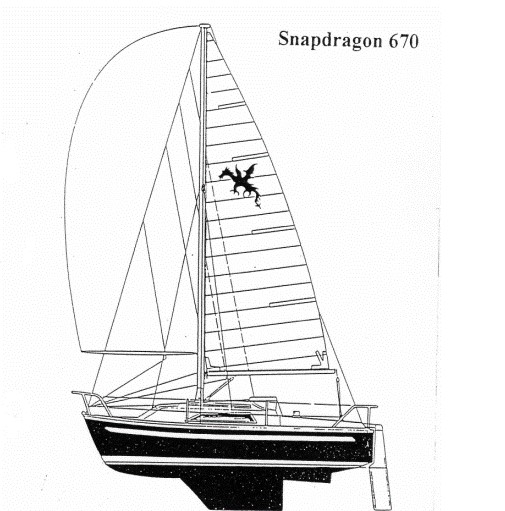 That will need reinforcing blocks, resin and filler inside the hull and access to both fit those and to tighten up the mounting nuts from inside the two cockpit lockers. Although the scan is not particularly good the image of the design drawing shows the backstay bridles coming from very close to the back of the cockpit toe rail so I think I can mount the bolts either in the sloping stern part or the flat area forward of that. Just have to see where I can reach well enough to be practical to retro fit them.
Things to take tomorrow include the existing resin, a large pack of P38 filler to act as bedding compound. Screws and washers to help with the temporary attachment of the reinforcing while the resin sets. Saws, planes, plywood, washers
Tuesday Early start because my alarm is still set for workday times. Moderately good sunrise on the way but I arrived at the boat just before 8 to find yesterday’s varnishing was still a little sticky so I have to be a bit careful about doing anything in the cabin. That’s a shame because it is still only about 3 degrees, the wind is blowing from astern and the radio had traffic news about snow in Derbyshire.
Drilled out the mounting holes on the sloping face at the back of the cockpit coaming. That is about as far aft as I can get but the access through the lockers is still reasonably easy. Next step was to cut a template for the reinforcing plates. By this stage it was approaching the time when I could pick up the click & collect order for fibreglass and filler so I decided it was simpler to cut the plywood at home, coat it in resin for waterproofing in the relatively warm and controllable environment of the garage and bring the pieces back later as ready to install items. Left storage around 9:30 having visited the office with my insurance papers for the year.
Meanwhile I have cut and coated the plywood reinforcing pieces.
That sudden shower earlier seems to have been some sort of front going through as after lunch it has turned bright and sunny. Reasonable mast sanding conditions for a while. I only had one of the batteries here with the sander which limited the progress that I could make. That was followed by some much slower detail sanding by hand close in to the mast furniture. Packed that in at 2:30 then off to the boat again to attach the plywood backing pieces. Not as easy to install them as it would ideally have been because the spinnaker sheet block mounting bolts get in the way. Plan was to put them in place with one pilot screw sticking through the upper hole, grip that screw with mole grips while inserting and tightening the lower screw with a large penny washer and then remove the top screw, insert another washer and put the upper screw in place. I had driven all the way to storage with the passenger side footwell on maximum heat to try to continue the efforts at home of warming the resin and filler. That was all I could do to try to ensure the fibreglass cures despite being applied in rather cold conditions to components at a lower than advisable temperature.
The starboard block went in as planned and is now tightly held in place by two screws while the filler sets. The port one was more of a challenge because I couldn’t get the pilot screw to line up with the hole although the plywood did wedge firmly in roughly the right place with plywood below both of the holes. That means it is up against the deck underside at the lowest point but develops a steadily increasing gap towards the top. Still held in place with screws and washers while it sets but there will need to be some more resin & filler mix injected into the gap and set before I drill out the holes for the U bolt on that side.
As far as I can tell the pre-warmed mixture is going off OK on the boat, the left overs were definitely setting properly in the mixing container but they are a relatively big lump and produce plenty of heat. We will have to see whether the same is true of the slightly thinner layers involved in the real construction. Should have plenty of time to harden though before I next get the chance to work on it as I have another day off on Friday.
Thursday Two of my parcels arrived today so I now have the grub screws for the genoa furler.
Friday Woke far too soon before my alarm was set so I was dressed and ready to leave for the boat before Katherine came down on her usual morning departure process. She was on the way to the bus at 6:30 and I left at 6:50 having put all the required tools in the car.
First significant task was to complete the attachment of the backstay U bolts. Fortunately it is a bit warmer than it feels today so the extra filler & resin mix that I added on the port side cured quite quickly and I could sand the surface flat, drill and then bolt in the fitting. 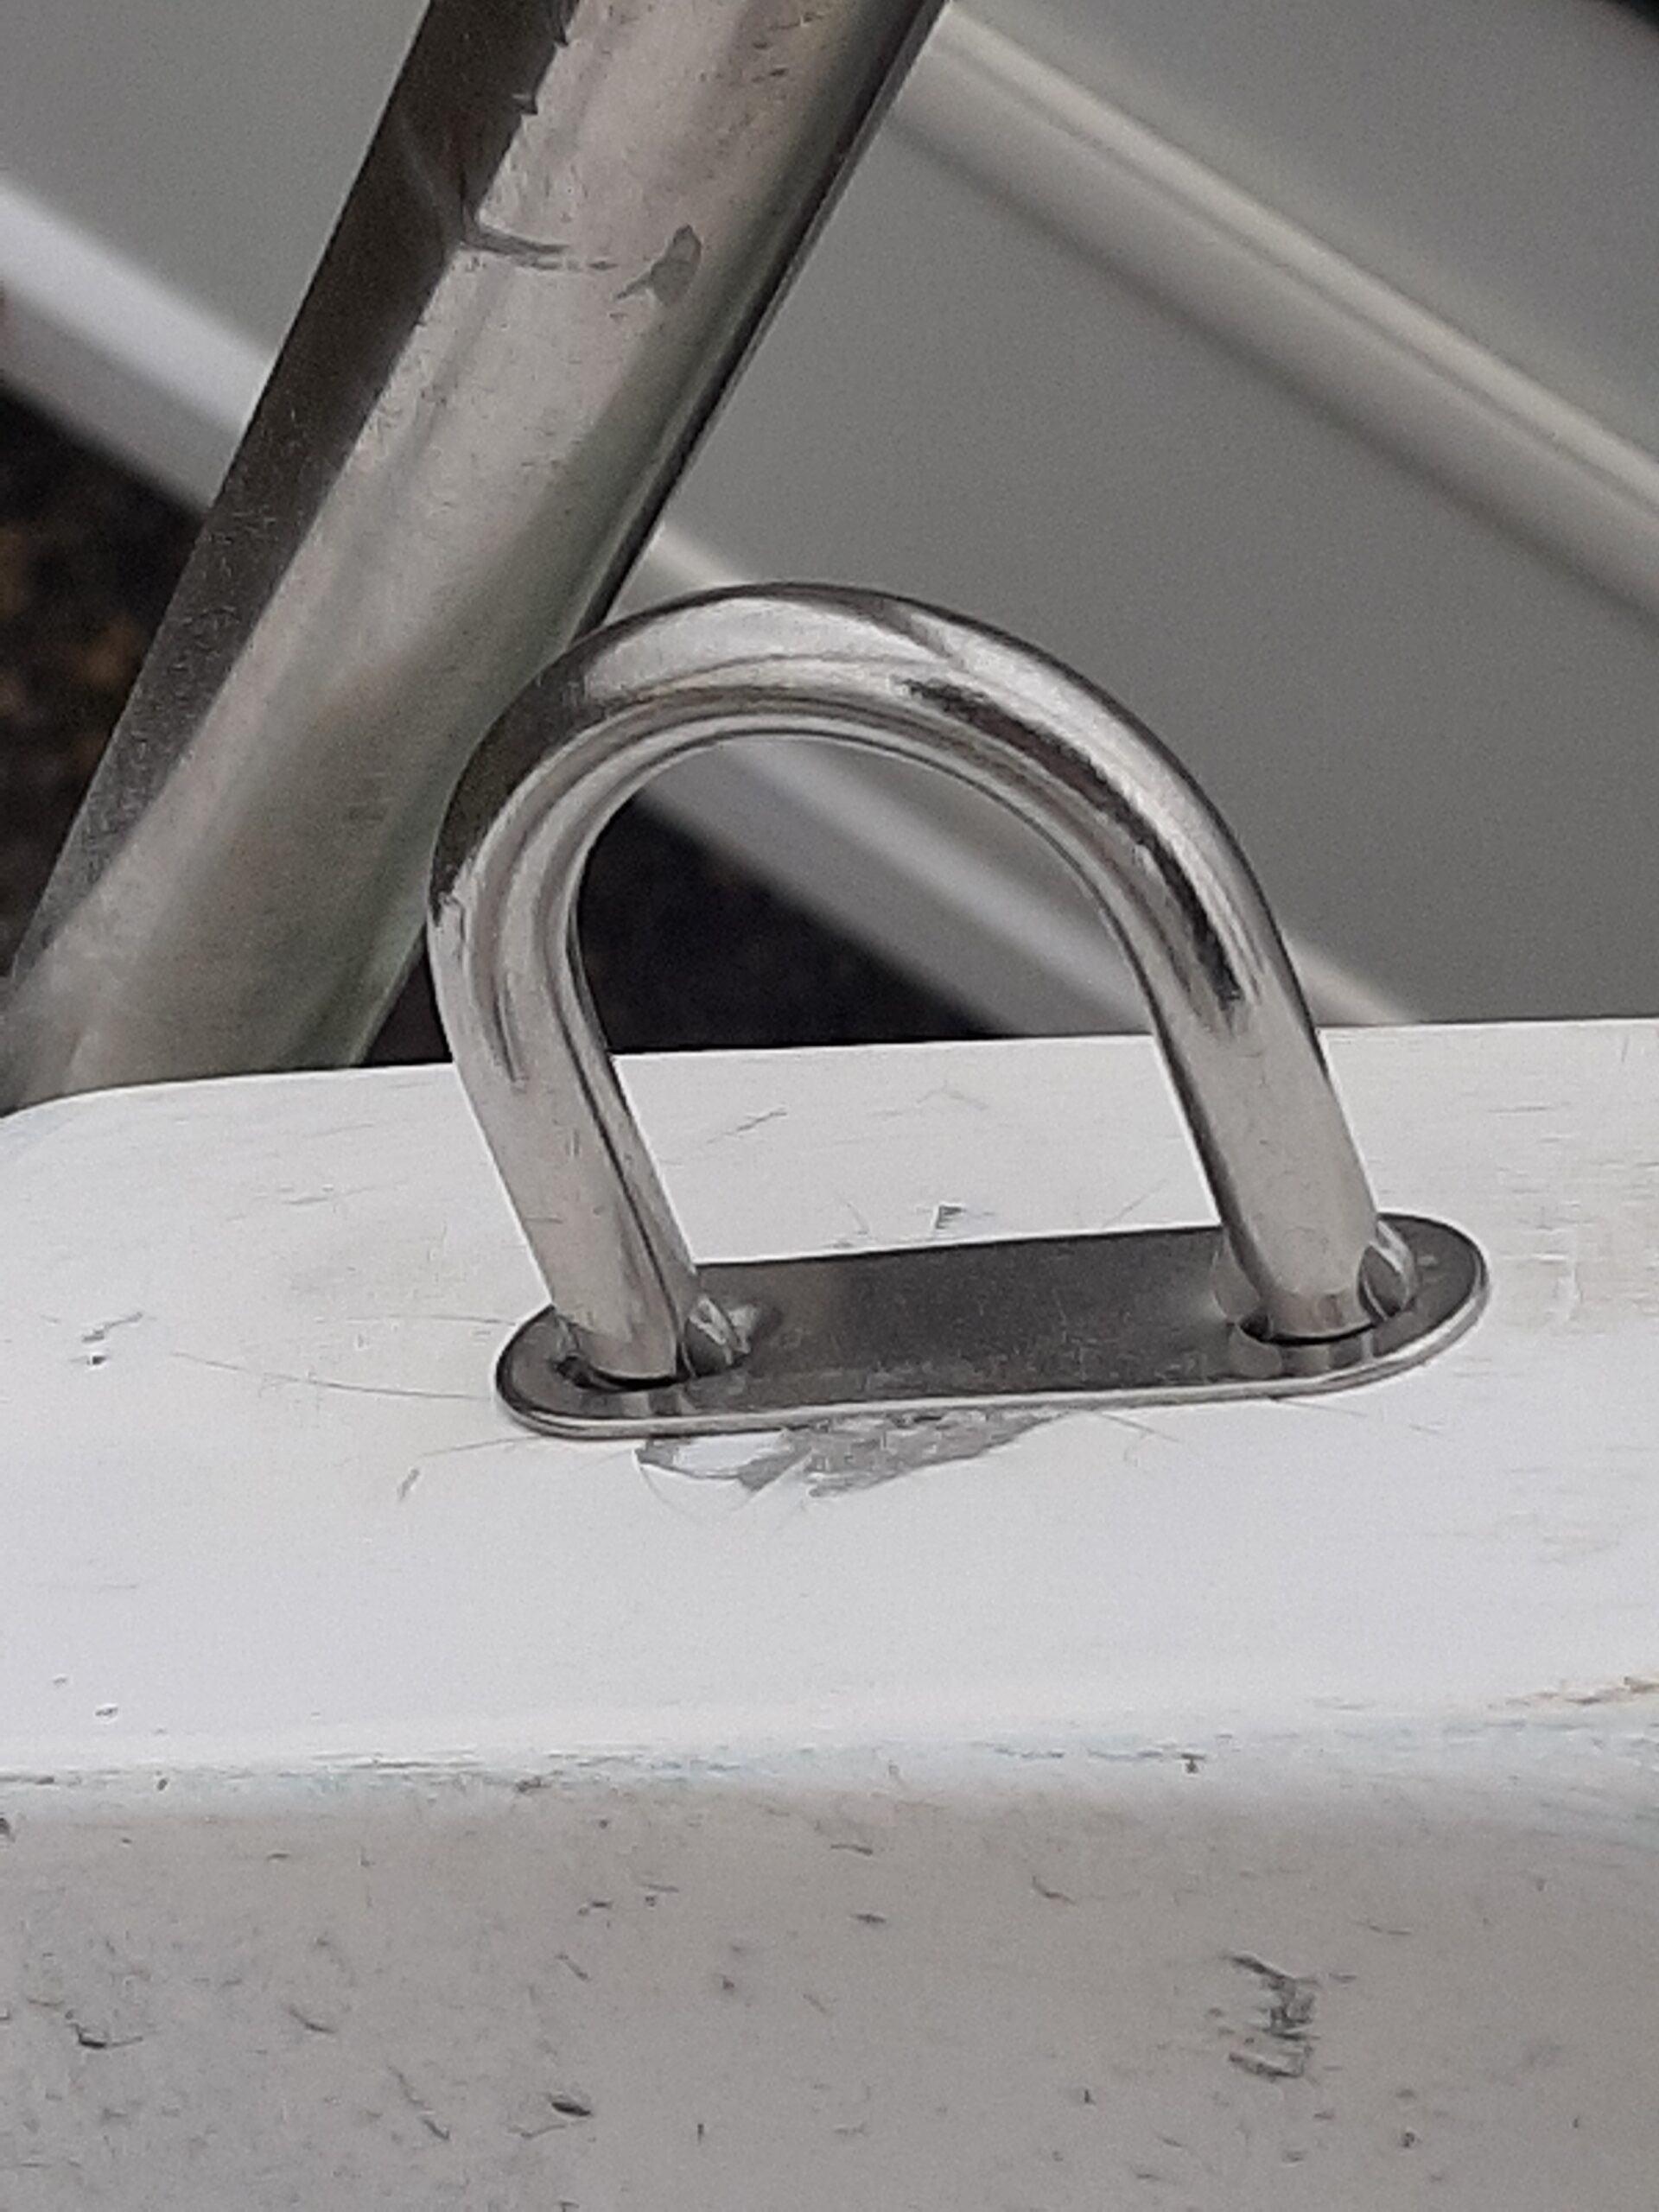 Took quite a time on the port side because of spinnaker sheet block mounting bolts which had to be loosened to allow me to get a socket on the new set of nuts but that side is tight and has the nylock locknuts in place. Starboard side is a bit more complex because the exhaust swan neck stops me getting a good access with the ratchet spanner. Need to do the final tightening with the help of a socket extension rod which I didn’t have with me.
Saturday 1st Today is the first day of the transition from EU membership as we officially started the process at 23:00 yesterday.
I started off by tightening the U bolts on the starboard side and adding the nylock lock nuts.
Saturday 31st Feb Most of the morning was spent working on the mast. It has now been sanded on both sides from the top down to the spreaders. Nowhere near perfect because of the variable surface left from the original extrusion process which stops the disk sander getting to all of the metal but I am happy with the slightly patchy stage it is at. I have done better on some areas by hand sanding but it’s probably not worth the extra effort at the top of the mast. After I had used up the power in two batteries I decided to do the coating stage while the charger does it’s job and gets me ready to do more work on the lower half of the mast.
Over lunch time I gave it all a wash with the preparation fluid, a rinse with clean water and then left it to dry off. It got longer to dry than I had originally intended because there have been a series of rain clouds passing by. Each of them has been big enough and ragged enough at the bottom to be raining hard on someone and causing strong winds towards the cloud. Each time I was contemplating doing the coating there was another one showed up.
So far nothing more than a few drops fell here and we still have the sunny patches between the clouds. Therefore at 2:30 I did the coating. 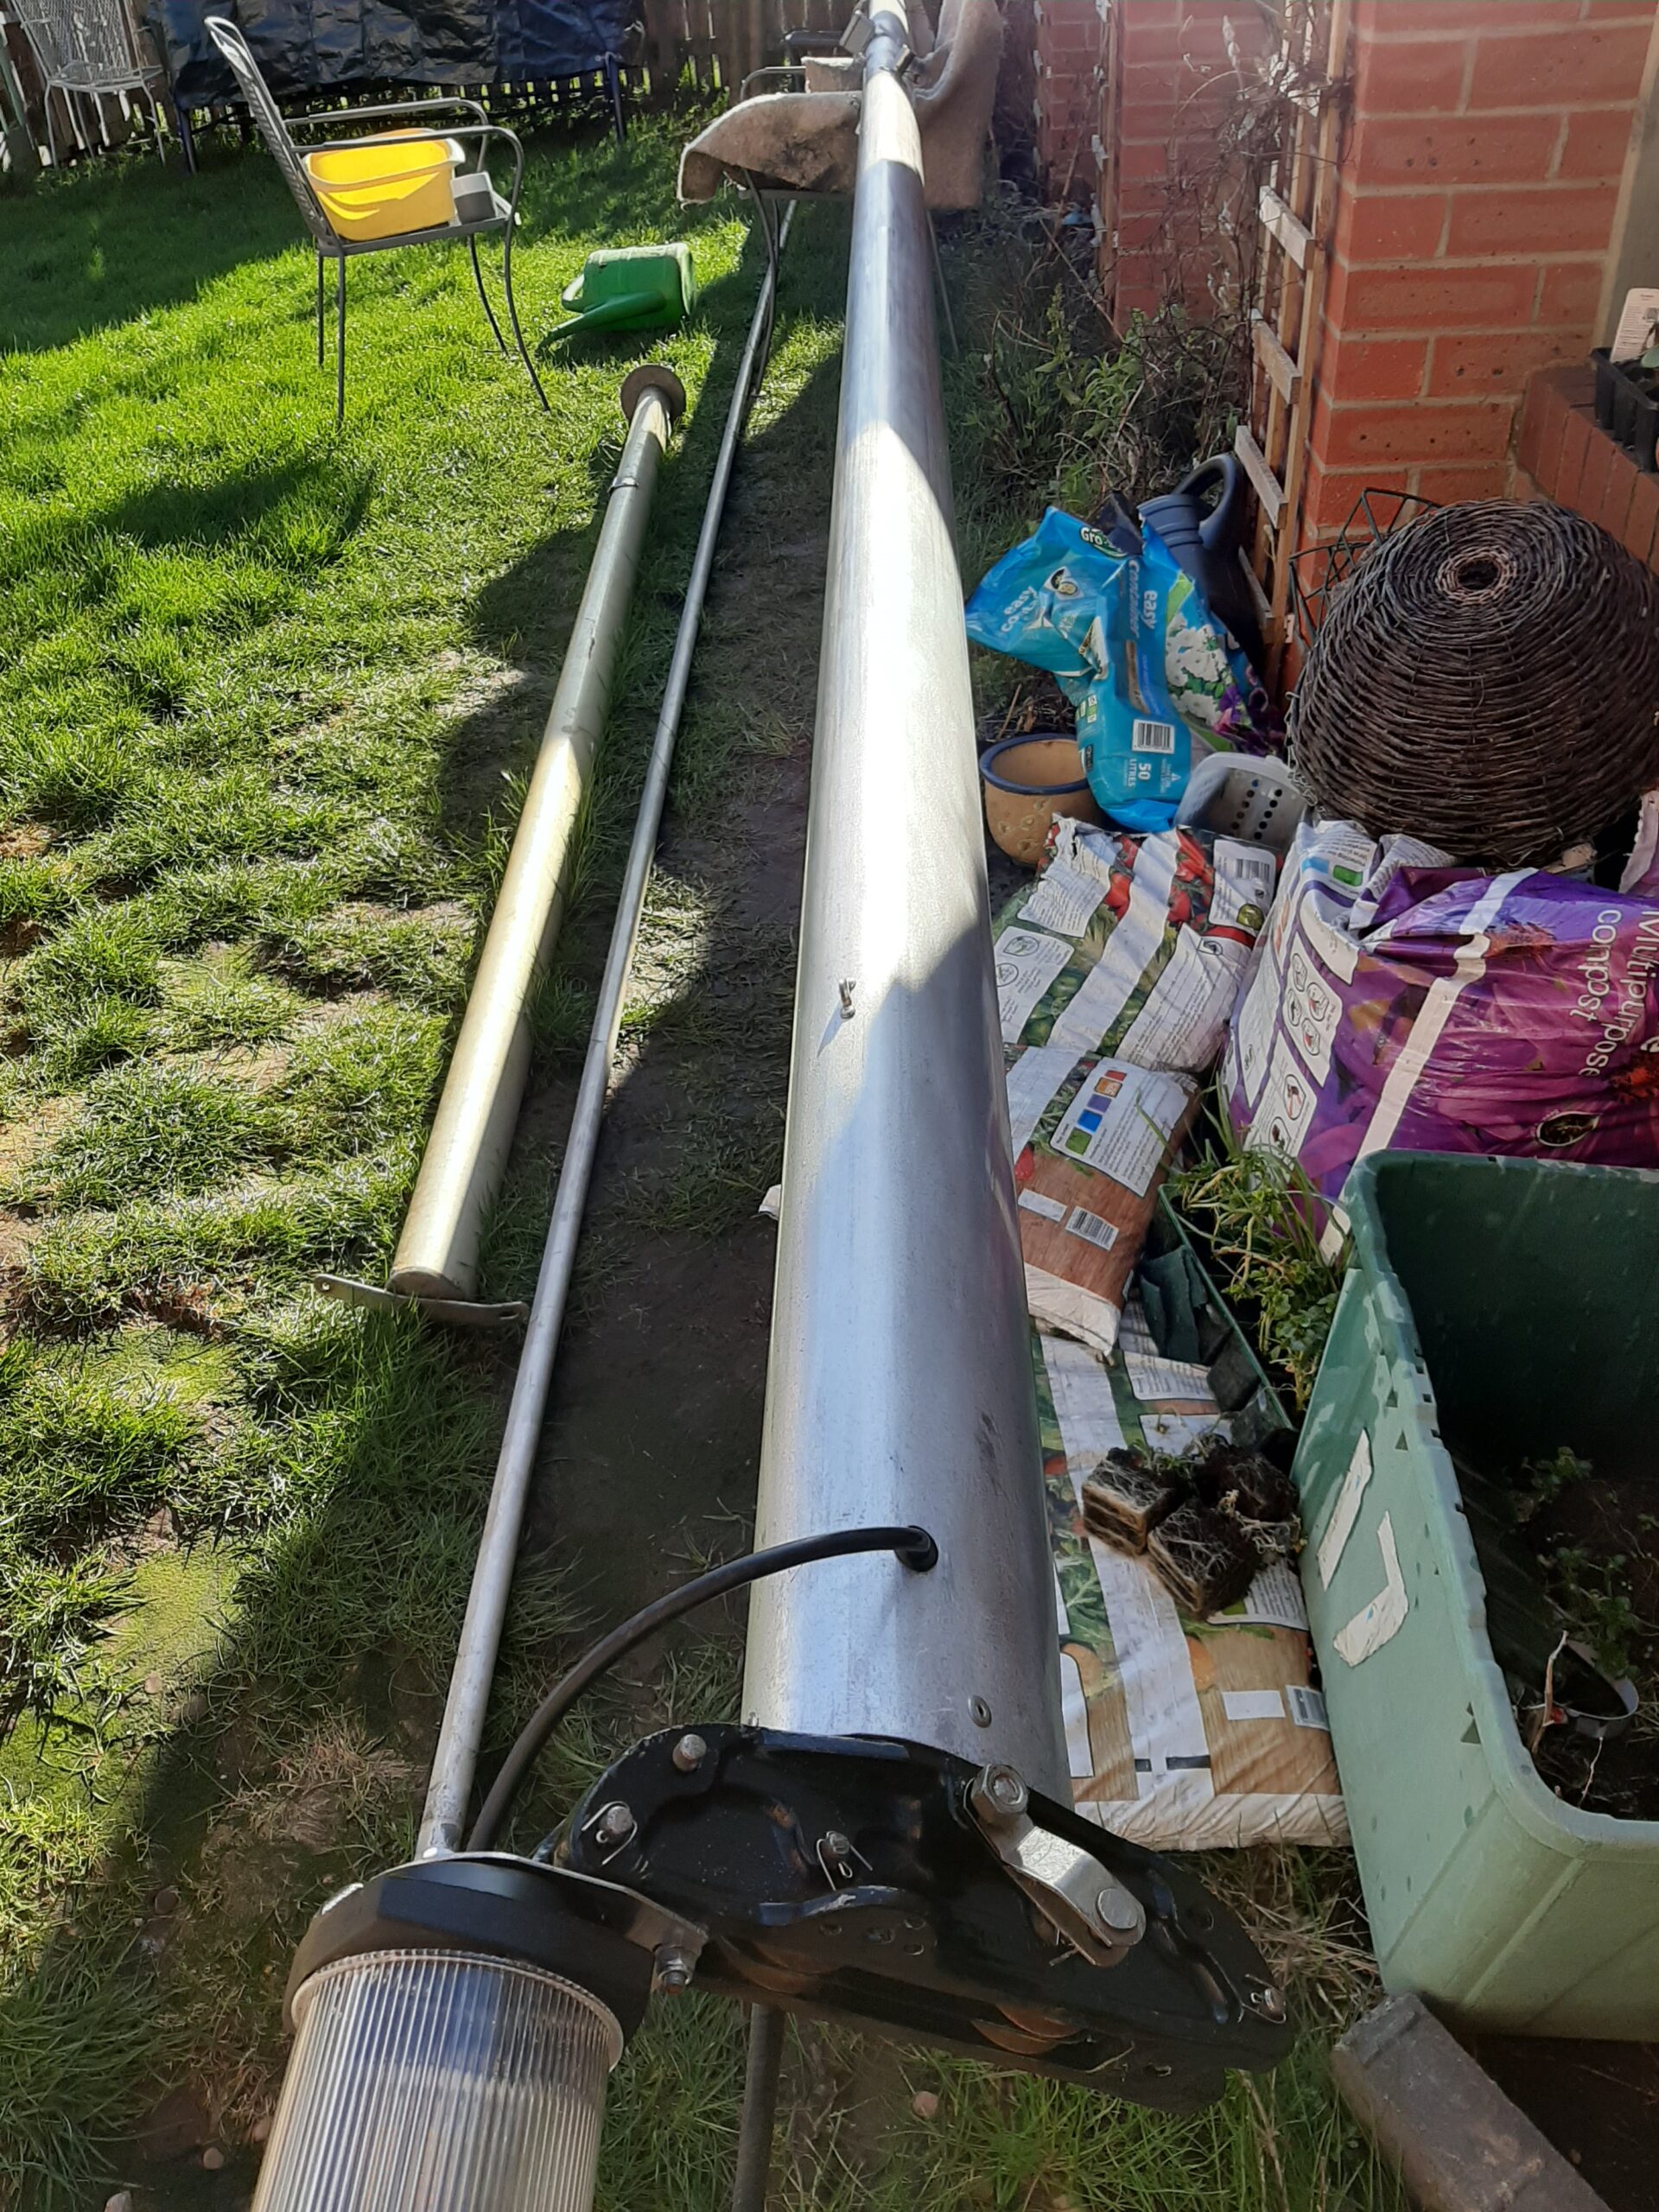 Only took about 5 minutes to wipe Everbright onto the top half of the mast and it’s supposed to be touch dry in 5 to 15 minutes. With the current breeze and clear blue sky the solvent should evaporate and blow away quickly.
Once both halves of the mast have been coated I can attach all of the new rigging cables ready to put the mast up and set the length of the backstays.
Sunday 1st March St David’s day but more importantly Elsie’s birthday and the day of the Manchester amateur choir competition which Kathrine’s choir is entered in. Meant dropping her off at Waterdale before we went to church so she could catch the coach and picking her up again at 7:45. They were joint runners up out of a total of 15 choirs competing.
Wednesday 4th Another of my semi-random days off work but I am authorising in the evening.
Started with other jobs at the boat and headed home at 10, arriving a little before Helen and Matt were going out. I spent the next couple of hours sanding the lower half of the mast until the batteries were all run down. There’s probably about another two full charges for the three batteries before I will be ready to coat the rest of the mast. This bit needs doing a little more thoroughly than the top as it will be easier to see any areas that haven’t gone completely back to bare aluminium.
Friday 6th Another 8 till 6 authorising day. Got the results back today for the first positive Covid 19 virus swab collected and forwarded via our microbiology department. So we have 1 case and there are over 100,000 world wide.
Saturday 7th Awake at 5:15 and couldn’t get back to sleep. Kathrine is off to Oxford on an EF outing so I dropped her at the station a little after 7.
I spent most of the morning and early afternoon sanding the lower half of the starboard side of the mast. Still a little below standard around the multiple flag hoist & halliard cleats but there’s a limit to what can be achieved with hand sanding close to fittings. Now have three depleted batteries so they are charging ready for another session tomorrow. Did the wash, rinse and dry part of the preparation fairly quickly as the weather is windy and dry. Then did the coating on the starboard side from mast heel to junction box. Port side of the mast will still need a bit of sanding once the three batteries have charged up again.
Wednesday 11th Matt spent till almost 3:00 ferrying Helen round her hospital appointment, a model shop in Sheffield and who knows where else. That gave me time to sand the lower half of the remaining side of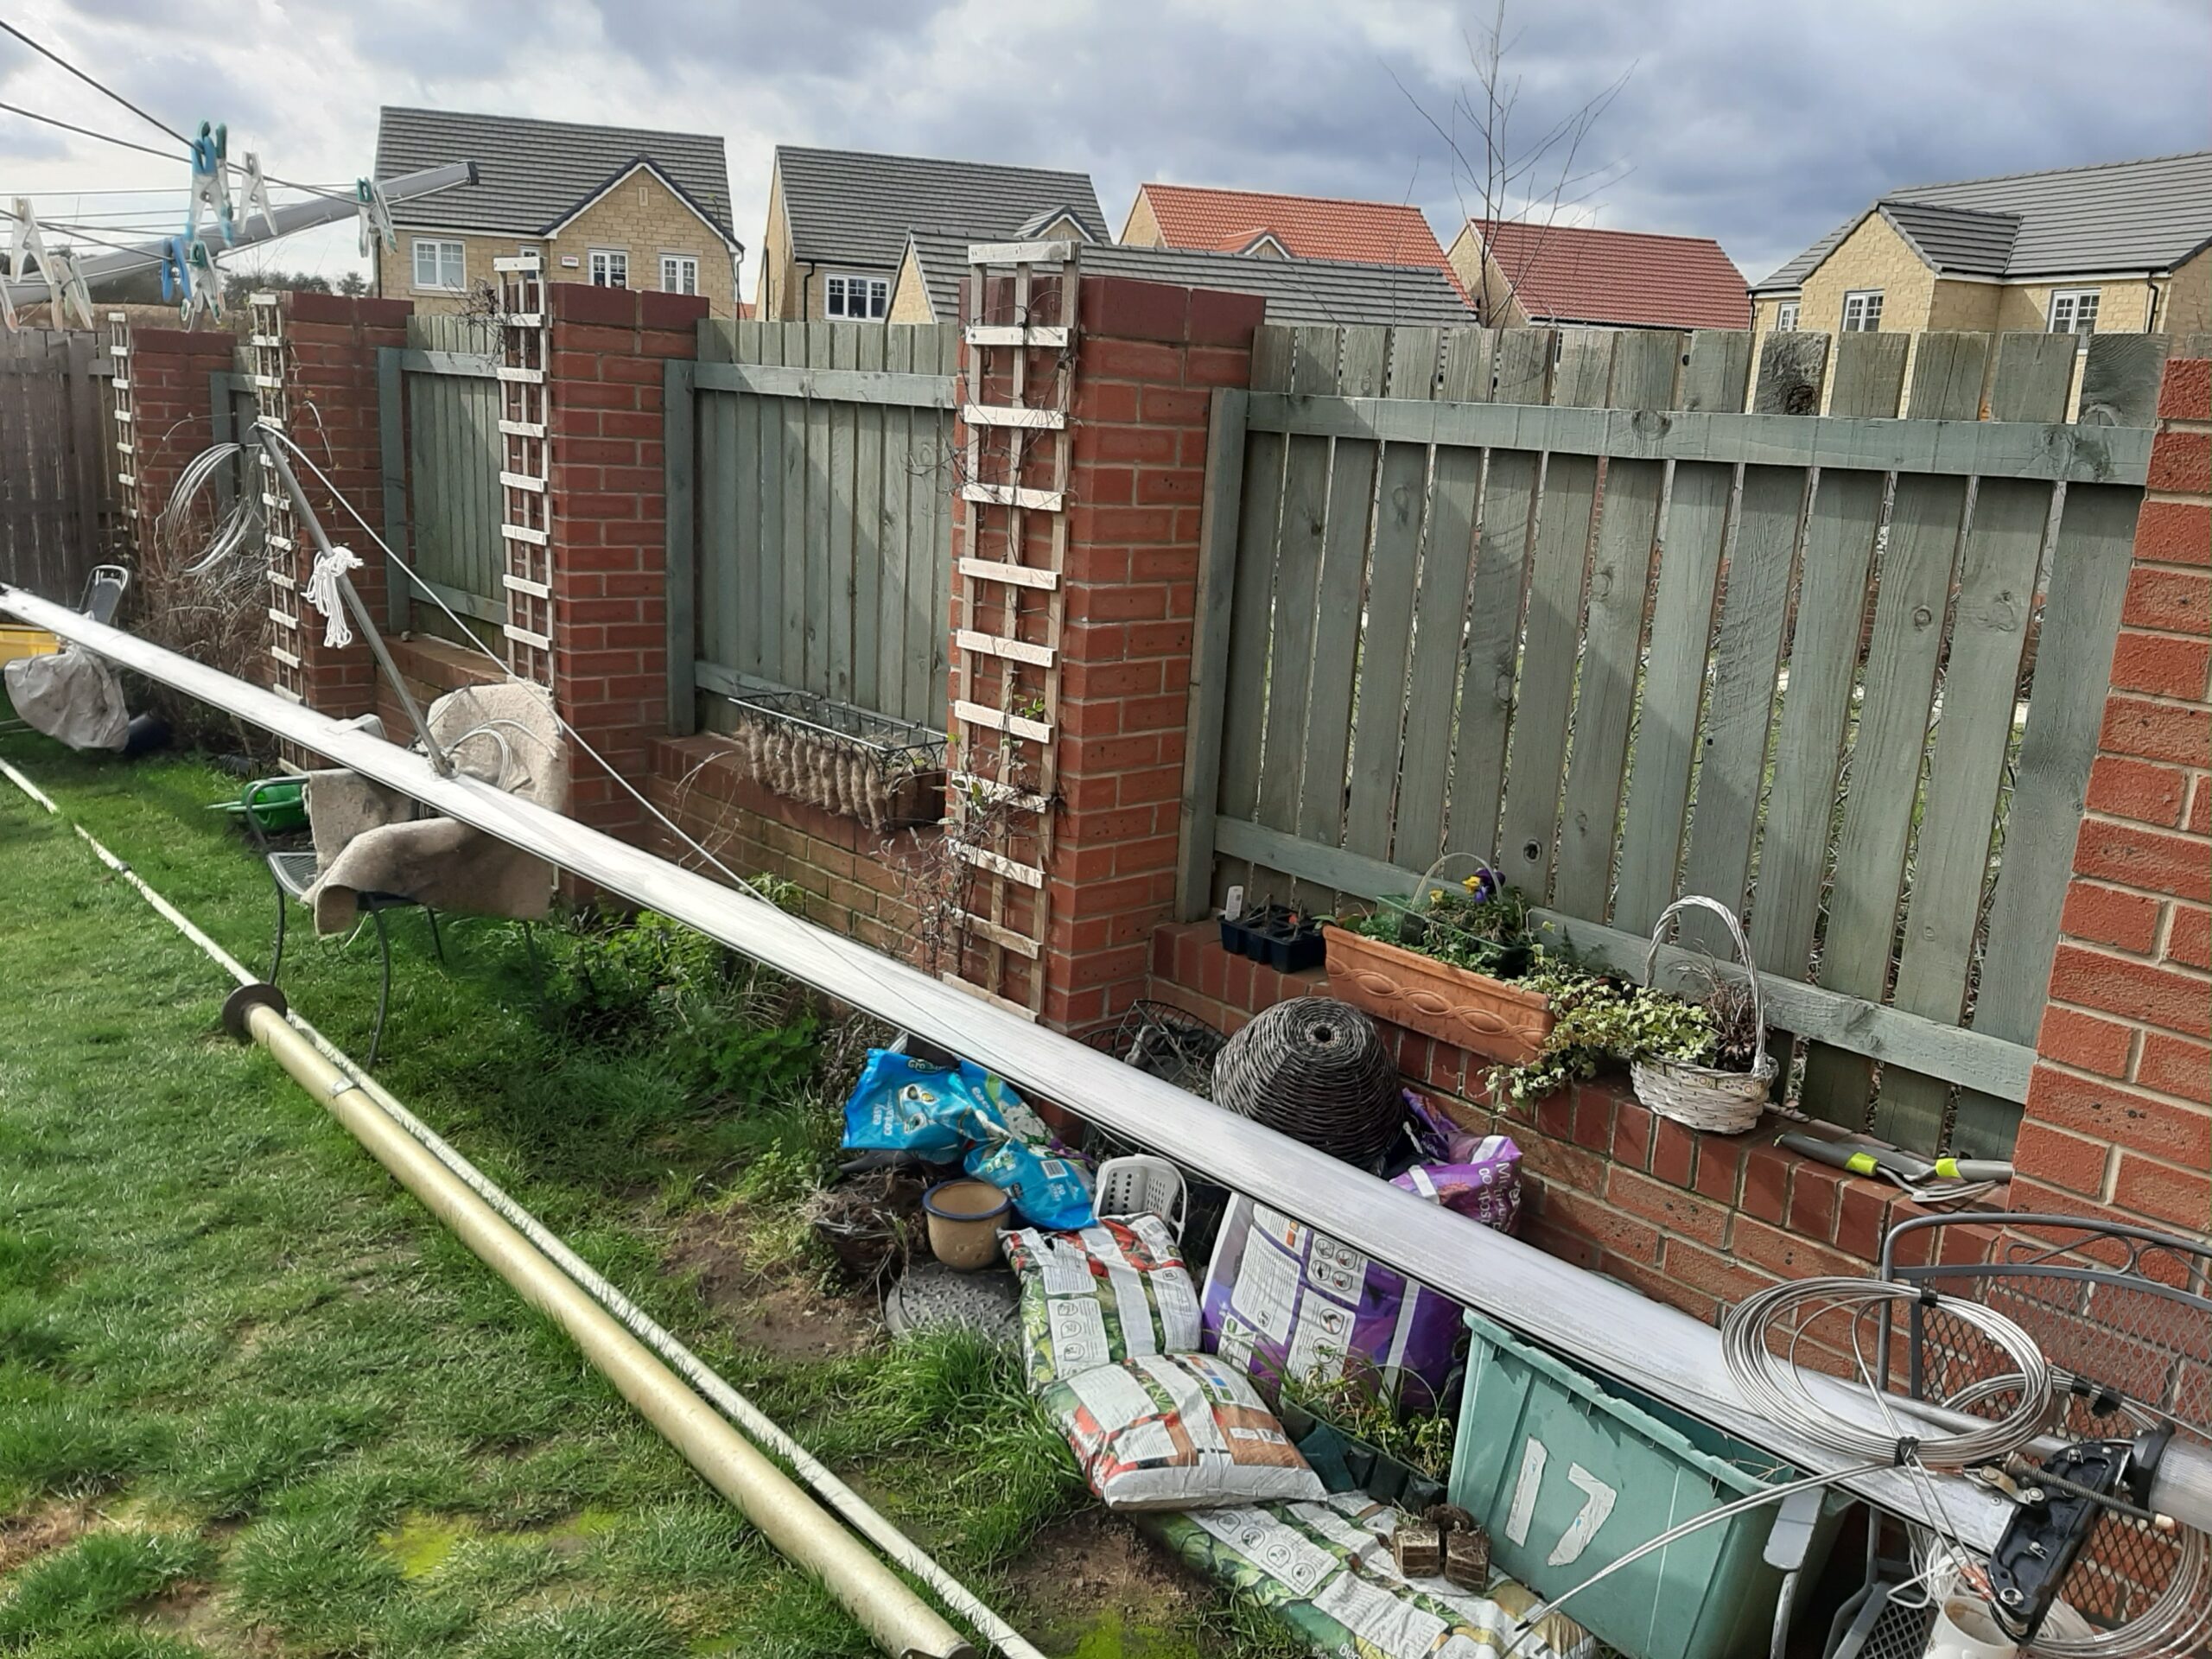
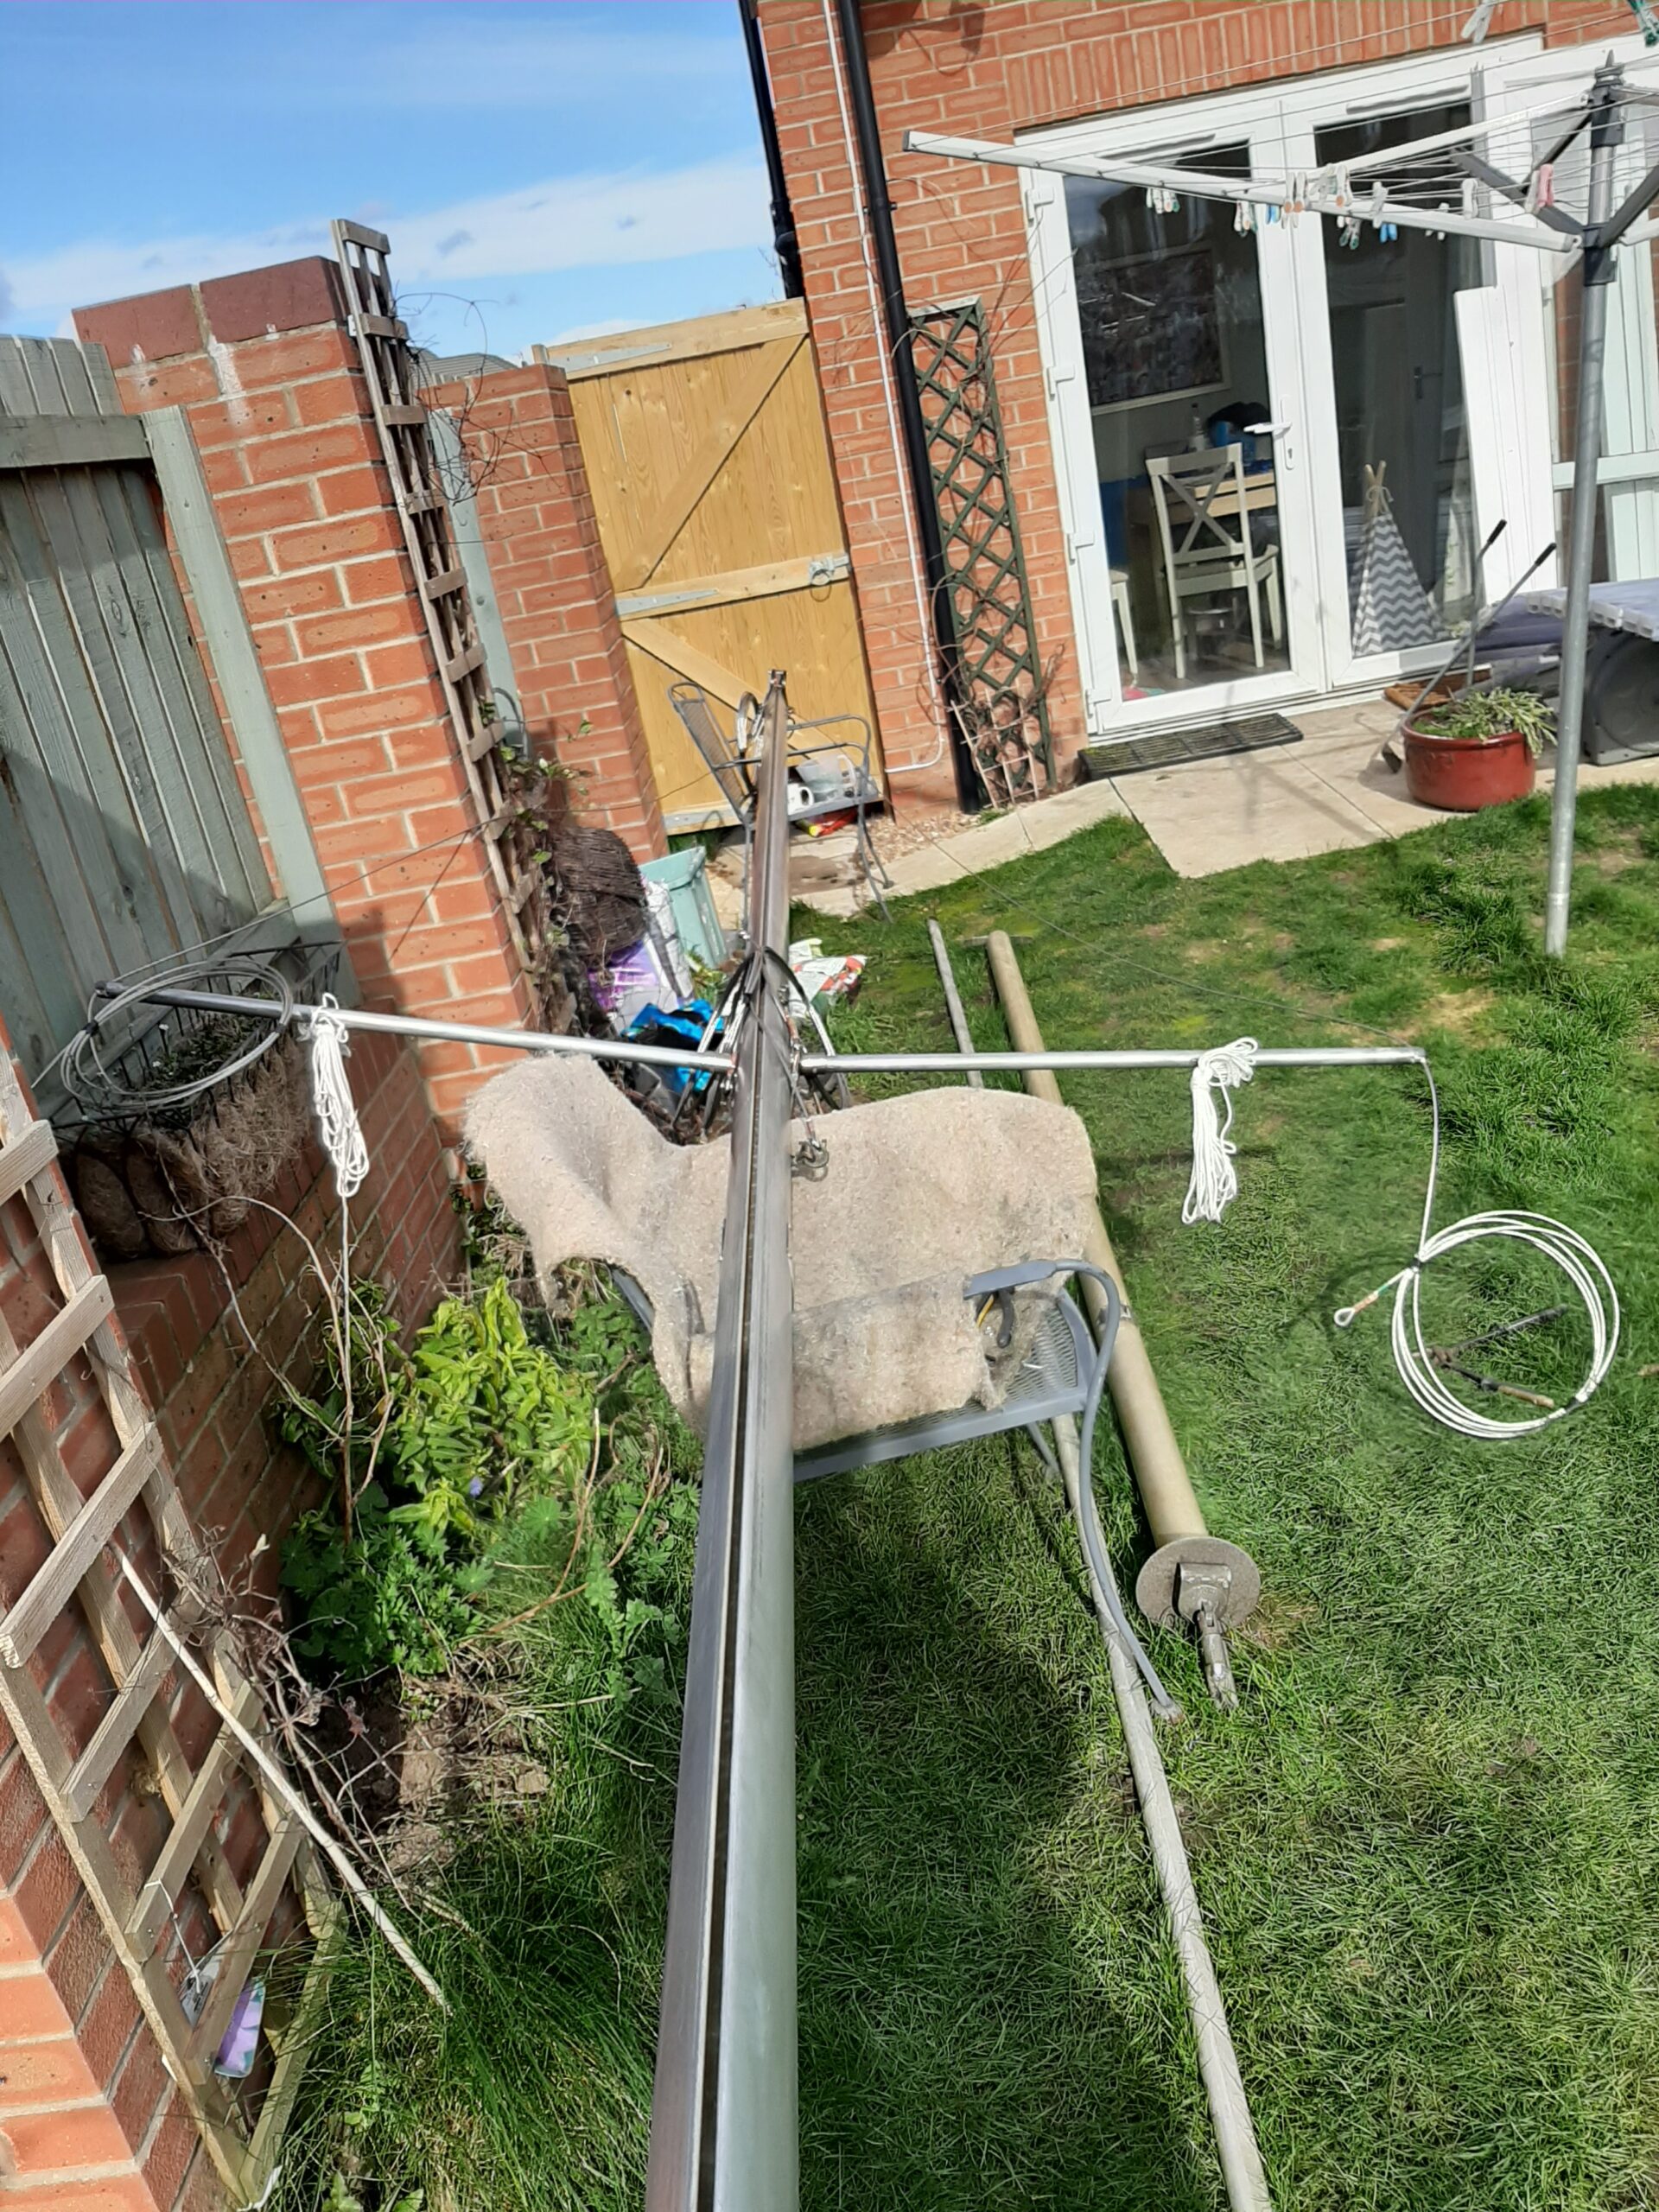
the mast, clean it, rinse, dry and eventually coat about half way up to the spreaders. In between those steps I installed the new standing and small diameter running rigging. Slight issue in that I cannot seem to find the split pins which I bought but I have temporarily secured a couple of the pins using the stainless steel wire that I bought to attach the upper shrouds to the spreaders. Only leaves the forestay to attach and the mast can go up to allow me to set the length of the backstays. That might be a job for Friday as I am off work again that day and could move the boat to the drive in the morning if Matt is around to help.
While we were waiting for a suitable time to start cooking tea, I managed to get the remainder of the mast sanded, washed rinsed etc so the whole thing has now been coated and looks great.
So that was the run-up to being stuck with my boat on the drive for months and not allowed to go anywhere other than work and shopping (for essentials like food). However a lot of marine suppliers continued to supply other essentials via mail order and there were plenty of “Click & Collect” essentials available from local suppliers.
Posted 21/10/2020 with an apparent date of 12th March to keep it in sequence.