<Rant warning> If I learned nothing else from the camper van it is that I never want to try to do headlining again in the way VW did it. Fortunately the original boat version is more like the hull lining so there will be no saggy uneven tensioned cloth, no hoops that try to flip over every time you move them and no impact adhesive that peels off when the sun shines and heats things up. </Rant>
The thin plywood that I spent so much of the covid lockdown trying to buy was mainly to replace the tatty original that formed a reinforced backing for the cabin headlining. Fortunately I had the old sheets to 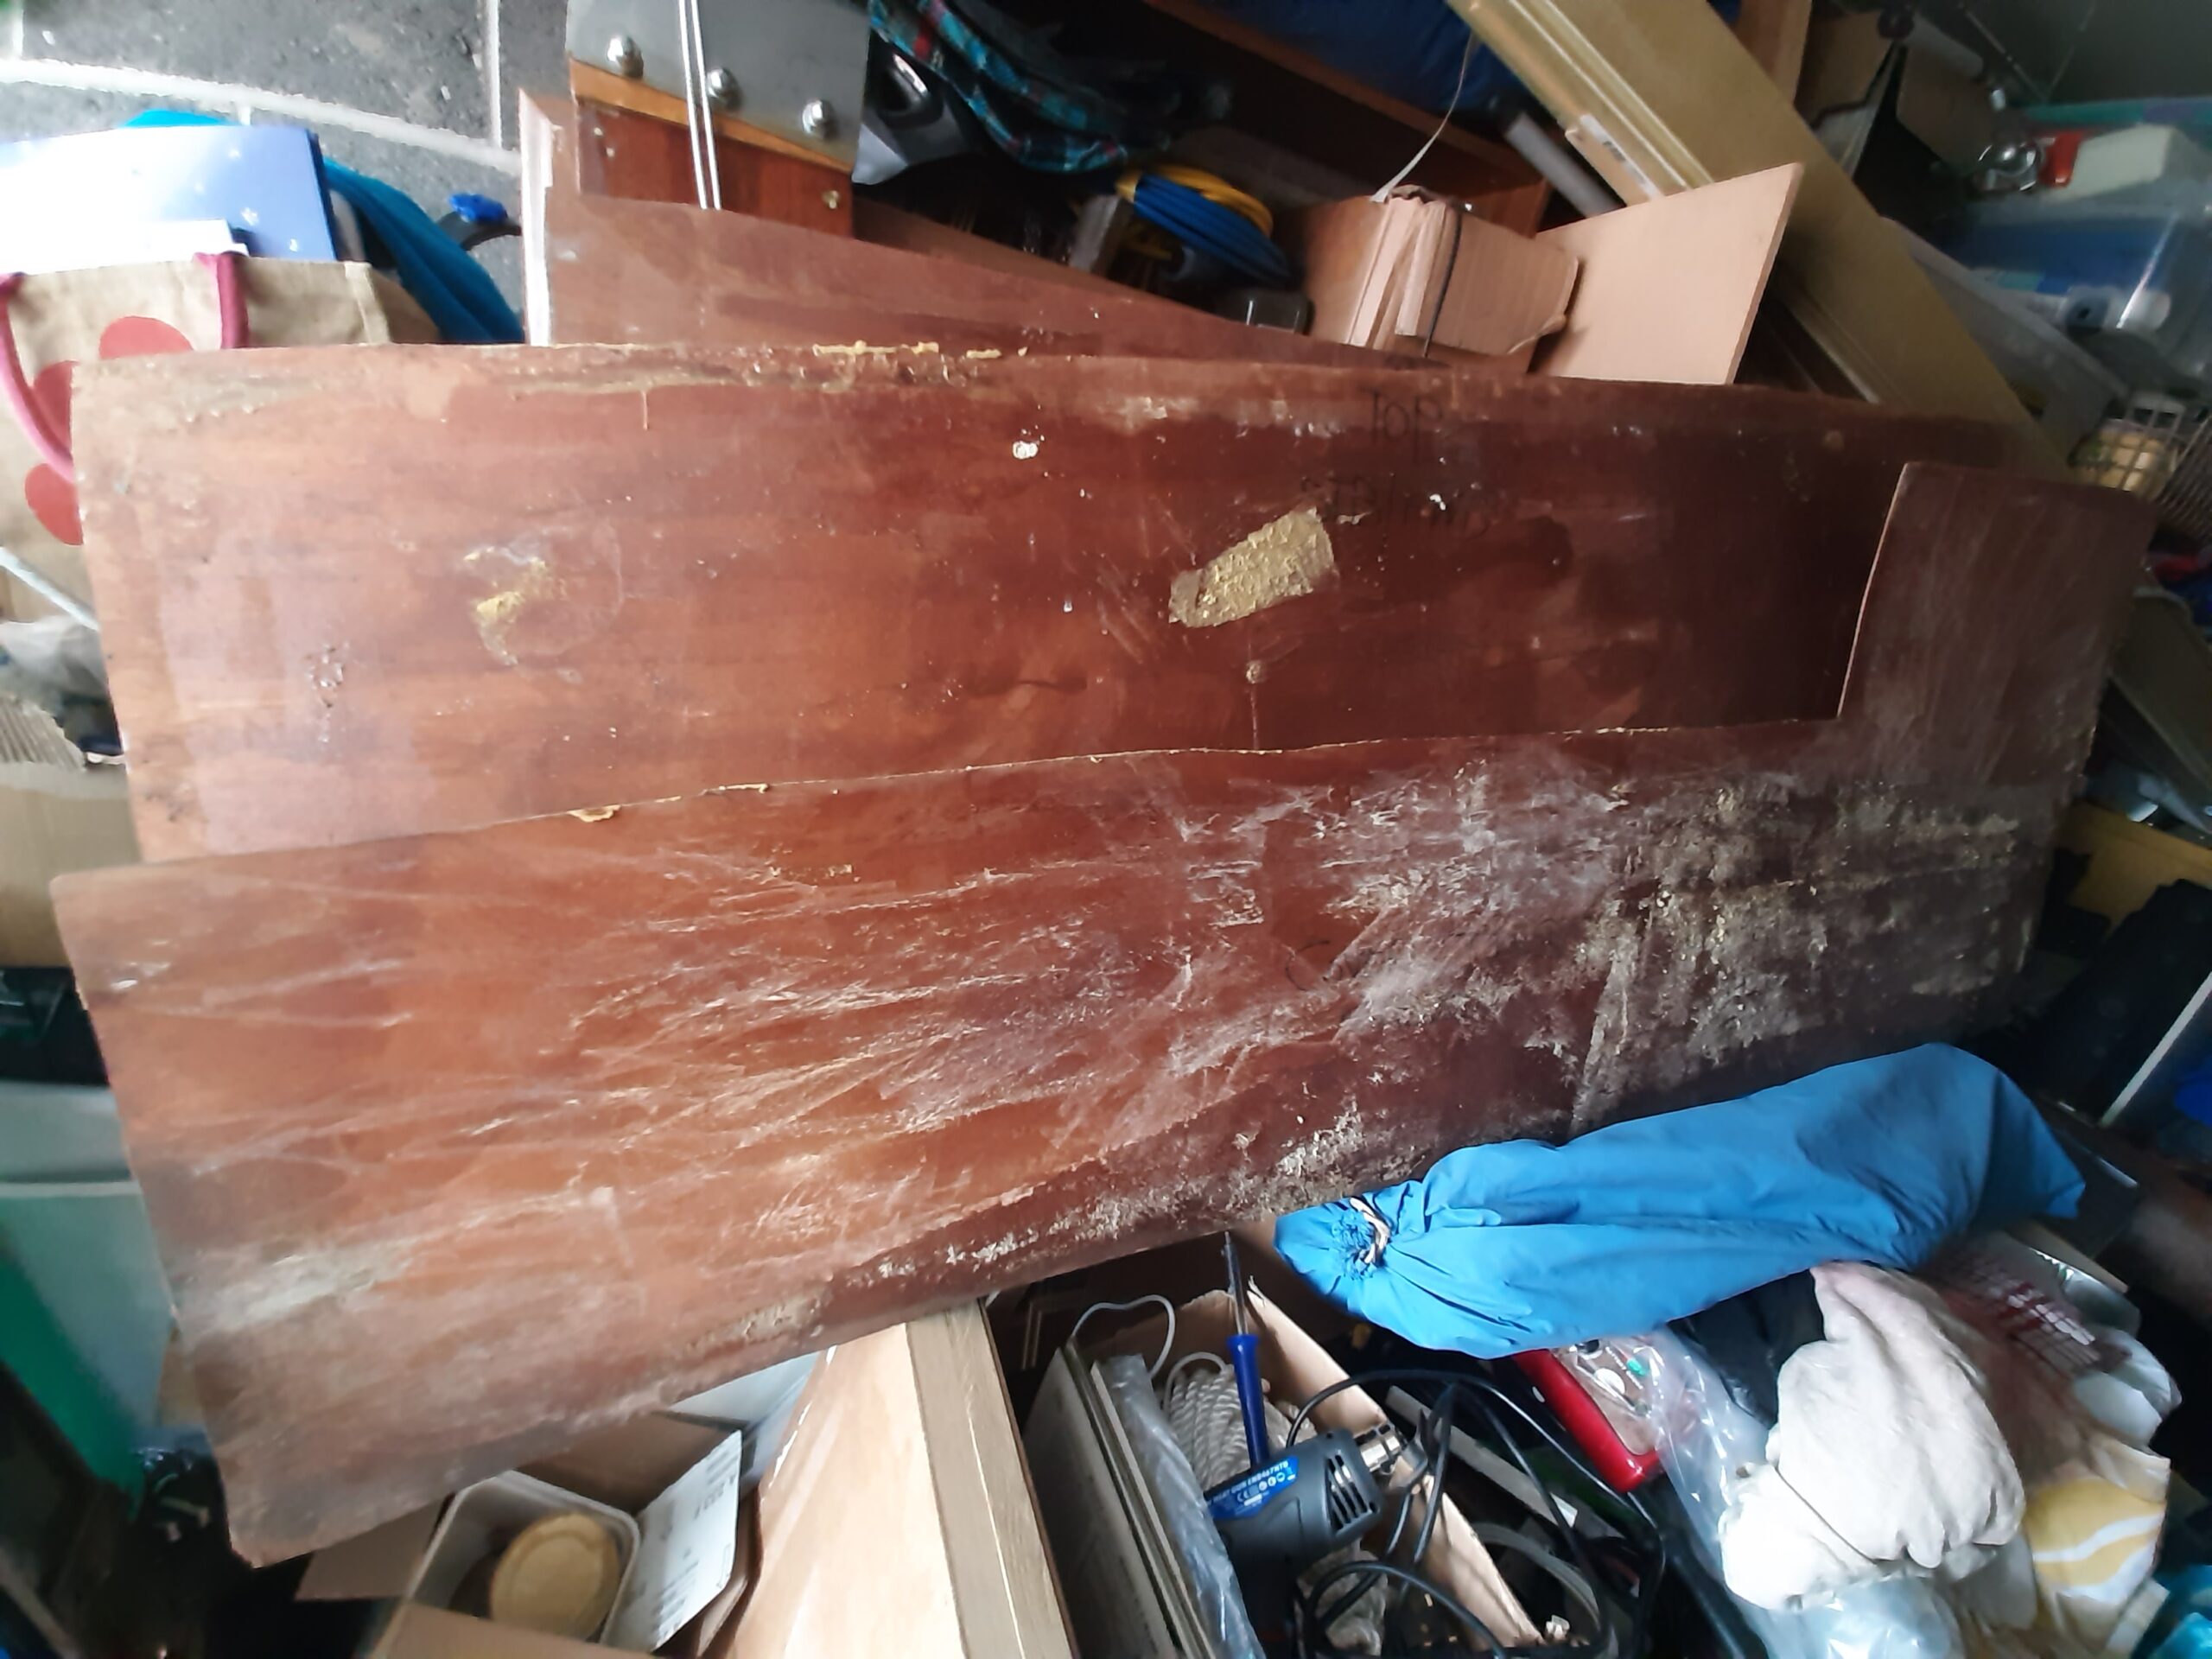 act as templates but I very much over did it when I cut the new ones because I am aware they will be fitted in a different way and because there are cables, conduits etc between the roof and the headlining.
Hopefully I wont have as much condensation or leaking water to delaminate and rot the new ones as was the case for the originals. 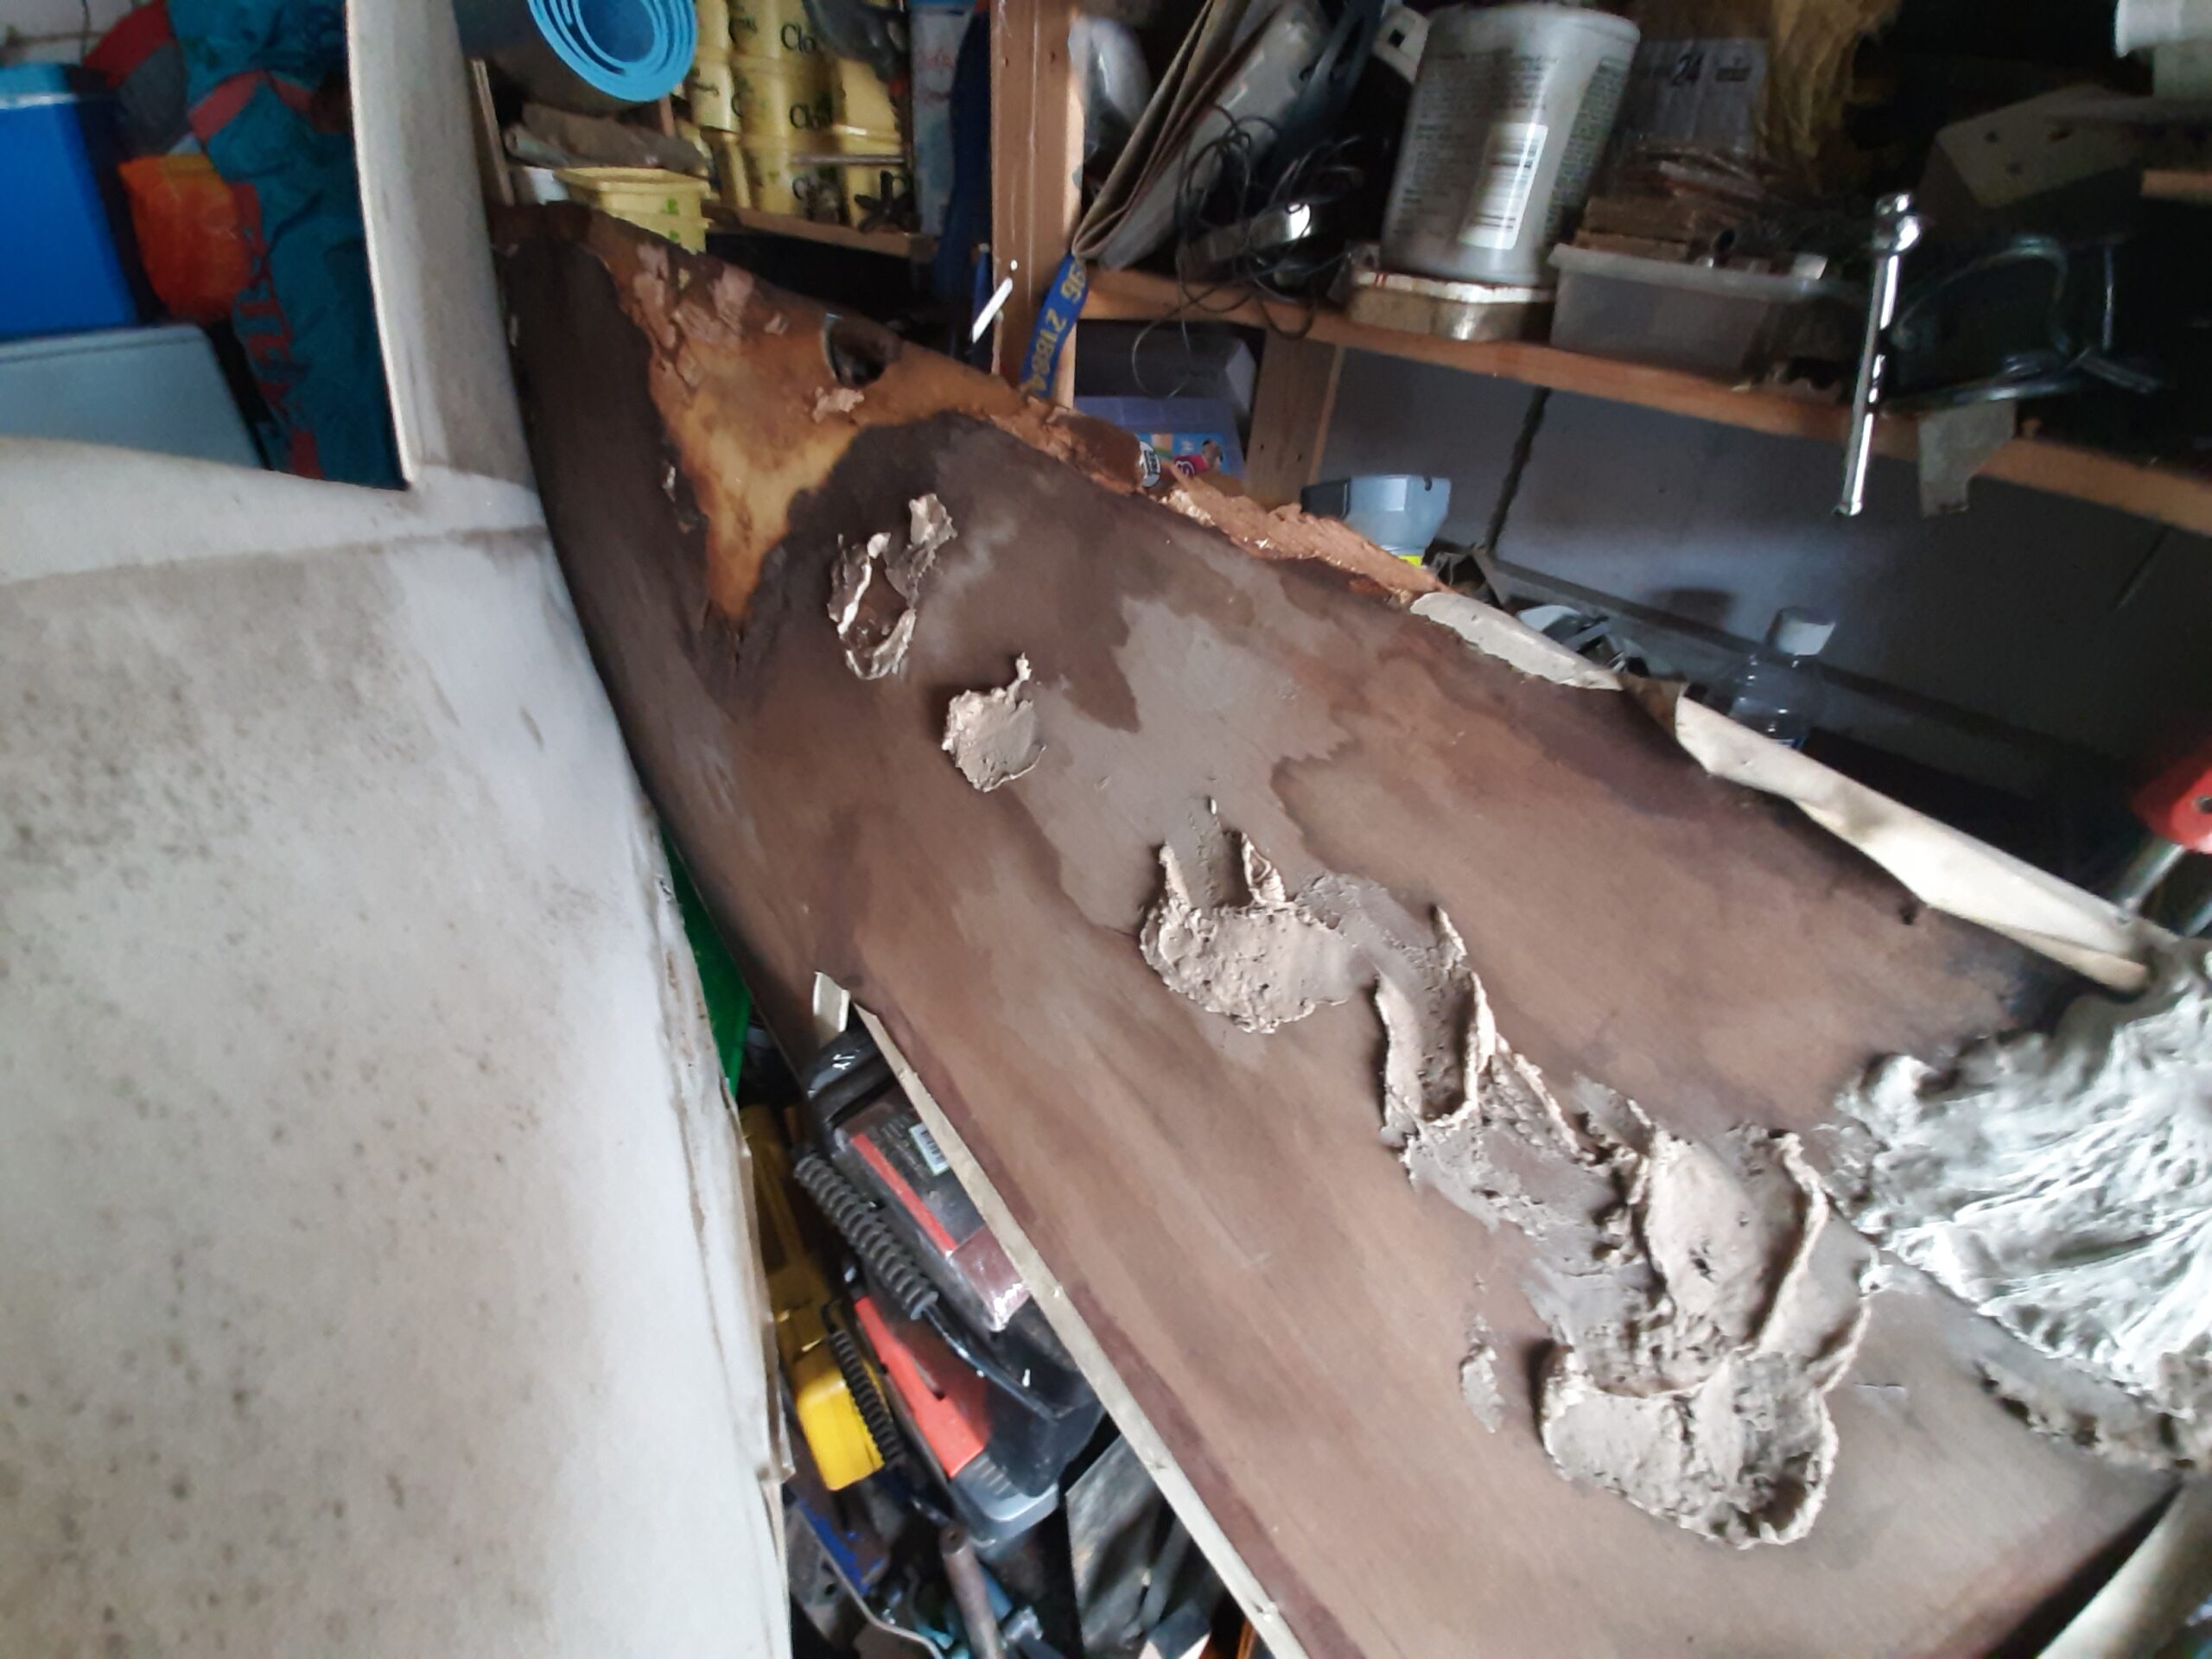 I also don’t intend to glue the boards to the roof with filler as was the case with the original ones.
I started with the starboard side because the cables for the solar panel are intended to go on the port side and also I haven’t yet done the new rubber and sealant on that window either.
Friday 17th July Here are a few novel uses for the plasterboard props which we bought to work on Matt’s house. – first to push the window surround trim into place so I have finally got the original screws back in to hold them up against the window frame on the starboard side. May have taken a long time but I can now claim that window is finished. (Nov 2020 update – Still a very slight leak in heavy rain so I am aiming to add silicon sealant to the right area on the outside)
Second use was to hold the oak strip in place while I position masking tape so that I can fix it along the cabin side with resin & filler mixture. 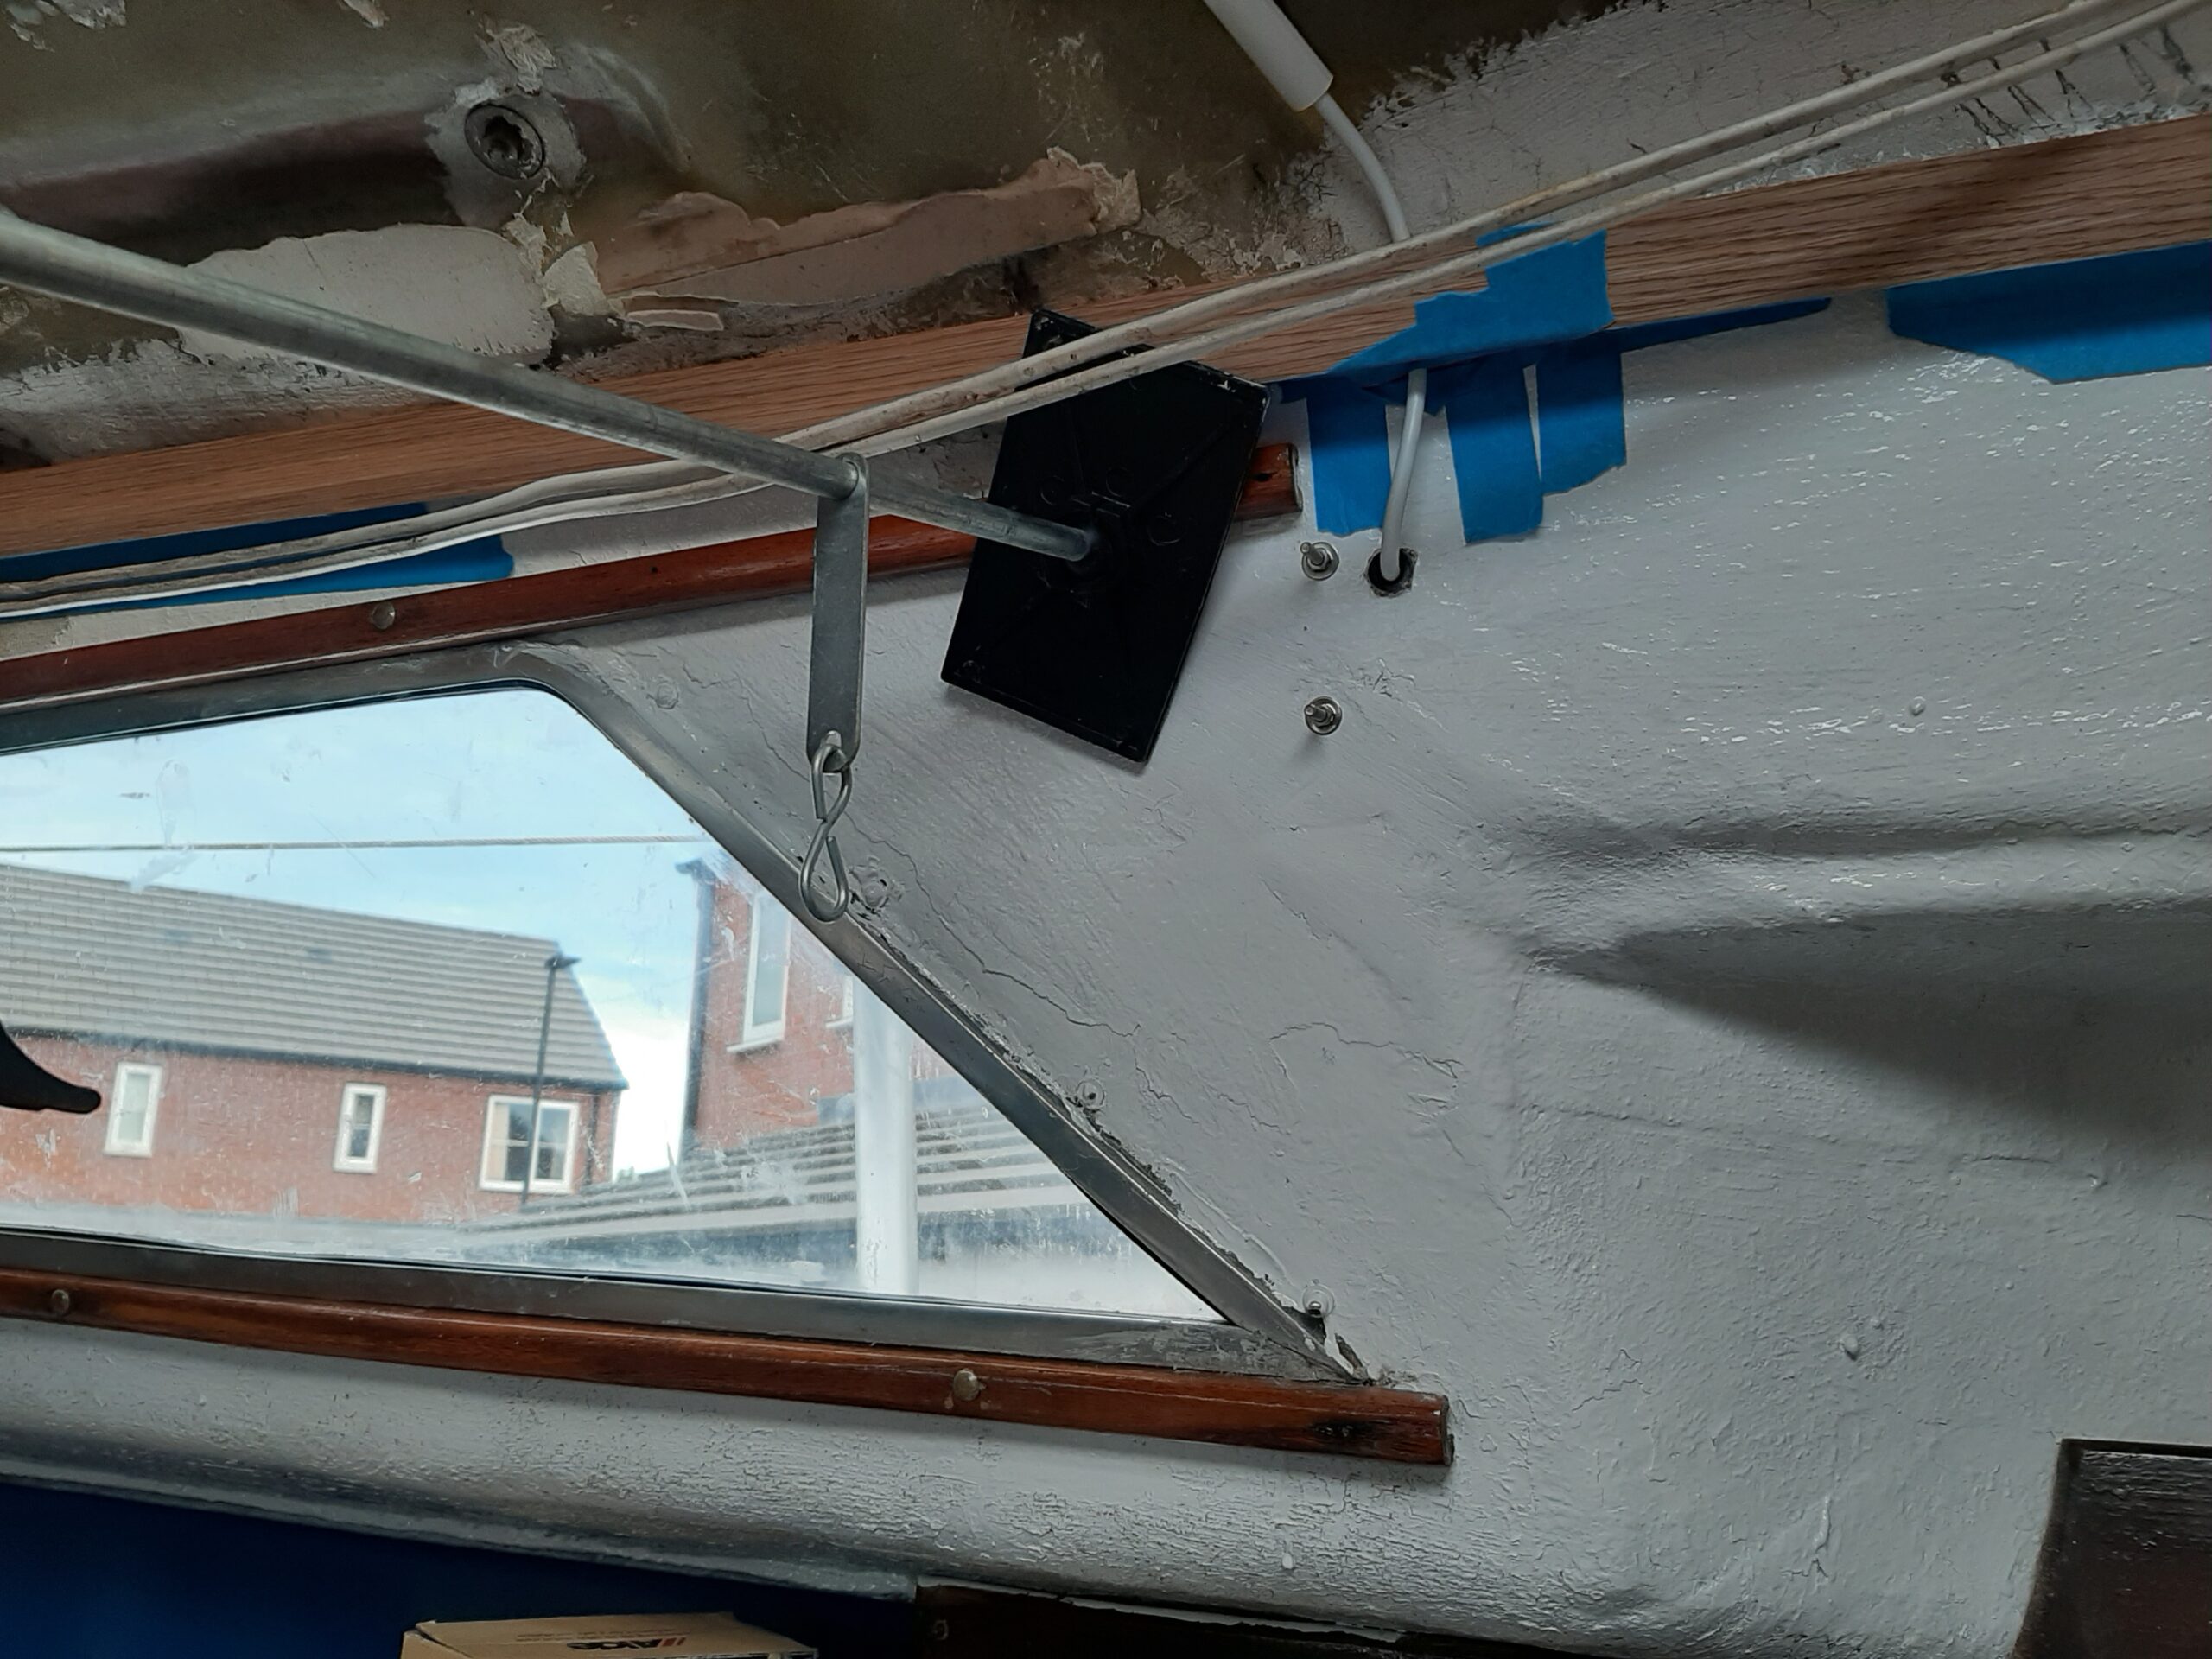 Once this bit is in place I will add several offcuts to act as mounting blocks for the attachment screws. The masking tape acts as a sort of temporary mould to keep the mixture roughly in place while it sets. I tend to use a 50:50 by volume mix of resin and P38 filler and, because it done by estimation rather than measuring, I aim for something like double cream texture. Once the hardener was mixed in I poured / spooned it into the gap between the oak strip and the cabin wall using various plastic spreaders and a pallet knife to encourage it into the right places. There was no real attempt to fill the whole gap just glue the strip where it comes closest. End result is that I still have up to a 1cm airflow gap along most of the length which I hope will minimise condensation.
Thursday 23rd July Spent a couple of hours going up and down the ladder with the plywood for the headlining as I gradually trimmed it to a reasonable fit with all the ceiling obstructions. Still a bit of trimming to do around the window edge and a cut-out for the ventilator over the 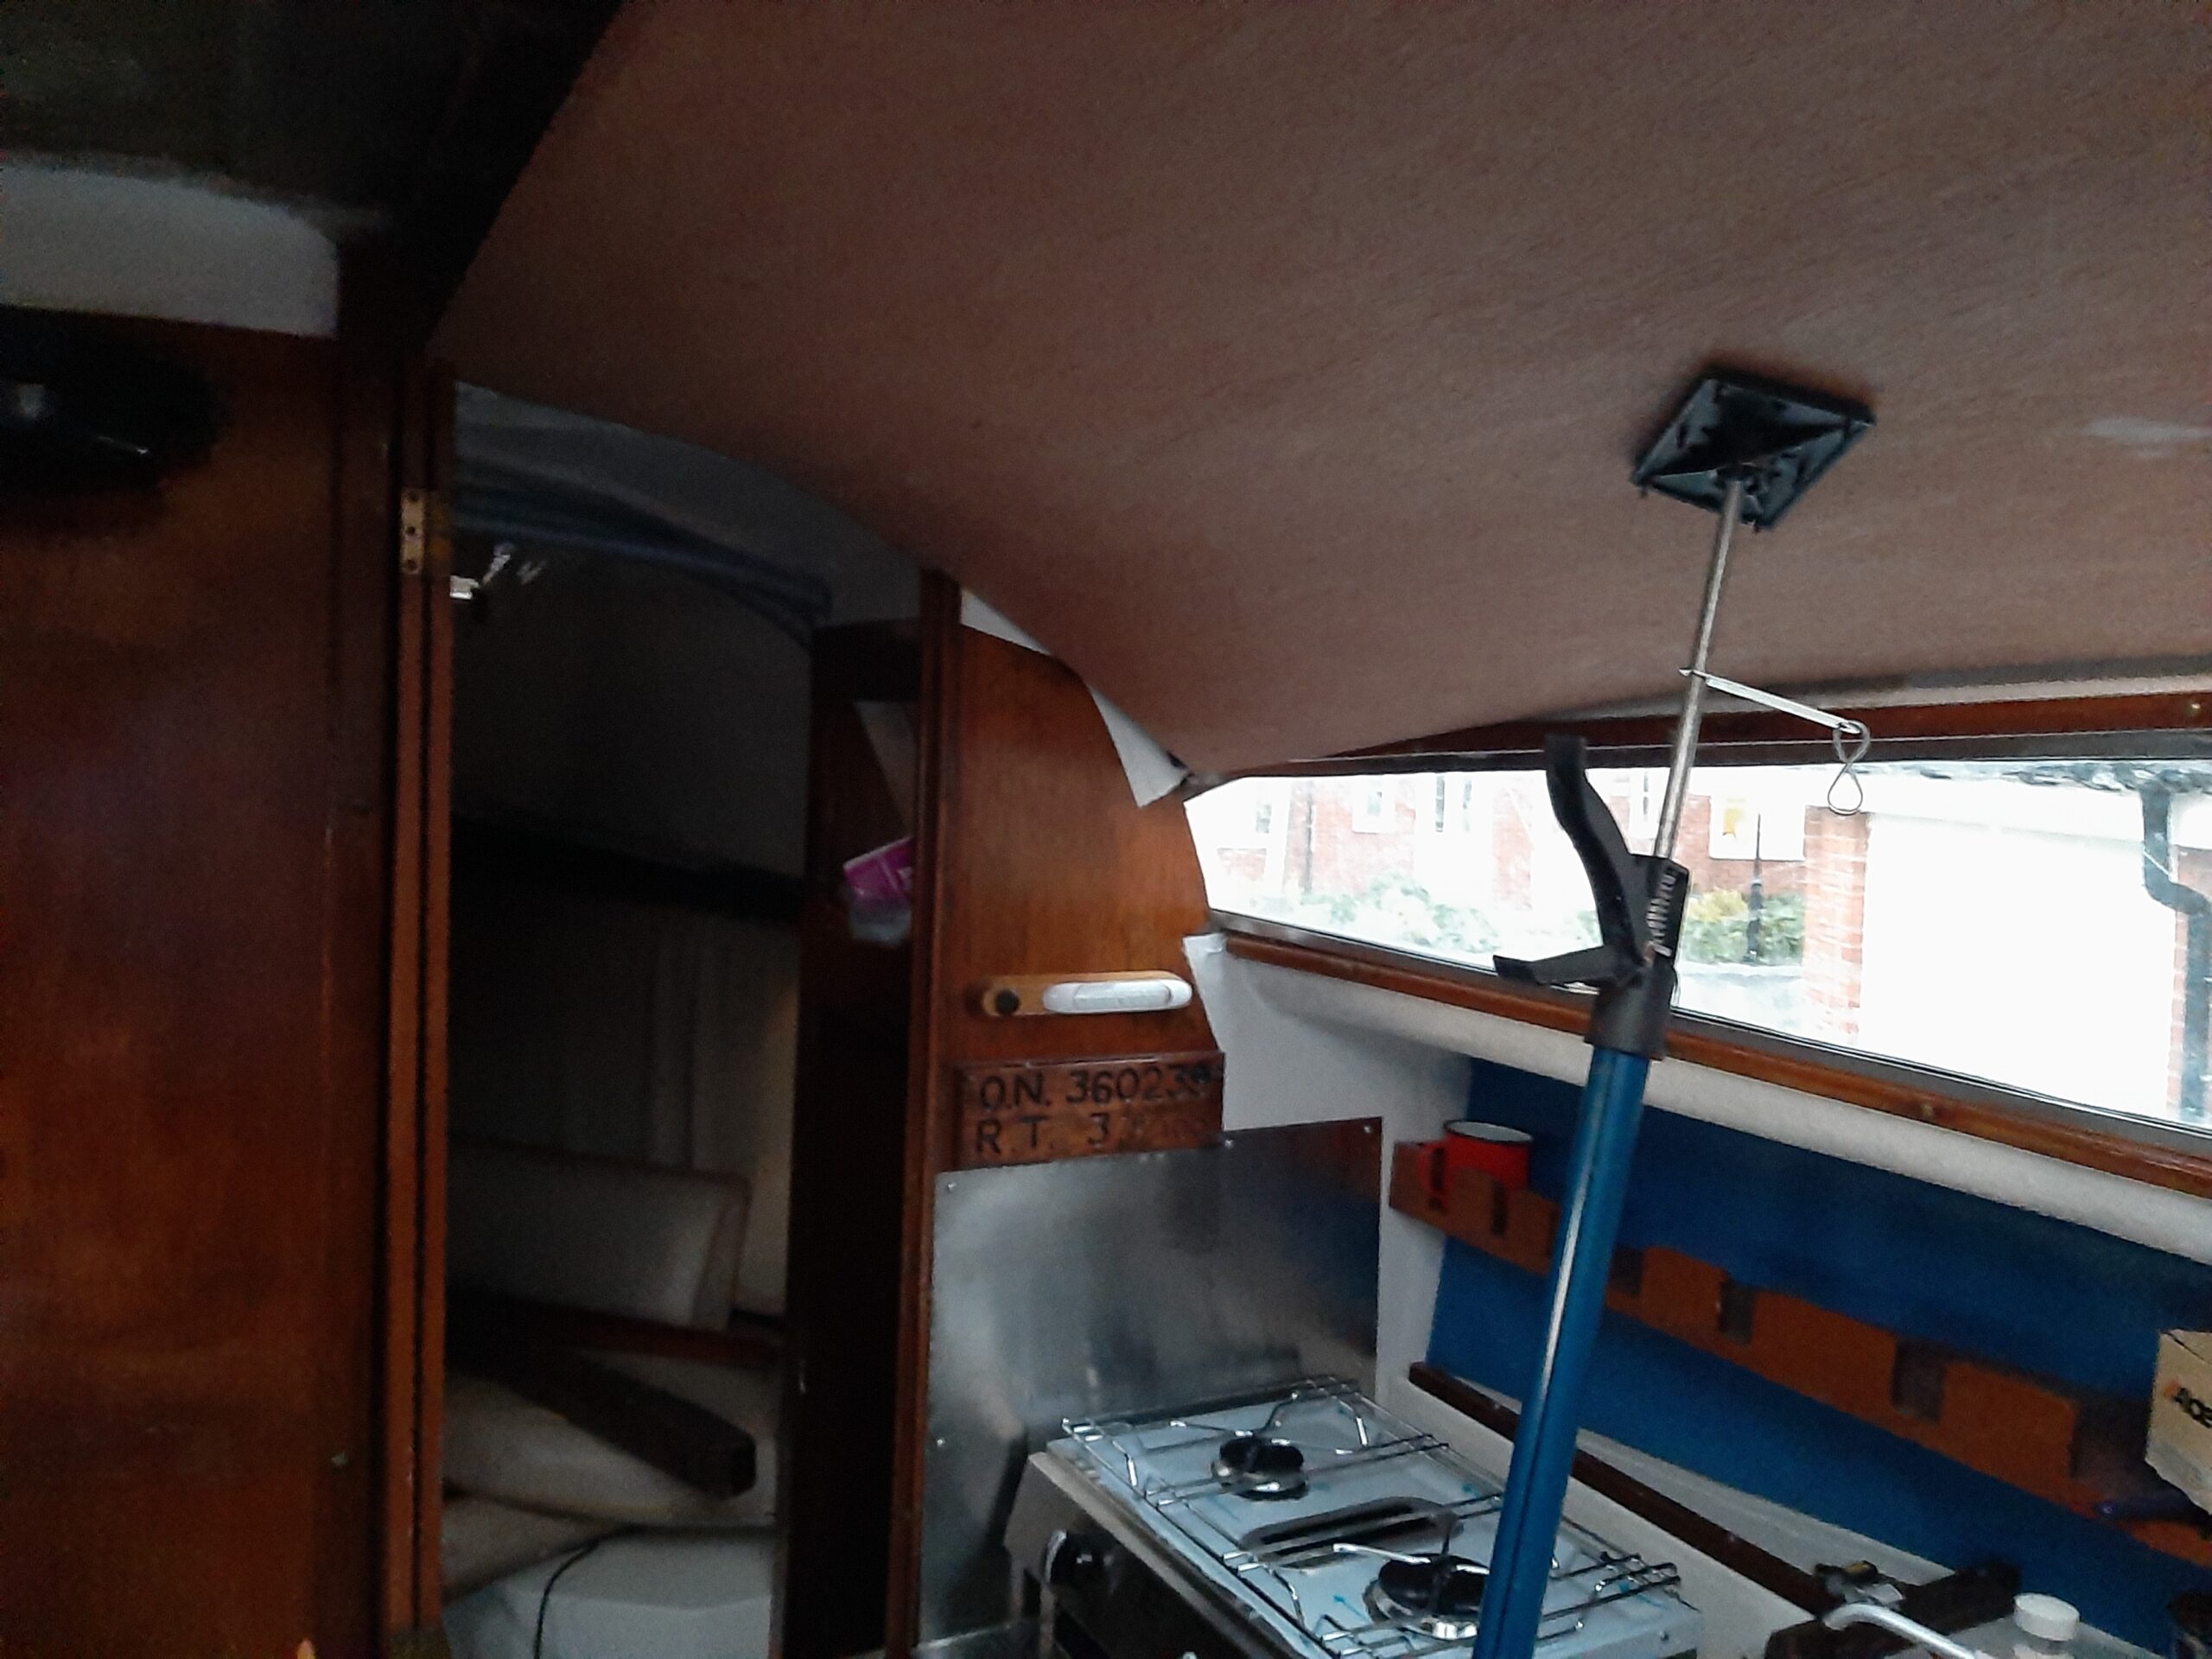 cooker. I originally included rough measurements for the piece from the door through to beyond the bilge pump pipes but the plywood piece turned out to be too long to be able to get it in and out through the hatch. The rest will have to be a separate piece. There is a cross beam at the end of this piece where the original headlining panel ended so I will be able to screw down a piece of trim to hide the join and it wont really be that much different done this way.
Saturday 25th July 5:30 start thanks to a dog scratching to go out. After the usual breakfast, washing up and dog medicines I was outside by 7:00
Started off with the ongoing cycle of adjusting the cabin headline plywood. Gone through the process something like 6 times today to 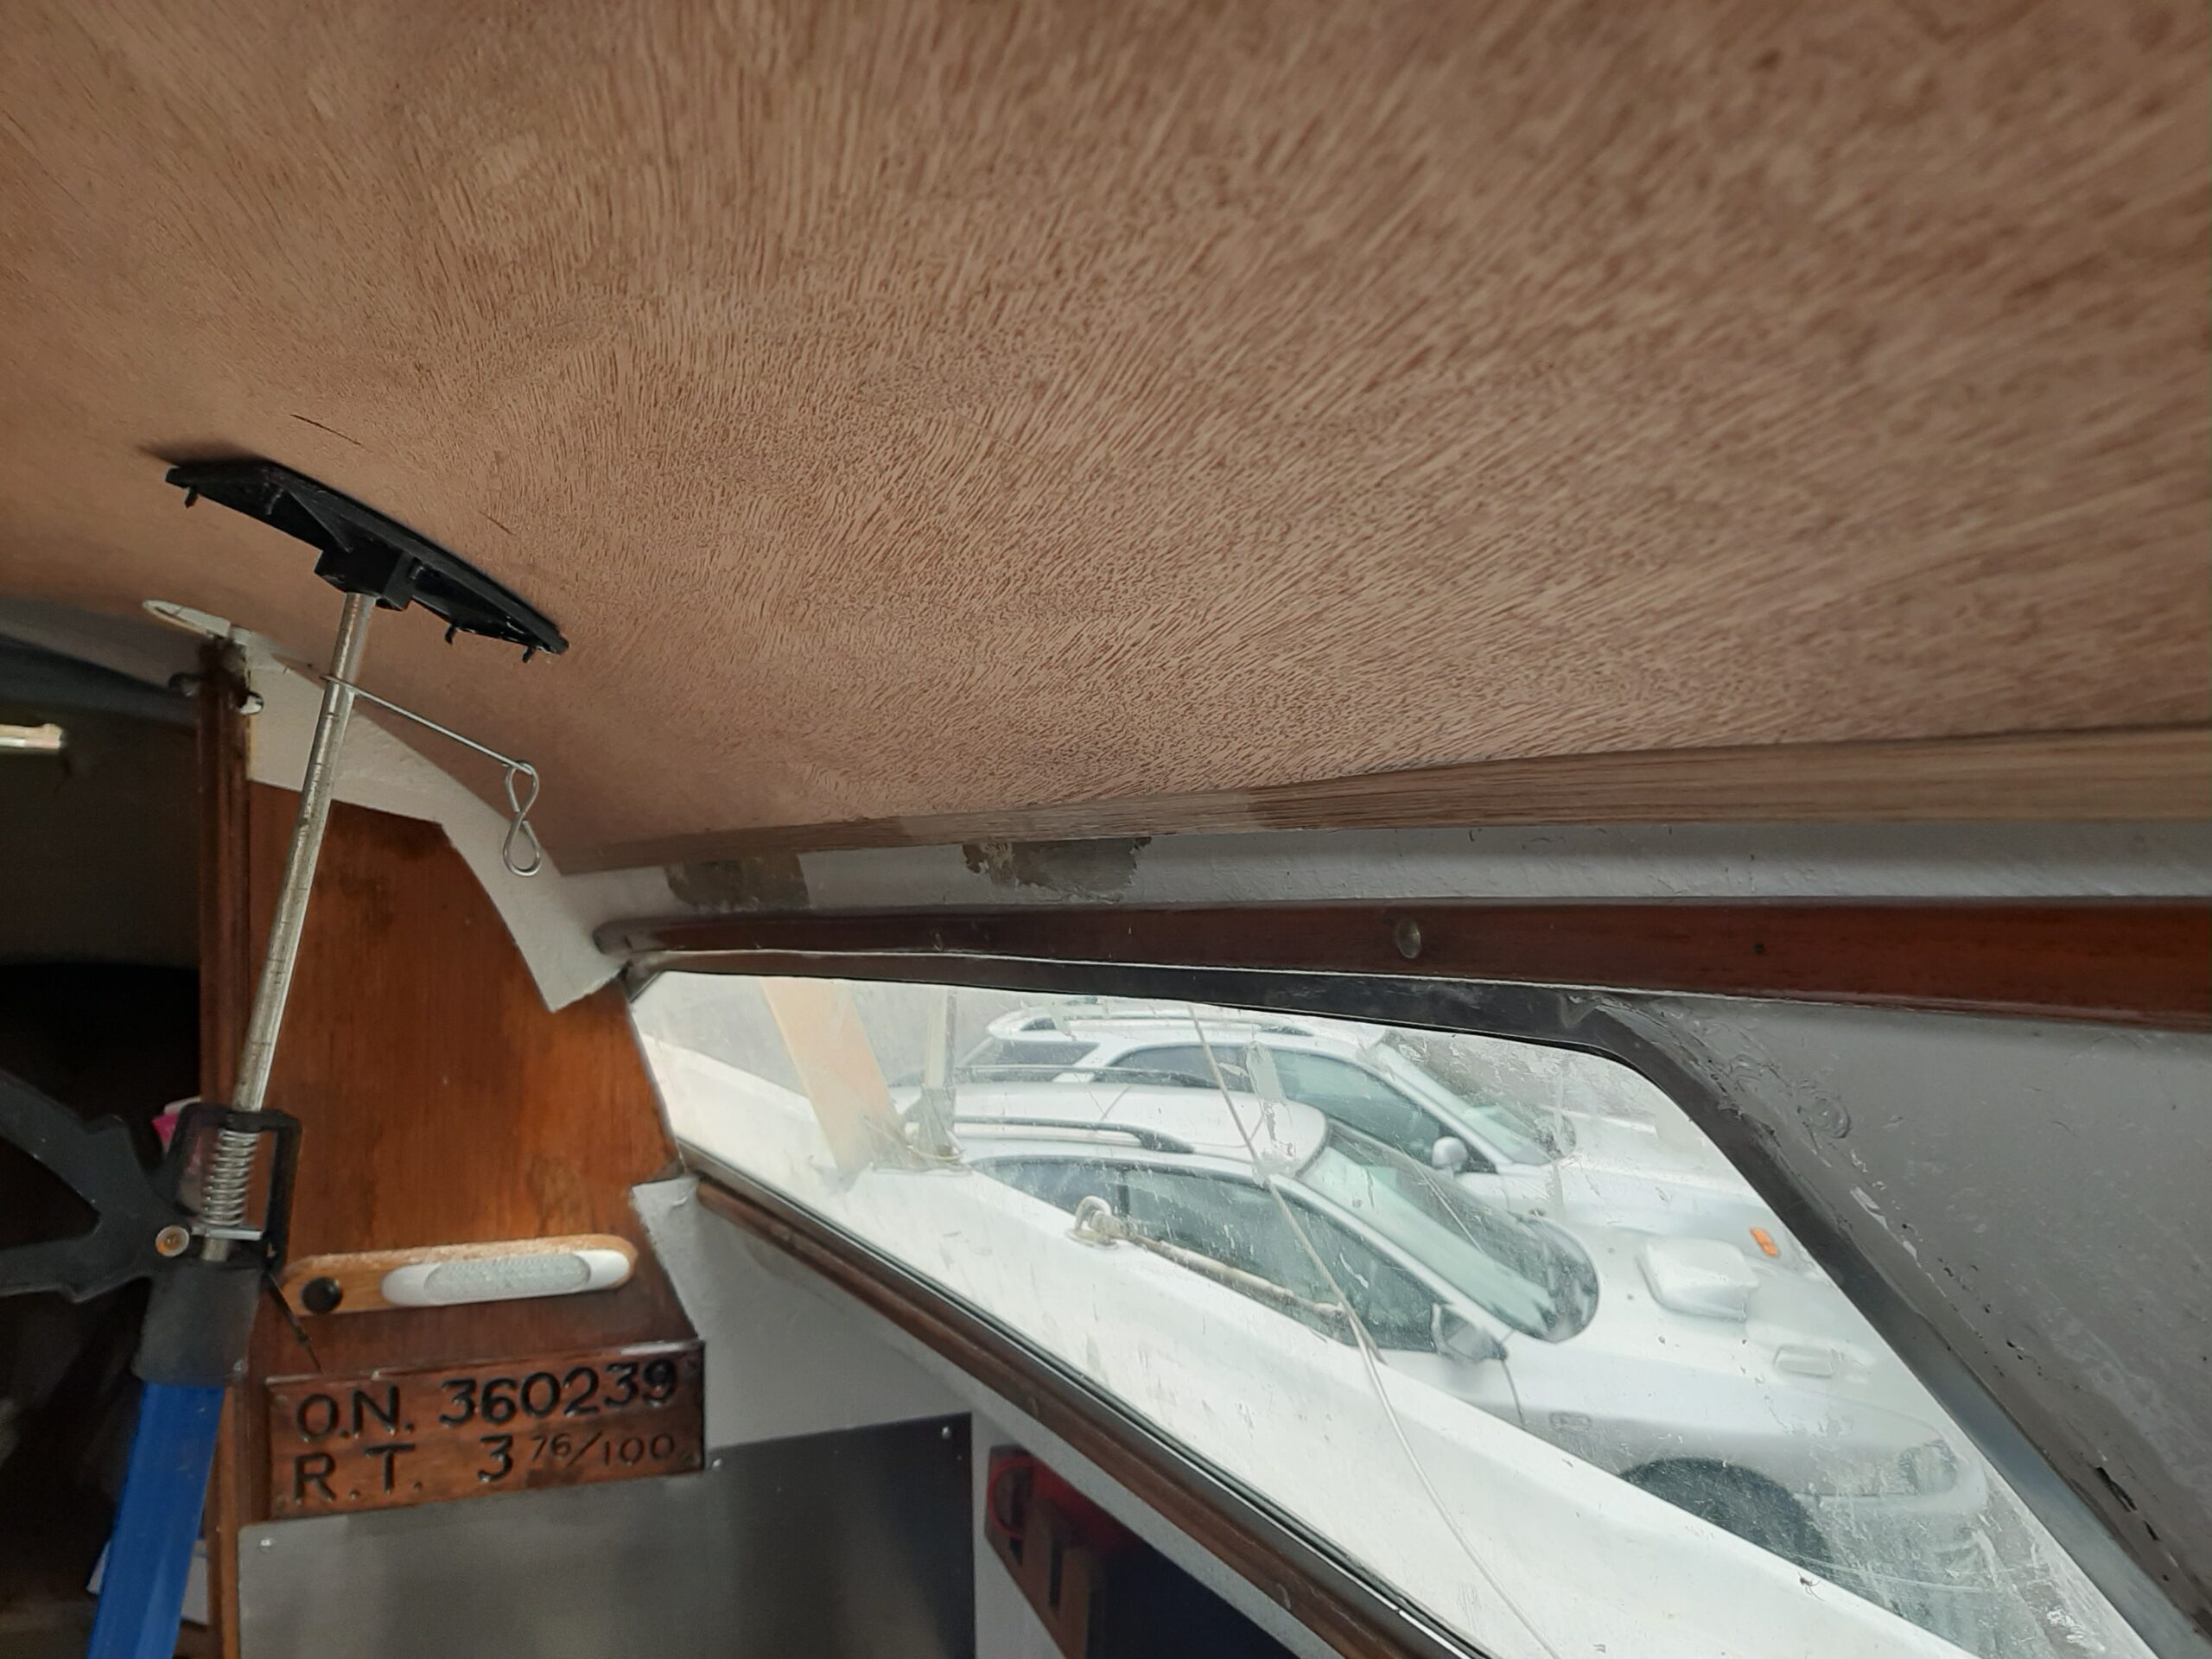 arrive at something acceptable. The only way you can tell this is the “almost finished” photo is that you can see the strip of oak all along the cabin side and there is an opening round the ventilator.
Before supper I did another bit of work on the starboard ceiling panel as I worked out where the second ceiling mounting strip will run and then drilled out some oversized holes ready to glue the foam to one side and varnish the other
Sunday Another 5:30 start to the day meaning I had finished breakfast and was outside by 7:00. I had ordered more aerosol contact adhesive for the headlining but Screwfix will not be not open until later so I got organised and did a bit of tidying in the garage.
Once I had the adhesive I glued the foam onto the headlining board. It’s a bit of a patchwork because I aimed at using some of the castoff bits saved from trimming the hull lining boards. It would have been 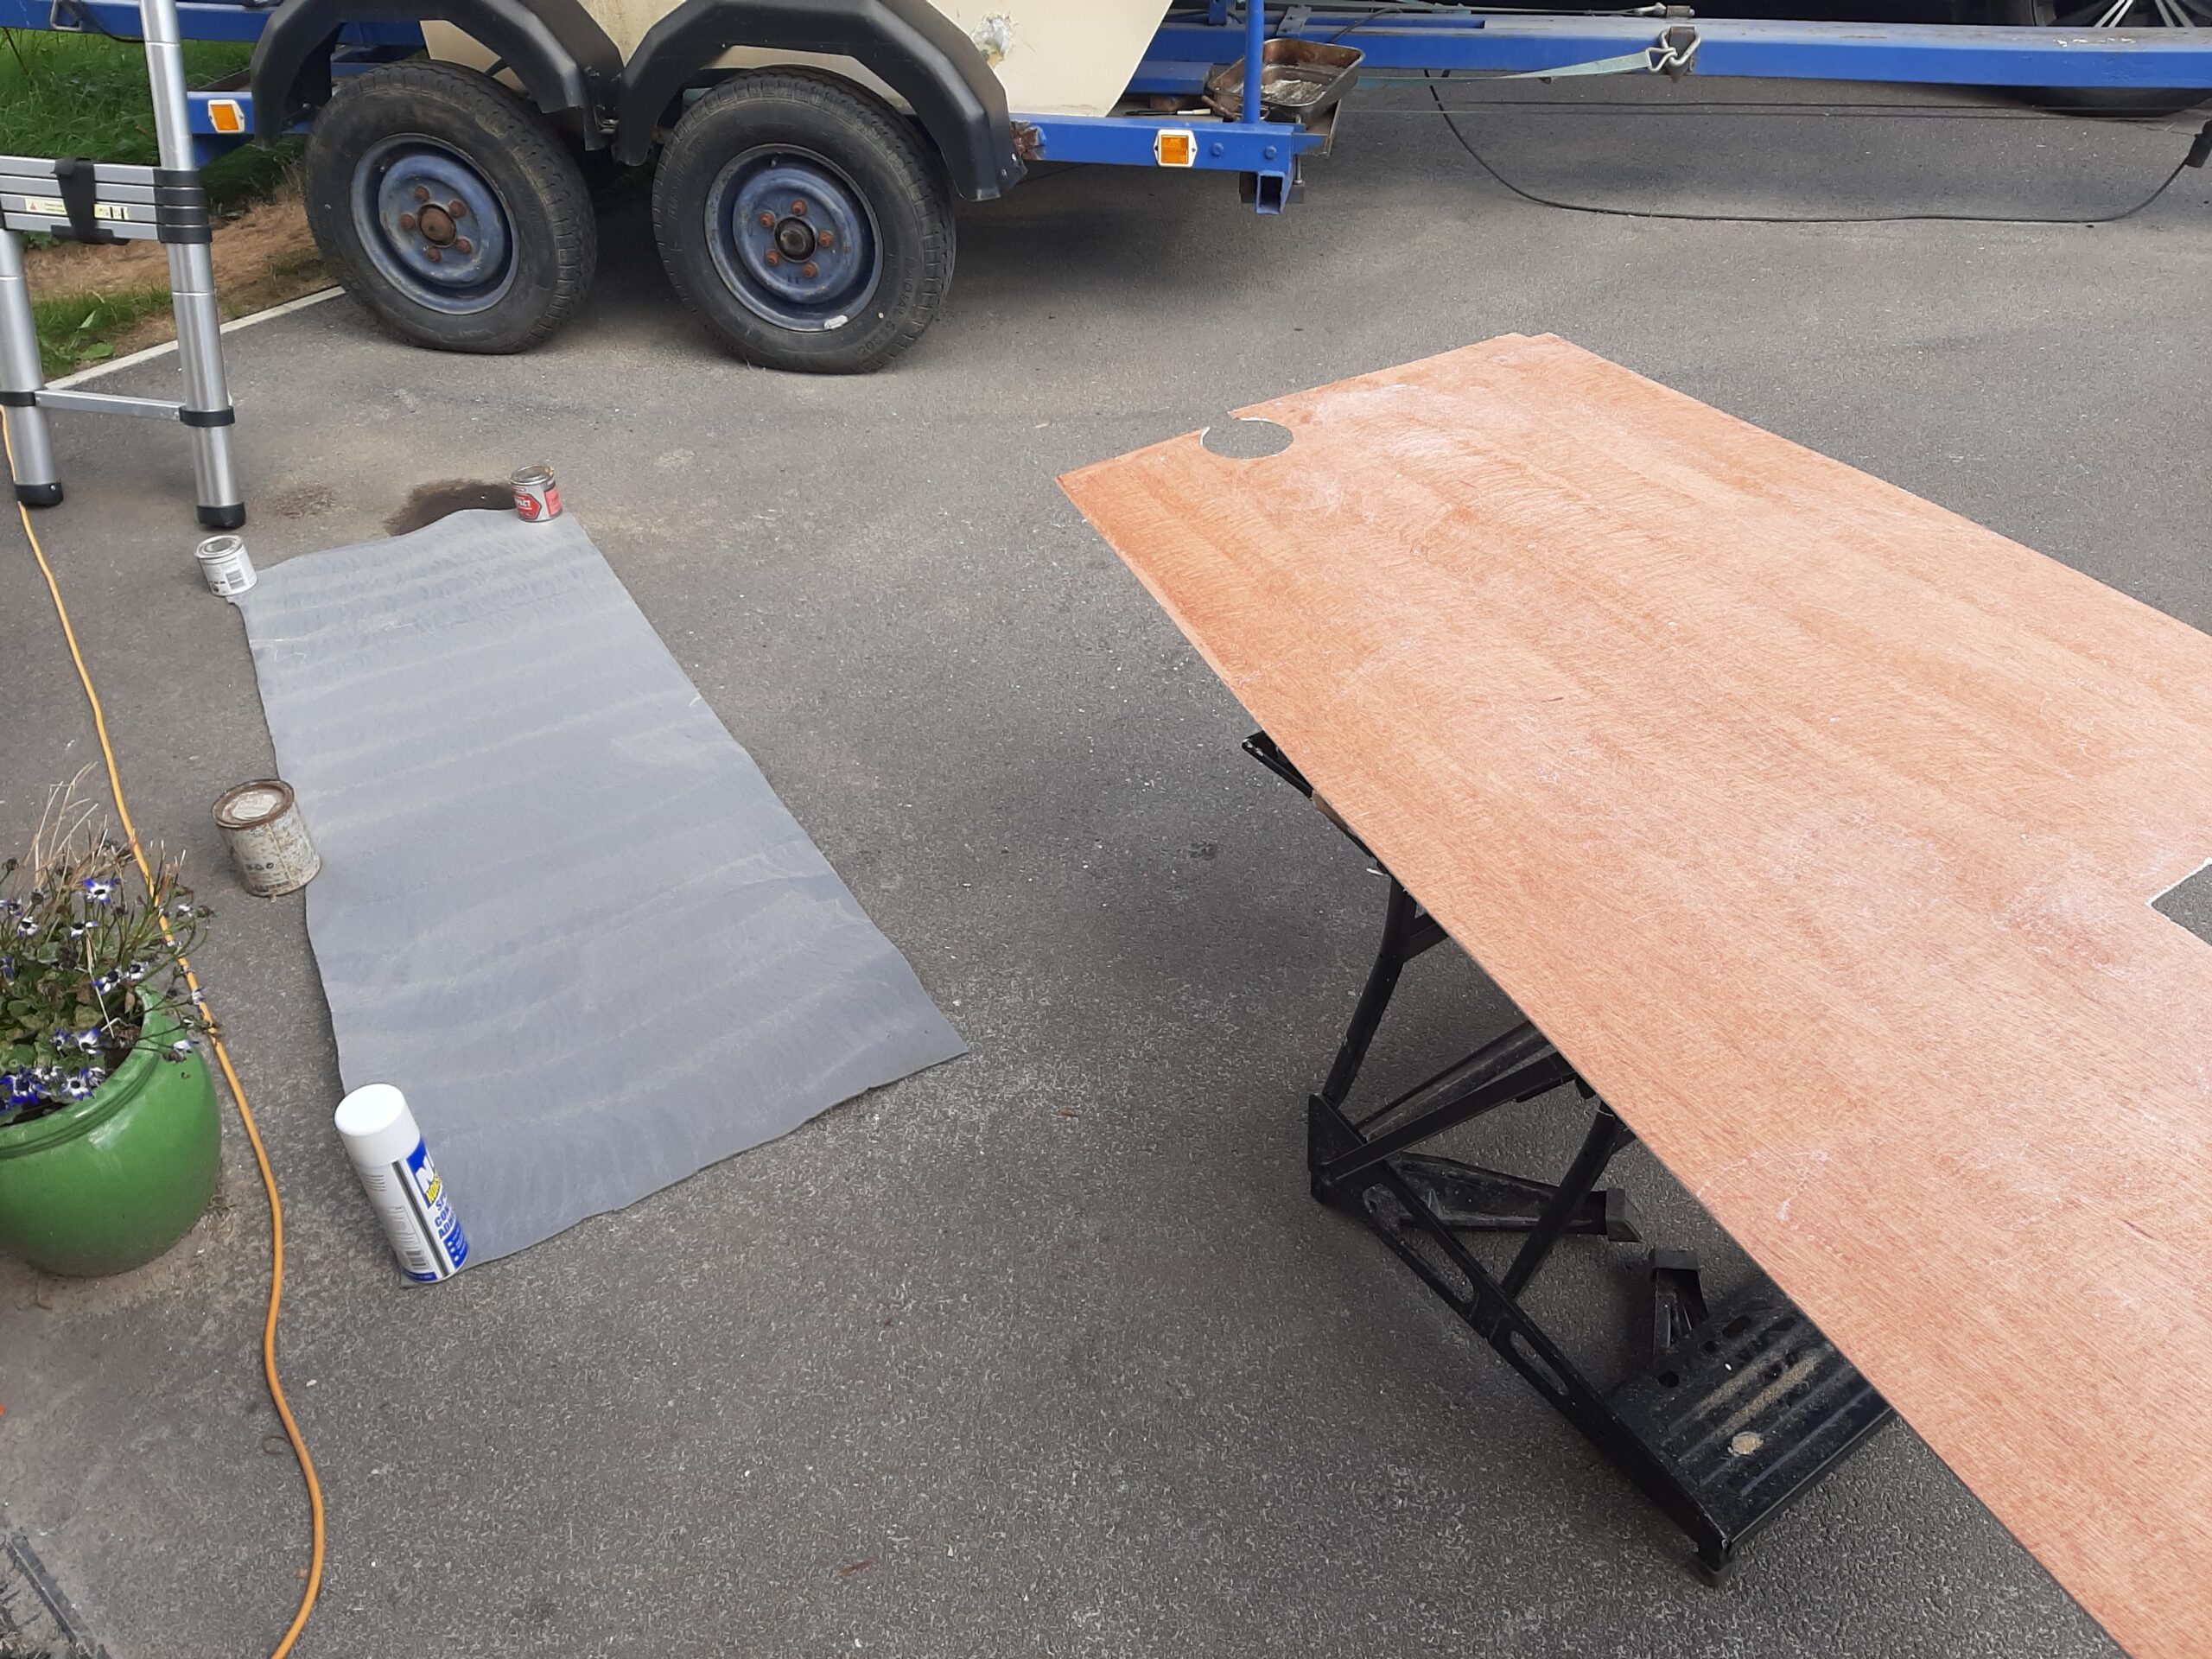 done in two bits but there was a big patch got wound round the drill when I tried to make the screw holes go right through.
Matt is moving Grace back into her student flat in Norwich tonight as she starts work as a junior doctor tomorrow. This is the start of a complex multi vehicle, multi day set of trips to get her started there then settled into a house once the estate agents have done their job.
Once she and Matthew had set off I varnished the other side of the headlining board (only one coat with particular attention to edges and corners), first side of the single berth locker top and also a first coat on the piece of oak along the side of the headlining.
Wednesday 29th After a day at work and several delays because of getting ready to take Grace’s furniture to Norwich, it’s just after 9 before I have another try at getting some boat work done. First varnish coat is now on the second side of the locker lid. Nothing done on the washboards because I want to check them as the centre line is not in the middle of any edge which makes me think there could be an error in widths and/or in the amount of slant on the two edges.
Thursday Another random day off but this time with definite purpose as we get the keys to Grace’s house at 12:00. Matt plans to leave at 10 in the van and head for her student flat.
Start of the day was productive in that I got the headlining vinyl cut to shape and glued onto the starboard side panel. I have some concern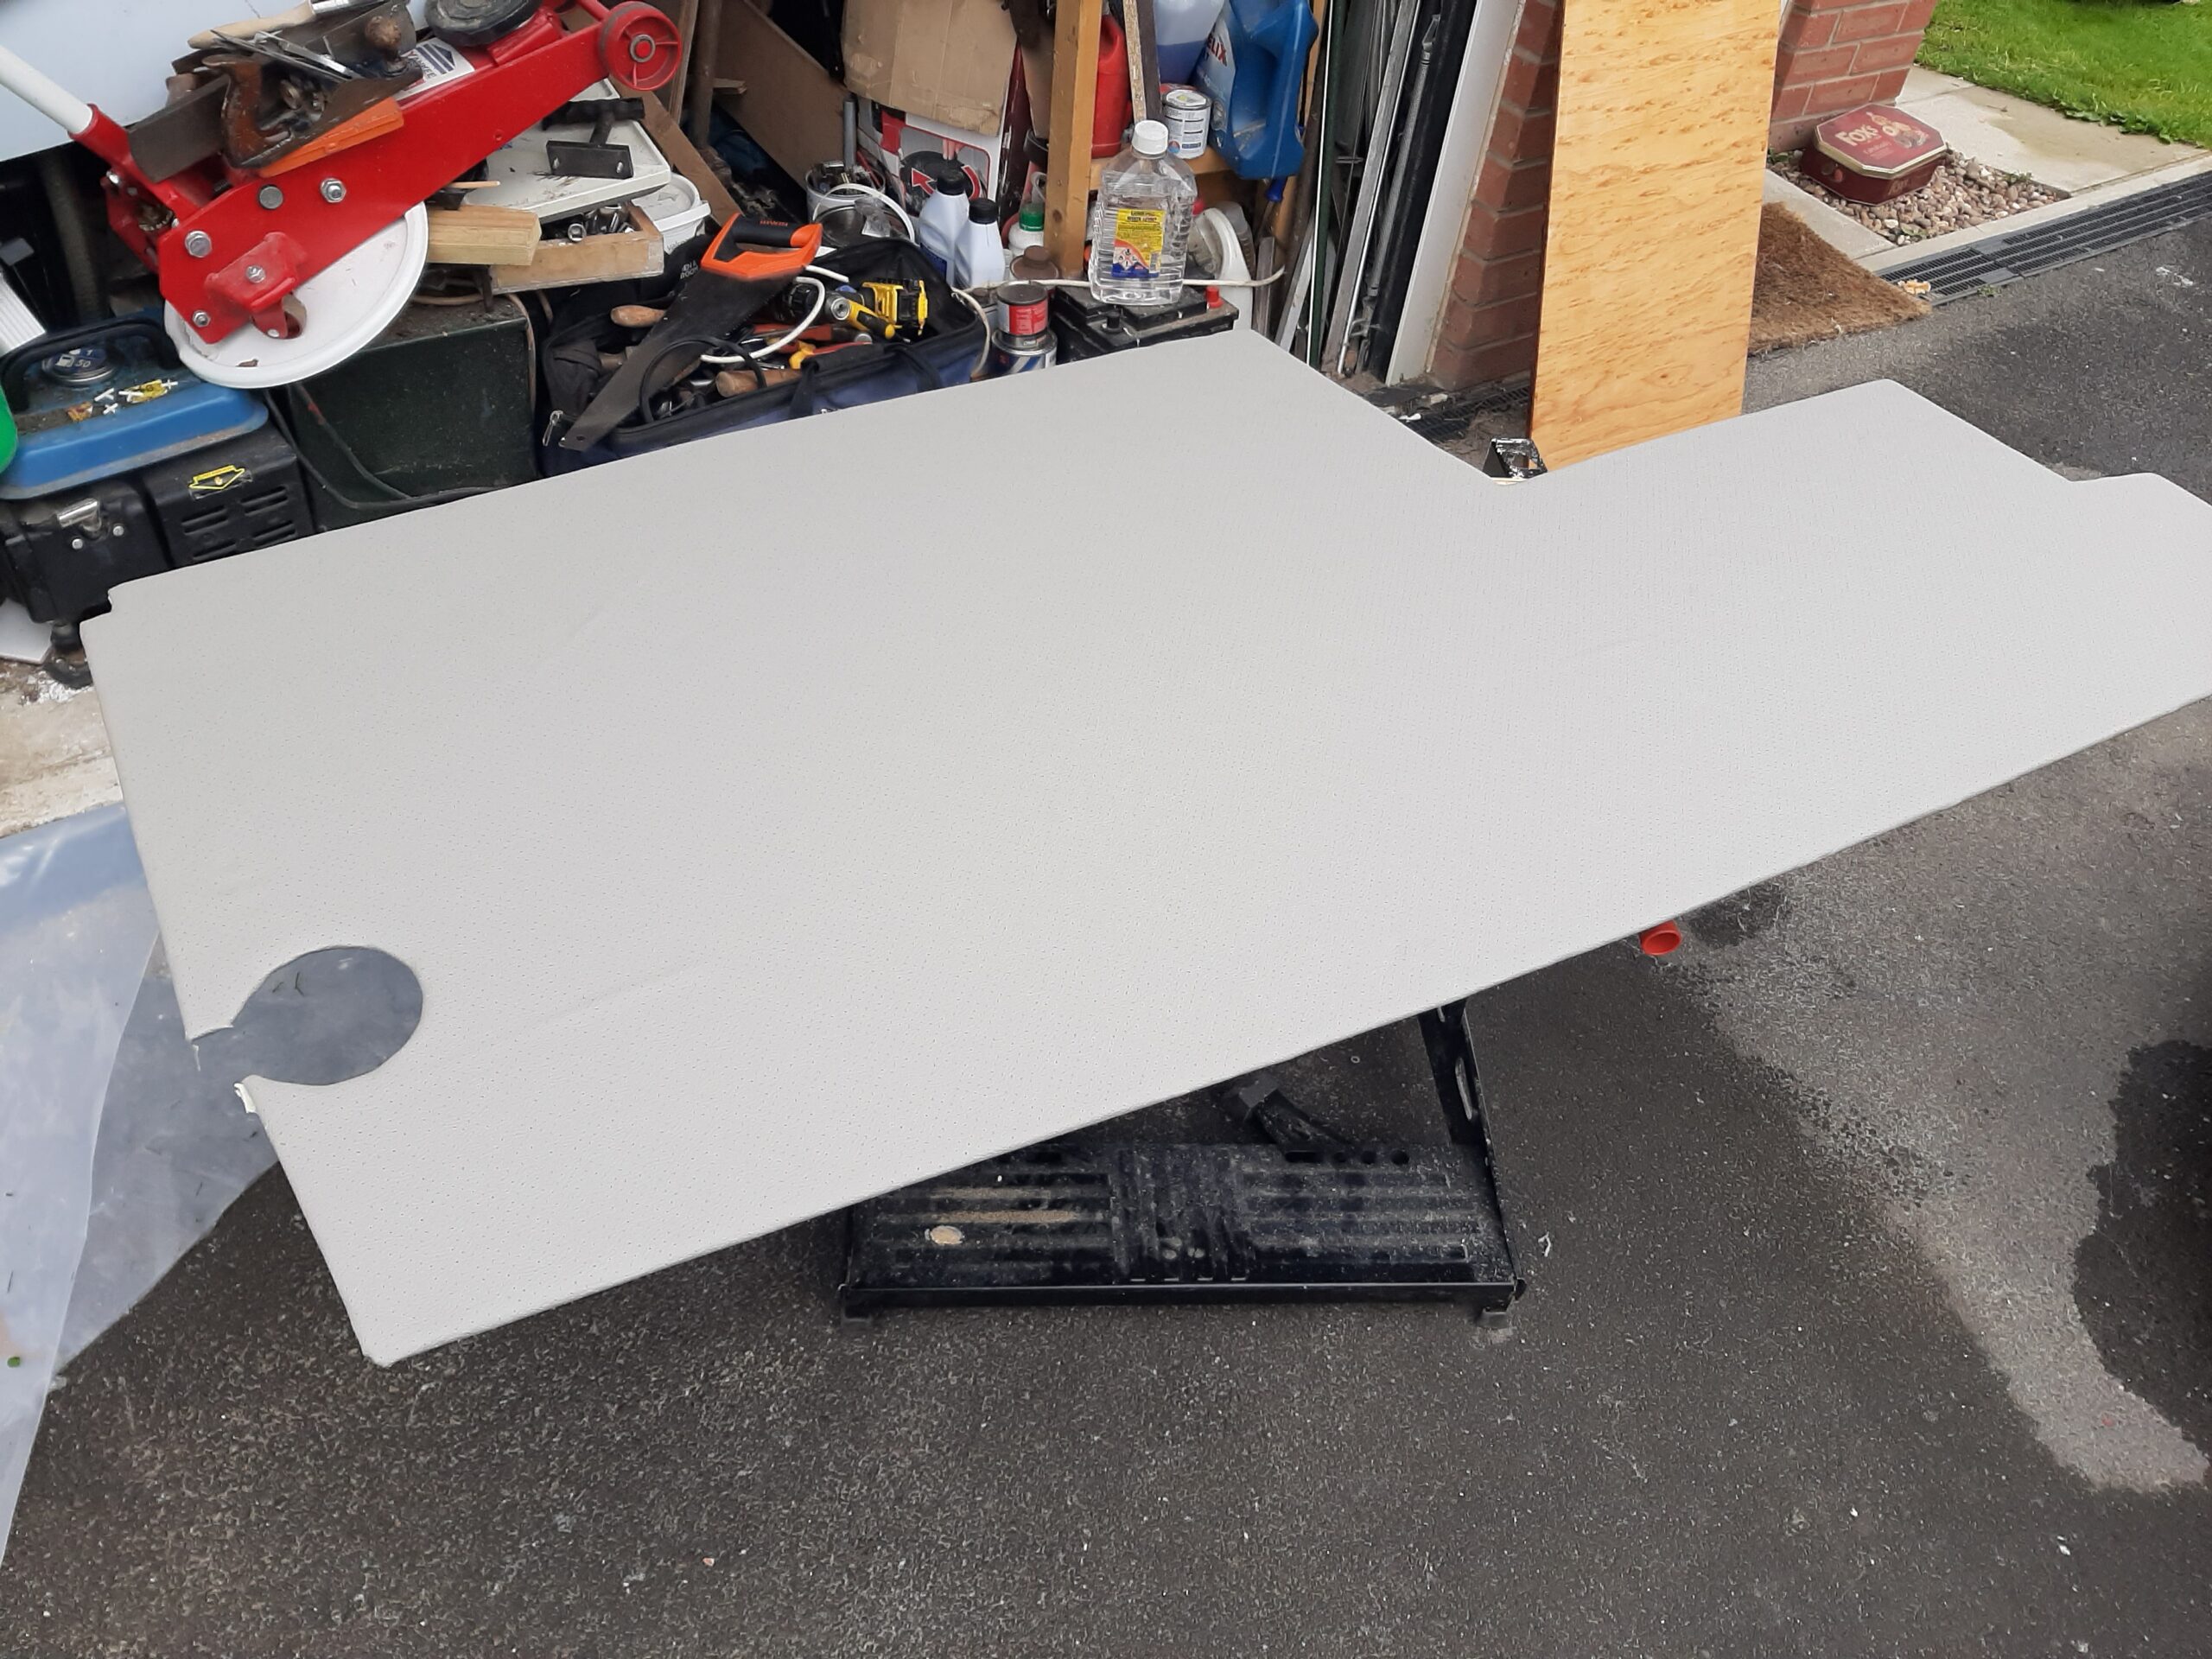 whether or not the rest of the roll will be enough to deal with the port side but the panel is a little shorter so it should not need as much.
The actual handover of Grace’s keys was a complete farce but eventually the agent released them four hours late on the basis that we could prove we had paid even though the vendor’s solicitor couldnt see the transfers.
Three van and car loads between the two houses (about 2 miles) meant everything was at Grace’s house by 6:30 so Matt set off for a meal stop a few miles down the road and then to continue home. We had tea (fish & chips from near the original flat) and did some basic adjustment of what furniture is where. Then set off around 8:30.
As we neared Newark we started seeing police and eventually ended up stopped at the scene of an accident just by the RAF college. Fire brigade were putting something out while the ambulances were loading up several people and the air ambulance seemed to be looking for somewhere to land in the dark. Matt’s 15 minute head start meant he was the other side of the accident and still heading home.
The road block that was put in behind us (3 other cars and a truck) was just after the brow of a hill and had no lights or flashing beacons. At least 2 cars ploughed into the cones and diversion sign before we got moving again. The car behind us ended up moving to park back there so his lights illuminated the sign and hazard flashers alerted drivers to there being a problem before they got there.
Around 12:15 the police came to tell us the road would be closed for some time so we worked our way round via country lanes and arrived home at 1:00. Rather sobering ending up that near what appeared to be a fatal accident.
Friday At work again. Tomorrow’s trip to Norwich just got complicated again as IKEA fouled up again. I guess they are struggling to get staff to work normally because of COVID. – Originally failed to order the furniture, after several phone calls they ordered it and were supposed to deliver to a pickup depot in Norwich. Today they delivered it to us instead so now I have to do tomorrow’s trip in the van rather than our car. Probably best though as there seems to be a plan for me to bring various bits from B&Q as well as gardening tools, the bed and various end of container bits of paint from the house renovations.
Tuesday 22/9/20 Daytime authorising. Managed to get over to storage with the radar reflector and some other bits. Nice to see that the battery is still running the computer system for the bilge drier and that there is enough power to run the lights. – likely means the solar cells are doing their job well as it is now almost two months since the boat went back to storage.
About 20 minutes work to get the headlining partially fitted on the starboard side. Really need some 4cm long screws (slightly longer than the previous ones and shorter than the stainless steel ones I already have) to do it properly.
Sunday 11/10/20 First service back in church since March. I was on my way to the boat soon after 12.
Fixed up the starboard side headlining using the new stainless steel screws that I got around a week ago. There are some marks in the 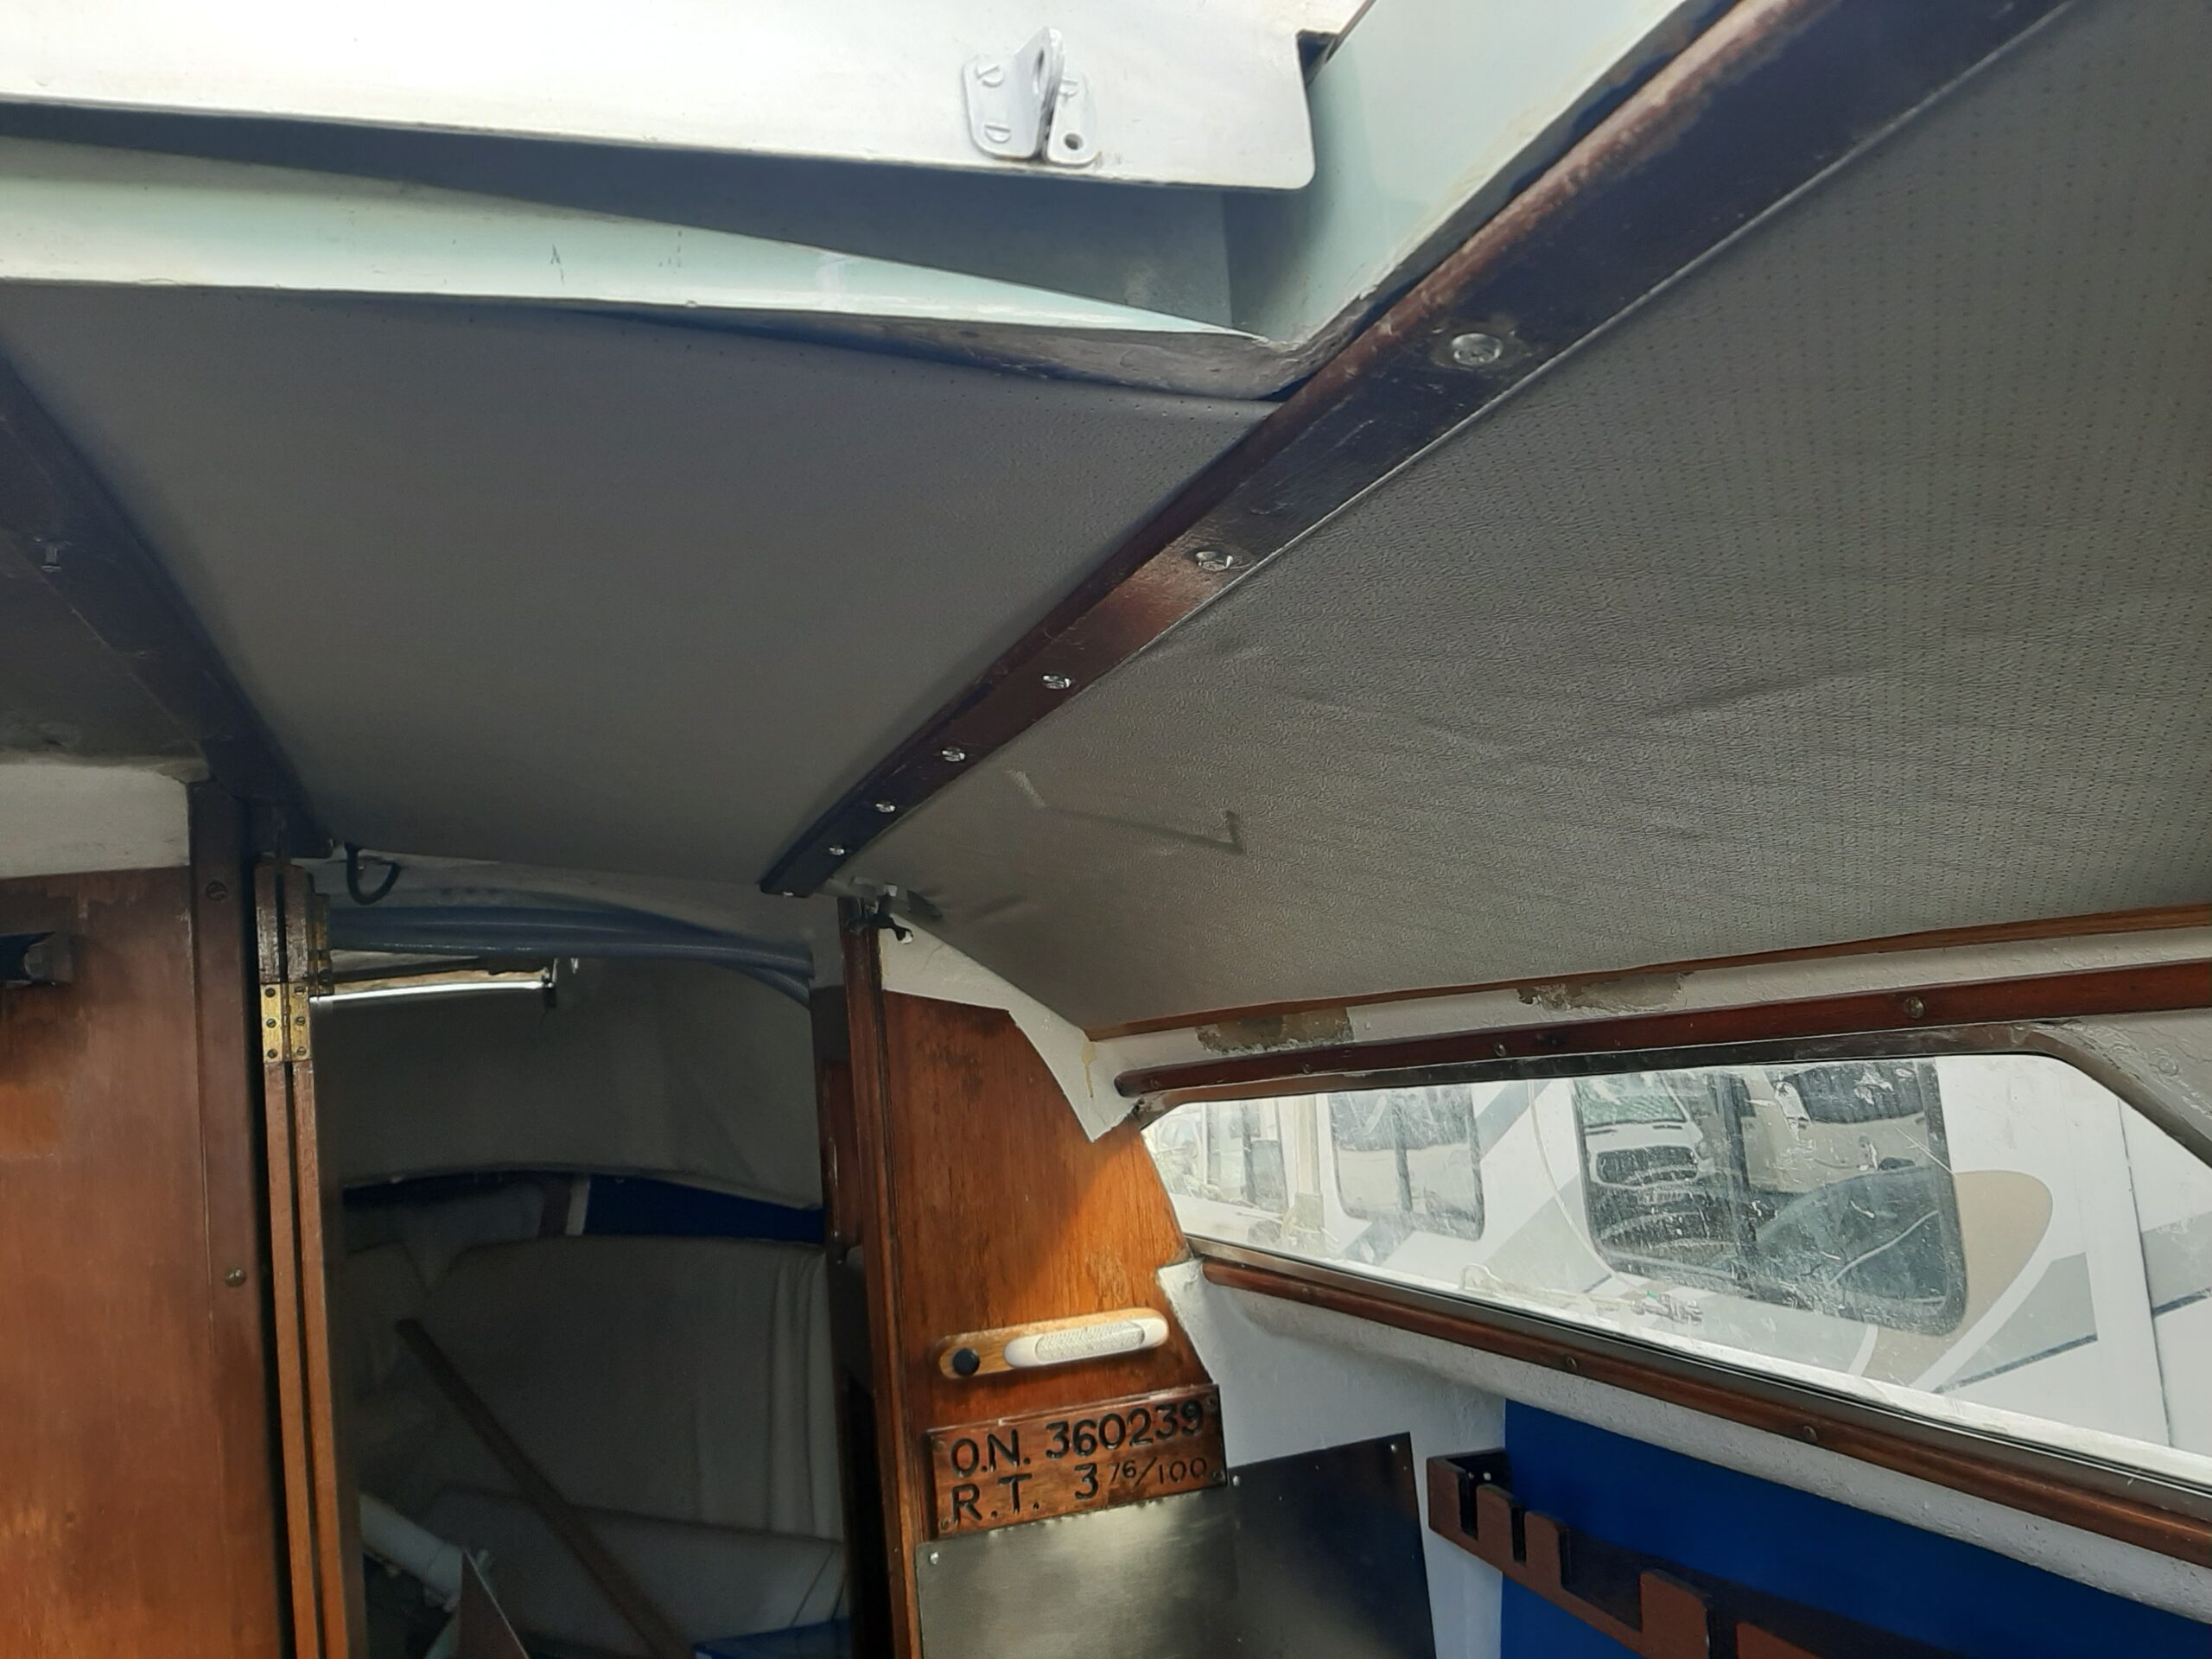 vinyl from stray varnish and depressions from having it held in place by the props but hopefully I can clean off the spots and the foam backing will recover now that the screws are doing their job. I still need to add the mounting blocks and screws along the edge by the window but it’s looking smart.
Now that the wash boards have had four (or is it five?) coats of varnish 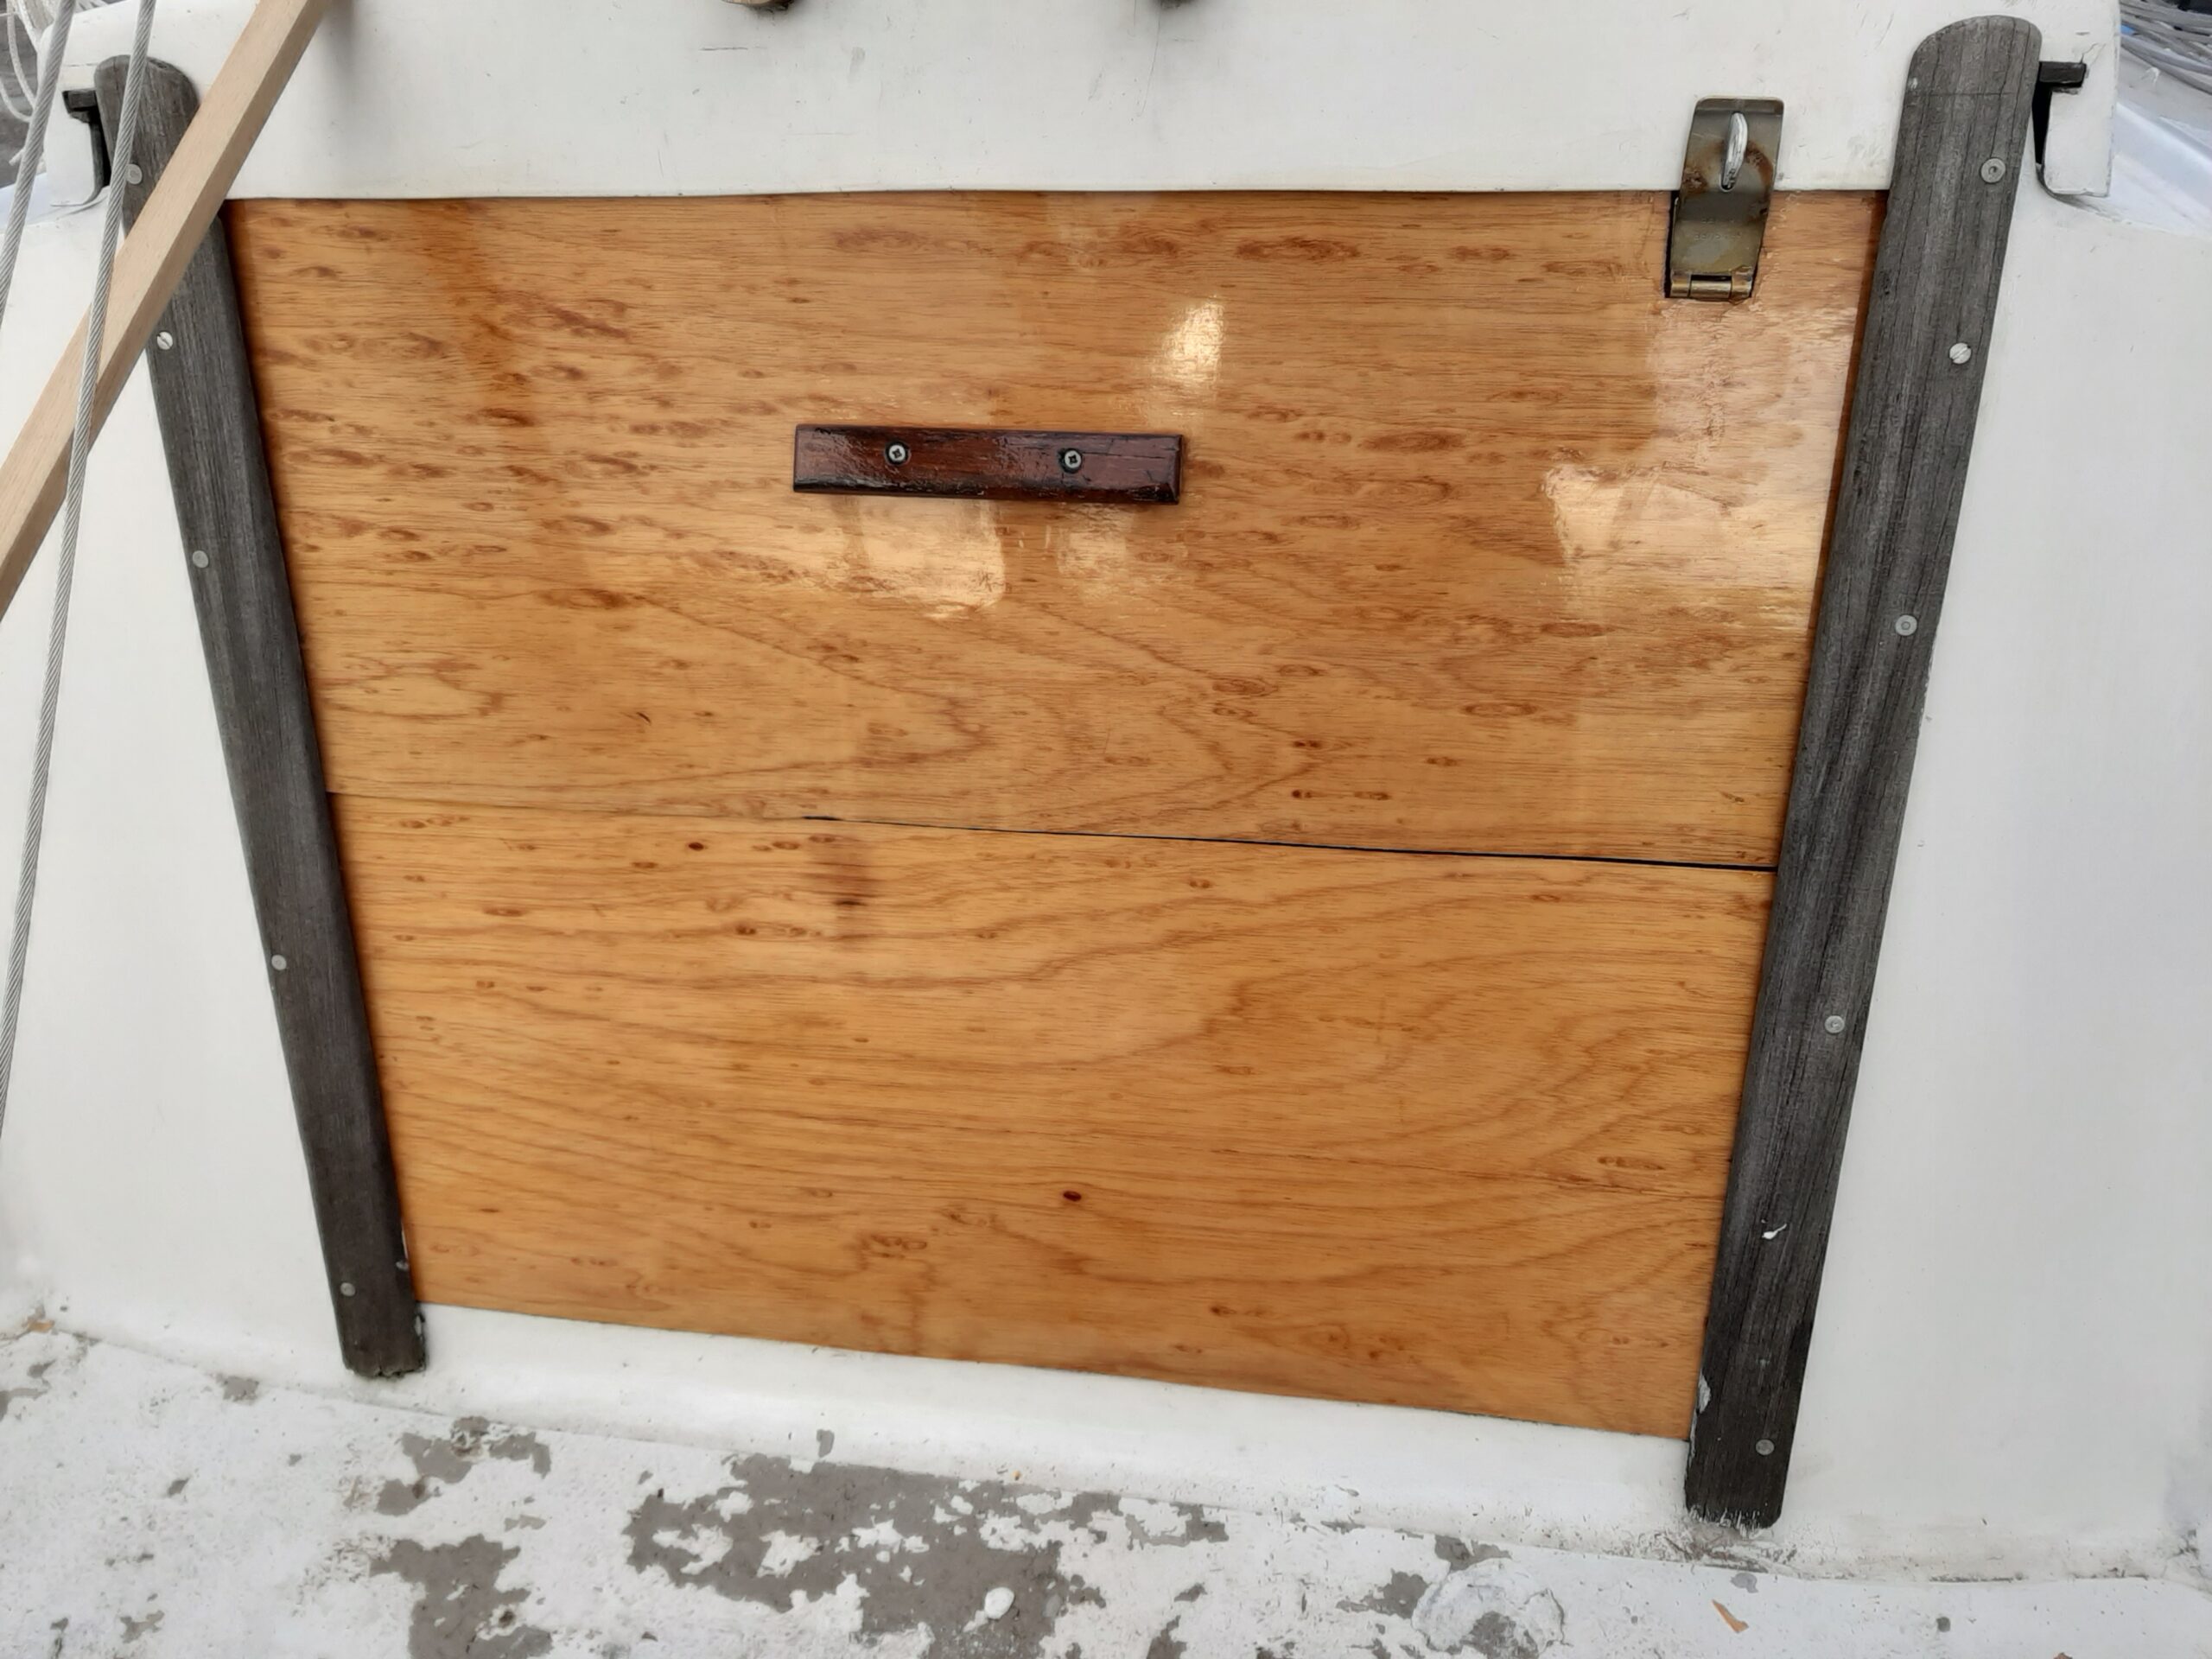 I reckoned it was time to put them into use. That meant moving the handles over from the old ones and trimming off some bits of plywood so they will fit. Still need to re-fit the hasp so I can lock it however that would expose a lot more un-varnished wood to potentially getting wet so I will do that another time when there are not as many rain clouds around.
Hopefully the new “marine ply” ones will last better than the previous 
ones did as they are becoming de-laminated really quite quickly. Goes to prove that even with three coats of varnish on it modern “exterior” grade plywood is no use for boats, not that I was expecting it to last too long. Soon the only bits left will be the blocks that the bilge pumps are screwed to and those should last as they have been coated with fiberglass resin rather than paint or varnish.
It is probably still a better idea if I can try to keep the cover on the boat all the time when I am not using it. – Really must get another one made that hopefully wont leave blue marks on everything.
Final job before I returned home was to start the job of making the port side headlining core the right size. Some cutting but mainly a marking task so I can use straight edges at home and cut along the centre line carefully. That will be followed by trimming the curved edge to shape during multiple trips to storage.
Left storage at 3pm taking the lid to the water tank locker home with me to sand and varnish it as it currently only has a single coat of varnish on it.
Final task for the day was sanding and varnishing on the water locker lid. Both sides sanded and first one has a coat of varnish.
Saturday 18/10/20 Locker lid still felt a little sticky as I turned it over to do the second side but wont really matter too much if there’s a set of finger prints in the varnish.
After lunch I managed to fit in a brief trip to the boat to fit the hasp 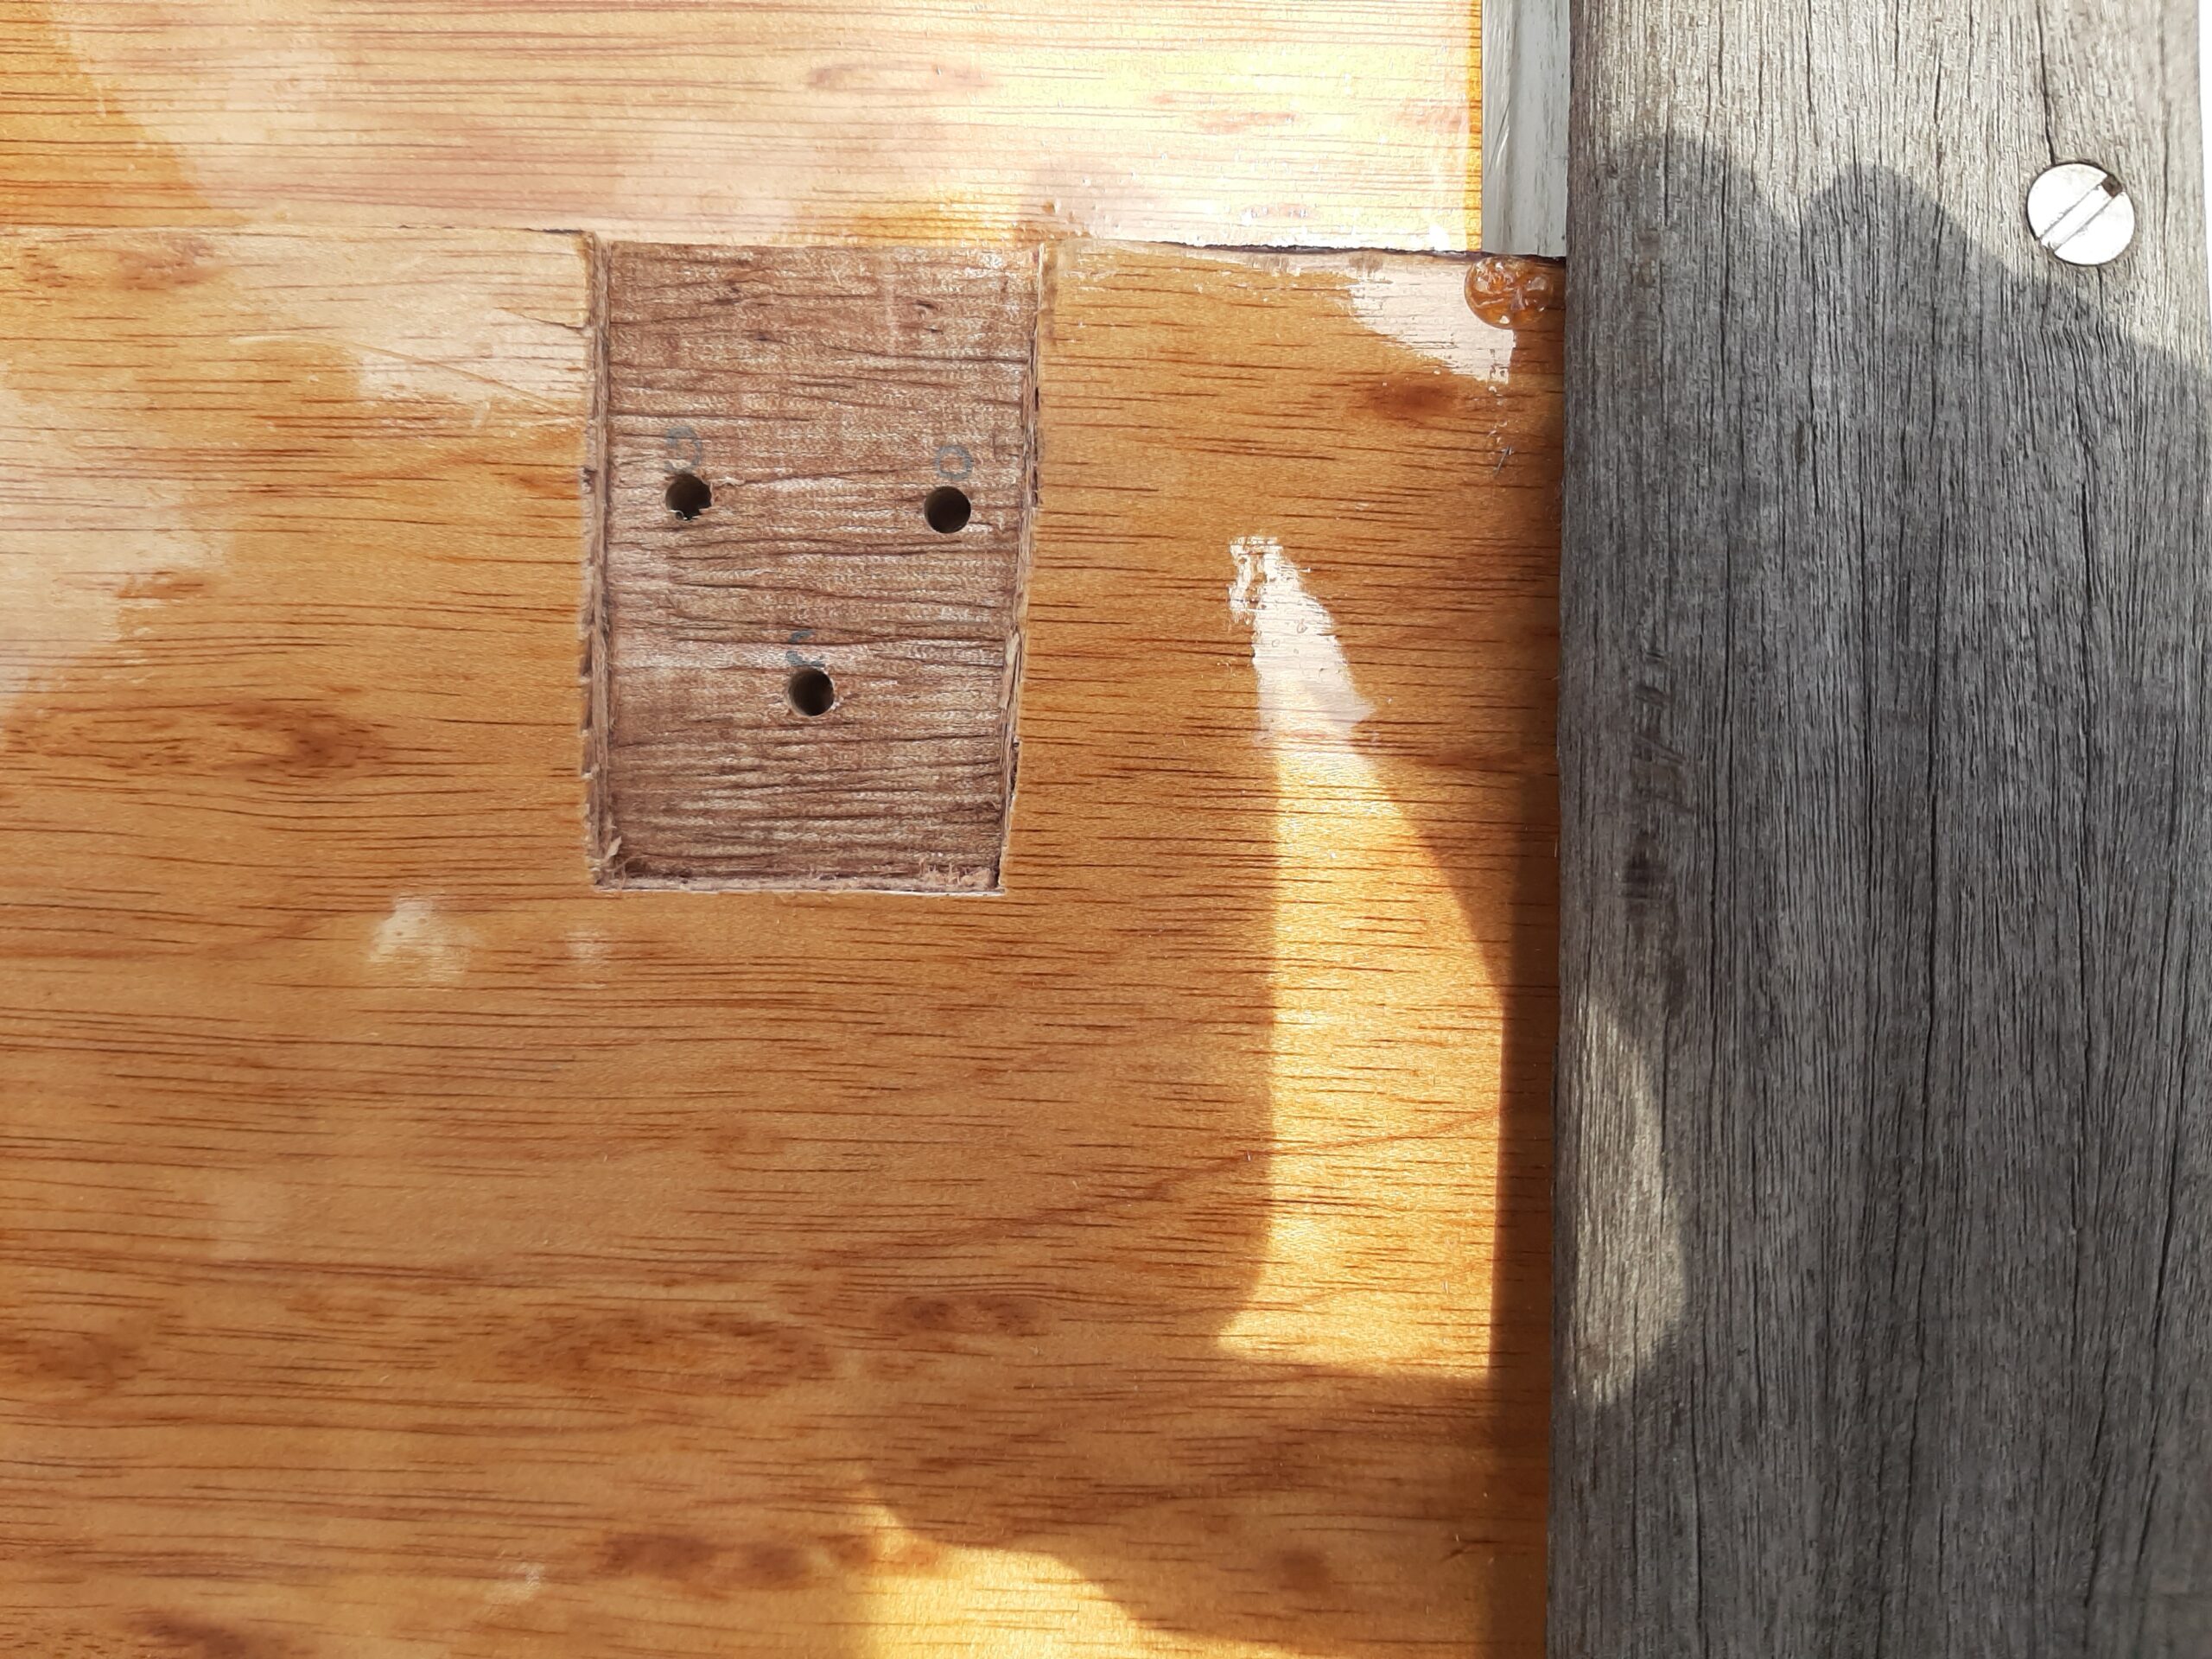 onto the washboards, measure the port ceiling lining plywood to start the process of trimming it to fit. I will need to keep a good look on the washboards because some of the edges of the ply are not as good as they should be with visible voids. While cutting out for the hasp the top ply also separated rather easier than I would have expected for well glued plywood although there was a reassuringly dark glue layer until I pared through that to get a potentially varnishable surface. Hasp is securely attached though with washers and nuts on the inside but I will be adding some nylock nuts as well because the bolts stick out quite a long way into the cabin.
I had the remnants of a can of expanding foam in the car so I also did a bit of filling in the space between the hatch opening and the wooden frame. Still need to add some rigid filler in that area and then add a layer of fibreglass matting to make a rigid edge and reinforce the corners.
I also started to sand the fiberglass repair where the encapsulation had split on the starboard keel. Needs another layer of matting and probably a little filler before it will be fared but it is a rather difficult place to get at with grinders or the sander because it is close to the trailer framing and mudguard.
Sunday 18/10/2020 Off to the boat at 4:15. Put the water locker lid in place and fixed down the grounding cable that goes round the 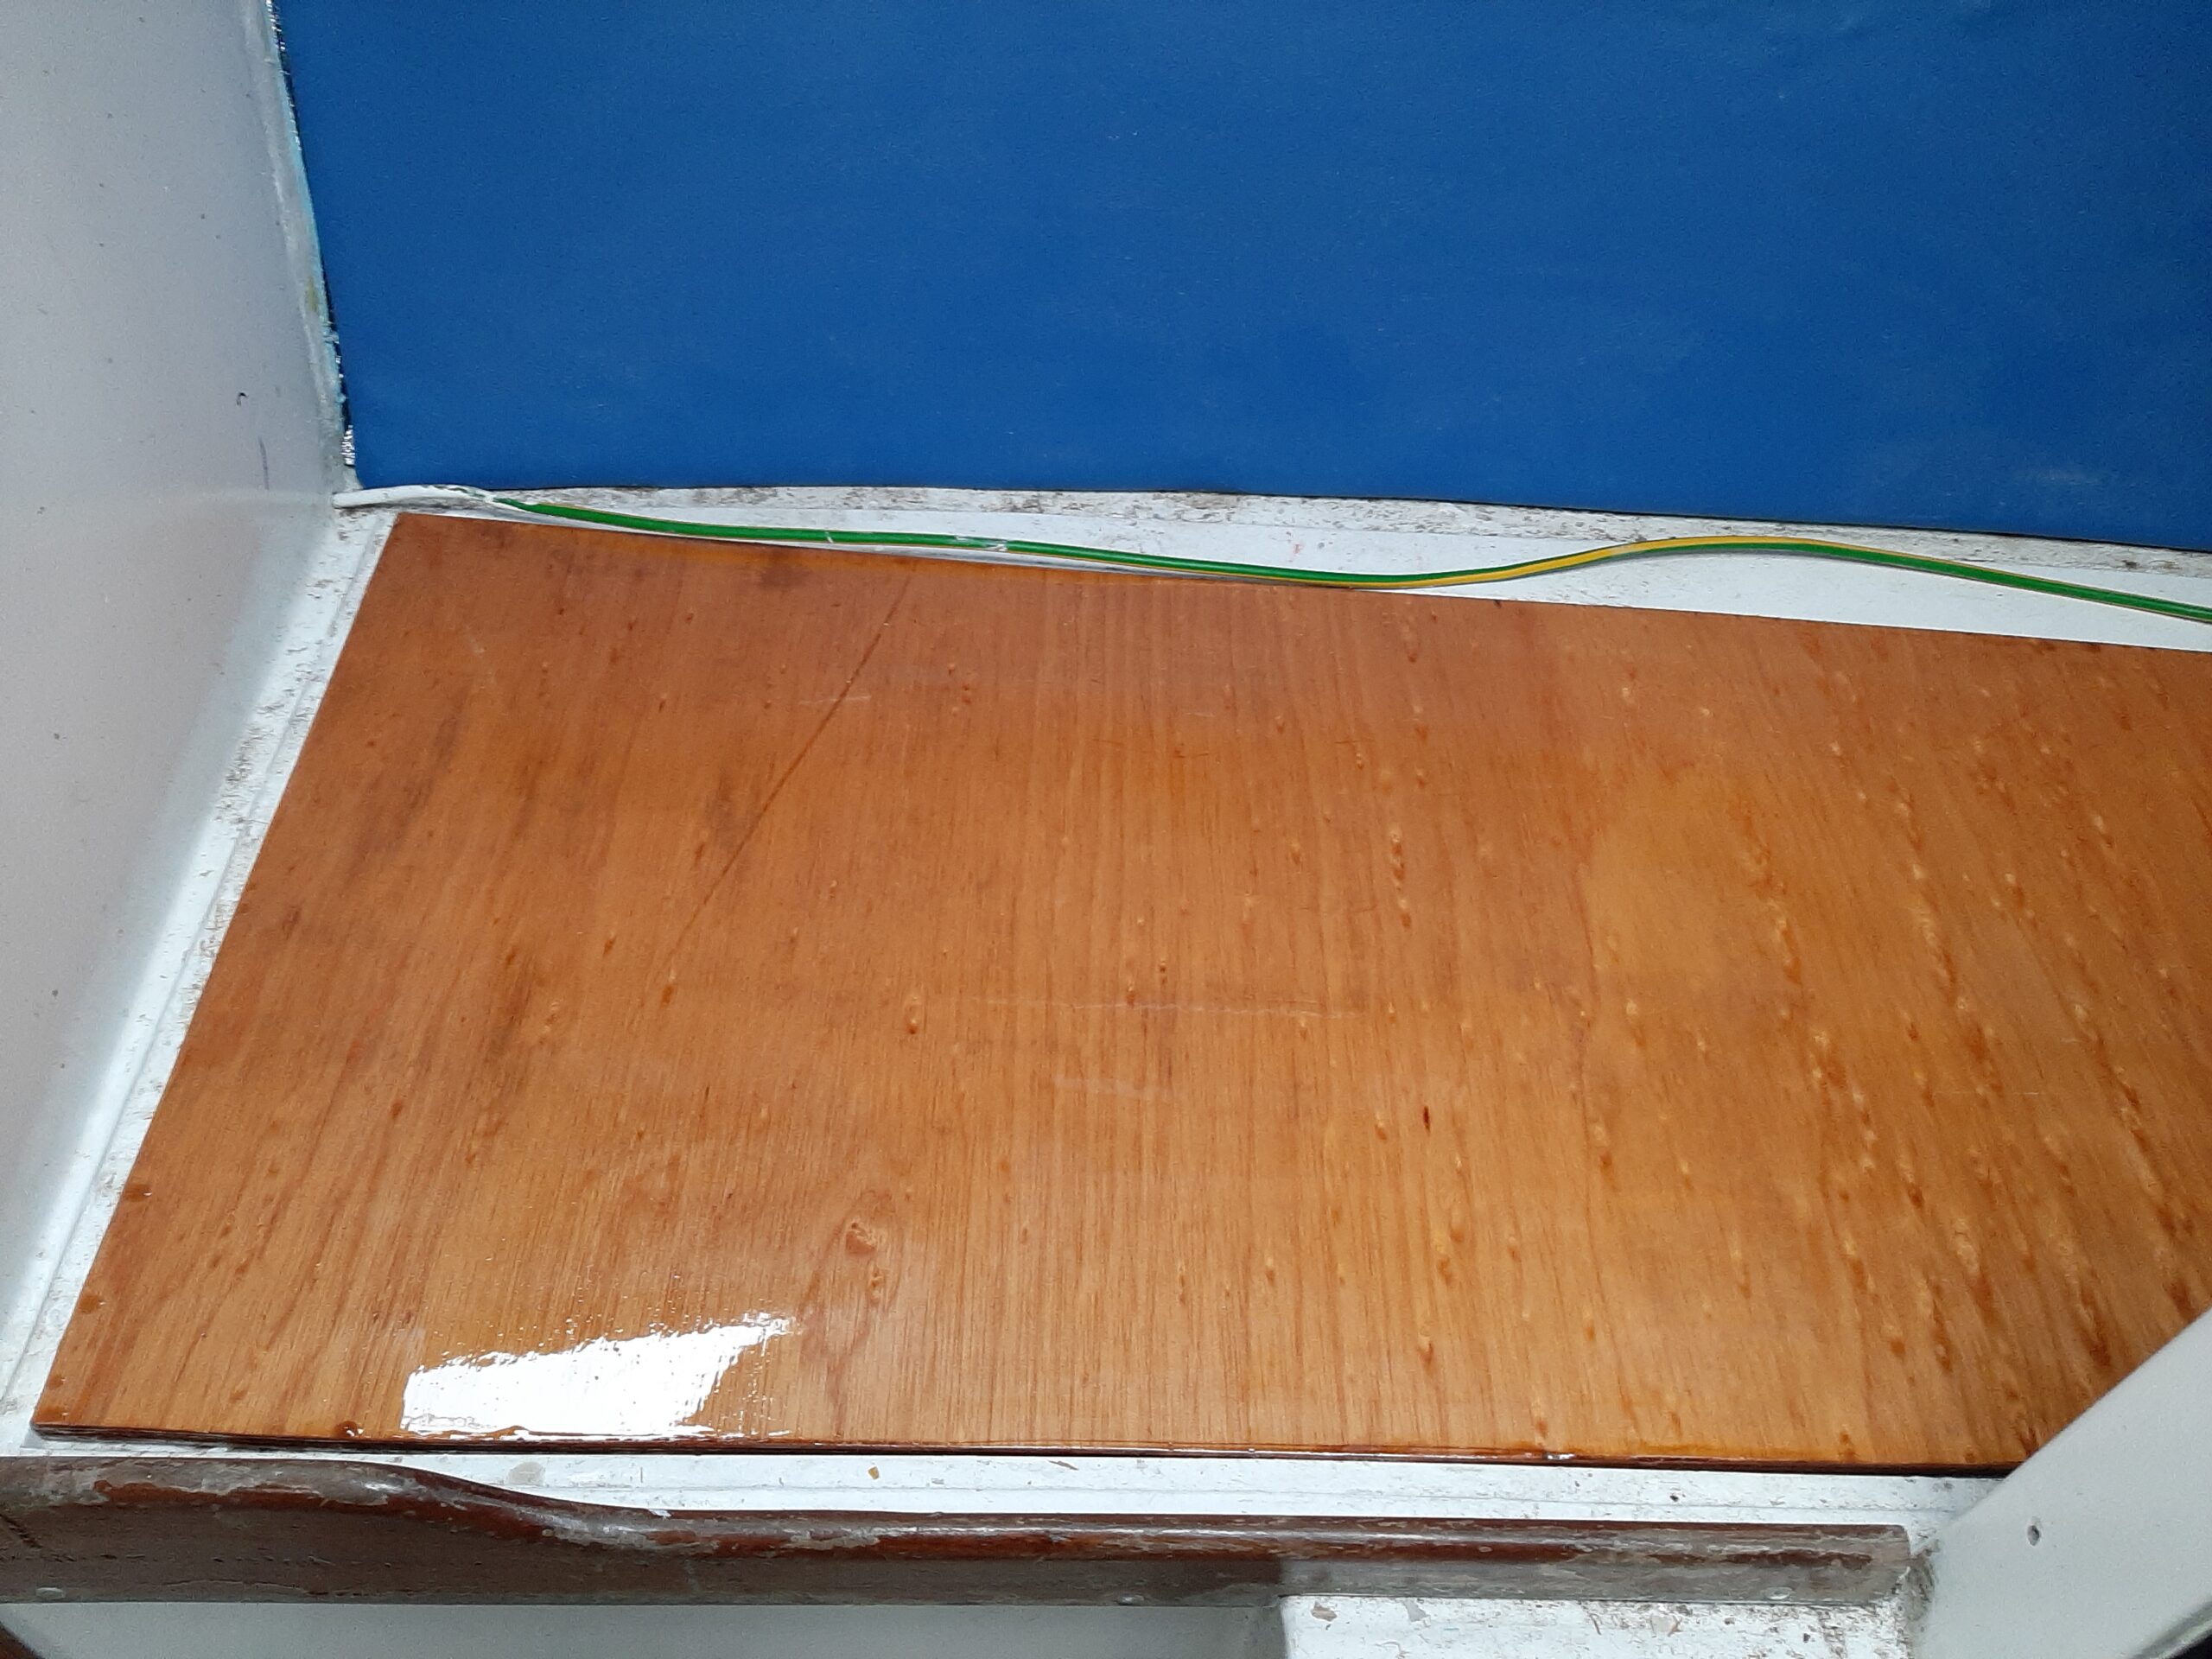 opening. Also fitted two more saddles on the spreaders so I will be able to hoist signal shapes and the radar reflector as well as flags etc.